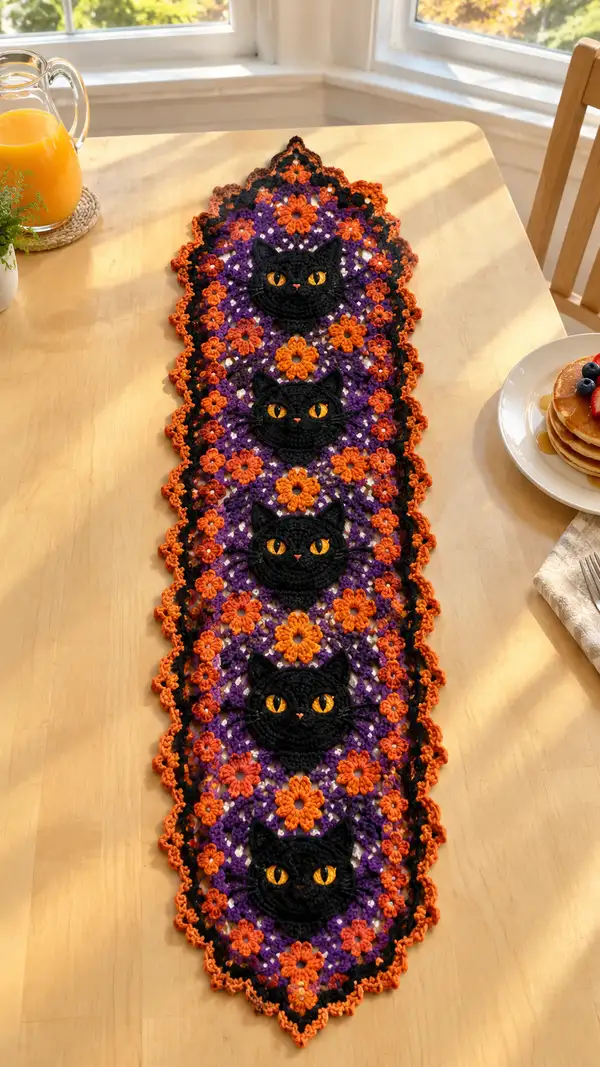
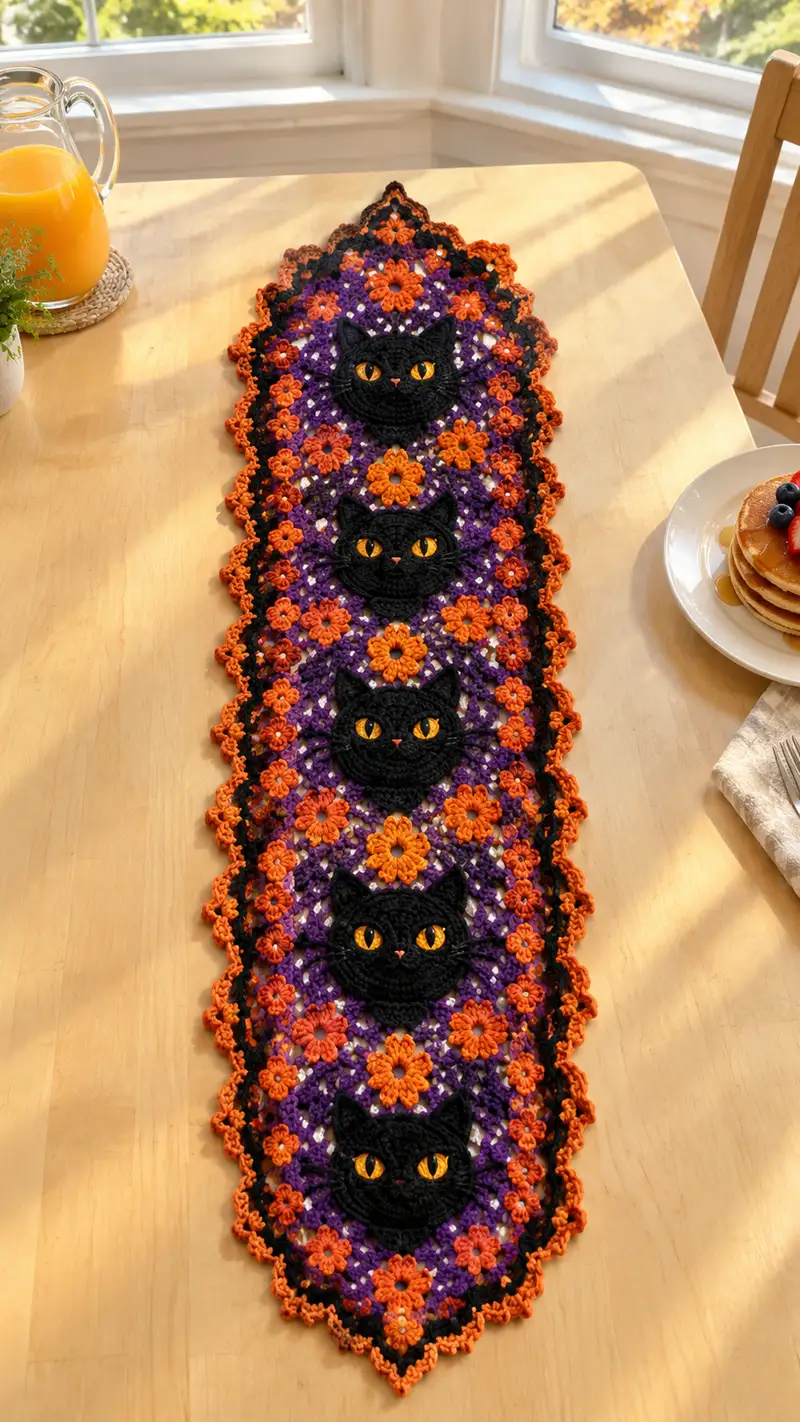
A long, festive Halloween table runner featuring four crocheted black cat faces framed by bright orange flowers and a rich purple lattice. This pattern recreates the layered motifs, eye details, and scalloped border seen in the photo. Perfect for a seasonal centerpiece, the runner combines motif joining, applique cat faces, and a decorative scalloped edging for a polished finish.
Progress Tracker
0% Complete
— Overview :
Info :
This table runner is built from repeated 6-petal flower motifs joined into three long columns, with four cat face appliques worked and placed along the central axis. Work motifs in the orange and purple color palette shown, then add black cat faces and a multi-row scalloped border in orange/black. Keep tension consistent; use 3.5mm hook unless you prefer a looser drape for the flowers, in which case switch to 4.0mm for those rounds only.
Info :
Throughout the pattern counts are shown at the end of each round in parentheses. Make gauge samples for the flower motif if exact size is critical; mine result in a finished runner about 12 x 44 inches with 4 cat faces using worsted weight yarn and a 3.5mm hook.
— Cat Face (Make 4) :
Round 1 :
6 sc in magic ring (6)
Round 3 :
(1 sc, inc) x 6 (18)
Round 4 :
(2 sc, inc) x 6 (24)
Round 5 :
(3 sc, inc) x 6 (30)
Info :
Use tight tension here so the face stays neat. These rounds create the central disc of the face. Count after each round to maintain even increases.
Round 6 :
(4 sc, inc) x 6 (36)
Round 7 :
(5 sc, inc) x 6 (42)
Round 8 :
(6 sc, inc) x 6 (48)
Info :
Rounds 6-8 finish the circular face base. If you need the face slightly larger, add one more increase round: (7 sc, inc) x 6 = 54 sts.
Round 9-12 :
1 sc in each st (48) - work 4 rounds even to build height
Info :
Place short stitch marker where you intend the center top for later ear shaping — this helps align ears symmetrically across faces.
Round 13 :
(6 sc, dec) x 6 (42)
Round 14 :
(5 sc, dec) x 6 (36)
Round 15 :
1 sc in each st (36)
Info :
Eye Placement :
With the piece lying flat, place the eyes between Rounds 9-11 for this size. Eyes should be about 8-10 sts apart (center to center) depending on desired expression. For safety eyes, insert and secure now before more shaping. For embroidered eyes, leave room and add later in the eyes section.
Round 16 :
(4 sc, dec) x 6 (30)
Round 17 :
(3 sc, dec) x 6 (24)
Round 18 :
(2 sc, dec) x 6 (18)
Info :
Begin to shape the lower muzzle; add very light stuffing behind the face if you want slight dimension. Do not overstuff — the face should remain fairly flat to applique cleanly to the lacy background.
Round 19 :
1 sc in each st (18)
Round 20 :
(1 sc, dec) x 6 (12)
Info :
Fasten off leaving a long tail for whip-stitching the face to the background. At this point the face disc is complete; now we will work separate ear pieces and a back reinforcement round that helps the face sit flat when sewn.
— Cat Ear (Make 2 per face) :
Round 1 :
Make a magic ring with black yarn, ch1, 6 sc in MR (6)
Round 3 :
(1 sc, inc) x 6 (18)
Round 4 :
(2 sc, inc) x 6 (24)
Round 5 :
Turn ear into a triangle shape: ch1, sc in first 10 sts, dec, dec, sc in remaining sts (22)
Round 6 :
Ch1, sc across first 8 sts, dec, sc across remaining 11 sts (20)
Info :
Shape ears by pinching and sewing a small pleat at the base when attaching to the face for a slightly forward-facing ear. Lightly stuff only the ear base if you prefer a little lift.
Round 7 :
Sl st around edge to tidy, fasten off leaving tail for sewing
Info :
Make small ear pairs and pin to the top edge of the face disc, spacing them approximately 6-8 sts apart center-to-center depending on how pointy you want the head to look. The top-most stitches on the face (between Rounds 9-11 earlier) indicate the ear placement line.
— Eye Applique (Make 2 per face) :
Round 1 :
With bright golden-orange yarn, mr, ch1, 6 sc in MR (6)
Round 3 :
(1 sc, inc) x 6 (18)
Round 4 :
1 sc in each st (18) - flatten slightly and fasten off leaving tail for sewing
Info :
Place the eye discs onto the face where indicated (Rounds 9-11). For the slit pupil, use black embroidery yarn to stitch a vertical oval or triangle slit over the golden disc. If you prefer a more dimensional eye, add a tiny circle of white for a highlight before sewing to face.
— Nose (Make 1 per face) :
Round 1 :
With small amount of pink yarn, mr, ch1, 4 sc in MR (4)
Round 3 :
Sc around (6), fasten off leaving tail for sewing
Info :
Sew nose centered just below the eyes. Embroider a small vertical seam beneath the nose (mouth suggestion) with black or dark gray to anchor the face expression.
— Face Finishing and Assembly :
Info :
Block each face very lightly on a flat surface to remove any curl before sewing. Pin the eyes and nose in place and sew with a tapestry needle using the long tails. Sew ears to top edge on the row indicated earlier with small whip stitches. Embroider whiskers with three short lines on each side using black yarn and a needle; keep whiskers short and slightly curved for a natural look.
Info :
Sew the finished face appliques to the central flower motif locations after joining your motif panel (see joining section). Place faces centered along the long axis so they line up evenly from top to bottom — mark placement using pins and measure spacing equally between faces.
— Flower Motif (Make many - basic 6-petal flower) :
Round 1 :
With orange yarn, mr, ch3 (counts as dc), 11 dc in MR, sl st to top of ch3 (12) - pull ring tight (12)
Round 2 :
Change to purple for round two: *ch3, skip next dc, sl st in next dc* around to create loop points (12 loops)
Info :
Use the purple to form the decorative lacy connections; these chains will become anchor points for the petal clusters.
Round 3 :
Attach orange in a loop: in each ch-3 loop make (ch2, 5 dc, ch2, sl st) — a puff/cluster petal (6 petals total) (6 petal clusters)
Round 4 :
Switch to purple: ch1, sc in top of first petal, *ch4, sc in top of next petal* around to create spaces for joining (6 ch-spaces)
Round 5 :
With purple, work one round of dc in each sc and dc clusters to flatten motif: 1 dc in each sc and 2 dc in each ch-4 space as needed to create a round of 36 dc (36)
Info :
This flower motif is intentionally open and slightly larger than the cat face disc so the face can be appliqued centrally and framed by petals. Make as many motifs as needed to create three columns long enough for your runner. In the photo, motifs are joined roughly 4 across the width and about 12 along the length including small half-motifs; plan for approximately 40-48 full motifs for the runner pictured.
Round 6-8 :
Work 2 rounds of 1 sc in each st (36) to stabilize motif and create joining points (36)
Info :
Block each motif flat; this makes joining-as-you-go easier and keeps motif edges even for a neat panel. Trim tails but leave long tail for one side to use in join if doing whip join instead of join-as-you-go.
— Half-Motifs and Small Fillers :
Round 1 :
Work first 3 rounds of Flower Motif only to create half-motif units for edges; fasten off leaving long tail for attach (as per full motif R1-R3)
Info :
These smaller pieces are used to create a smooth pointed edge at the narrow ends of the runner and to fill gaps around appliqued faces. Plan about 8-12 half-motifs depending on length.
— Motif Joining (Join-as-you-go for long panel) :
Info :
Join motifs in rows of three across the width. Start by making a single 'starter triad' of three motifs joined side to side. For each subsequent motif you will join in three or four places using slip stitch joins through the ch-4 spaces or sc anchors depending on your motif edge. The easiest method is the join-as-you-go slip stitch (JSYG): when on Round 5/6 of the new motif, instead of making a sl st, align with the neighbor motif and sl st through both loops of the matching ch-space and then continue on the new motif.
Round 1 :
For first motif row: join second motif on Round 5 by sl st through ch-4 loop on motif A and ch-4 loop on motif B, continue pattern to join third motif. Repeat to assemble rows of three across.
Info :
When joining rows together, offset subsequent rows like brickwork so seams fall between petals for a pleasing look. Pin entire runner assembly as you progress to keep alignment straight. This will create the long purple-orange latticed panel that frames each cat face.
— Central Panel Layout and Cat Placement :
Info :
Lay motifs out in three columns. Determine central column motif positions where cat faces will be attached: place a large cat face centered onto every third or fourth motif depending on spacing. In the pictured runner there are four cat faces evenly spaced along the center column. Measure between top of top cat face and bottom of the next to space evenly; mark positions with pins.
Info :
Sew cat faces onto the central motifs with the long tails left from the face rounds. Use small whip stitches around the perimeter of the face disc and through one or two stitches of the underlying motif for stability. Make sure the ears are positioned onto underlying petal tips to tuck and hide the seam where possible.
— Reinforcement Backing Round for Faces :
Round 1 :
With black yarn, join to the back of the motif directly behind the face location and work 1 round of sc around the area where the face will sit, working through both the motif and the face tail loops as you sew (approx 48 sc) (48)
Info :
This reinforcement round makes the face sit more securely and hides the sewing. Work carefully to keep the face centered while you stitch around. Fasten off and weave ends.
— Border Joining and Edge Stabilization :
Round 1 :
Once all motifs are joined into the full-length panel, work one continuous round of sc around the entire perimeter in black to stabilize joins (work 1 sc in each outer dc or sc to smooth edge). Count the stitches as you go to ensure roughly even coverage; aim for continuous even tension (estimated stitch total varies with final panel size)
Info :
If the panel edge looks wavy, add 1-2 rounds of sc to even it before decorative scallop rounds. Blocking again after this round will help settle the edges for the scallop work.
Round 2 :
Switch to orange: *ch3, skip 2 sc, sl st in next sc* around to create points for scallops (spacing of points depends on stitch counts, work evenly spaced to create symmetrical scallops)
Round 3 :
In each ch-3 point work (sc, hdc, 3 dc, hdc, sc) to form a scallop shell. Repeat around to create full scallop border.
Info :
Add a contrasting black picot round if desired: in each scallop top work *(sl st, ch3, sl st) to make little picot points. This mirrors the photo where orange scallops are edged with small black highlights.
Round 4 :
Work one final tidy round in black: sc through the front loops of the scallop peaks to create a crisp outline. Fasten off and weave in ends thoroughly.
— Edge Point Finishing (Top & Bottom Points) :
Round 1 :
Create an extra point at the runner ends: attach orange yarn to center of end motif and work (ch3, 5 dc, ch3) to create a pronounced tip; finish with black sc outline as in border rounds.
Info :
These extra points at the narrow ends of the runner give the long diamond-like shape seen in the image. Block the entire runner flat with pins and leave to dry for a crisp final appearance.
— Extra Decorative Clusters (Optional) :
Round 1 :
Where small gaps remain, add tiny 5-dc clusters in orange worked into ch-spaces and anchored to the border with slip stitches to create visual continuity with the flower centers.
Info :
These little fillers are worked on a whim to match photo detailing and help the eye flow along the runner. Use sparingly so the pattern does not become overly busy.
— Final Assembly and Finishing :
Info :
Weave all tails in on the inside/back of the runner. Use small blind stitches to tidy. Lightly steam-block the runner if your yarn fiber allows. If desired, lightly tack the face edges with a few invisible stitches through the motif for extra security.
Info :
For storage, fold carefully and place in breathable bag. Spot-clean small stains using gentle soap and cool water; avoid submersion if the piece contains felt or glued elements for eyes.
This Halloween table runner brings together playful cat faces and autumn blooms to make a showstopping centerpiece! The layered motifs and scalloped border give it texture and movement while the golden eyes add personality. Whether you keep it for seasonal decor or gift it to a friend, the finished runner will be a proud handmade piece. 🧶🖤🎃