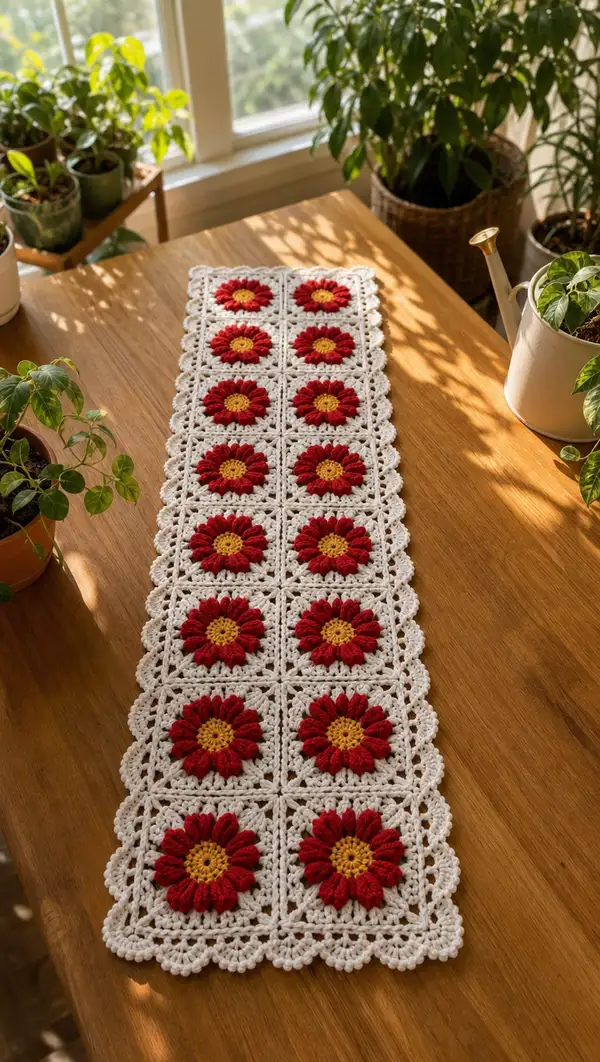
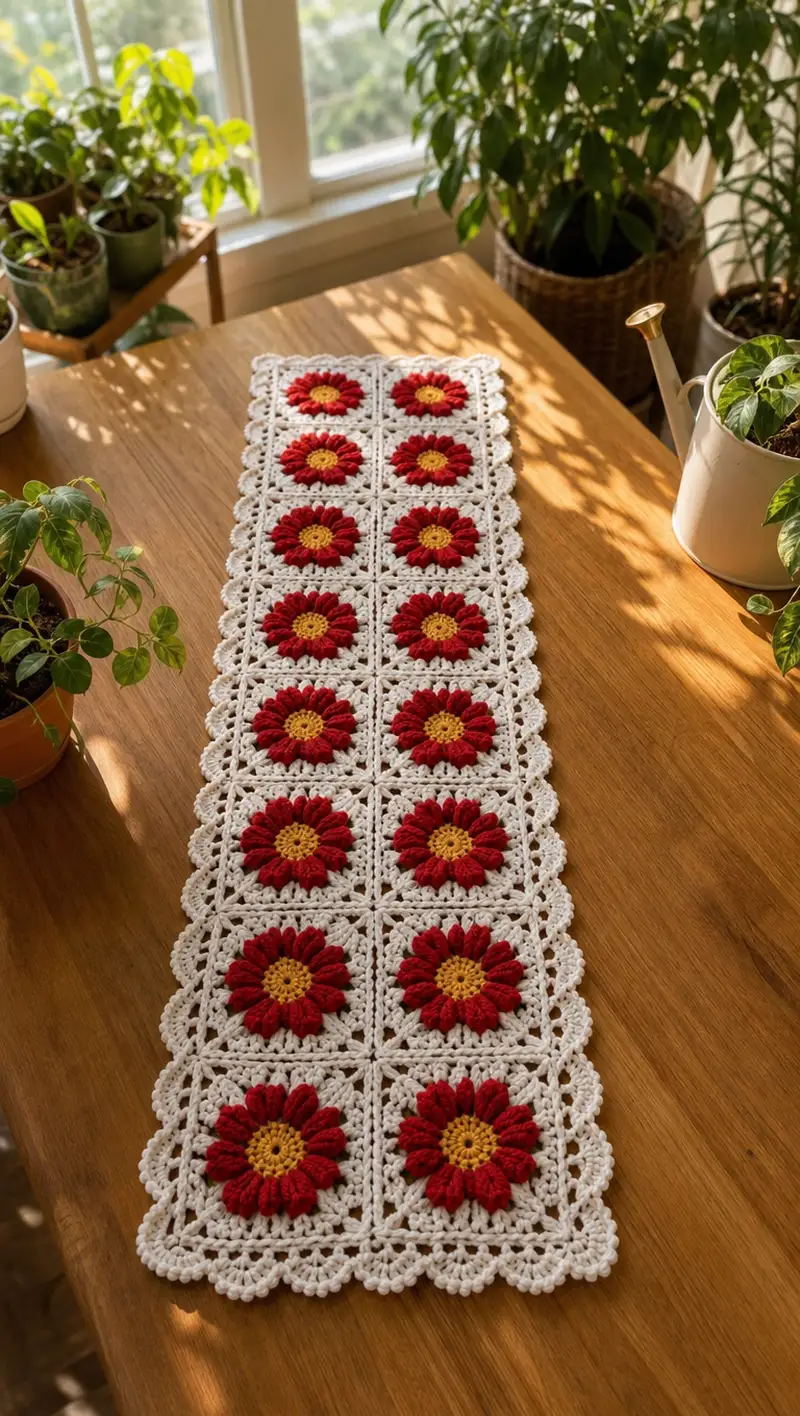
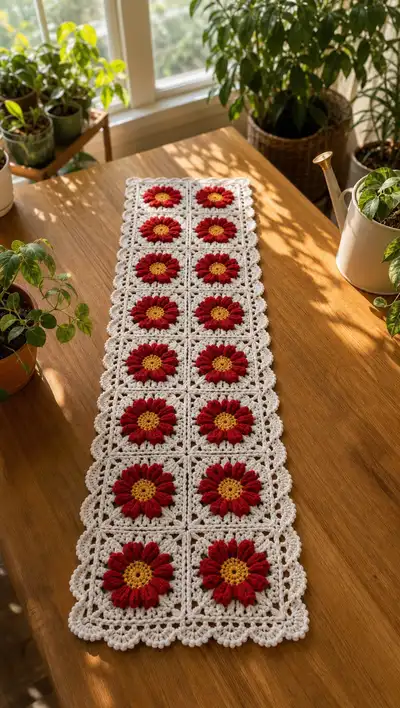
Create a charming Sunburst Daisy Table Runner made from individual floral squares joined into a long, lacy runner. Each square features a sunny yellow center, bold red puff-petal bloom and a delicate white lacy frame with scalloped edging. The runner in the photo is arranged 3 squares across by 6 squares long, perfect for an entry table or narrow dining table. This pattern walks you through each round, motif assembly, join-as-you-go options and a scalloped outer border for a polished finish.
Progress Tracker
0% Complete
— Overview :
Info :
This pattern describes how to make one Sunburst Daisy Square motif and how to assemble 18 motifs into a 3 x 6 runner with a scalloped outer border. Motif counts and stitch math are given for a single square. Make 18 squares total (or adjust number to suit your table).
Gauge :
One finished square measures approximately 12 cm (4.7 in) across after blocking, using worsted weight yarn and 4.0 mm hook. Gauge will vary with yarn and hook—adjust number of rounds if needed to match your table size.
Info :
Abbreviations follow US terms. Use 4.0 mm hook. Work tightly for structural petals but not so tight that they flatten; petals look best with a little loft.
— Sunburst Daisy Square (Make 18) :
Round 1 :
With Mustard Yellow: mr, 6 sc into ring (6)
Round 2 :
Inc in each st around (12)
Round 3 :
(1 sc, inc) x 6 (18)
Round 4 :
(2 sc, inc) x 6 (24)
Info :
Fasten off yellow or carry if you prefer. This creates the solid center disk that will sit beneath the red petals. Ensure center is flat and round by smoothing center with your fingers.
Info :
Change to Deep Red to work petals. Join red with a sl st to the front loop of any stitch on round 4 to sit petals in front for a dimensional bloom.
Round 5 :
Petal round: *sc in next st, sc in next st, puff5 in next st (see note), ch1 to close puff*; rep from * to * around (12 puff5; base sc count 24)
Note :
Puff5: yarn over, insert hook into stitch, yarn over pull up loop (repeat 5 times total to have 5 loops on hook plus final yarn over), yarn over and draw through all loops on hook, ch1 to close. Work consistently; do not over tighten loops while making puff.
Info :
After finishing the 12 puff petals, flatten and arrange each petal so petals are evenly spread. A 24-stitch base gives 12 petals; adjust by making puff in every 2nd stitch for 12 petals total.
Round 6 :
Working in back of petals (work into the stitch behind the puff), join White yarn with sl st to the base of any petal; ch1, 1 sc in same base stitch, 1 sc in each base stitch around (24)
Info :
This round secures the petals and creates a base for square shaping. Work into the stitch from the previous round (the stitch that contains the puff) rather than into the body of the puff. Keep tension even.
Round 7 :
Square-forming round: *sc in next 4 sts, (sc, ch3, sc) in next st (corner made in single stitch)* rep from * to * 3 more times (24 sc plus 4 ch-3 corner spaces — counts remain spread over rounds; main sc count shown: 24)
Info :
We create four corner chain-3 spaces to begin turning the motif into a square. Corner ch-3 will become the anchor for future rounds' corners. Note: when counting sc totals below, corner ch-3 spaces are not counted as sc but provide the corner structure.
Round 8 :
Work into each non-ch-3 sc and into ch-3 corners as follows: *sc in next 5 sts, (sc, ch3, sc) in ch-3 corner* rep x4 (28)
Round 9 :
*sc in next 6 sts, (sc, ch3, sc) in ch-3 corner* rep x4 (32)
Info :
Each square round adds 4 sts total because each corner gains an additional sc as you work into the chain-3 space with (sc,ch3,sc). Continue increasing evenly until the square side length reaches the desired size—each round increases total by 4 stitches.
Round 10 :
*sc in next 7 sts, (sc, ch3, sc) in ch-3 corner* rep x4 (36)
Round 11 :
*sc in next 8 sts, (sc, ch3, sc) in ch-3 corner* rep x4 (40)
Round 12 :
*sc in next 9 sts, (sc, ch3, sc) in ch-3 corner* rep x4 (44)
Info :
At this stage the motif is becoming square. Keep your work flat; if edges ripple, adjust tension or add one extra sc in some edges; if it cups, use a slightly larger hook for the next rounds.
Round 13 :
*sc in next 10 sts, (sc, ch3, sc) in ch-3 corner* rep x4 (48)
Round 14 :
*sc in next 11 sts, (sc, ch3, sc) in ch-3 corner* rep x4 (52)
Round 15 :
*sc in next 12 sts, (sc, ch3, sc) in ch-3 corner* rep x4 (56)
Info :
From R8 onward you added 4 stitches per round. Continue until you have completed round 15; this builds a wide white frame around the petals consistent with the photo. Measure your square: the petals should sit well inside the frame with room for the lacy edge.
Round 16 :
Working in White: *sc in next 13 sts, (sc, ch3, sc) in ch-3 corner* rep x4 (60)
Round 17 :
*sc in next 14 sts, (sc, ch3, sc) in ch-3 corner* rep x4 (64)
Round 18 :
*sc in next 15 sts, (sc, ch3, sc) in ch-3 corner* rep x4 (68)
Info :
At R18 you should have a square frame comfortable for joining later. If your squares are slightly smaller or larger than the sample, keep consistent dimensions across all squares. Block to exact size before joining for best results.
Round 19 :
Begin delicate lace frame: *ch3 (counts as dc), skip 2 sts, 5 dc cluster in next st (shell), skip 2 sts, ch1, sc in next st, ch1* rep across side until corner ch-3, (work shell of 5 dc, ch1, sc, ch1) into corner ch-3 space; rep for each side (keeping shell placement even). Maintain total sc-related count approximately (68) shell placements adjust shape
Info :
This round creates the lacy square motifs visible between flowers in the photo. Shell and spacing counts are adjusted to sit evenly; the numeric total will be approximated by shell placement. Focus on consistent shell spacing per side rather than an absolute sc count here.
Round 20 :
Work a round of sc around to tidy and secure the shells: sc evenly around sides and into shells as follows: *sc in each dc and sc across, 3 sc in each corner ch-3 space* rep x4 (approx 76)
Round 21 :
Picot and spacing round for decorative lattice: *ch1, skip 1, sc in next 2 sts, ch3, sl st in 3rd ch of ch3 to make picot; rep* around sides and place 3 sc in corners (total depends on shell counts; approximate sc 76)
Info :
If your yarn is slightly different, adapt number of shell repeats to keep corners centered. The objective is a neat 4-corner square with lacy spaces between; exact stitch number here is less critical than evenness and symmetry across all squares.
Round 22 :
Finish square surface: 1 sc in each st around, working 3 sc in each corner for a tidy right-angle corner (approx 80)
Round 23 :
Edge round: *ch3 (counts as dc), 2 dc in next st, ch1, skip 1, dc cluster 3 in next st* around to produce a scallop base. Work 5 evenly spaced scallop groups per side; place 3 sc in corner spaces (approx 80)
Info :
At this point the square is complete. Fasten off and weave in ends, or leave the last tail if you plan to join-as-you-go. Block each square to exact dimensions before joining. Blocking evens out the lace and helps the scallop border sit flat.
Info :
Make 18 squares total (or your desired number). Keep each square consistent in tension and final size. The sample runner uses 3 across x 6 long (total 18 squares). Label or stack completed squares to keep them organized for joining.
— Petal Construction Notes :
Info :
Puff5 petals create the dimensional look. Make the puff stitches by pulling up loops 5 times in the same base stitch then pulling through all loops. After each puff, ch1 to complete and secure the puff. Arrange and gently flatten each puff toward the center while still warm or damp when blocking to keep a natural rounded petal look.
Info :
If your yarn is particularly plush or bulky, you may prefer puff3 instead of puff5 (fewer loops) to keep petals from overwhelming the square. Test one petal and compare to photo proportion before committing.
— Joining Squares (Join-As-You-Go or Sew) :
Info :
Two main assembly options: (A) Join-as-you-go (JAYG) while making final edge rounds, or (B) Block all squares then sew them together using whipstitch or mattress stitch. The following instructions describe a JAYG method on the final edging round and a sewn method as an alternate. Both produce similar finished look.
Method A - Join-As-You-Go Round (Use while making the final scallop edge on each square) :
Work up to the final scallop round of each square and for the first square of each row work as normal; for subsequent squares along the row, when you reach a side that will meet a previously placed square, join by replacing a sl st or sc with sl st into the adjacent square's corresponding stitch or ch-space. Typical sequence across a side: *sc in next 2 sts, sl st into corresponding space on joined square, sc in next 2 sts, work scallop* rep across side.
Round J1 :
Start of runner first square: complete all rounds and finish scallops normally (no joins). Place first square where runner begins (top-left).
Round J2 :
Second square in same row: work up to final scallop row. When you get to the side that meets the first square, perform: *sc in next 2 sts, sl st into the corresponding ch-space or sc of the adjacent square to connect; ch1, continue scallop sequence* repeat along connecting side to join square. Finish remaining sides normally. Repeat for third square across the row.
Info :
When joining, keep tension slightly looser while making connection stitches to prevent pulling the two squares together into a raised ridge. Pin squares flat before joining to ensure alignment.
Joining Rows (vertical joins) :
After completing a full top row of 3 squares with JAYG, flip to start the first square of the next row beneath. When you reach the top side of a lower square where it meets the bottom side of the upper square, work the final scallop row and join by sl st into the previous square's corresponding stitch/ch-space for each connecting point until the row is complete. Continue row by row until the runner is assembled.
Method B - Sewed Join :
Lay out all squares in final order and pin. Using a matching white yarn and a tapestry needle, sew adjacent squares with mattress stitch or whip stitch through the back loops only for a neat join. Use small, even stitches and block again after sewing to flatten joins. Optionally, add a decorative join round: crochet a round of sc around the entire joined piece to unify seams before outer scallop edging.
Info :
For sewn join, placing the seam slightly inward (catch only the innermost loops of each square) creates a subtle interstice similar to the photo, where floral centers remain the star and seams are unobtrusive.
— Final Outside Scallop Border (Applied to whole runner) :
Preparation :
After squares are joined into the full runner (3 x 6 in sample), block the entire runner flat and measure the perimeter to plan scallop spacing. The scallop pattern used here echoes the square scallops with larger shells at corners.
Round B1 :
With White: 1 sc evenly around entire perimeter, working 3 sc in each outer corner to maintain a square turning corner. Place extra sc at seam joins where edges meet to create even spacing (approximate total depends on runner size; maintain consistent spacing)
Round B2 :
*ch2 (counts as hdc), hdc in next 2 sts, skip 2, 5 dc shell in next st, skip 2, hdc in next 3 sts; rep across side. In corners work (5 dc shell, ch2, 5 dc shell) to wrap the corner in scallops.*
Round B3 :
Work a round of sl st and sc to tidy shells: *sc in top of each shell, sl st in between shells* repeat around; 3 sc in corner shells to maintain shape
Round B4 :
Decorative tiny picot round: *ch3, sl st into base of ch to create picot between shells across sides; in corners work ch5 with picot to produce curved corner shell* repeat around for delicate lacy finish
Info :
Adjust the number of shells per side so your scallops look evenly spaced. If the runner edge feels tight, add a short round of even sc before doing shells to increase perimeter slightly.
Round B5 :
Final finishing round: 1 sc evenly around, working a neat slip stitch into shell tops and 3 sc in each corner; fasten off and weave in ends.
Info :
Trim and weave all tails. Steam-block the finished runner gently to open shells and flatten squares. Allow to dry completely before placing on table. Optional: spray with starch for a crisper look, or leave soft for everyday use.
— Alternate: Larger or Smaller Runner :
Info :
To make the runner longer or shorter, add or remove rows of squares keeping 3 squares across for table width. To make runner wider change the number of squares across and adjust scallop spacing accordingly. Because the motif is modular, changing layout is straightforward: simply make more or fewer motifs.
— Care & Finishing :
Info :
Hand wash or machine wash on gentle cycle in cool water and lay flat to dry. Bright colors may bleed; wash separately first. If you prefer a crisp finish for the lace, press lightly through a cloth while damp or use a safe fabric stiffener sparingly.
This Sunburst Daisy Table Runner is a beautiful way to brighten a table with handmade charm—bold red petals and sunny yellow centers framed by crisp white lace. Each square builds a small moment of joy, and joining them together is a satisfying, meditative process. The scalloped border gives the runner a refined finish that looks gorgeous on display. 🧶🌼 Whether you keep it for yourself or gift it to someone special, this runner will bring brightness and warmth to any room. Happy crocheting! ✨