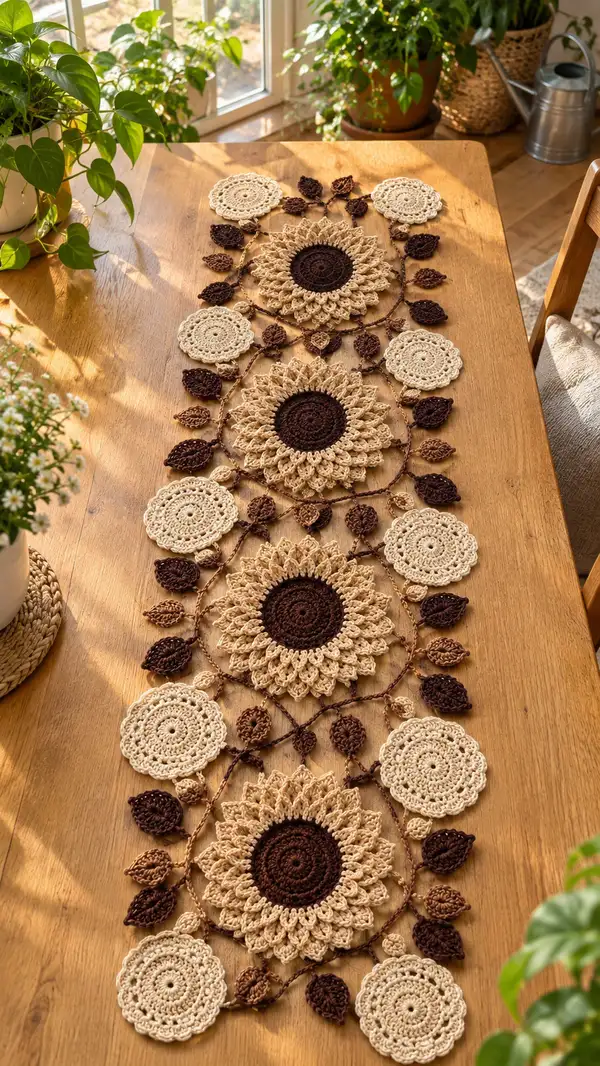
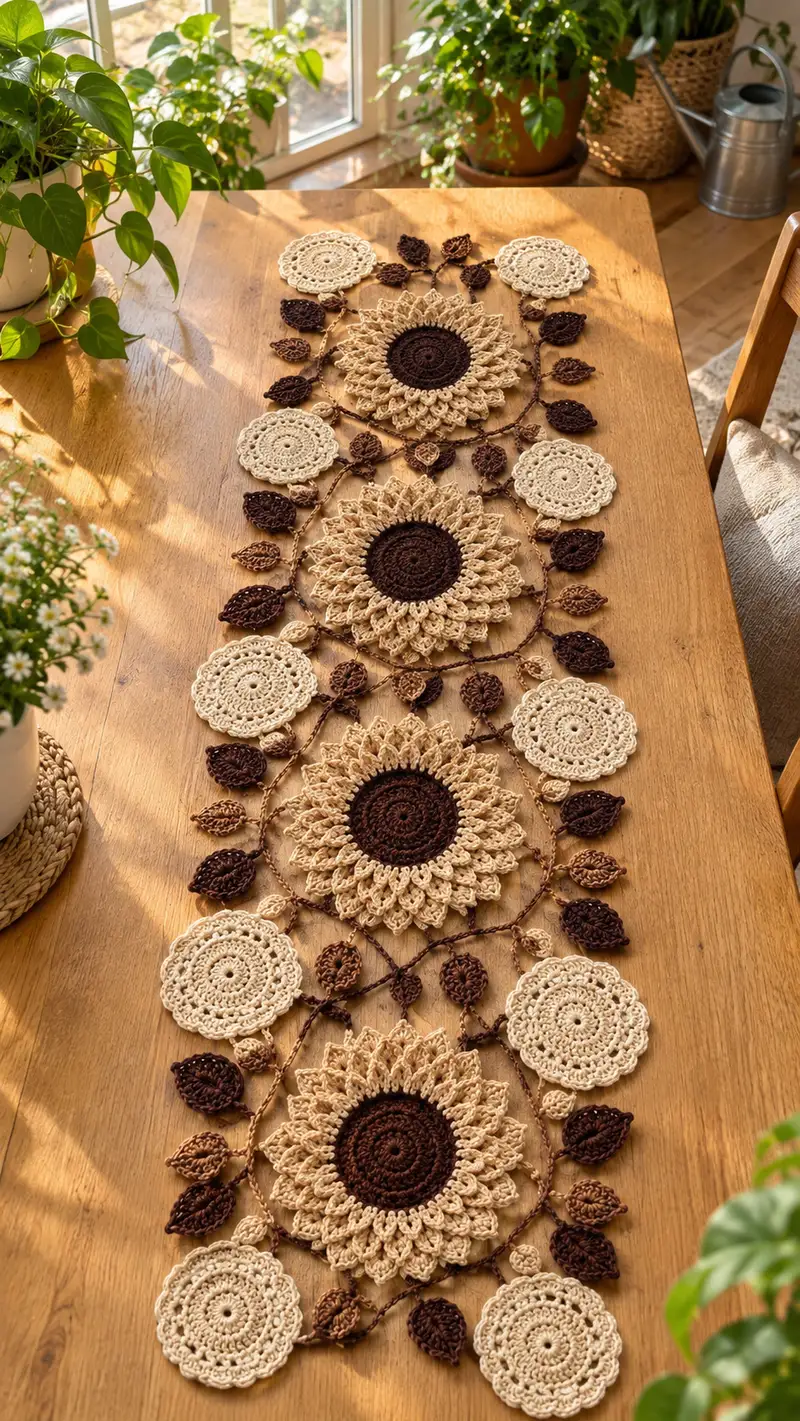
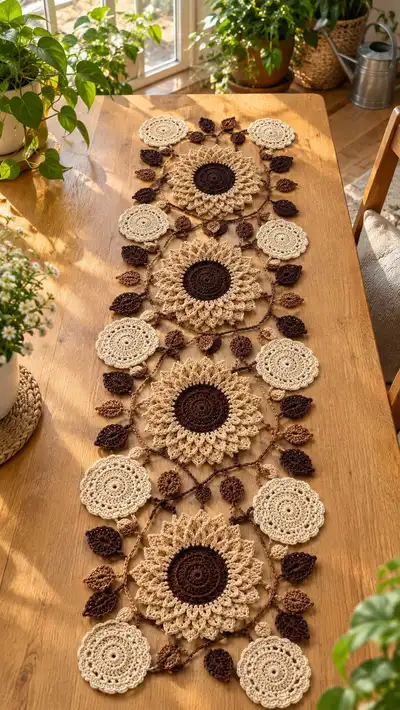
Create a warm, botanical-inspired sunflower table runner featuring large layered sunflower medallions, delicate circular doilies and textured leaves. Worked in two contrasting browns and a soft beige, this long runner has an airy lace feel and organic connecting chains for a handmade, rustic centerpiece. The design is modular—make a short runner or repeat the motif to fit your table length.
Progress Tracker
0% Complete
— Notes & Gauge :
Info :
This runner is constructed from individual motifs worked flat and joined with crocheted chains. Use DK/cotton and 3.5mm hook for the look shown. Gauge is not crucial for fit but vital for motif size consistency—one large sunflower motif (finished flat) should measure approximately 18–20cm across when using specified yarn and hook. Block motifs for best shape. Repeat motifs to reach desired runner length.
— Large Sunflower Motif (Make 4–6, repeat as needed) :
Round 1 :
6 sc in magic ring (6)
Round 3 :
(1 sc, inc) x 6 (18)
Round 4 :
(2 sc, inc) x 6 (24)
Round 5 :
(3 sc, inc) x 6 (30)
Round 6 :
(4 sc, inc) x 6 (36)
Round 7 :
(5 sc, inc) x 6 (42)
Round 8 :
(6 sc, inc) x 6 (48)
Round 9 :
(7 sc, inc) x 6 (54)
Round 10 :
(8 sc, inc) x 6 (60)
Round 11-16 :
1 sc in each st around (60)
Info :
Rounds 11–16 build the sunflower center height. Place a marker at the beginning of round 11 and move it each round. If you prefer a slightly deeper center, add 1–2 more even rounds here.
Round 17 :
(Petal anchor round) *(dc3tog-type petal base worked across next 3 sts: (tr in next st, tr in next st, tr in next st) closing cluster, sc in next st)* x15 (consumes 60 sts) (60)
Info :
Round 17 forms 15 primary petal anchor groups—each repetition consumes 4 sts (3 for cluster + 1 sc) giving 15 repeats for 60 stitches. Work the 3 treble/tr cluster worked into the next three stitches (one tr in each of the next 3 sts), then sc into the following stitch to anchor the petal base. Keep clusters loose so petals have body.
Round 18 :
1 sc in each st around (60)
Round 19 :
Petal row 1: *Work in previously formed cluster: into the group of three stitches that formed the cluster, (ch1, 4 dc around the three stitches as a fan, ch1), sl st into next sc to anchor* x15 (60)
Info :
This round builds the first set of petals as small fans—use 4 dc fans to give height. Make sure to work evenly into the three-stitch cluster space created previously. The stitch count remains 60 because each petal anchors into an existing sc.
Round 20 :
1 sc in each st around (60)
Round 21 :
Petal row 2 (elongated petals): *sl st to the center of the fan from previous round, ch2, (dc, tr, dc) worked around center of fan, ch2, sl st to next sc* x15 (60)
Round 22 :
1 sc in each st around including sl st anchors (60)
Info :
Petal row 2 increases height and introduces elongated stitches for a dimensional petal effect. Keep tension consistent and let petals lift away from center. If a fuller petal is desired, replace (dc, tr, dc) with (2 dc, 2 tr, 2 dc) but maintain anchors evenly—you may need to block to shape.
Round 23 :
Transition round: *sc in next 2 sts, ch3, sk next st* x20 (60)
Round 24 :
Work into ch-3 loops to create decorative shell: *(10 dc shell in each ch-3 sp), sl st into next sc* x20 (60 shells visually but stitch count remains 60)
Info :
Round 24 creates the prominent outer petal lacy shell by working big shells into chain spaces. The shells do not change the total counted stitches; each shell is anchored by the following sc. Use stitch markers every 5 shells to keep track when the motif becomes large.
Round 25 :
1 sc in each anchor sc around (60)
Round 26 :
Layered petal clusters: *into the top of each shell, ch1, (fpdc around the central dc of the shell, dc in next stitch to form a raised petal), ch1, sl st into next sc* x20 (60)
Round 27 :
1 sc in each st around (60)
Info :
Rounds 25–27 build layered texture on the petals—front post stitches provide height and shadow for a sunflower look. If stitches get tight, switch to a slightly larger hook for post stitches only and then return to main hook for next round to keep counts even.
Round 28 :
Decorative picot edge between petals: *sc in next 2 sts, (ch3, sl st into base of ch to form picot), sc in next 3 sts* x12 (60)
Round 29 :
1 sc in each st around (60)
Round 30 :
Outer decorative ring: *(ch5, sl st into every 5th dc of outer shells) around, join with sl st to first ch* (creates 12 loop spaces for connectors) (count not altered)
Info :
Round 30 prepares attachment loops for the runner connectors. Space loops evenly—aim for 12 anchor loop points around the outer ring to match image spacing. These loops will later be used to join the sunflower motif to connector chains and smaller doilies. If you need more or fewer attachment points, add or reduce loop spacing evenly.
Round 31 :
Fasten off Color A (center) if using contrasting yarns. Weave in ends back into the center disc. Join Color C (beige) in a discrete stitch for final edge detailing.
Round 32 :
Edge finishing with Color C: Join with sl st, ch1, *sc around each st and through shell top (60)*, sl st to join (60)
Round 33 :
1 sc in each st BLO to form a defined ridge under petals (60)
Round 34 :
Decorative braid: *ch6, sl st into every 6th sc around to create braided loops for aesthetic connection points* x10–12 (visual, count unchanged)
Round 35 :
Finishing round: 1 sc around join points and tidy any loose loops (60)
Round 36 :
Fasten off leaving long tail for joining to connectors. Weave ends and block with pins to shape petals and shells firmly.
Info :
Stuffing note: These sunflower motifs are flat; do not add stuffing. Blocking is essential—wet-block and pin petals so shells curve upwards slightly like sunflower petals. Allow to dry fully before assembly.
— Small Circular Doily Medallion (Make 8 per runner) :
Round 1 :
6 sc in magic ring (6)
Round 3 :
(1 sc, inc) x 6 (18)
Round 4 :
(2 sc, inc) x 6 (24)
Round 5 :
(3 sc, inc) x 6 (30)
Round 6 :
1 sc in each st around (30)
Round 7 :
*ch4, sk 2 sts, sc in next st* repeat around to create looped spaces (30)
Round 8 :
Into each ch-4 loop: (4 dc, ch2, 4 dc), sl st into next sc to form scallops—repeat around (visual scallops, stitch count remains 30 anchors)
Round 9 :
1 sc in each anchor sc (30)
Round 10 :
Decorative picot ring: *(sc in next 2 sts, ch3, sl st at base of ch to form picot) x10* (30)
Round 11 :
1 sc around to tidy (30)
Round 12 :
Edging: *ch3, sl st into next sc to create small brides around edge* x30 (decorative loops)
Round 13 :
Fasten off and weave in ends. Block gently to open scallops.
Info :
These medallions sit between sunflower motifs and help elongate the runner visually. Make them in Color C (beige) for contrast against darker centers, or substitute Color B for a tonal effect.
— Leaf Motif (Make many; small and medium sizes) :
Small Leaf – Round 1 :
Ch 7, sc in 2nd ch from hook, hdc, dc, tr, hdc, sc in last ch; rotate to work along opposite side of foundation chain: sc, hdc, tr, dc, hdc, sc. Sl st to first sc. (This creates a 12-stitch leaf shape.)
Small Leaf – Round 2 :
Edge row: sc around leaf edge, working 2 sc in tip points for rounded shape. (approx. 14–16 sc total) Fasten off leaving tail for sewing.
Medium Leaf – Round 1 :
Ch 11, sc in 2nd ch from hook, hdc, dc, tr, tr, dc, hdc, sc in last ch; continue on opposite side mirroring the increases to tip, sl st to join. (approx. 20 sts)
Medium Leaf – Round 2 :
Edge with picot highlights: sc around, adding (ch3, sl st) at tip and base to create small decorative points. Fasten off leaving tails for sewing.
Info :
Leaves are worked flat and attached around flower edges and along connector chains. Make leaves in Color A (dark) and Color B (mid brown) for an organic look. Add a small center ridge by embroidering a running stitch down the center with a length of contrasting yarn if desired.
— Tiny Bud / Pod Motif (Make 12–20) :
Round 1 :
5 sc in magic ring (5)
Round 2 :
(1 sc, inc) x 5 (10)
Round 3 :
1 sc in each st around (10)
Round 4 :
Shaping tip: *sc2tog, sc in next 2 sts* x2 (8)
Round 6 :
Optional: Place a tiny pinch of fiberfill inside to give light volume; continue with 1 sc around and fasten off leaving long tail for sewing.
Info :
Tiny buds are optional but help break up the negative space between big motifs. Work them alternating dark and mid brown for visual interest. If you prefer fully flat decoration, make buds without any stuffing and press flat during blocking.
— Connector Chain Units (Make enough to join motifs in series) :
Connector Chain Basic Unit :
Join yarn at an attachment loop on sunflower (from Round 30), ch 30–40 depending on desired spacing, sl st into a corresponding attachment loop on the next motif/medallion. Repeat to form two parallel chains linking both sides so motifs sit centered.
Round 1 :
Ch 30, sl st back along chain to create a neat cord: *(sl st in next ch) across, fasten off at end and weave tail through chain for stability.*
Round 2 :
Optional: Reinforce chain by crocheting a cover: Join yarn, sc in first ch, sc in each ch across, sl st to join—this makes a tubular cord. Fasten off leaving tail for joining.
Info :
Typically the runner uses two long chains per connection (one on each side) plus diagonal cross chains that create the lacy lattice between motifs. Alternate dark and medium yarn for connectors to echo leaf tones. Keep chain tension consistent; too tight will pull motifs together, too loose will sag.
— Decorative Cross-Connectors & Lattice (Work as you join) :
Unit Step :
From main side chain, ch 10, sl st into small ring or picot on adjacent medallion/doily to create diagonal connection. Reinforce by sc in this ch and add a small leaf or bud onto the center of the diagonal seaming for decoration.
Round 1 :
After joining long side chains, create 3–4 diagonal connections per side between motifs to form lattice. Each diagonal: ch10, sl st to opposite loop, ch back 6, sl st to a nearby loop on the side chain to create a small triangular segment. Fasten off and secure tails.
Info :
These cross connectors are worked on-the-fly while joining motifs. Use a long tapestry needle to weave tails through the chains once dry-blocked to tidy joins. Place decorative leaves or buds at junctions with a few whip stitches, taking care not to pull the lattice too tightly.
— Runner Edge & Finishing Motifs :
Round 1 :
Once motifs are joined into a continuous runner, work an edging round along the outermost chain/loops: join yarn at the outermost loop, ch1, sc evenly across loops and exposed chain stitches, placing (sc, ch2, sc) in each open picot to create a scalloped edge. Work evenly to maintain symmetry.
Round 2 :
Edge scallop round: into each ch2 sp work (5 dc) to form a large scallop, sl st to next sc. Repeat all the way around the runner perimeter. Fasten off and weave ends.
Round 3 :
Optional fringe or tassel: At each large scallop, work a short tassel or chain tassel (ch20, fold, tie) if you desire a bohemian finish. Alternatively keep simple scallops for a neater look.
Info :
Edge consistency matters—pin the runner while blocking and measure scallop spacing with a ruler to keep uniformity. For a straight runner edge use blocking wires or long pins along both sides and spray lightly with water and starch if you want stiffer shape.
— Blocking & Final Shaping :
Info :
Wet-block each motif: soak motifs in cool water with a drop of mild soap, remove excess water by blotting in towel, pin each motif on blocking board to exact dimensions, shaping petals and shells. Allow to dry fully. When joining, use blocked motifs for best alignment. If using spray starch, apply lightly after blocking to increase crispness.
Info :
Assembly tension tip: When you first join two motifs with chains, pin both motifs on a flat surface to ensure spacing and alignment. Temporarily join with loose stitches to check position, then sew secure passes with a yarn needle and matching yarn for permanent joins.
— Repeat & Scale :
Info :
The pattern as written makes a runner with 4 large sunflower motifs, 8 medallions and numerous leaves and buds between them—adjust the number of large motifs for desired runner length. For a table of 120–150cm, 4 sunflowers gives a balanced look; larger tables may need 5–6 repeats.
Final Tip :
Keep a layout of all motifs on a large table or floor before joining—this helps arrange leaf color distribution and connector routes for a balanced final runner.
Finishing this sunflower lace runner is so rewarding—the layered petals, little medallions and textured leaves come together into a beautiful, organic centerpiece. Each motif feels like a small work of art and the overall runner gives a handcrafted, vintage-meets-modern vibe. I hope you enjoy every step of making and blocking these motifs—there's something so calming about pinning petals and watching the runner transform. 🧶🌻