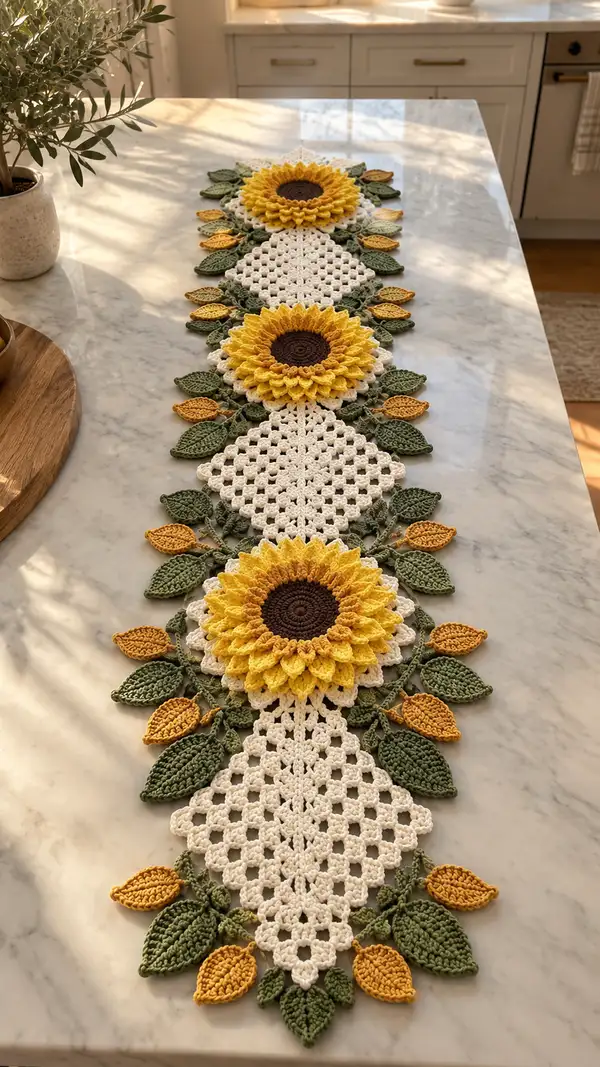
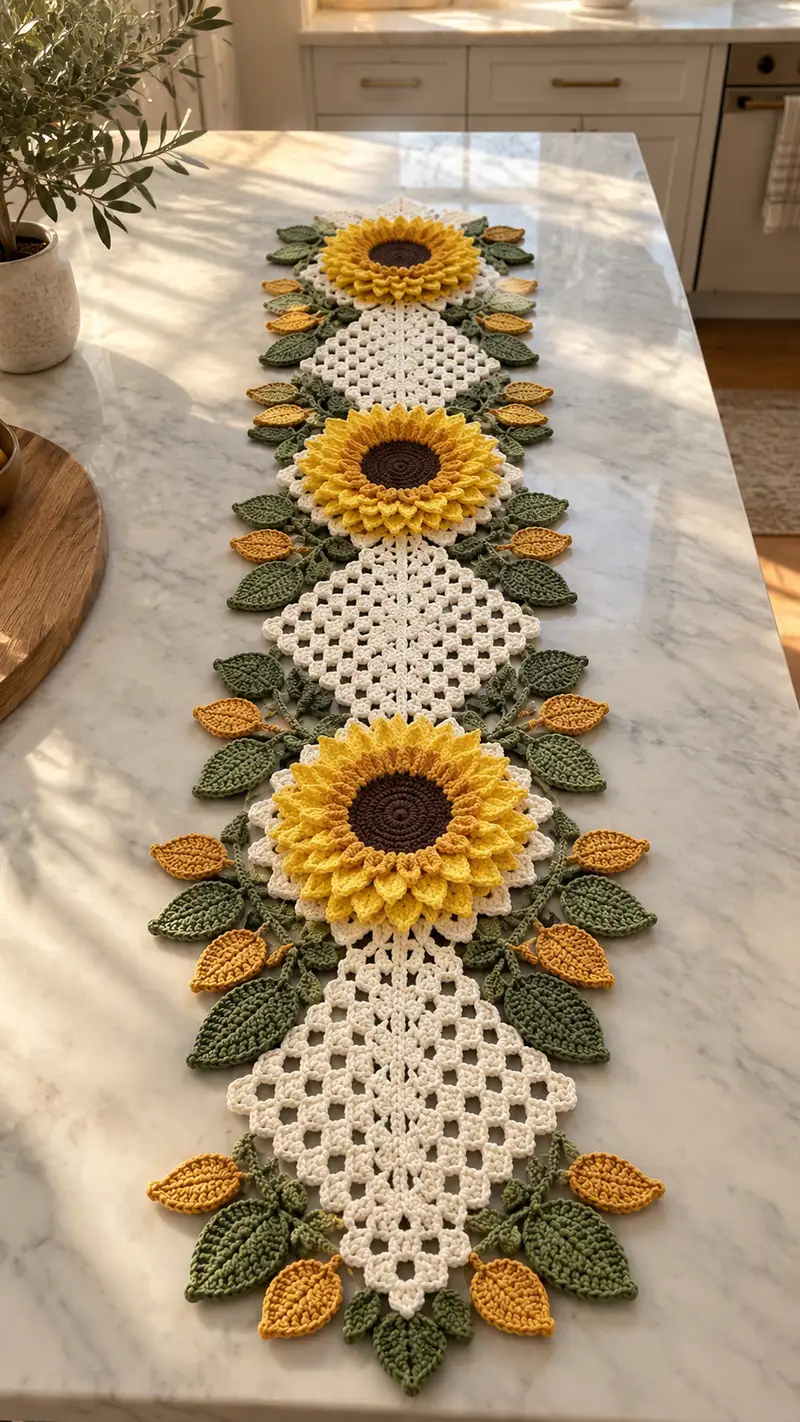
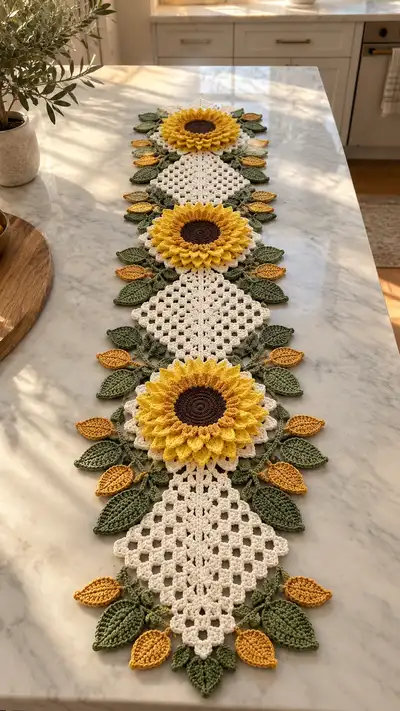
A bright, floral table runner featuring three dimensional sunflowers, diamond granny motifs and layered leaves. This detailed pattern recreates the sunflower centers, layered petals, crochet diamond panels and decorative leafy vines for a cheerful centerpiece. Perfect for a seasonal dining table or a sunny kitchen, the runner combines texture, colorwork and modular assembly for a show-stopping handmade accent.
Progress Tracker
0% Complete
— Sunflower Center (Make 3) :
Round 1 :
6 sc in magic ring (6)
Round 3 :
(1 sc, 1 inc) x 6 (18)
Round 4 :
(2 sc, 1 inc) x 6 (24)
Round 5 :
(3 sc, 1 inc) x 6 (30)
Round 6 :
(4 sc, 1 inc) x 6 (36)
Round 7 :
(5 sc, 1 inc) x 6 (42)
Info :
This is worked in dark brown. Work tightly to create a dense center that contrasts with the petals. Keep rounds in continuous spiral or join rounds depending on preference.
Round 8 :
(6 sc, 1 inc) x 6 (48)
Round 9 :
1 sc in each st (48)
Round 10 :
1 sc in each st (48)
Info :
For a tightly textured center, you can alternatively work R9-R10 in BLO to create a slightly ridged edge for the first petal round to sit against.
Round 11 :
1 sc in each st (48)
Round 12 :
sl st in next st, ch 1, leave a long tail (approx 30-40cm) for sewing to petal base; fasten off (48)
Info :
We leave the center flat and slightly domed. If you prefer a more domed center, before fastening off, add 1 sc decrease round: (6 sc, 1 dec) x 6 to reduce to 42, then stuff lightly with scrap yarn and finish.
— Inner Petal Layer (Sunflower Petal Base) :
Info :
Switch to bright yellow. These inner petal rounds form the first 3D layer of petals that sit directly around the brown center. Work with a slightly smaller hook (3.0–3.25mm) if you want petals to stand up more.
Round 1 :
Join yellow to the sl st join of center with sl st, ch 2 (counts as hdc), 1 hdc in same st, ch 1, *2 hdc in next st, ch 1; rep around to end; join with sl st to first hdc (96 hdc clusters but worked as 2 hdc groups separated by ch 1). For counting convenience you will have 48 ch-1 spaces around (96 hdc if counted individually).
Round 2 :
Working into each ch-1 space: (ch 3, 2 dc, ch 3, sl st to same ch-1) to create small loop base for petals. Repeat in each ch-1 space around (48 loops)
Info :
These ch-3 loops are the anchoring points for the textured petal clusters. Keep tension consistent so loops are even in size.
Round 3 :
*Into each loop: make 5 double crochet puff-style cluster: (yarn over, insert hook, yarn over, pull through, yarn over, pull through 2) three times to make a puff of 3 loops, yarn over and pull through all loops, ch 1 to secure; sl st into base to finish petal. Repeat around for 48 petals (48)
Round 4 :
Round of sc between petals: rotate work and sc into the top of each loop join (48 sc) to stabilize layer
Round 5 :
Work a sc round in BLO (48) to create a ridge for the outer petal layer to sit against
Info :
At this point your sunflower should show a ring of small textured petals. Make sure the petals are evenly spaced; if any seem tight, tug gently to even them.
— Outer Petal Layer :
Info :
We will create a second, larger layer of petals using cluster stitches and a slight color transition if desired (work first two rounds in bright yellow, then switch to golden yellow for the tips of outer petals for a variegated look).
Round 1 :
Join in back ridge created in previous section with sl st; ch 3 (counts as dc), into same st make (2 dc, ch 1, 3 dc) to create petal base 1; *skip next sc, (3 dc, ch 1, 3 dc) in next sc; rep around to form 24 larger petal bases; join with sl st (24 petal bases)
Round 2 :
Into each petal base: (ch 1, 3 tr puff cluster, ch 1, sl st at base) — make tall puff clusters to form tall pointed petals (24 tall petals)
Round 3 :
Switch to golden yellow (Info below). Into the front of each tall petal, sc in FLO along the petal edge to create a defined ridge (24)
Info :
Change to golden yellow now for the petal tips to create a two-tone effect; carry yarn inside or fasten off and join for clean color breaks. When changing color, secure with sl st and chain 1 before continuing.
Round 4 :
Work a decorative scallop around petal tips: (5 dc in tip, sl st to next tip) around to create softened, rounded petal ends (24 scallops)
Round 5 :
Fasten off leaving a 30 cm tail for sewing to diamond panel. Weave tail to the underside and secure. Trim excess. The sunflower motif is now complete.
Info :
Block each sunflower flat, shaping petals outward. Pin petals to desired angle; light steam-blocking is effective on cotton blend yarns. Blocking improves join accuracy with diamonds.
— Diamond Granny Panel A (Make 3 panels, identical) :
Info :
These diamond panels use a classic granny-square-in-a-diamond technique worked in cream/off-white. Each panel attaches between sunflowers. Use 3.5mm hook and keep tension slightly loose for drape.
Round 1 :
Ch 4, sl st to form ring, ch 3 (counts as dc), 2 dc into ring, ch 2, *3 dc into ring, ch 2; rep 3 times total to form 4 clusters separated by ch-2 corners; join with sl st (12 dc, 4 ch-2 corners)
Round 2 :
Join in any ch-2 corner: (3 dc, ch 2, 3 dc) in corner; *ch 1, skip next 3 dc cluster, (3 dc, ch 2, 3 dc) in next corner; rep around; join (24 dc clusters counting as groups)
Round 3 :
Ch 1, in each ch-1 space along sides work (3 dc, ch 1) across; in each corner work (3 dc, ch 2, 3 dc); this forms a growing diamond shape. Continue around keeping corners at four points (panel is now larger)
Round 4 :
Repeat round 3 to expand diamond: ch 1, (3 dc in each ch-1 sp along sides, ch 1 between clusters), (3 dc, ch 2, 3 dc) in corners; join; count to ensure shape remains diamond and not square.
Info :
Work 6 expansion rounds total to obtain the diamond size shown in the photo. For each expansion, you increase the number of 3-dc clusters along the sides by 1 per side. Block flat after finishing to keep diamond shape crisp.
Round 5 :
Repeat round 4 (this is your 3rd expansion). Check counts: after 4 expansions your side clusters count should be consistent; aim for approx 10 clusters per side when finished.
Round 6 :
Repeat expansion round again (4th expansion). Maintain ch-1 spaces between cluster groups.
Round 7 :
Repeat expansion round (5th expansion).
Round 8 :
Repeat expansion round (6th expansion). After this round your diamond should measure roughly one third of the sunflower diameter so that when motifs are joined the runner proportions match photo.
Round 9 :
Work a finishing round: sc around entire diamond, placing (sc, ch 2, sc) in each corner to keep sharp points and (sc in each stitch) along sides; this creates a neat edge for sewing flowers.
Info :
Fasten off and weave ends. Make three identical diamonds. Square and block each panel flat and point the diamond corners carefully with pins for uniform joining later.
— Leaf (Large Green) (Make 12 – multiple sizes) :
Info :
These large leaves are worked from base to tip on a chain foundation and then joined into clusters. Make them in olive/leaf green. You will make twelve large leaves for placement along the runner edges.
Round 1 :
Ch 16, sc in 2nd ch from hook and next 3 ch (4 sc), hdc in next 3 ch, dc in next 4 ch, hdc in next 2 ch, sc in last ch (base to tip shaping), rotate to work down opposite side of chain: sc in next 2 ch, hdc in next 2 ch, dc in next 4 ch, hdc in 3 ch, sc in last 3 ch; join with sl st to first sc. Total sts approx 28-30 depending on shaping.
Round 2 :
Ch 1, work 1 sc in each st around (BLO on first round optionally) to build a firm edge (28-30 sc)
Round 3 :
Ch 1, (sc, hdc, 2 dc, fpdc, 2 dc, hdc, sc) across the tip, working fpdc at center of leaf to create a raised central vein (28-30 stitches preserved)
Round 4 :
Ch 1, sc in each st, but in the row over the center fpdc work sc in FLO to highlight the ridge (28-30 sc)
Round 5 :
Ch 1, 1 sc in each st BLO to shape underside and narrow base slightly, finish with sl st; fasten off with long tail for sewing (28-30)
Info :
Make a selection of leaf sizes by varying starting chain length (ch 12 for small, ch 20 for larger). Block slightly and starch if you want rigid leaves. Leaves should be slightly cupped so they sit naturally along the runner edge.
— Small Golden Leaf (Make 12) :
Round 1 :
Ch 10, sc in 2nd ch from hook and next 3 ch (4 sc), hdc in next 2 ch, dc in next 2 ch; rotate and sc back down other side mirror to make a small pointed leaf; join with sl st; total approx 14-16 sts
Round 2 :
Ch 1, sc around to refine edge; finish off leaving sewing tail (14-16 sc)
Info :
These small leaves are the golden accents between large leaves. Work them in golden yellow and press lightly after making to flatten for tidy joins.
— Small Triple Leaf Sprigs (Make Many) :
Round 1 :
Ch 8, join with sl st to form a small loop to act as a connector; ch 6, join to loop with sl st to form first leaf stem; repeat to make 3 small chain leaves off one loop for a sprig; fasten off leaving tail for sewing.
Info :
These tiny sprigs are used to fill negative spaces between diamonds and sunflower motifs. Use green or golden yellow and keep them small and delicate.
— Vine Connectors and Joining Chains :
Round 1 :
With green yarn, attach at a diamond corner with sl st, ch 30 (or length required to reach sunflower base), sc back along chain to create a cord: (sc in each ch) to make a sturdy vine cord; fasten off and weave tail. Repeat for each connecting vine between diamond and sunflower.
Info :
Lengths will vary depending on your blocking. Pin motifs in place on runner layout and measure exact chain lengths needed for natural drape before making vines. Use stitch markers to mark attachment points on petals and diamond edges.
Round 2 :
Alternative decorative vine: ch 40, slip st in every 2nd chain to create an open, rope-like vine; attach leaves and small golden leaves with 6-10 single stitches each along the vine.
— Assembly Prep and Edge Finishing :
Info :
Lay out the runner: sunflower, diamond, sunflower, diamond, sunflower, diamond, sunflower (as in photo with 3 sunflowers and 3 diamonds alternated). Pin motifs on a blocking mat to check spacing and seam points.
Round 1 :
Sew sunflowers to diamond panels by aligning the sunflower's long fastening tail to the diamond center top and bottom. Use whip stitch or mattress stitch along the sl st round of the sunflower to the sc round of the diamond. Use approximately 12-16 evenly spaced sewing points around the base for stability.
Round 2 :
Attach large leaves by sewing leaf bases under the diamond points and around sunflower bases. Position 3-4 leaves per side of each diamond and 2-3 leaves around sunflower sides to mimic photo placement. Secure with tight stitches and weave ends through underside.
Round 3 :
Sew golden small leaves into gaps between large leaves and along vine connectors. Use small whip stitches through leaf base and vine to lock them in place. Ensure each small leaf points outward for a natural look.
Round 4 :
Secure vine connectors by sewing both ends: one end into the diamond corner sc round and the other into the sunflower sl st round or petal base. Place a small dab of fabric glue if desired for added hold (especially at high stress points).
Info :
After all pieces are attached, add a neat decorative edge: work 1 round of sc around entire runner edge in cream or green to tidy joins and create a unified border. Space sc evenly and place 3 sc in each point to keep corners sharp.
Round 5 :
Work final picot edge if desired: (sc, ch 3, sl st in 3rd ch) every 4 sc for a delicate decorative finish; fasten off and weave all tails to underside.
Info :
Carefully steam-block the entire runner laid flat, pinning petals and leaves to desired positions. This soft blocking sets curves and flattens the diamond panels for a uniform tabletop piece. Use light steam from a distance for synthetic blends.
You have just created a vibrant, textured sunflower table runner that's sure to draw compliments at every meal! Each layered petal and leaf adds life and dimension, and the modular assembly makes it a satisfying project from start to finish. Display it proudly on your table or gift it to someone who loves handmade home accents. 🌻🧶✨