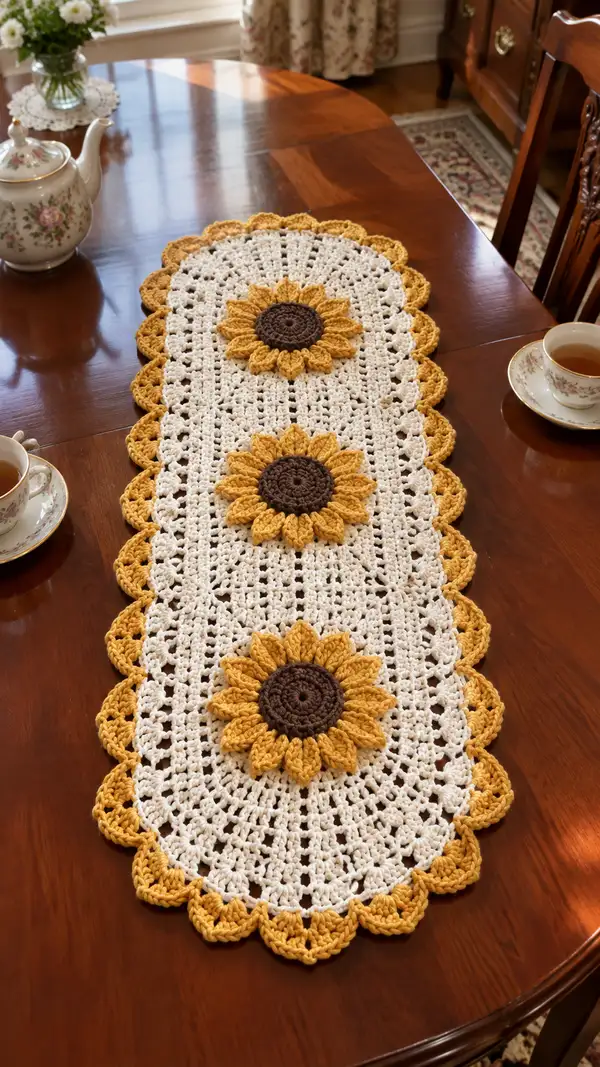
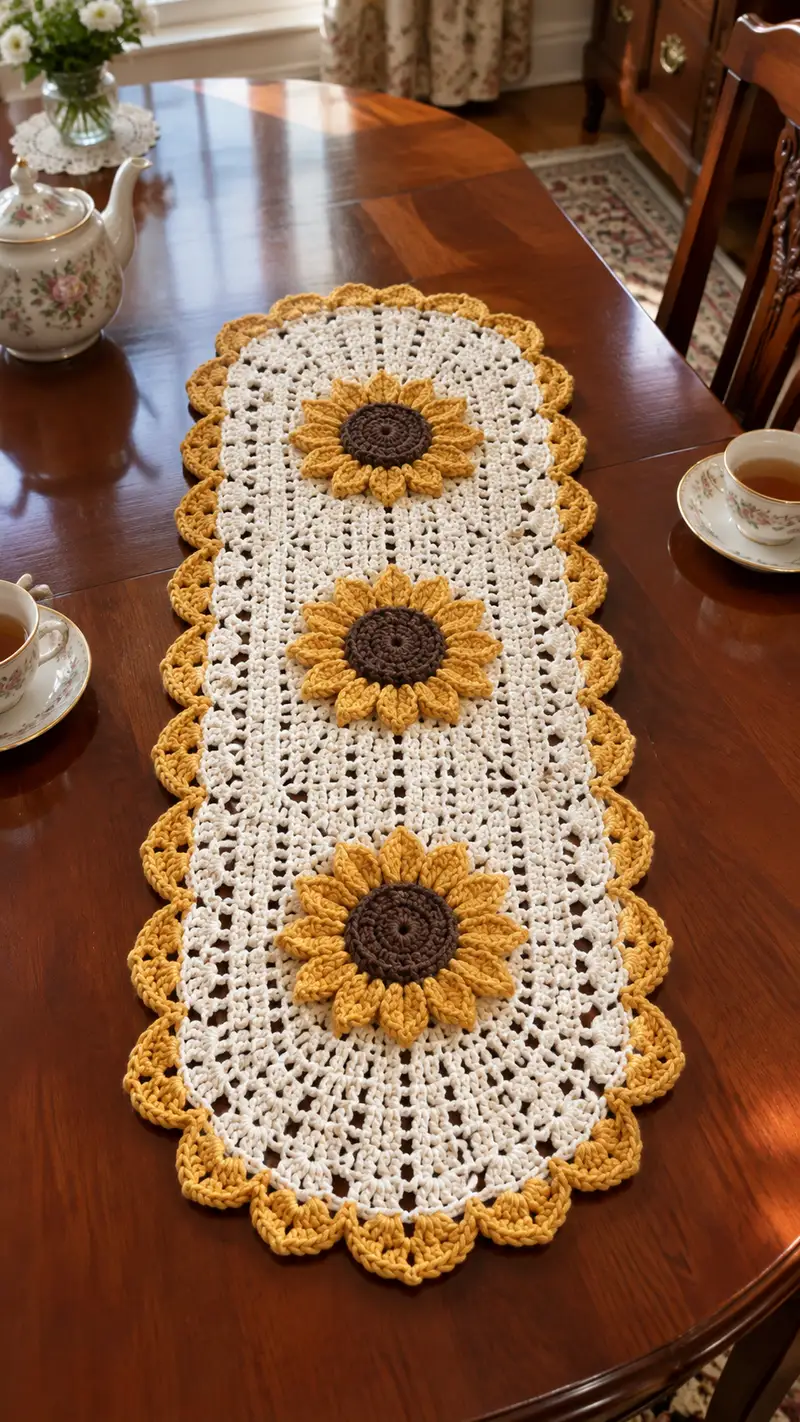
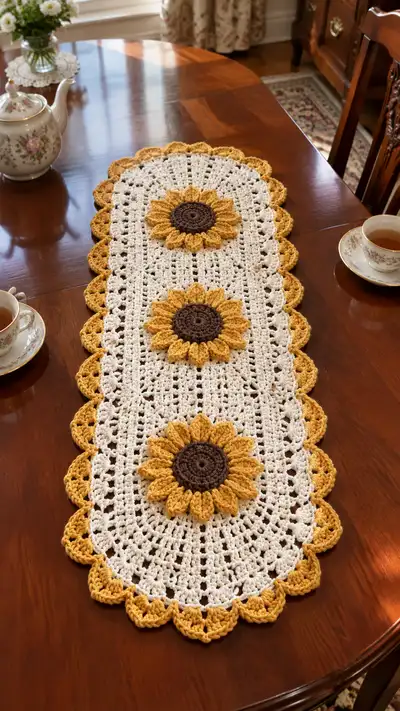
A warm, vintage-inspired table runner featuring three raised sunflower appliques in mustard yellow and chocolate centers on a lacy white oval panel. The runner has a scalloped mustard border and a delicate openwork stitch pattern that lets your table show through. Perfect for a sunny kitchen or seasonal centerpiece—this pattern includes step-by-step instructions for motifs, base panel, scalloped edging, and assembly.
Progress Tracker
0% Complete
— Pattern Overview :
Info :
This pattern is organized in four main parts: Sunflower Motifs (Make 3), Main Panel (worked in rows to create the oval runner body), Scalloped Border (worked around the finished oval), and Assembly/Finishing. Read all notes before starting. Gauge is not critical, but try to match suggested yarn and hook sizes for similar finished dimensions.
— Sunflower Motif (Make 3) :
Info :
Work sunflowers flat as appliques in 3 colors: brown for the center, mustard for petals. Each motif is worked in joined rounds and finished with a round of petals. Finished motif diameter is approximately 5.5-6" depending on tension.
Round 1 :
With chocolate brown, start with magic ring, 6 sc in ring (6)
Round 2 :
Inc in each st around (6 inc) (12)
Round 3 :
(1 sc, inc) x 6 (18)
Round 4 :
(2 sc, inc) x 6 (24)
Round 5 :
(3 sc, inc) x 6 (30)
Round 6 :
(4 sc, inc) x 6 (36)
Info :
At this point you have a flat round approximating the sunflower center. If you prefer a slightly domed center, you may add one additional round by working 1 sc in each st around (36) and then close. For pictured runner, a slightly raised center is achieved with a tight join and one extra round of sc if needed.
Round 7 :
Join with sl st to first sc, ch 1, work 1 sc in same st and continue 1 sc in each st around (36). Join and fasten off, leaving tail for sewing if desired. (36)
Info :
Switch to mustard yarn for petals. You will create 12 balanced petals around the center; each petal will be anchored across 3 base sts—plan spacing by counting groups of 3 stitches (36/12 = 3).
Round 8 (Petal base) :
With mustard, join with sl st to any st. *Ch 1, sc in next st, ch 2, sk next st, sl st in next st (this creates small spacing to seat petals)*. Repeat between * to * around to make 12 petal anchor points. Fasten off and reposition to first anchor point for petal work.
Round 9 (Petal 1) :
Join mustard at first anchor point with sl st, ch 1, sc in anchor, (ch 2, 3 dc, ch 2, sl st) into the same anchor stitch to form a petal shell; sl st into next anchor point to secure petal. (Petal uses the same anchor twice in some methods—ensure petals are evenly spaced.)
Round 10-20 :
Repeat Round 9 around making 12 petals total. After completing petals, fasten off and weave ends. For deeper, layered petals: work a second petal row offset between the first set: work sl st to midpoint between two petals and form a smaller petal (ch1, sc, ch2, 2 dc, ch2, sl st) to layer. This layered approach gives the sunflowers in the photo fuller dimensional petals.
Info :
Count your petals as you work—there should be exactly 12 full-size petals. If you prefer 16 petals, rework center to 48 sts (following increases) and anchor each petal over 3 sts (48/16=3). For the runner pictured, 12 petals give a balanced, vintage look.
Round 21 :
Optional edging round (mustard): join in back loops only around the outermost petal base with 1 sc in each st and 2 sc in tip stitches to finish edge. Fasten off and weave ends.
— Main Panel (Runner Body) :
Info :
The main panel is worked in rows on a foundation chain. Choose a foundation chain multiple of 4 plus 3 for this pattern. The example uses ch 83 (4 x 20 + 3 = 83) to produce an approximate finished width similar to the photo. Adjust chain length in multiples of 4 to make a narrower or wider runner. Row counts below produce a runner roughly 40-44 inches long; increase or decrease the number of rows for length.
Round 1 (Foundation Row) :
Using white, ch 83. Dc in 4th ch from hook (counts as first dc) and dc in each ch across. Turn. (80 dc)
Round 2 :
Ch 3 (counts as dc), dc in each st across (80 dc). Turn.
Round 3 :
Ch 3, turn. *Dc in next 2 sts, ch 2, sk next 2 sts*; rep across to last 2 sts, dc in last 2 sts. This forms a subtle mesh row with ch-2 spaces. Turn. (Pattern repeat works evenly over 80 sts)
Round 4 :
Ch 3, turn. Dc in each st and in each ch-2 space across to maintain body solidity (80 dc). Turn.
Info :
Alternate one mesh row and one solid row to create the lacy look shown. Maintain 80 double crochet stitches (counting ch-3 as first dc) across each row for even edges. Use turning chains consistently.
Round 5-60 :
Repeat Rounds 3 and 4 alternately (mesh row, solid row) until you have worked a total of 58 additional rows (for a total of 60 rows including foundation rows). This will produce a tall lacy panel; adjust number of repeats to reach desired runner length. Example sequence: R5(mesh),R6(solid),R7(mesh),R8(solid) etc. End on a solid row to prepare for rounding the ends. (Keep stitch count at 80 dc per solid row)
Info :
If you prefer a more open lace, increase the number of mesh rows between solids (for example, 2 mesh : 1 solid). For a denser runner, reduce mesh rows. Always keep your stitch counts consistent at row ends.
Round 61 (Shape Ends into Oval - One Side) :
We will create semi-circular ends to convert the rectangle into an oval. Work along the short edge ends by decreasing and adding small rounds. At the first short end, ch 1, sc evenly across the edge of the end row, placing extra sc in the corners to round: sc 4, (sc2tog) across next grouped corners, sc to end. Exact counts will depend on number of rows; aim to have approximately 12 sc around the curved end. Turn and sl st to first sc to join the short end into a curve.
Round 62 (Continue Oval Formation) :
Work sc around the outer edge of the panel along one long side: sc evenly in each row end and along rows to create an even border. When you meet the opposite short end, work sc across that end evenly in the same manner, then continue along the second long side. Expect to work a continuous sc round around the entire perimeter to prepare for scalloped edging. The exact stitch count around the perimeter will vary but should be even to allow scallops to be placed every 3-4 sts along long sides and every 3-5 sts along short ends.
Info :
Take time to count or mark positions along the perimeter for scallops before starting the scalloped border. For the pictured runner, space scallops every 3 stitches on long sides and every 2-3 stitches on short rounded ends to get the repeating petal-like border.
— Scalloped Border (Worked around the entire perimeter) :
Round 1 :
With mustard, join with sl st to any sc on the perimeter. Ch 1. Sc in same st and in next 2 sts. *Sk 1 st, (5 dc) in next st (scallop), sk 1 st, sc in next 3 sts*; rep around. Adjust counts at corners so scallops remain evenly spaced. Join with sl st to first sc.
Info :
Each scallop is a group of 5 dc worked into a single base stitch; space scallops evenly along long sides and use 1-2 scallops across short ends to preserve symmetry. If you have slightly more or fewer base perimeter stitches, adjust by adding or skipping single sc between scallops at even intervals.
Round 2 :
Ch 1, sc in same st, sc in next 2 sts. *In the top of the 5-dc scallop: (ch 1, sl st separating, work 7 dc in center dc of scallop to puff it up), sk 1 st, sc in next 3 sts*; rep around. Join with sl st. Fasten off and weave ends. This gives a fuller, petal-like scallop that echoes sunflower petals.
Info :
If you prefer a flatter scallop, instead work 3 dc in the scallop top on Round 2 (ch1, 3 dc) rather than 7 dc. Blocking after border will shape scallops into smooth arcs resembling pictured runner.
— Alternative Narrow Scalloped Edge (Optional) :
Round 1 :
Ch 1 and sc evenly around perimeter. Join. Ch 2, *5 dc in next sc, skip next sc* rep around. Join. Fasten off.
Info :
This simpler edge creates smaller scallops if you have denser stitch counts around the perimeter and want the edge to appear more delicate.
— Placement and Applique of Sunflowers :
Info :
Plan positions with measuring tape and pins. Runner pictured has three sunflowers centered lengthwise and offset vertically: one near each end and one in the center, spaced evenly. Example spacing: with total runner length approx 42", place the center sunflower at 21" from either end, and the other two at approx 6.5-7" from each short end (center to center). Adjust according to your finished length.
Round 1 :
Position the first sunflower motif on the runner using pins. The center of the motif aligns on the body row approx 7-8 rows from the short curved end for the top and bottom motifs, and exactly at center for the middle motif.
Round 2 :
Sew sunflower centers to the panel first: using a length of brown yarn and a yarn needle, insert the needle through several stitches of the center round (the back loops of round 6/7) and sew evenly around to the white panel. Use tiny whip stitches around the concealed (back) edge of the center to secure it flat to the panel. Keep stitches small and hidden where possible.
Round 3 :
Use mustard yarn and sew petals down at 3 or 4 anchor points per petal if you wish to flatten slightly. For the raised look shown, only secure the center base of each petal to prevent shifting; allow petal tips to project outward. Use a few invisible stitches through the petal base and the panel, then return through the petal base and knot on the wrong side. Weave in ends.
Info :
When sewing motifs, avoid pulling the fabric of the runner tight; the base should remain flat with motifs secured snug but not puckered. Pin each motif and step back to check spacing before sewing.
— Finishing Touches, Blocking & Care :
Round 1 :
Once motifs are sewn and the scalloped border is complete, block your runner flat. Wet-block or steam-block carefully: pin scallops and individual petals into desired shape on a blocking mat. Allow to dry completely if wet-blocked.
Round 2 :
Weave in all ends on the wrong side. If any seams show, add discrete slip stitches with matching yarn across the seam on the underside to tidy them up.
Info :
Spot clean as needed. For a deeper clean, hand wash gently in cool water and reshape while wet. Keep in mind that heavy machine washing may damage the scallops or petals over time.
— Pattern Variations & Tips :
Info :
To make a longer runner, increase number of mesh/solid row repeats in the Main Panel section in multiples of 2 rows (one mesh + one solid). To make a placemat or smaller runner, reduce the foundation chain in multiples of 4 and reduce the number of rows.
Info :
For a sturdier runner, substitute an aran/light bulky cotton yarn and increase hook size by 1 mm. Note that motif size will grow with thicker yarn—space placement accordingly. For a delicate look, use fingering or sport weight yarn and a smaller hook to produce a finer lace runner.
Info :
Make extra sunflower motifs and use them as coasters, hot-pads, or sew into a table centerpiece circle. The sunflower motif instructions can also be adapted into pillows or small wall hangings.
This sunflower table runner brings a sunny vintage charm to your table and is so satisfying to finish! The raised petals and scalloped edge give a beautiful dimensional centerpiece that guests will admire. Work in sections, pin carefully, and enjoy the meditative rhythm of the mesh rows and petal details. 🧶🌻 A wonderful seasonal project that brightens any dining space—happy stitching and enjoy your handmade sunshine! ☀️