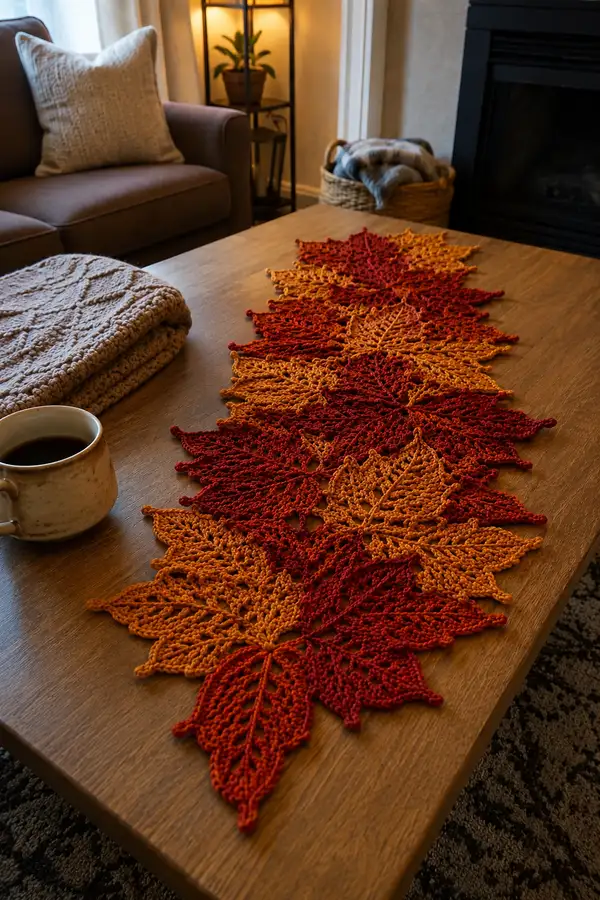
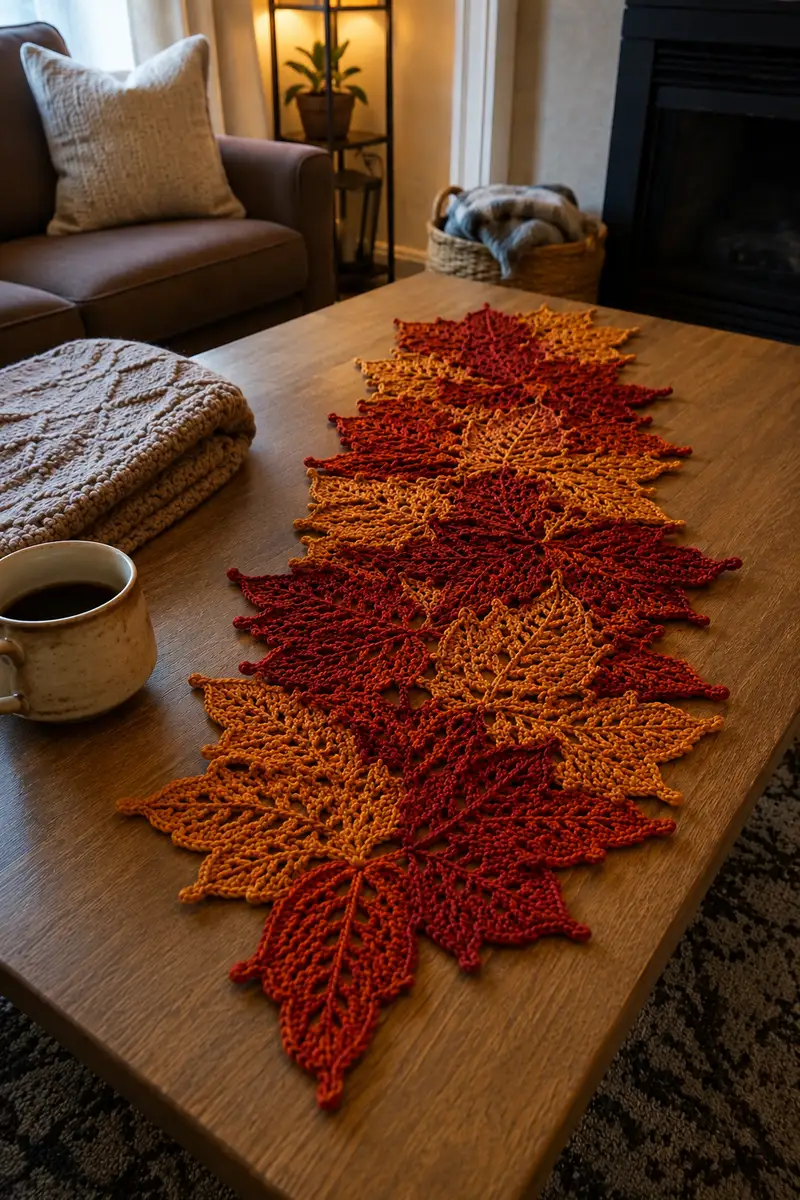
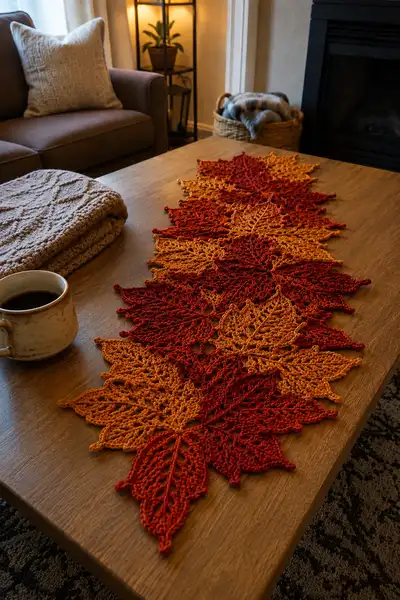
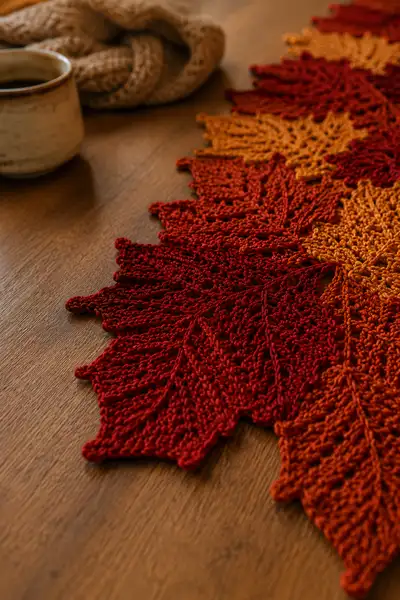
A stunning autumn leaves lace table runner worked in warm amber and rust tones. This elongated runner is constructed from layered lace leaf motifs joined into a flowing column—perfect to bring cozy fall color to a coffee table or dining table. The pattern uses textured stitches and surface veins to recreate the organic look of maple leaves, with scalloped picot points for crisp edges. Includes full motif instructions, joining layout, and finishing edging for a polished seasonal accent.
Progress Tracker
0% Complete
— Pattern Overview and Notes :
Info :
This runner is made from 3 sizes of leaf motifs: Large Leaf, Medium Leaf, and Small Leaf. The photo shows alternating colors in Amber and Rust arranged to form a long runner. Each leaf is worked flat in rounds that read continuously; motif edges are finished with picot points. The motifs are joined using whip stitch and surface slip-stitch veins are added after joining. Keep tension even and block each leaf before joining for best results.
Info :
Gauge is not critical for this lace piece, but to match finished proportions use 3.5mm hook with worsted cotton held single. A sample large leaf measures approximately 10.5" tip-to-tip and 7.5" at widest point. Adjust hook or yarn to change size proportionally.
— Abbreviations & Stitch Reminders :
Info :
Use the abbreviation list provided above. For picots use ch3, sl st in 3rd ch from hook unless otherwise noted. Surface veins are made with long surface slip stitches or embroidery with contrast thread.
— Large Leaf Motif (Make 6-8 for runner) :
Round 1 :
6 sc in magic ring (6)
Round 2 :
Inc in each st around (12)
Round 3 :
(1 sc, inc) x6 (18)
Round 4 :
(2 sc, inc) x6 (24)
Round 5 :
(3 sc, inc) x6 (30)
Info :
These first rounds make a small central oval that becomes the leaf base. Keep stitches tidy; this center will be mostly hidden under later rounds.
Round 6 :
(4 sc, inc) x6 (36)
Round 7 :
1 sc in each st around (36)
Round 8 :
(5 sc, inc) x6 (42)
Round 9 :
1 sc in each st around (42)
Info :
Begin shaping the leaf edges now by shifting to textured stitches. Work the following rounds with alternating dc and ch spaces to create airy veins and defined lobes.
Round 10 :
*sc in next 2 sts, ch3, sk next 2 sts, dc in next st, ch2, dc in same st* rep around (42 main points, 14 dc loops)
Round 11 :
Working into ch-3 spaces: (sc, hdc, 3 dc, hdc, sc) in each ch-3 sp. Sc in sc positions between (total approximate sts 42 + additional loops)
Round 12 :
1 sc in each visible st along edge, working dc clusters into the top of each 3-dc group to build a raised lobe (count will visually expand to around 54 edge stitches)
Info :
The stitch counts in decorative rounds may exceed simple multiples; count major anchor points (sc positions and dc groups). Focus on symmetry: work the same sequence around both sides of the central spine.
Round 13 :
Preparing tip shaping: *(sc in next 3 sts, 2 dc in next, ch2, 2 dc in same st) repeat across the side lobes* keep symmetry on opposite side (approximately 60 sts around)
Round 14 :
Work 1 sc in each sc, and in each dc cluster space work (hdc, dc, hdc) to bulk clusters. Maintain same number of clusters both sides (count ~60)
Round 15 :
Forming central ridge: ch1, sc around until you reach the center top; work 3 sc into central tip to make pronounced point, continue sc down other side (60)
Round 16 :
Surface stitches for veins: sl st along center chain ridge by inserting hook from surface and drawing yarn across center, creating 8 even surface slip-stitches down the midline (this is not a counted round, decorative only)
Info :
If you prefer embroidery veins use a contrasting color and create long running stitches through the surface following the midline. Blocking after this round will help the vein sit flat.
Round 17 :
Edge refinement: *sk 1, (sc, ch3, picot (ch3, sl st into 3rd ch) , sc) in next, sk1, sc into next group* repeat to form scalloped points around leaf edge (approx 72 small points including picots)
Round 18 :
Secure picot points by working a sc into the base of each picot and a sc between; even out count to approximately 72 sc
Round 19 :
Final shaping round: (sc, sl st into next st) around to refine edge and pull points out; final count approx 72
Round 20 :
Finishing: Fasten off and weave tail across reverse of leaf. Block leaf to required dimensions and pin out points to crisp the shape.
Info :
Large leaf uses textured clusters to create lobes and picot tips. Blocking is essential: pin tip points gently and spray with water or use light starch to set edges flat.
— Medium Leaf Motif (Make 6-10) :
Round 1 :
6 sc in magic ring (6)
Round 2 :
Inc each st around (12)
Round 3 :
(1 sc, inc) x6 (18)
Round 4 :
(2 sc, inc) x6 (24)
Round 5 :
1 sc in each st around (24)
Info :
Medium leaf is a scaled-down version of the large leaf. Maintain similar stitch patterns but with fewer dc groups and picots.
Round 6 :
*sc in next st, ch3, dc in next st, ch2, dc in same st* rep around, creating 8 dc loops total (24 anchor sc positions remain)
Round 7 :
Working into each ch-3 loop: (sc, 2 dc, sc) in each loop. Sc between loops along base (approx 32 sts)
Round 8 :
1 sc in each st around; create a small point at center top with (sc, sc, 3 sc in same st, sc, sc) to form tip (approx 32-34 sts)
Round 9 :
Picot edge: *sc, ch3, sl st in 3rd ch (picot), sc in next 2 sts* repeat to make gentle points (34)
Round 10 :
Finishing: sc around to even out tension, fasten off, weave tail and block.
Info :
Make medium leaves in alternating color to the large ones to create layered visual interest when arranged in staggered rows.
— Small Leaf Motif (Make 8-12) :
Round 1 :
6 sc in magic ring (6)
Round 2 :
Inc each st around (12)
Round 3 :
(1 sc, inc) x6 (18)
Round 4 :
Working along sides create mini lobes: *sc, ch2, dc in same st, ch2, sc* repeat around (visual count ~18-22)
Round 5 :
Edge picots: *sc, ch3, sl st in 3rd ch (picot), sc* repeat around. Fasten off and block.
Info :
Small leaves are accent pieces used to fill gaps at runner ends and between larger leaves. Make in a mix of colors for a natural look.
— Decorative Surface Veins (Add to each leaf) :
Round 1 :
Using main leaf color or contrast thread, attach yarn at leaf base behind picot base with sl st
Round 2 :
Surface slip-stitch along center from base to tip in 8 evenly spaced segments: In each segment make 6-10 surface sl sts depending on leaf length (no stitch count - decorative)
Round 3 :
Branch veins: Working from center vein, create 3-4 diagonal surface sl st veins on each side at even spacing. Fasten off and weave ends behind leaf.
Info :
For a stronger raised vein, use a chain-stitched embroidery with contrasting thread. The veins should be visible but not bulky—keep surface stitches flat to allow neat joining.
— Joining Layout and Sequence :
Info :
Layout your leaves on a blocking board or tabletop in a staggered overlapping column. The sample runner alternates Large (rust), Medium (amber), Large (rust), Medium (amber), Small (rust) repeating to achieve a 36-40" length. Leave roughly 1/2" overlap between adjacent leaves' midlines so edges tuck under neighbors for a layered look.
Info :
Before joining, block each leaf flat. Use pins to hold final layout and mark join points with stitch markers or safety pins to keep alignment.
Round 1 :
Whip stitch joins: place two leaves WS together with 1/2" overlap. With matching yarn and yarn needle whip stitch through both leaf backs along the overlap using close, even stitches approx every 3-4 mm. Work from base to tip and back to secure (no numeric stitch count).
Round 2 :
Repeat adding leaves one at a time, aligning midlines to create a central column. After joining a leaf, flip runner and check that picot edges alternate visually on opposite sides for a natural border.
Info :
When joining leaves of different sizes, match smaller leaf base center to the side of a larger leaf's midline to create a woven look. Use additional tiny whip stitches to catch inner points so there are no gaping triangular holes.
— Inner Connecting Lace (Optional for more stability) :
Round 1 :
With contrast or main color, ch 10 between two adjacent leaves where there is an open gap. Attach with sl st into anchor point on leaf A, ch10, sl st into anchor on leaf B. Repeat at 4-6 positions along overlap to create subtle connecting loops.
Round 2 :
Embellish connecting chains: *sc in chain, ch2, sc in next chain* to create tiny decorative arches between joins. Fasten off and weave tails under leaves.
Info :
These connecting arcs stabilize the runner while remaining delicate and lace-like. Place them on the underside if you prefer a cleaner top surface.
— Outer Edge Finishing / Border :
Round 1 :
Once all leaves are joined, pick up yarn at one runner end; work single crochet evenly around the outermost picot edges to create a narrow frame. Work approx 2 sc into each picot base and 1 sc between picots. Tension should be slightly loose to avoid pulling leaves in (total sc around will depend on runner size; expect ~180-260 sc).
Round 2 :
Work a decorative scallop: *(sc in next 3 sts, 5 dc in next, sc in next 3 sts, picot (ch3 sl st in 3rd ch))* repeat around; space scallops evenly (scallop count will vary with runner length)
Round 3 :
Finish with a round of sc into each st to stabilize scallops. Fasten off and weave ends into the runner interior.
Info :
Try this border on scrap before applying to whole runner to judge how much scallop fullness you prefer. Blocking after border will ensure scallops lie flat and points remain defined.
— Alternative Joining: Join-As-You-Go Method :
Round 1 :
Work a leaf fully until the last edge round. As you work the final picot edge, when you reach the overlap area on the adjacent leaf, instead of picot, sl st through the corresponding space on the neighbor leaf, then continue picots—this attaches as you work without sewing later.
Round 2 :
When using JAYG, ensure the neighbor leaf is already blocked and pinned; align edges precisely. This method is neater but requires planning sequence of leaf assembly.
Info :
Join-as-you-go reduces finishing time but can create tension that distorts delicate leaves if the joining slip-stitches are pulled too tight. Use a slightly larger hook for the joining round if necessary.
— Blocking and Final Finishing :
Round 1 :
Block the entire runner flat by pinning all picot points and scallops to the desired width and length on a foam board. Lightly mist with water and let dry, or use steam blocking carefully over pins. For firmer edges, apply a very light spray starch and dry.
Round 2 :
Trim and weave in all remaining tails at the runner underside. Use small neat stitches to catch any loose join points and secure the runner center if it billows up.
Info :
If you plan to launder the runner, use prewashed cotton yarn and test a small sample for colorfastness. Gentle handwashing and flat drying are recommended for longevity.
— Sizing Adjustments and Variations :
Info :
To make a longer runner, add extra leaf repeats to the sequence; to shorten, remove a pair of leaves. For a narrower runner, omit some medium leaves or swap large leaves for two medium leaves side-by-side and join accordingly.
Info :
Try gradient color placement from amber to rust across the runner or use variegated yarn for a natural fall gradient. You can also make placemats by using three leaves grouped and edged with the same border.
— Troubleshooting and Tips :
Info :
If edges curl, re-block with slightly more tension and ensure picots are not worked too tightly. If joins gape, add small connecting chains underneath to bridge gaps. Keep a sample leaf as a gauge for picot size and border tension.
Info :
Keep tails for at least two motifs until you are certain of placement—tucking or re-positioning leaves is much easier before all tails are woven in.
You just created a cozy, layered Autumn Leaves Lace Table Runner that will brighten any fall table! Each leaf comes to life with textured veins and crisp picot points, and the warm amber and rust tones make this piece perfect for the season. Take pride in the blocking and joining—those finishing steps make all the difference. Enjoy arranging it on your table, and share a photo — people love seasonal handmade decor! 🍁🧶