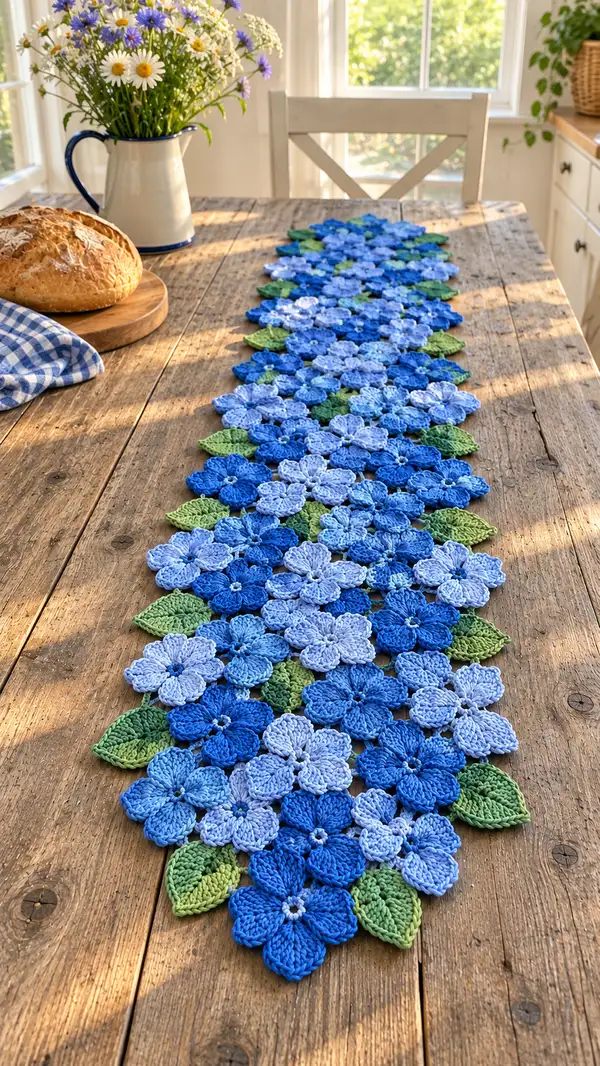
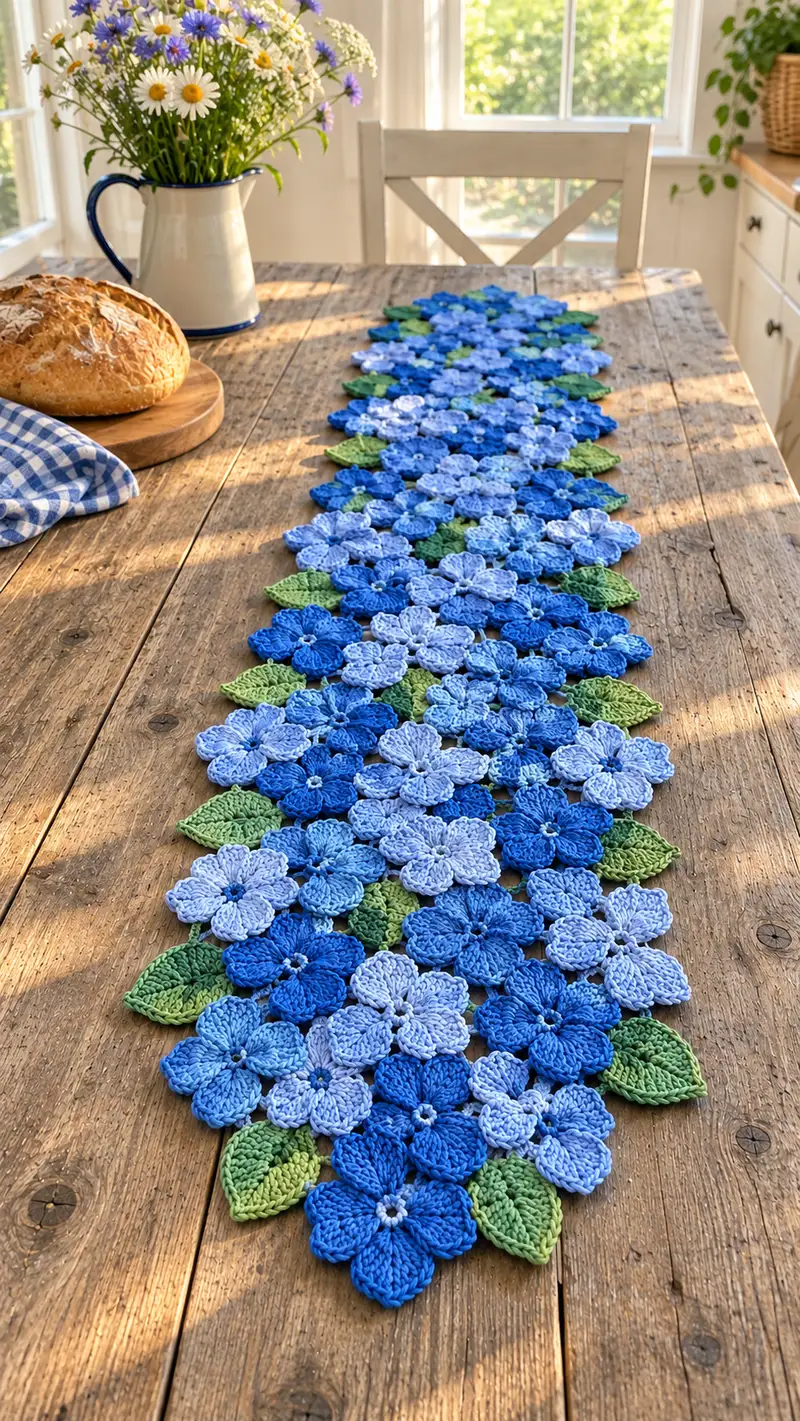
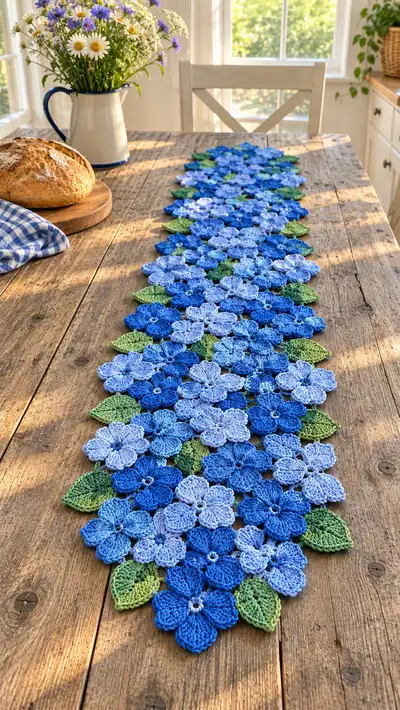
Create a stunning hydrangea-inspired table runner made of joined floral motifs in three shades of blue with soft green leaves. This modular pattern uses small five-petal flower motifs and matching leaves to build a long runner that hugs a farmhouse table. The finished runner has a delicate, lacy texture with layered petals and subtle picot edges for a crisp floral look. Ideal for seasonal tables, gifts, or a cottage-style centerpiece.
Progress Tracker
0% Complete
— Overview :
Info :
This pattern is modular: you will make individual five-petal flower motifs and matching leaves, then join them into a continuous runner. Each flower motif uses a small center ring and five rounded layered petals worked over multiple rounds to create depth. Leaves are made separately and joined into the layout. All motifs are joined using join-as-you-go (JAYG) slip stitches and occasional whip-stitch finishing. Gauge is not critical for motif count but affects final runner width and length.
— Notes on construction :
Info :
Make motifs in quantities required for your runner length. Photo example uses approximately 48 flower motifs and 22 leaves arranged in a staggered mosaic. To follow the sample layout, plan motif placement in staggered columns: motif, motif+leaf gap, motif etc. Work flowers in three blues and leaves in greens as shown for natural color flow.
— Flower Motif (make many) :
Round 1 :
6 sc in magic ring (6)
Round 2 :
1 sc in each st around (6)
Round 3 :
Change to petal color if desired. (1 sc, ch3) x 6 (6 sc anchors, 6 ch-3 loops)
Info :
These ch-3 loops are base spaces for each petal. Mark beginning of Round 4 with a stitch marker to track petal repeats.
Round 4 :
Work petals in each ch-3 loop: *(sc, hdc, 3 dc, hdc, sc) in first ch-3 loop, sl st to next sc anchor* x 6 (center remains 6 anchors)
Round 5 :
Turn petals outward: Into each petal shell (the 3 dc group), work (ch2, 2 dc, ch2) across the center of the petal by inserting hook into top of the middle dc: *(ch2, 2 dc, ch2) into middle dc of petal, sl st to next sc anchor* x 6 (petal shells emphasized)
Info :
Keep tension slightly firm on rounds forming petal bodies to allow petals to hold three-dimensional shape. Use your thumb to curve petal while stitching if you want a cupped petal effect.
Round 6 :
Working into ch spaces between petal clusters, make connecting picot loops for texture: *(ch4, sl st into space between petals) x 6 (visual picot edge formed)
Round 7 :
Edge round: In each petal top (the ch2 space created), work (sc, hdc, 3 dc, picot, 3 dc, hdc, sc) across to thicken petal and create pointed rounded tip; sl st to next anchor (petal count maintained) (no st count change for anchors)
Info :
Picot: ch3, sl st into base of chain. Use same yarn tension for picots to avoid tight bumps. This round gives a decorative outer edge.
Round 8 :
Decorative ridge: Working in FLO on petal bases only, 1 sc in each base st across petals to create a subtle ridge (work 1 sc in each st across petal body and anchor sc as needed)
Round 9 :
In each petal top, add a shallow textured stripe: *(ch1, sc in top dc, hdc in next, sc in next) across petal, sl st to anchor* x 6 (keeps 6 anchors)
Info :
If you prefer fewer layered rounds, skip Rounds 5-9 and proceed to decorating or joining after Round 4. The layered rounds add the sculpted look seen in the photo.
Round 10 :
Optional highlight: switch to lighter blue and work a thin slip-stitch edge around each petal top: *sl st across outermost dc of each petal, sl st to anchor* x 6
Round 11 :
Stabilizing round: 1 sc in each anchor sc and into the small sl st joins between petals making a firm internal ring (6 sc anchors preserved)
Round 12 :
Work a decorative star center: Into the central ring (work through center of motif): *(ch3, sl st into center ring) x 6 to create small loops in center (visual center loops created)
Round 13 :
Secure center loops by working a round of 6 sc around the central ring aligning stitches to previous anchors (6)
Info :
Weave a small contrasting knot or tiny french knot with embroidery thread into the center if you want a bead-like center. Otherwise leave center loops decorative.
Round 14 :
Turn the motif and make a backing texture: In the spaces behind each petal, work 1 sc in the back loop of each anchor sc to create a slight cupping and strengthen the petal joins (6 sc anchors)
Round 15 :
Work a second backing round: 1 sc in each st around the base of petals and sl st joins so the motif has a neat underside (no change to visible petal count)
Info :
At this point each flower motif has a layered petal face and reinforced underside to make joining easier. Make as many motifs as your runner requires, alternating colors as desired. Keep motifs blocked damp or steamed flat for easiest joining.
Round 16 :
Optional decorative top: around each petal tip work (picot, sl st) to make delicate points: *(picot on outermost dc, sl st to next petal tip) x 6
Round 17 :
Finish motif by sl st to next st and fasten off leaving a 20-25 cm tail for joining (no change to petal count)
Info :
Numbering rounds as above yields a single sculpted flower motif. Round numbers include multiple decorative steps; if you prefer a simpler flower, stop at Round 5 and fasten off. Each motif measures approximately 8-9 cm across using worsted cotton and 3.5mm hook.
— Leaf Motif (make many) :
Round 1 :
Ch6, sl st to form ring (or work mr), ch1, 6 sc into ring (6)
Round 2 :
*(ch3, dc, ch3) in first sc; sl st to next sc* x 6 creating six ch-spaces along a small base (anchors remain where worked)
Round 3 :
Switch to leaf green if not already. Build leaf edge by working into each ch-3 space: (sc, hdc, 3 dc, hdc, sc) in each ch-3 space along one side of leaf to form first lobe; at end mirror on other side for a tapered leaf effect. (This forms one full leaf shaped by symmetrical work)
Round 4 :
Refine leaf center vein: from base, working up middle chain spaces, *dc in next st, hdc, sc* working one line of stitches up the leaf center to simulate a vein, then sl st to base (visual center ridge formed)
Info :
Use BLO on Round 3 to create a defined raised edge if you prefer a ribbed leaf look. Alternately use FLO for a flatter leaf.
Round 5 :
Shaping round: In the topmost dc clusters add small picots: *(2 dc, picot, 2 dc) into top cluster, sl st down the side* to make leaf tip delicate
Round 6 :
Edge finishing: 1 sc around entire leaf edge to neaten and create a firm join edge for JAYG joining (work 1 sc in each outer st; stitch count variable by leaf shaping)
Round 7 :
Fasten off leaving 15-20cm tail for sewing. Block leaf slightly on a foam board to flatten and shape curve.
Info :
Each leaf measures approximately 4-5 cm long and 2.5-3 cm wide using worsted cotton with a 3.5mm hook. Make a mix of brighter and muted greens to emulate natural variation.
— Joining Motif: Join-As-You-Go Flower-to-Flower (JAYG) :
Info :
Join motifs using JAYG on the final round of the flower motif (recommended at Round 11 or Round 15 depending on how much backbone you added). You will align petal tips of adjacent motifs and work slip stitches through the edge stitches of the motif you are attaching to.
Round 1 (of join) :
Place two motifs with right sides up. On motif A, insert hook into join point on edge and start final round with sl st; ch1, sc in same st to position. On motif B, identify the corresponding edge stitch (petal outermost sc) and proceed to sl st through motif B edge then continue across motif A edge: *sl st into next edge st of motif B, sl st into next edge st of motif A* repeat across three desired contact points to secure one petal adjacency.
Info :
Typically each petal meets 1-3 stitches of a neighbor depending on overlap. For natural look, join at one or two points per petal rather than sewing entire petal margins — this keeps the runner lacy.
Round 2 :
When joining motifs in rows, join second motif to first at two halves of adjacent petals: *on motif's final round, sl st through motif B's corresponding stitch then sl st in motif A; continue across three times per adjoining petal pair*; fasten off or continue to next join.
Info :
Work joins in the round as you make motifs by leaving a long tail and using that tail to slip stitch into neighboring motif edge loops. If joining pre-made motifs, position them on a flat surface and pin before joining to ensure layout symmetry.
Round 3 :
For corner or staggered joins where a motif meets two neighbors at a petal, distribute the slip-stitches evenly among the two neighbors: *sl st into neighbor A edge, sl st into neighbor B edge, sl st into own edge* — repeat to secure tri-point joins.
Round 4 :
Where a leaf will be inserted between two motifs, leave a small gap of 2-3 stitches (do not join here yet). After placing the leaf, sew leaf to both motifs through the backing round for a neat invisible seam.
Info :
Test tension of your join on a sample of three motifs first to determine how tight the sl st joins should be for your yarn. If the join puckers, loosen by using a slightly larger hook for slip stitches or making fewer slip stitches.
— Assembling the Runner (layout and join order) :
Info :
Suggested assembly order for a long runner: make a central column of motifs first, then add motifs row by row outward to form staggered clusters. Attach leaves as you go to maintain a balanced flow. The sample runner alternates motifs in three shades of blue in no strict repeat to mimic natural hydrangea color variation.
Round 1 :
Start with a core motif. Make second motif and join to the first at two petal points (see join rounds). Continue down the table to desired length creating a continuous central spine of motifs.
Round 2 :
Once spine is complete, add motifs to alternate sides in a staggered fashion: join each new motif to two or three motifs in the spine to stagger and create a dense cluster look. Use 2-3 slip-stitches per contact point for stability.
Round 3 :
Place leaves between some motif gaps by sewing leaf bases through the backing round into adjacent motifs. Alternate leaf orientation (pointing outward or inward) to create a realistic effect.
Info :
Work gradually and pin motifs in place on a flat blocking board or towel before final joining to ensure the runner lies flat and looks continuous. Rearrange colors until satisfied before committing to permanent joins.
Round 4 :
Edge alignment: as you add motifs to edges, trim overhanging petal tips with neat slip-stitch rows to even out an irregular edge if you prefer a straighter runner profile.
Round 5 :
When you reach desired length, finish ends by adding one or two half-motifs (trimmed motifs or partial petals worked onto an existing motif edge) or by sewing a neat crochet border on each end for a tailored finish.
Info :
Half motifs can be made by working petal rounds attached to a partial central ring or by folding a full motif and sewing half in place—trim cautiously to preserve petal edges.
— Decorative Border and Final Edging :
Round 1 :
With border color (choose same as light blue or a neutral white), join yarn to an outermost petal edge. Work 1 sc evenly around the outside edge of runner to even out jagged petal points, placing 2 sc in wider petals and 1 sc in tighter seams (stitch count variable).
Round 2 :
Working in BLO, 1 sc in each st to create a ridge row around the runner edge for a neat framed look (stitch count equal to previous round)
Round 3 :
Decorative scallop round: *(skip 2 sts, 5 dc in next st, skip 2 sts, sl st) repeat around to form scallops—adjust repeat to suit edge length and ensure scallops end cleanly at corners (scallop count variable)
Info :
If scallops are too large for your motif size, reduce 5 dc to 3 dc to make smaller scallops. Ensure repeats fit evenly by adding or skipping a small number of edge scs before starting this round.
Round 4 :
Final picot finishing: *sl st to top of each scallop, ch3, sl st into top of scallop base to form small picots* around; fasten off and weave ends under adjoining stitches.
Info :
For a softer edge, work a single round of crab stitch (reverse sc) around the runner instead of scallops and picots—this produces a twisted rope-like frame.
— Finishing Touches :
Info :
Weave all tails into the backside of motifs using a yarn needle, following the backing rounds so ends are hidden. Lightly block the runner by pinning flat and steaming each flower and leaf with a damp cloth to set shape. Avoid heavy wet-blocking if using yarn that may bleed color.
Round 1 :
Optional bead centers: Use small seed beads sewn into centers of select motifs for a sparkling focal point. Secure each bead with a short length of matching thread and knot on the underside.
Round 2 :
Final inspection: Lay the runner on a flat surface and check joins for loose stitches. Reinforce joins where motifs feel floppy by adding a few small whip-stitches behind the motif backing round.
Info :
Store runner flat or rolled to avoid creasing. Cotton yarns will soften with washing; hand-wash gently and reshape while damp.
— Troubleshooting and adjustments :
Info :
If your motifs are too large or too small relative to sample, adjust hook size by 0.25–0.5 mm or change yarn weight. To shorten length, omit a motif from central spine; to lengthen, continue adding motifs in the same pattern. If runner waves, relax join tension or add a narrow single-crochet border to stabilize the edge.
This hydrangea cluster runner brings the garden indoors in a beautifully textured and handcrafted way. Each little flower is a tiny triumph of layered stitches, coming together as a stunning statement piece for your table. I hope you enjoy making and arranging the motifs as much as I did designing them—there's real joy in watching a long runner bloom under your hands! 🧶🌸💙