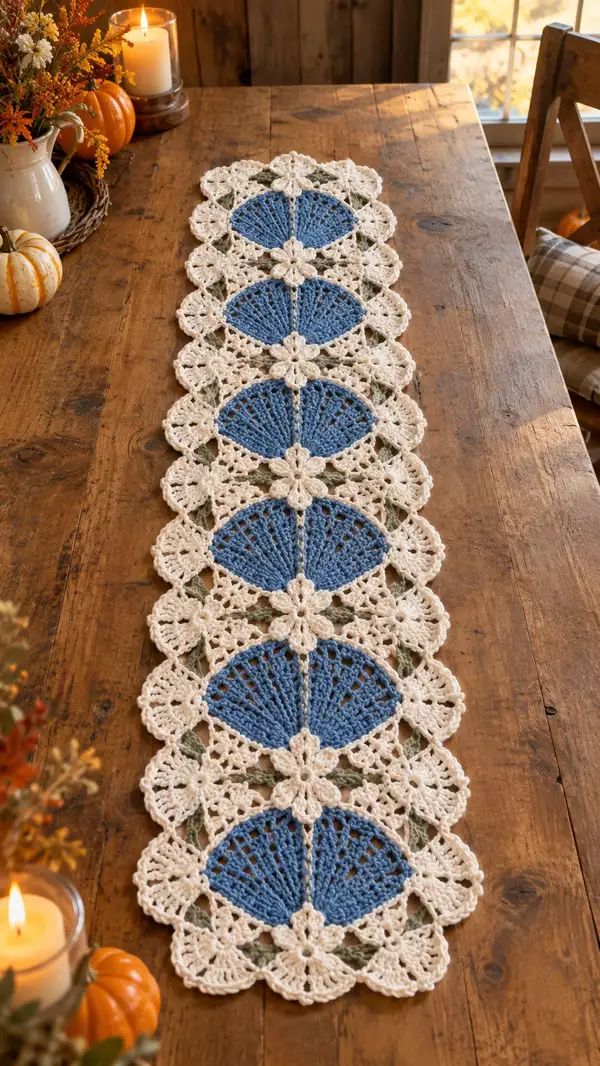
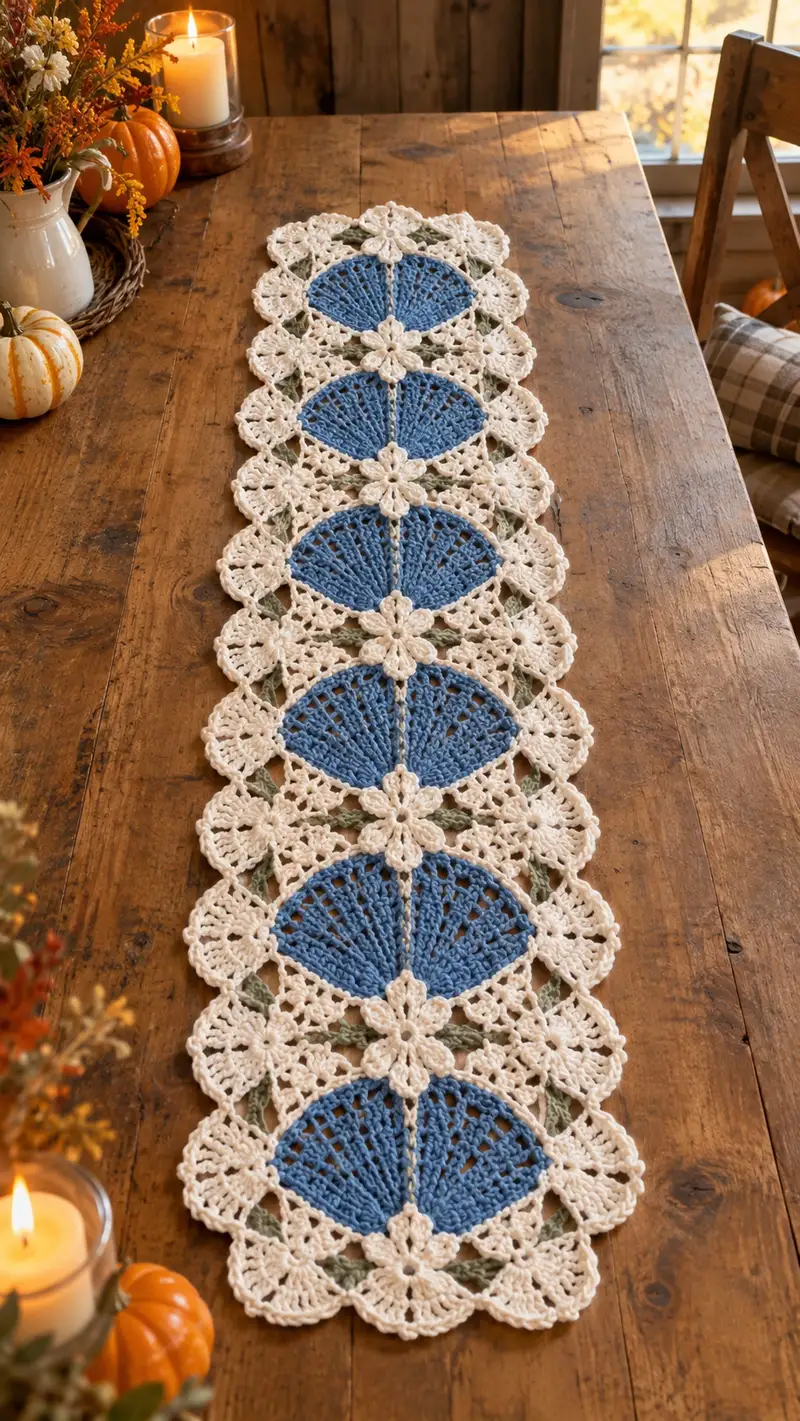
Create a charming Blue Shell and Cream Daisy Table Runner that brings cottage-style warmth to any table. This runner features repeating blue fan (shell) motifs framed by cream lacy daisy clusters and soft sage-green leaf connectors. The pattern uses modular motifs joined as you go, with a delicate scalloped edge for a finished, heirloom look. Works beautifully in cotton or cotton-blend yarn for a lovely drape and table-ready durability.
Progress Tracker
0% Complete
— Materials & Gauge :
Info :
Gauge is not critical for motif-based runners but for similar drape and scale, 16 sts and 8 rows = 4 inches in pattern sections worked in double crochet. Use worsted cotton blend and 4.0mm hook for the photographed size. Always block motifs to final size before joining for an even runner.
— Blue Shell (Fan) Motif — Make 6 (or as many as needed for runner length) :
Info :
Each blue motif is worked as a circular motif that will be folded in half visually when joined with lace connectors to read as a shell/fan. Work in continuous rounds with a stitch marker to mark round start. Use blue worsted weight yarn.
Round 1 :
6 sc in magic ring (6)
Round 3 :
(1 sc, inc) x 6 (18)
Round 4 :
(2 sc, inc) x 6 (24)
Round 5 :
(3 sc, inc) x 6 (30)
Round 6 :
(4 sc, inc) x 6 (36)
Round 7 :
(5 sc, inc) x 6 (42)
Round 8 :
(6 sc, inc) x 6 (48)
Info :
At this point you have a full circular base of 48 sts. The visual shell is formed by working tall clusters and chains into defined segments. We'll create 12 segments (12 shell ribs) so subsequent rounds are grouped into 12 repeats.
Round 9 :
(ch 2, sk 1 st, dc in next st, ch 3) x 12 around (48 functional stitch groups)
Round 10 :
Work into chain spaces: *sc into each ch-3 sp, ch 2, 5 dc cluster into next dc (cluster counts as 1 group), ch 2* repeat x12 (12 clusters, plus scs in between)
Info :
Make sure clusters are placed evenly to create the radiating ribs. Keep tension even. Chain-2 spaces form the decorative openwork between ribs.
Round 11 :
Into each cluster: (ch1, sc between cluster and next sc, ch1, 7 dc into center of cluster) x 12 — resulting in 12 larger fan ribs (visual count: 12 ribs)
Round 12 :
Work around: sc in each sc and (ch3, sl st into top of next 7-dc cluster) to define scalloped top (48 counted anchor points; work tidy pairing)
Round 13 :
(ch 4, sk 1 sc, sc in next st) x 48 to create a lacy edge around the circle (48 sc placements with chain arches)
Round 14 :
1 sc in each sc and 3 sc in each ch-4 arch to bulk outer edge producing a slightly raised rim (pattern result: 48 + extra scallop count approximately 84 total edge sts)
Info :
Fasten off blue color leaving 10-12" tail for joining if you will JAYG. Lightly block the motif flat; this improves the fan shape and eases joining to the cream lace motif.
— Cream Daisy Lace Motif (Surrounding Motif) — Make 6 :
Info :
Each cream motif is worked in the round around an initial ring that will frame and connect two adjacent shells. This is the lacy daisy cluster that forms a quatrefoil around shell edges. Use cream worsted cotton.
Round 1 :
6 sc in magic ring (6)
Round 3 :
(1 sc, inc) x 6 (18)
Round 4 :
(2 sc, inc) x 6 (24)
Round 5 :
(3 sc, inc) x 6 (30)
Info :
Rounds 1-5 form a firm center for the daisy blossom. We will build petal clusters around this center using puff clusters and chain arches to match the image’s petaled look.
Round 6 :
*ch 3, sk 1 st, (puff made of 5 partial dc loops) into next st, ch 3, sl st into next* rep around to create petal bases — 10-12 petal bases depending on puff spacing
Round 7 :
Into each puff base: (ch1, 7 dc puff cluster, ch1, sl st into base) x 12 to form full petals (12 petals)
Info :
Count petals as you go. Puff clusters: yarn over, insert hook, pull up loop three times, yarn over and draw through all loops, ch 1 to close puff. Keep each puff consistent in height and tension.
Round 8 :
Work sc between each petal, ch 2 between petals to form linking arches: (sc, ch2) x 12 around the center (24 points including scs and chains)
Round 9 :
*Into each ch-2 sp: (2 sc, ch3, 2 sc)* to create tiny diamond connectors that will meet neighboring motifs when joined (12 diamonds)
Round 10 :
Work 1 sc in each sc and 3 sc in the ch-3 of each diamond to thicken the join point — prepare for JAYG (approx 48 sc total around)
Info :
Leave long tail if you plan to join motifs later by whip stitch; otherwise plan to JAYG in the assembly section. Block this motif lightly to open petals and ensure even spacing.
— Sage Leaf Connector Motif — Make 5 (for spaces between daisies) :
Info :
Sage-green leaf connectors sit between cream daisies forming a subtle chain and soft negative space in the runner. These are small elongated motifs worked flat and added between daisy motifs before final joins.
Round 1 :
ch 8, sc in 2nd ch from hook, hdc in next, dc in next, tr in next, dc in next, hdc in next, sc in last (leaves worked flat) (8 sts across)
Round 2 :
Turn and work along opposite side: sc in each st back across to form a symmetrical leaf edge (8 sc), sl st to join to first sc
Round 3 :
Edge: *(ch2, sc in next st) around leaf body* to create a slight raised rim — fasten off leaving tail for joining
Info :
Make leaves slightly smaller than the daisy openings so they sit neatly in the spaces. Block lightly to flatten and set shape before joining.
— Center Flower Joiner (Small Cream Flower) — Make 5 :
Info :
Small five-petal flowers act as central connectors down the runner’s center, where daisies meet; this decorative connector sits in between shells adding a floral focal join.
Round 1 :
6 sc in magic ring (6)
Round 2 :
ch 3, (5 dc puff into same stitch, sl st into ring) x 5 creating five petal puffs; sl st to join center (5 petals)
Round 3 :
sc around center and in spaces between petals: (sc, ch2, sc) x 5 — fasten off leaving long tail for sewing into runner center
Info :
Sew this small flower where four daisies meet and where the central spine of the runner calls for a decorative join. Use matching cream yarn for invisible joins.
— Half Motif Variation for Runner Ends (Optional) — Make 2 :
Info :
To create the runner ends (rounded half-shell), use the blue circular motif but only work half of the outer lace rounds and add a tailored scalloped border to finish the open edge. This ensures that ends are symmetrical and pleasing on the table.
Round 1 :
Work Blue Shell Rounds 1-8 as instructed, then stop and fold to visualize the half-shell. Count ribs and place markers at the center line.
Round 2 :
Work outer rounds only across half of the circle: for defined half-shell, place 12 ribs across half area and work 3-4 sc in corner to blunt the open side. Fasten off leaving long tail to whip edge and sew to lace.
Info :
Make two half motifs for each runner end; block them into a half-disc before attaching to the final row so edges line up with the daisy lace motifs.
— Join-As-You-Go (JAYG) Main Chain Instructions — Linear Join of Motifs :
Info :
The runner is assembled by joining cream daisies and blue shells in alternating manner across the central axis. Work the first cream daisy fully, then when making the adjacent cream daisy, join at designated ch-3 diamond points to the first motif with sl sts or whip stitch for secure connection. Use the small center flower as the central seam point.
Round 1 :
Lay first cream daisy flat and position second cream daisy so petals align. On second daisy Round 9 (diamond ch-3 points), when you reach the diamond where they meet, sl st into corresponding ch-3 of the first daisy, ch 1, continue pattern — repeat for all meeting diamonds (approx 3-4 joins per motif side)
Round 2 :
When joining blue shell to cream daisy: align the outer blue shell scallops with the inner petal edges of the cream motif and join by working sl st through both edges at every few sc anchors— aim for even distribution of 12-16 sl st joins around the shared seam.
Info :
Work slowly and pin pieces together before joining. JAYG secures motifs without lots of finishing work. Use contrasting tail to baste pieces if needed then permanently join with yarn in same color for invisibility.
— Linear Assembly Rounds (Sequence for Full Runner) :
Round 1 :
Start with one cream daisy motif. Position a blue shell to its side and follow JAYG joins aligning 12 ribs with petal edges — join at 12 points (12 sl st joins).
Round 2 :
Add the next cream daisy opposite the first shell and join the second blue shell to that cream daisy in the same way. Continue this alternating placement to form a chain of daisies and shells (repeat until runner reaches desired length — photographed runner uses six shells).
Round 3 :
Between each daisy pair insert a sage leaf connector: position leaf in the triangular gap, sew through 3 points to hold leaf flat and repeat between adjacent daisies down runner chain.
Info :
Sew the small center flower at every point where four petals meet along the center spine of the runner. This not only decorates but stabilizes joins. Use neat invisible stitches to hide tails on the back side.
— Decorative Scalloped Edge & Final Border :
Info :
Once all motifs are joined lengthwise and center flowers sewn in place, work a unified outer border around the entire length of the runner in cream to tidy edges and create the pronounced scalloped finish seen in the photo.
Round 1 :
With cream yarn, join to any outermost stitch of the runner and work 1 sc evenly around the entire runner working into outer loops and chain arches — aim for even stitch placement (approx 240-300 sc total depending on motif count)
Round 2 :
*(ch3, sk 1, sc in next) around to create small chain arches and gentle scallops. Place 3 sc into larger open spaces to maintain smooth perimeter. This evens rough spots and preps for a pronounced scallop
Round 3 :
Work scallop: *5 dc in next ch-3 arch, sl st into next sc* around perimeter (creates larger scallop segments). Adjust number of dc if arches are closer or wider (resulting scallops approx 48-56)
Info :
If scallops feel too big, reduce to 4 dc. Keep counts even on both long sides to prevent curling. Use stitch markers at the runner center and every motif seam while doing the border to keep symmetry.
Round 4 :
Repeat a finishing round of sc: 1 sc in each dc and sc around to flatten scallops and provide a tidy edge for table display. Fasten off and weave in all ends.
— Finishing Touches & Blocking :
Info :
Carefully weave in tails on the back of the runner using tapestry needle and tie only if necessary. Block the entire runner: pin it to a blocking mat, gently steam or spray with water, shape scallops and flower petals so they lie flat. Let dry completely before removing pins.
Round 1 :
Optional: Stiffen very lightly with diluted fabric stiffener on scallops if runner will be used under heavy centerpieces that demand rigidity. Test on a scrap first.
Info :
Final check: count seam points, ensure center flowers are secure, and trim any stray fibers. Your runner is ready for display.
Completing this Blue Shell and Cream Daisy Table Runner is such a cozy, rewarding project! Each motif feels like a small win, and joining them into a long, lacy runner is pure satisfaction. The soft blue shells and cream daisies create a timeless, cottage-style statement that’s perfect for seasonal decorating or everyday charm. Enjoy the blocking and final finishing — those scalloped edges really make the piece sing. 🧶🌼