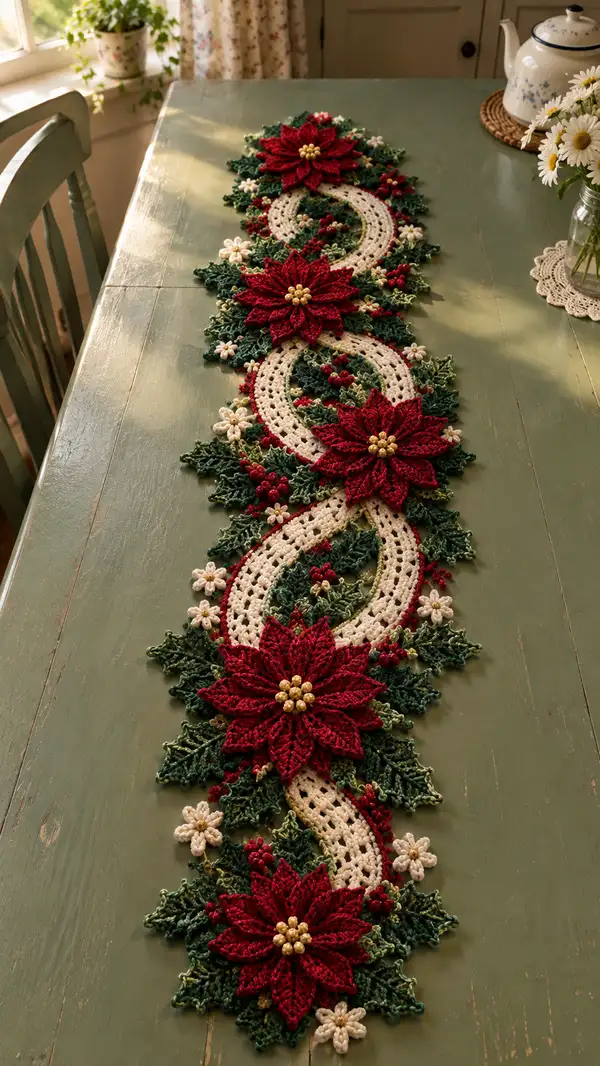
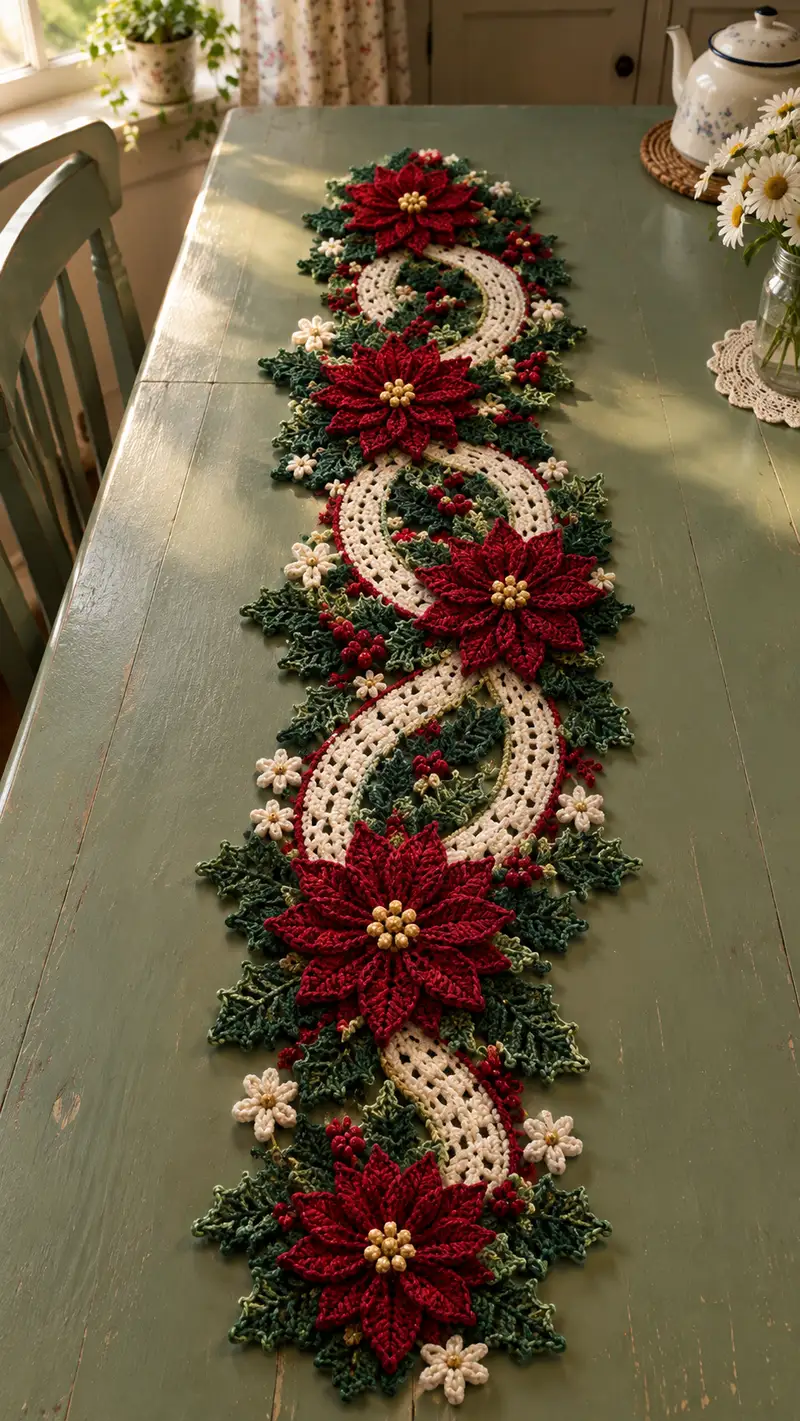
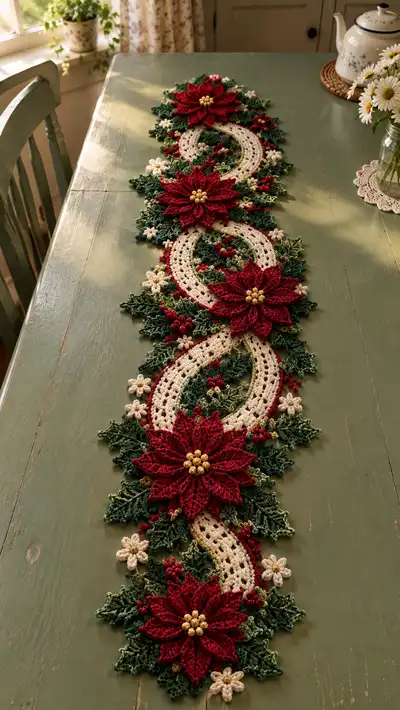
A richly textured table runner that pairs creamy openwork interlocking ovals with layered cranberry poinsettias, holly-style leaves and tiny cream blossoms. Deep green foliage, gold bead centers and little red berry clusters give a classic holiday look. This pattern builds each motif separately, then joins them into a dramatic runner full of depth and lacey detail. Perfect for a holiday table or seasonal centerpiece.
Progress Tracker
0% Complete
— Overview :
Info :
This runner is made from repeating motifs: Cream Interlaced Oval (Motif A) x4, Cranberry Poinsettia (Motif B) x4, Holly Leaf Module (Motif C) many, Tiny Daisy (Motif D) many, Berry Clusters (Motif E) many. Make motifs flat and block lightly before assembling. The pattern lists rounds for each motif — make the specified quantities then follow the assembly instructions to join. Use 3.5mm hook unless otherwise noted and work tightly so that the lace stitches remain well-defined.
— Motif A: Cream Interlaced Oval (Make 4) :
Round 1 :
Using Cream yarn. 10 sc in mr (10)
Round 2 :
Inc in each st around (20)
Round 3 :
(1 sc, inc) x10 (30)
Round 4 :
(2 sc, inc) x10 (40)
Info :
We begin a slightly oval shape by lengthening at two opposing sides; place stitch markers at the two midpoints at the start of this round for later shaping reference.
Round 5 :
1 sc in each st (40)
Round 6 :
(3 sc, inc) x10 (50)
Round 7 :
1 sc in each st (50)
Round 8 :
On one side only (the long axis) work: (4 sc, inc) x4; continue around remaining stitches evenly to maintain oval (54)
Round 9 :
1 sc in each st (54)
Info :
To create the lacy inner aperture that gives the runner its airy cream loops, we will work rounds of chain-spaces and clusters. Keep counts exact to ensure oval symmetry.
Round 10 :
(1 sc, ch3, sk2) repeat around working 1 sc in next st where needed to create even chain arches (54 stmaps)
Round 11 :
Into each ch3 space: sc, hdc, 2 dc, hdc, sc (creates oval lace arches) (54 arches)
Round 12 :
1 sc in each st and each dc across to tidy the round, placing extra sc in arch bases so total remains 54 sc across main circumference (54)
Round 13 :
Work 1 sc in each st BLO for a slight ridge (54)
Round 14 :
Ch4, sk1, sl st, ch4, sk1 around to create decorative picot arches along the inside edge; place sl st to anchor evenly forming 27 small arches (27)
Info :
If you prefer a more open look, increase ch length to ch5 in Round 14; for a tighter inner lace, reduce to ch3. Blocking will define these arches.
Round 15 :
Join with sc around entire outer oval edge: (1 sc, ch1) to give a firm outer border (54)
Round 16 :
(2 sc, inc) x18 (72) — expand the outer circumference to accommodate joining poinsettia and leaves
Round 17 :
1 sc in each st (72)
Round 18 :
Alternate BLO and FLO ridged round: (1 sc BLO, 1 sc FLO) x36 (72)
Info :
At this point decorate the outer edge with a small picot or tiny single crochet scallops if you like. We will attach foliage and poinsettia petals to the exterior edge in assembly.
Round 19 :
Edging round for joining: *ch3, sl st into next st; ch2, sl st into next* repeat around to create joining ladders for leaves (72)
Round 20 :
Fasten off leaving long tails for sewing to neighboring motifs. Block oval flat and measure: approximately 17-19cm long by 9-11cm wide after blocking (dependent on yarn).
— Motif B: Cranberry Poinsettia (Make 4 full flowers) :
Round 1 :
Using Cranberry Red. 6 sc in mr (6)
Round 2 :
Inc in each st around (12)
Round 3 :
(1 sc, inc) x6 (18)
Round 4 :
Ch4, sl st into next st repeat 9 times across to form 9 petal loops; if you prefer 10 petals, ch4 nine times then adjust next rounds accordingly (9 loops)
Info :
We will make two petal layers: inner (smaller) and outer (larger). Make the petal loops evenly spaced; use a marker at the top of the first loop to keep track.
Round 5 :
Work inner petal formation: in each ch4 loop work (sc, hdc, 2 dc, hdc, sc) and sl st to base — do this around creating 9 inner petals. After finishing, fasten off or leave attached for outer petal base.
Round 6 :
Join to base again and ch6, sl st into base between inner petals to create 9 longer loops for outer petals (9 long loops)
Round 7 :
Outer petal shaping: into each ch6 loop work (sc, hdc, 3 dc, tr, 3 dc, hdc, sc) — this gives tall, pointed petals with a central treble ridge (9 outer petals)
Round 8 :
Once outer petals are made, join around the base with 1 sc in each petal base (18 sc total to anchor petals evenly) (18)
Info :
For additional depth, work a second outer layer offset between petals: anchor additional short petals between outer petals using ch4 loops and small raised stitches worked in FLO to create veining if desired.
Round 9 :
Create decorative vein ridges: with petals facing you, insert hook into front loops of each petal center and work 3 hdc post stitches up the center of each outer petal to add texture (work 3 hdc-post in each petal).
Round 10 :
Edge tidy round: sc around the entire flower base in BLO to create a neat underside (18)
Round 11 :
Make flower center: using Gold or Pale Yellow, 6 sc in mr (6). Fasten off leaving tail and sew to center of flower. Alternatively, sew six gold beads in a tight circular cluster for classic look.
Round 12 :
Fasten off, weave ends. Block petals gently by pinning them into shape and spritzing with water or fabric starch if you want them stiffer. Repeat for remaining poinsettias (4 total).
— Motif B Variant: Extra Petal Layer (Optional for deeper flowers) :
Round 1 :
With Cranberry Red, join at back of flower base between two outer petals; ch5, sl st back to base, repeated creating 9 small loops (9)
Round 2 :
Work into each loop: (sc, hdc, 2 dc, hdc, sc) to form an additional ruffled inner outer layer. Anchor with sc around base (27 sc).
Info :
This optional layer makes the poinsettia fuller; use it on front-most flowers if you want more dimension near the centerpiece of the runner.
— Motif C: Holly-Style Leaf (Make approx 24–28) :
Round 1 :
Using Dark Evergreen. Ch10, sc in 2nd ch from hook, sc across to end (9 sc)
Round 2 :
Turn, ch1, sc in same st, hdc in next, 2 dc in next, tr in center 2 sts, 2 dc in next, hdc next, sc to end — creates pointed leaf center (9)
Round 3 :
Working down other side of foundation chain: sc, hdc, 2 dc, tr, 2 dc, hdc, sc for symmetrical shaping, join with sl st to starting st (approx 18 sts total after joining)
Round 4 :
Edge picot round: *sc in next 2 sts, (ch3, sl st in top of previous tr) repeat across* to form tiny spikes (18)
Info :
Leaves are worked flat. For rugged holly edges use a smaller hook (3.25mm) on Round 4 to produce sharper picots. For additional depth, use Variegated Light Green to make a second pass of tiny highlights (see Info below).
Round 5 :
Optional highlight: with variegated light green, work short slip-stitch veins: starting at base of leaf, sl st up center every 3 sts to tip; fasten off (no additional sts added)
Round 6 :
Make small leaf cluster base: ch3, sl st at base to form a short stalk where leaf will be sewn to oval (counts are decorative)
Info :
Make at least 6 leaves per large poinsettia (3 above and 3 below), and smaller leaves to fill gaps between ovals. Block leaves with light steam to hold shape.
— Motif D: Tiny Cream Daisy (Make approx 14–18) :
Round 1 :
Using Soft Cream. 6 sc in mr (6)
Round 2 :
Ch6, sl st to next st repeat 6 times to make 6 small petal loops (6 loops)
Round 3 :
Into each ch6 loop work: sc, hdc, 2 dc, hdc, sc. Fasten off and press petals slightly to flatten (6 petals)
Round 4 :
Sew a tiny gold bead or work 3 yellow sc in center of each flower to form a raised button effect. Fasten off.
Info :
Tiny daisies are scattered along runner edges to soften the composition and provide cream echoes to the oval motif. Make extras to place as filler pieces during assembly.
— Motif E: Berry & Bud Clusters (Make approx 30 small berries and 12 clusters) :
Round 1 :
Using Cranberry Red or darker red. 6 sc in mr (6)
Round 2 :
Work 6 single crochet around to make a tight bobble, pull ring closed (6)
Round 3 :
Fasten off leaving tail and darn tail into berry to anchor; if you want a more pronounced berry, add a tiny bit of stuffing before closing ring.
Info :
Sew berries into groups of 3–5 to form clusters. Anchor clusters to leaves and around the oval openings for a natural, scattered look.
— Joining and Intermediate Edging (Join ovals, flowers and leaves) :
Info :
Layout: Arrange Ovals in a linear, interlaced pattern (A1-A2-A3-A4). Place poinsettias at the top of each interlaced curve such that a flower sits near where two ovals cross. Tuck leaves into edges and position small daisies and berry clusters for balance. Pin motifs in place on a flat blocking board before sewing.
Round 1 :
Using Cream, with motifs blocked, sew ovals into connected S-shape: using mattress stitch, use the long tails left from ovals (Round 20) to whip-stitch adjacent oval borders through the ch3 joining ladder we made earlier, leaving gaps for foliage (no numeric stitch count — sew evenly along the length).
Round 2 :
Attach poinsettias: position flower base overlapping oval edge and surrounding leaves. Use long crimson tails and invisible ladder stitch to anchor base completely; work 12–18 small stitches per flower base to ensure stability (per flower)
Info :
Sew gold bead centers after the flower is secured. When sewing, pierce the beads with the yarn needle and secure under several stitches on the underside of the flower to hide knots.
Round 3 :
Sew leaves in groups: pinch leaf stalk and insert needle through oval edge at intended location, sew through leaf stalk and around 3 times; add an anchor stitch on underside of oval for stability. Place 3 leaves around each poinsettia and fill gaps between ovals with single leaves.
Round 4 :
Sew tiny daisies and berries into gaps and along outer edges of runner. For berries, sew clusters by anchoring the middle berry first then adding side berries radiating outward, using short stitches to hold cluster compact.
Info :
Step back periodically and view your layout from a distance. Adjust placement for visual balance — ensure that large poinsettias are balanced across the runner length and that clusters are not all on one side.
— Final Outer Edging and Decorative Scallop (2 passes) :
Round 1 :
Using Dark Evergreen, pick up where the oval and foliage meet and single crochet all around the outermost exposed stitches to unify motifs (work 1 sc into each exposed st across all motifs). Approximate count across entire runner will vary; work evenly.
Round 2 :
Scallop round: *(ch3, 3 dc, ch3, sl st) into every 6th sc around* - creates a decorative scallop that hugs leaves and petals. Adjust repeat spacing to land scallops between petal tips and leaf points. Fasten off and weave ends.
Info :
If gaps appear between motifs after the first edging, add a second pass of small chain-spaces (ch3, sl st) to gently pull them together. Do not pull too tightly or you will distort petals.
Round 3 :
Optional highlight round: with Variegated Light Green work tiny chains (ch2) and sl st loops to mimic vine tendrils around the scallops — place these intermittently so runner looks organic.
Info :
After completing edging, press runner lightly with a steam iron held above fabric or use a hand steamer to flatten joins. Pin scallops to set shape while cooling.
— Finishing Details & Beaded Centers :
Round 1 :
Sew gold beads: Using gold beads and a fine tapestry needle, sew 6 beads into a circle at the center of each poinsettia, anchoring thread on the underside with several passes and a secure knot; weave tail into flower and trim.
Round 2 :
Secure loose elements: Inspect underside of runner, add extra whip-stitches to any motifs that feel loose, especially near high-traffic edges. Hide knots by threading them into the underside of the oval base.
Info :
To stabilize the runner for heavy use, consider applying a thin layer of textile stiffener to underside edges of leaves only and allow to fully dry. This keeps leaves flat without making them brittle when applied judiciously.
— Block & Care :
Info :
Blocking is critical. Pin the runner flat to correct shape, pulling petal tips and leaf points into place. Steam-block or wet-block and allow to dry fully. Hand-wash in cool water and lay flat to dry. Spot clean beads carefully.
— Notes on Scaling and Variations :
Info :
To scale larger, use thicker yarn and a larger hook, and increase petal chain lengths by 1-2 chains per petal; add additional oval motifs for extra length. To scale smaller, use lighter yarn and smaller hook and reduce number of ovals. Color variations: swap cranberry for deep plum or berry tones for interesting contrast.
Completing this runner brings a satisfying moment when all the petals, leaves and little berries come together into a cohesive holiday centerpiece. The layered poinsettias and lacey cream ovals make a statement without being fussy, and the gold bead centers catch the light beautifully. I hope this pattern brings warmth to your home and becomes a seasonal favorite you enjoy making again. 🧶✨