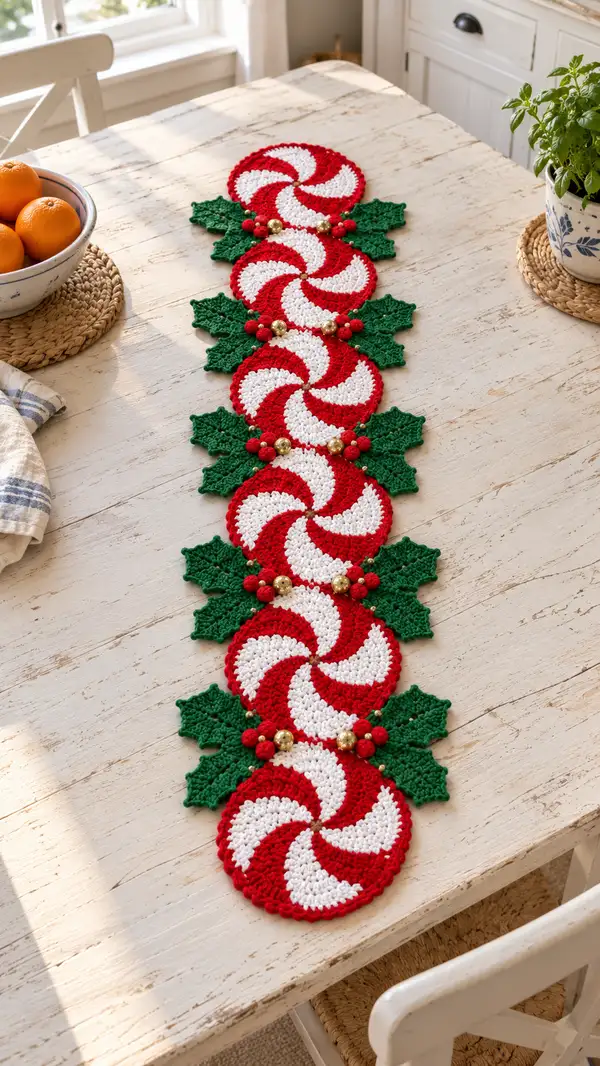
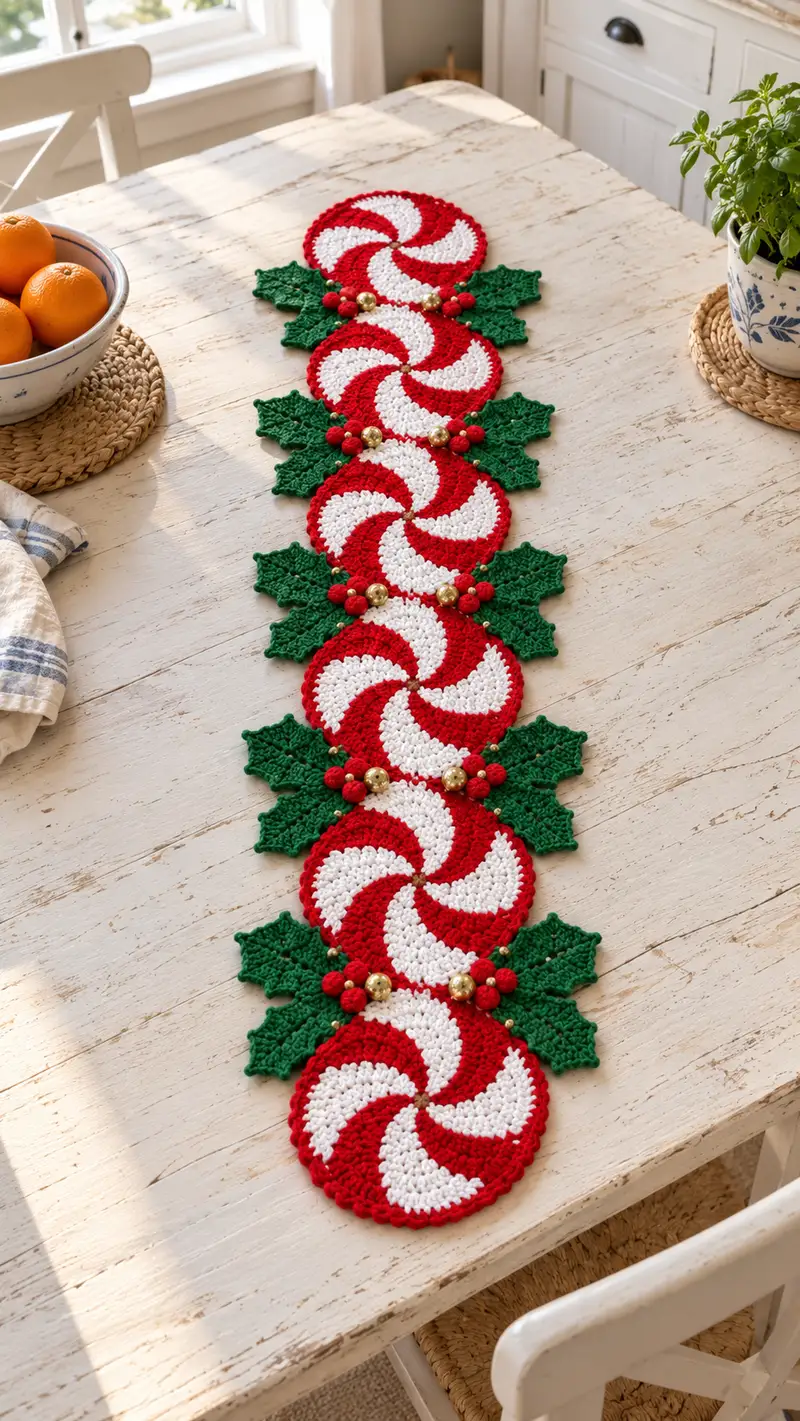
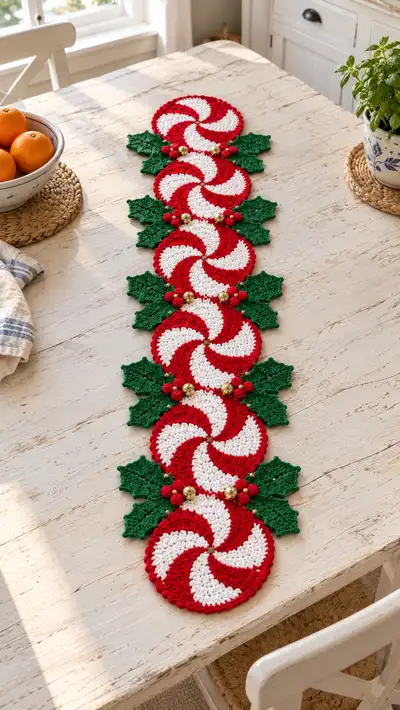
Bring holiday cheer to your table with this festive peppermint table runner pattern. Five bold peppermint swirl motifs in classic red and white are linked with lush green holly leaves and topped with tiny red berry clusters and gold beads for sparkle. The runner lies flat and decorative, perfect as a centerpiece for holiday meals or mantel displays. Clear, step-by-step instructions guide you through color changes, textured stitches, and assembly for a beautiful handmade accent.
Progress Tracker
0% Complete
— Gauge & Notes :
Info :
Gauge is not critical for this decorative runner but affects final size and density. With worsted weight yarn and a 4.0 mm hook, one peppermint motif measures approximately 5.5" (14 cm) diameter after blocking. Work with tight, consistent tension so the motifs lie flat and the color transitions stay neat.
Info :
Throughout the pattern we use 6-segment construction for the peppermint spiral so counts are often based on repeats of 6. Carry unused yarn inside motifs when possible, but clip and weave ends for neater joins when working leaves and berries separately.
— Peppermint Spiral Motif (Make 5 or more) :
Round 3 :
(1 sc, 1 inc) x 6 (18)
Round 4 :
(2 sc, 1 inc) x 6 (24)
Round 5 :
(3 sc, 1 inc) x 6 (30)
Round 6 :
(4 sc, 1 inc) x 6 (36)
Round 7 :
(5 sc, 1 inc) x 6 (42)
Round 8 :
(6 sc, 1 inc) x 6 (48)
Info :
Rounds 1-8 create a flat, even disc base. Keep tension even. Stop here and check diameter before proceeding — this will be the foundation for the spiral wedges.
Technique Info :
We will work 6 wedge sections around the disc to create the peppermint spiral. Each round below keeps the stitch count at 48, dividing the round into 6 equal wedges of 8 stitches each. To create the curved ‘swirl’ effect, each successive round is offset by 1 or 2 stitches and uses post stitches to raise portions and create the flowing wedge. Carry color across small gaps or fasten off and rejoin for cleaner stripes—the choice is aesthetic.
Color Info :
Begin Round 9 in RED. Change colors where indicated. When changing color, finish the last yarn-over with the new color to join seamlessly.
Round 9 :
*In RED: 8 sc in next 8 sts; In WHITE: sl st to next st, 8 sc in next 8 sts* x 3 cycles to complete the full round (48). Result: alternating blocks of red and white, each block 8 sts wide (48)
Info :
At the end of Round 9 there will be 6 blocks (3 red and 3 white), occupying 8 stitches each. Use stitch markers at the start of each block if helpful to track wedge boundaries.
Round 10 :
Remains 48 sts. Work in pattern, shifting the start of each color-block by 1 st to the right: *In RED: 1 sc in first 4 sts of block, 2 hdc in next 4 sts; In WHITE: 1 sc in first 4 sts of block, 2 hdc in next 4 sts* repeat around (48)
Info :
The hdc clusters at the outer portion of each block begin to create the sense of a curved wedge. Maintain the color blocks and carry yarn inside if you prefer even tension; otherwise fasten off and weave ends for crisper color edges.
Round 11 :
1 sc in each st keeping the color of each block consistent (48)
Round 12 :
Shift wedge offset again: working in RED and WHITE blocks as established, *In color: (1 sc in next 3 sts, 1 dc in next 3 sts, 1 hdc in next 2 sts)* across each 8-st block to total 48 stitches
Info :
Check that each 8-st block still adds up to 8 worked stitches; the combination above equals 6 stitches but some stitches used are worked with taller stitches; count carefully by consumed stitches rather than resulting loops to preserve the 48 count.
Round 13 :
1 sc in each st around (48)
Round 14 :
Work shallow shaping into wedge heads: In each COLOR block of 8 sts work: (sc in next 2 sts, hdc in next 3 sts, dc in next 2 sts, sc in next 1 st) — consumes 8 sts per block (48)
Info :
These taller stitches in the middle of each block lift the center of the wedge and accentuate the spiral. Keep tension even and use stitch markers to identify the start of each wedge if needed.
Round 15 :
1 sc in each st around (48)
Round 16 :
To accentuate the swirl, work front post stitches at the inner portion of each wedge: *FLO: in the first 2 sts of each color block sc; then fpdc around the next 2 sts of same block; 1 sc in remaining 4 sts* x6 (48)
Info :
Front-post double crochets pull the fabric slightly, creating subtle ridges that read visually as the swirl’s arms. Be careful to place post stitches evenly in each wedge to maintain symmetry.
Round 17 :
1 sc in each st around (48)
Round 18 :
Work slow outward shaping to give motif a slightly raised rim: *(sc in next 5 sts, inc) x 6* — This increases the round by 6 so total = 54 sts
Math Check :
Starting 48 sts. Pattern here repeats 6 times. Each repeat works 5 sc + 1 inc = 6 sts per repeat. 6 repeats x 6 = 36? Note: this structure must map to the existing 48 base; instead we are inserting an extra inc evenly spaced. Correct formula: place 6 increases evenly around the round (one every 8th stitch). After placing 6 incs total new count = 48 + 6 = 54. You can work as: *sc in next 7 sts, inc* x6 to evenly space increases giving (7+1)*6 = 48, which is incorrect arithmetic; to add 6 stitches to 48 with 6 repeats you must do (7 sc, inc) x6 which equals (7+1)*6 = 48. To increase by 6 correctly, simply place 6 single increases evenly on the round in previously determined positions to create 54 total. This instruction aims to add 6 increases total; count carefully when placing increases to achieve 54.
Round 19 :
1 sc in each st around (54)
Info :
We have expanded the rim slightly. The motif should lie flat before edging. If it cups, block wetter and adjust tension; if it ruffles, remove the increases and try again with fewer increases.
Round 20 :
Edging round: *ch 1, sc in next st, ch 2, skip 1 st* repeat around to create spaced picots — total 54 ch-2 spaces. End with sl st to first sc; fasten off color if desired and weave ends. (54)
Info :
Optional: For a scalloped finish instead, work *(sc, hdc, 3 dc, hdc, sc) in every 3rd stitch* adjusting as needed so scallops are evenly placed around circumference. If you choose a scallop, the stitch count may not remain 54 exactly; create scallops evenly by dividing the final round's stitch count by your desired number of scallops.
— Holly Leaf (Make 6 leaves between each pair of motifs) :
Info :
Each junction between peppermint motifs has symmetrical holly leaves: two medium sized leaves on either side and one small accent leaf at the back. Leaves are worked flat in rows. Use GREEN yarn throughout. Work each leaf separately and block flat before assembly.
Row 1 (Round 1) :
Ch 21, sc in 2nd ch from hook and across — 20 sc. Turn. (Consider this Row 1 but we’ll keep labeling as Round/Row to match pattern structure.)
Row 2 :
Ch 1, sc in first 5 sts, hdc in next 5 sts, dc in next 6 sts, hdc in next 3 sts, sc in final sts — 20 sts total. Turn.
Info :
The central cluster of taller stitches forms the pointed center vein of the leaf. Work more tall stitches for a longer point, fewer for a stubby leaf.
Row 3 :
Ch 1, dec over first 2 sts, sc in next 3 sts, hdc in next 4 sts, dc in next 4 sts, hdc next 3 sts, sc next 2 sts, dec last 2 sts — total reduced to 16 sts (shape is narrowing)
Row 4 :
Ch 1, sc across in BLO to create ribbed vein: 1 sc in each st BLO across (16)
Row 5 :
Ch 1, turn and work the opposite side back up mirroring Rows 3-1: sc in next 2, hdc next 3, dc next 4, hdc next 4, sc next 3, dec to close tip; finish with sl st into base to form a pointed leaf edge. Fasten off leaving tail for sewing.
Info :
Optionally add decorative serration: use slip stitches or picots at intervals along the leaf edges in the last pass to mimic holly serrated edges. For sharper points, use shorter chain lengths and more decreases.
Alternate Leaf Variation (Larger) :
Ch 25 and follow same shaping logic increasing the center dc cluster to 8 for a larger leaf. Block to hold shape.
— Berry Cluster (Make 3 small berries per junction, Make multiple clusters) :
Berry A - Small Round (Make 3 for each junction) Round 1 :
6 sc in mr (6)
Round 3 :
(1 sc, inc) x 6 (18)
Info :
Stuff VERY lightly with a small pinch of fiberfill so the berry is soft but not firm. Use a small stuffing tool or blunt pencil to push fill into the center.
Round 4 :
(2 sc, dec) x 6 (12)
Round 6 :
Fasten off leaving long tail for sewing. Close opening by threading tail through remaining 6 sts and pull tight. Weave end through center of berry to anchor (6)
Info :
Make three berries for each cluster — two medium-sized (Rounds 1-6) and one slightly smaller by omitting Round 3 and finishing earlier (i.e., start Round 3 with fewer increases). This creates a natural clustered look.
— Small Accent Beads & Attachment :
Info :
Sew a small gold bead at center of each berry cluster using matching thread. You can also use metallic yarn to crochet a tiny 4-stitch loop to hold the bead if preferred. Secure beads with craft glue for extra strength if the runner will be used often.
— Joining Motifs & Layout :
Info :
Layout: Place peppermint circles in a straight line with their edges just touching. Between each pair of circles, pin one medium holly leaf to each side (two leaves forming a mirrored pair), plus a small accent leaf tucked behind. Add three berries and one gold bead at the center junction. The photo shows five peppermint circles arranged linearly for a standard table runner length.
Joining Round 1 :
With RED yarn and the motifs laid right side up, align two motifs with edges overlapping by 6-8 stitches. Join with sl st through outer edge loops: *sl st through motif A edge stitch, sl st through motif B matching stitch* around overlap area until secured — do not close entire circumference, only sew 10-12 stitches to create a secure seam (counts vary by overlap width).
Info :
For a seamless visual join, sew along the inner rim of the picot scallop or into the back loops of the final sc round so the stitches sit flush. Use a tapestry needle and whip stitch for a stronger invisible seam if preferred.
Joining Round 2 :
Repeat for each adjacent motif. When joining the third motif, also slip-stitch or sew the leaf bases to the seam at the same time so leaves are held in place and the seam hides the leaf attachment. Keep spacing consistent so each junction has roughly the same amount of exposed rim — count the number of stitches you sew at each join for consistency (suggested 10-12 sts per side per join).
Info :
Pin each leaf in place before sewing; stitch through leaf base and between motif rounds (body and edging) to anchor securely. Secure berry clusters at the seam and add a gold bead sewn through the center of the berry cluster for sparkle.
— Decorative Edge & Final Border :
Round 1 :
Once all motifs are joined and leaves added, work one continuous border in GREEN around the entire runner to create a unified finish. Join green yarn at any outer motif stitch and work 1 sc in each outer-loop stitch along perimeter seams keeping counts steady (working around all motifs and leaves) — stitch counts will vary, maintain 1 sc per worked stitch around seams.
Round 2 :
Work a decorative shell edging around runner perimeter: *skip 2 sts, (sc, hdc, 3 dc, hdc, sc) in next st, skip 2 sts, sl st in next st* around to create evenly spaced scallops. Adjust spacing slightly at junctions to keep scallops visually balanced. Fasten off and weave in ends.
Info :
Because the runner perimeter is irregular (due to leaves) you will need to space shells by eye at corners and leaf points. Use blocking pins to hold scallops in place while blocking for a crisp finish.
— Finishing Touches :
Info :
Sew on all berry clusters and gold beads now. Use short, strong stitches to ensure beads will not come loose. If using wooden or metallic beads, pre-thread and knot securely on the underside and add a drop of fabric glue for extra security.
Info :
Block the entire runner flat: pin to desired final shape and spray lightly with water or use a steam iron at a safe distance to set the stitches. Do not press directly with a hot iron. Allow to dry completely before removing pins.
— Care Instructions :
Info :
Hand wash gently in cool water with mild detergent. Reshape while damp and lay flat to dry. Remove beads before washing or spot clean the beaded areas to preserve metallic finishes.
— Optional Variations & Tips :
Info :
If you prefer a looser, lacy peppermint look, substitute hdc for sc in the flat disc rounds to create a more open texture. To make the runner longer add more peppermint motifs; each motif adds roughly 5.5" (14 cm) to the length plus leaf spacing.
Info :
For a more durable tabletop decoration, work with mercerized cotton yarn and a slightly smaller hook (3.5 mm). This will give a crisp and showy finish ideal for holiday dining tables.
Congratulations — your festive peppermint table runner is complete! The bright red-and-white spirals, leafy green holly, and sparkling gold accents make a joyful holiday centerpiece. Each motif and leaf comes together to form a cohesive and eye-catching display that will brighten your table for years to come. 🧶 Spread holiday cheer and enjoy the handmade charm you've created. Happy stitching and proud displaying! ✨🎄