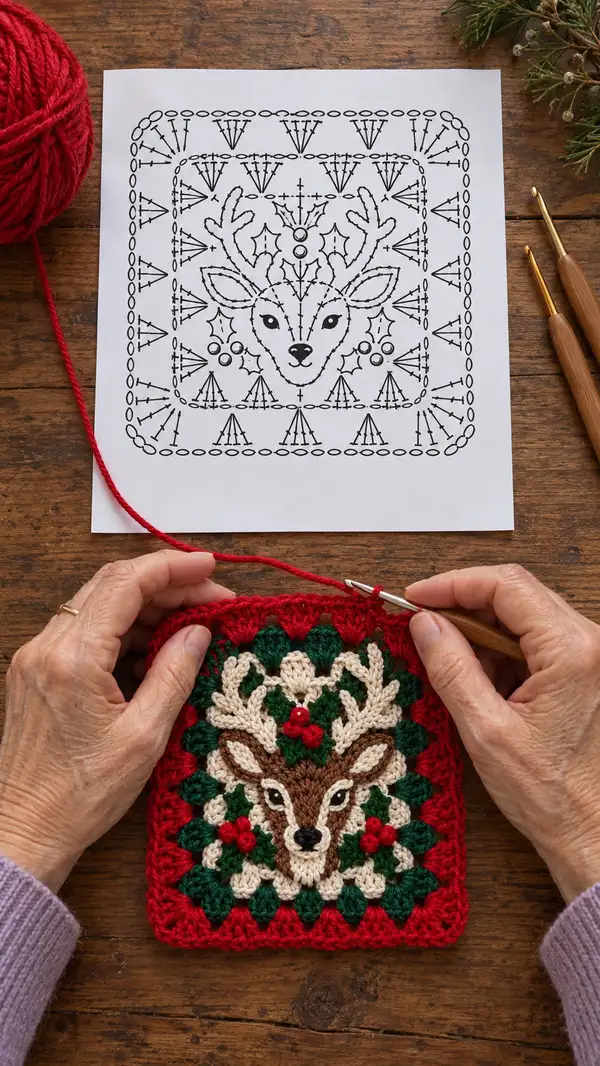
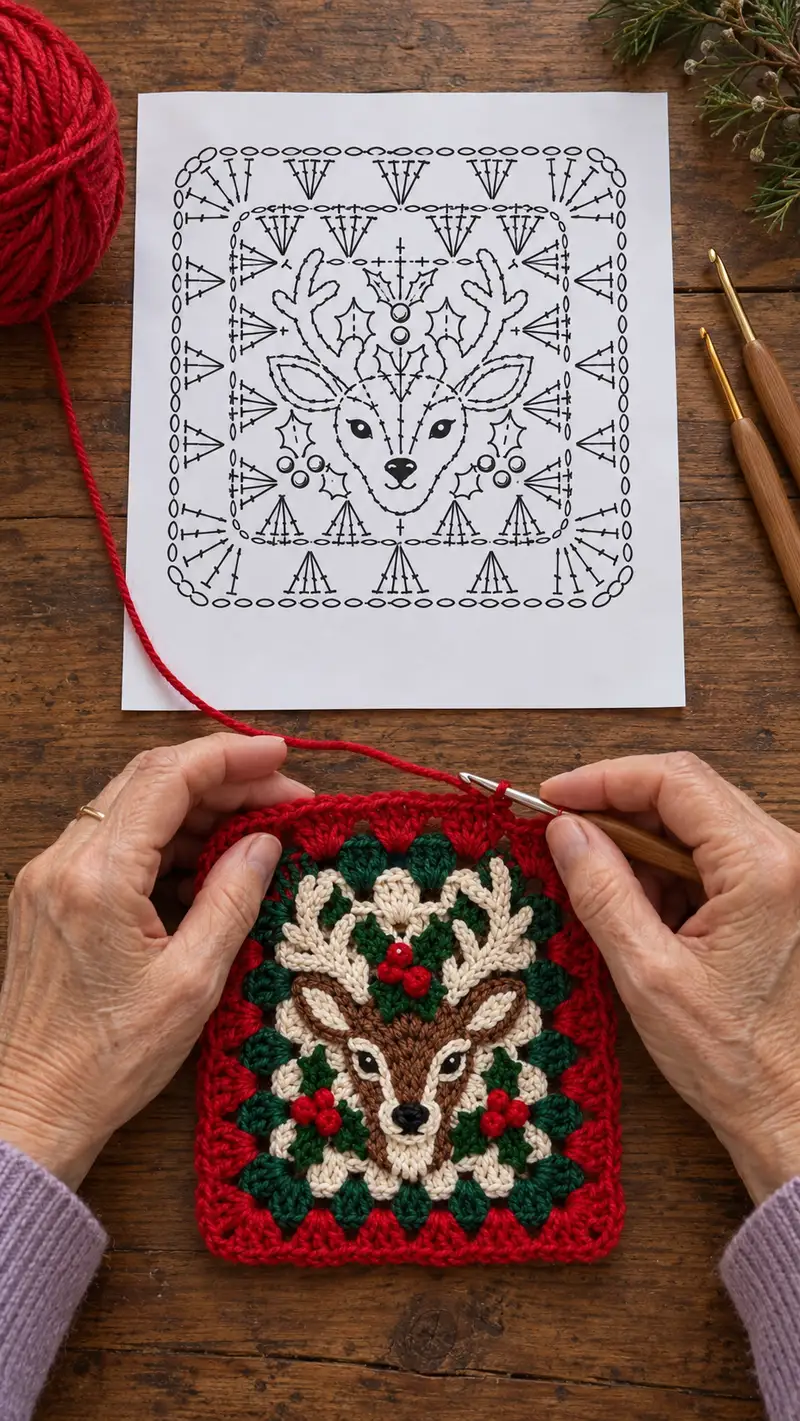
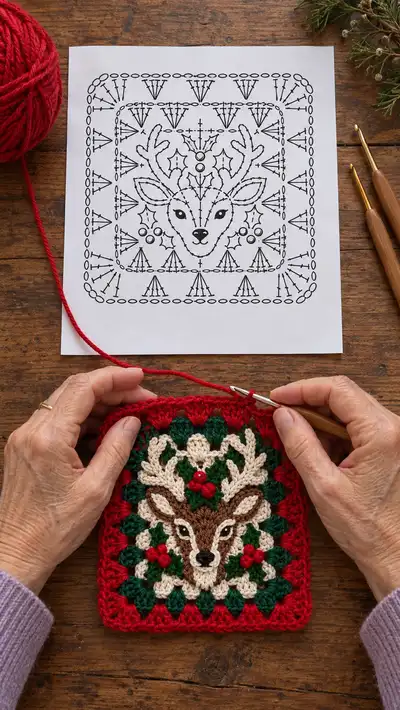
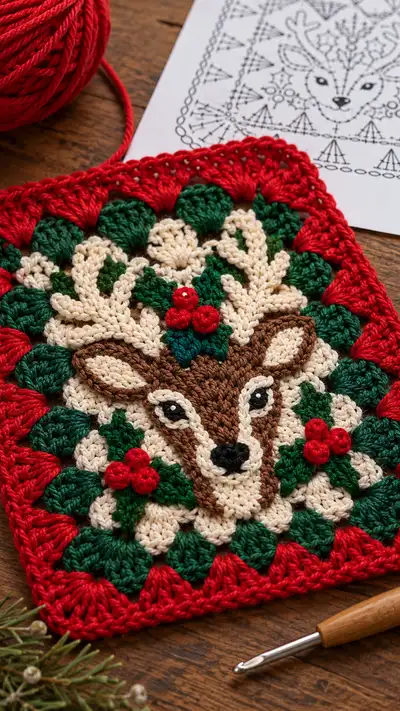
Create a richly textured festive square featuring a sweet reindeer face framed by holly and scalloped borders. This colorful motif combines overlay/applique shaping with granny-cluster rounds for depth, and crisp color changes for classic holiday charm. Perfect as a decorative panel, cushion front, or wall hanging — the finished square highlights raised antlers, layered leaves and tiny berry bobbles. Detailed stitch-by-stitch instructions, placement tips and assembly notes guide you through each step.
Progress Tracker
0% Complete
— Notes & Gauge :
Info :
Work tightly for overlay/applique elements (use 3.0mm hook) and slightly looser for background granny rounds (3.5mm). Gauge is not critical but square should measure approximately 6" x 8" when using the yarns and hooks listed. Block gently to square if desired.
— Reindeer Face (Applique) :
Round 1 :
With chocolate brown (face base) work 6 sc in mr (6)
Round 3 :
(1 sc, inc) x 6 (18)
Round 4 :
(2 sc, inc) x 6 (24)
Round 5 :
(3 sc, inc) x 6 (30)
Round 6 :
1 sc in each st around (30)
Info :
These rounds form the rounded lower face. Keep hook tension slightly tight to allow later shaping of muzzle and cheek ridges.
Round 7 :
(4 sc, inc) x 6 (36)
Round 8 :
1 sc in each st around (36)
Round 9 :
(5 sc, inc) x 6 (42)
Info :
Switch to 3.0mm hook if you started with 3.5mm for finer facial details. Begin marking center top of this round as reference for eye placement.
Round 10 :
1 sc in each st around (42)
Round 11 :
(6 sc, inc) x 6 (48)
Info :
Place safety eyes now if using them: position eyes between rounds 10-11 and approximately 10-12 stitches apart depending on expression. For embroidered eyes, wait until later rounds for placement guidance.
Round 12 :
1 sc in each st around (48)
Round 13 :
(7 sc, inc) x 6 (54)
Round 14 :
1 sc in each st around (54)
Info :
To carve the deer muzzle shape, we will work a series of decreases on the mid and upper front; mark the front-most stitch to orient later rounds.
Round 15 :
(7 sc, dec) x 6 (48)
Round 16 :
(6 sc, dec) x 6 (42)
Round 17 :
(5 sc, dec) x 6 (36)
Info :
Begin shaping the nose bridge by pulling slightly on stitches and using surface slip-stitch shaping later. Start a small amount of stuffing at rounds 17-18 if you want a slightly raised face; keep stuffing minimal to maintain flatness.
Round 18 :
(4 sc, dec) x 6 (30)
Round 19 :
(3 sc, dec) x 6 (24)
Round 20 :
1 sc in each st around (24)
Round 21 :
(2 sc, dec) x 6 (18)
Round 22 :
(1 sc, dec) x 6 (12)
Info :
Fasten off chocolate brown leaving a long tail for sewing the applique to the cream background later. Weave tail under the bottom stitches to help form a slight chin if desired.
— Facial Contrast Panels (Cream Highlights) :
Round 1 :
With cream, ch 2, 6 sc in second ch from hook (6)
Round 3 :
(1 sc, inc) x 6 (18)
Round 4 :
(2 sc, inc) x 6 (24)
Round 5 :
1 sc in each st around (24)
Info :
This lighter panel will form the muzzle and inner eye surround. Shape it into an elongated oval by working extra rows on one side before sewing onto the brown face; leave long tail for sewing.
Round 6 :
Work 6 sc across half of the round (12), then ch 1 and turn to create a small flap for the muzzle tip. Work 1 sc in next 6 sts (12 total displayed as two halves)
Round 7-10 :
1 sc in each st (12) fasten off leaving long tail for sewing and shaping
— Eye Applique (Make 2) :
Round 1 :
With black, mr, 6 sc in mr (6)
Round 3 :
1 sc in each st (12)
Info :
Sew white highlight (tiny french knot yarn or a small vertical stitch) to each eye after attaching to the face. For safety eyes omit these and use 8mm safety eyes placed between face rounds indicated earlier.
Round 4 :
Decrease slightly by (3 sc, dec) x 3 (9) to give almond shape; fasten off leaving long tail
— Ears (Make 2) :
Round 1 :
With chocolate brown ch 4, 1 sc in 2nd ch from hook, 1 sc in next, 3 sc in last; continue along opposite side of chain: 1 sc in next, 1 sc in next (total 8) (8)
Round 2 :
Inc into tip and base to shape: (1 sc, inc, 3 sc, inc, 1 sc) (10)
Round 3 :
1 sc in each st around (10)
Round 4 :
(1 sc, dec, 3 sc, dec, 1 sc) (8)
Round 5 :
Fasten off leaving long tail for sewing; optional lining: with cream sew inner ear oval made by 6 sc in mr and 1-2 rounds to fit inside ear and sew in place
— Antlers (Make 2) :
Round 1 :
With brown, mr, 6 sc in mr (6)
Round 3 :
(1 sc, inc) x 6 (18)
Round 4 :
1 sc in each st around (18)
Round 5 :
Begin branch shaping: *sc 3, ch 3, sl st into 3rd ch to form a tine, sc 3 into main round* repeat twice along the front section (stitch count remains 18 but work will create branches)
Round 6 :
1 sc in each st (18)
Round 7 :
Form second set of tines: sc 2, ch 3, sl st into 3rd ch, sc 4 across main round, repeat (18)
Info :
Antlers are worked flat and slightly raised by surface slip-stitching later. Add very small stuffing at their base only if you want more lift. Leaves of tines are created with short ch loops and sl sts.
Round 8-12 :
1 sc in each st around (18) fasten off leaving long tail for sewing to head. Repeat for second antler.
— Holly Leaves (Make 6) :
Round 1 :
With forest green ch 6, sl st into 2nd ch from hook, hdc in next, dc in next, tr in next, dc in next, hdc in next, sl st into base to form pointed leaf (counts are based on chains not st totals)
Round 2 :
Work along the edge: *sl st, hdc, dc, tr, dc, hdc, sl st* to create a scalloped edge; fasten off leaving long tail for sewing
Info :
Sew three leaves as a group for each holly cluster; position two clusters lower sides and one cluster above head between antlers. Use pins and count stitches from center to keep symmetry.
— Berry Bobbles (Make 9 small berries) :
Round 1 :
With bright red, mr, 6 sc in mr (6)
Round 2 :
Form small bobble: (yo, insert, pull up loop) x 5, yo and draw through all loops, ch 1 to lock (creates small puff). Fasten off leaving short tail to sew. Make 3 berries per cluster.
Info :
Stuff each berry very lightly with a tiny bit of fiberfill before closing if you want roundness. Use a yarn tail to stitch the berries together in clusters of three.
— Background Center Petals & Granny Clusters :
Round 1 :
With cream, mr, ch2, 12 hdc in mr (12)
Round 2 :
Work (2 hdc in next st) x 12 (24)
Round 3 :
Switch to forest green for petal contrast. *ch3, skip 1 st, dc in next* around creating 12 petals. Join with sl st to first ch3 (12 petals)
Round 4 :
Change to cream. In each ch3 sp work (3 dc, ch2, 3 dc) to make small cluster petals (12 clusters). Join (96 dc plus ch2 spaces effectively forming circular square corners for next expansion)
Info :
This center assembly becomes the background on which the reindeer applique will be sewn. Ensure the center is flat — block it before applique attachment if needed.
Round 5 :
Change to green: ch3 (counts as dc), work 2 dc in same ch sp, *skip to next cluster, 3 dc in ch2 sp* repeat around forming a wide circular daisy (approx 36 dc)
Round 6 :
With cream, *chain 3, join with sl st to create corner chain spaces to convert round to square: working sets of (3 dc, ch2, 3 dc) into each of 4 corner spaces created and (3 dc) into side spaces so that total counts balance to square format (estimate 4 corners + 4 side clusters) – aim for 48 sts across sides
Round 7 :
Work classic granny clusters to expand square: In each side sp work (3 dc, ch2, 3 dc). At corners work (3 dc, ch2, 3 dc) leaving chain-2 corners. Repeat to build the square evenly; count increases so that side cluster repeat is equal on all four sides.
Round 8-14 :
Continue in rounds converting circular motif into square using (3 dc cluster) style with alternating colors per row to create depth: alternate cream and green every round. After Round 14 you will have a square approximately 12-14 clusters across the widest point.
Info :
Because the applique will be attached to the center, pause after Round 14 and pin the reindeer face in place to check centering. Use the marked stitch from the face center to align with the center of the square.
— Integrating Applique to Background :
Info :
Place reindeer face in the center of the background square. Use pins to hold while you baste with a sewing needle and matching thread/yarn tail. Sew around the outermost brown face stitches through the cream background, using small whip stitches to secure smoothly. Ensure ears sit above the face and antlers align with top center.
Round 1 :
After sewing, with cream carry one round of single crochet around the sewn edge to lock applique in place: 1 sc in each visible st around the face (approx 54 sc) fasten off
Info :
Sew on eyes now if using appliqued eyes; place white highlight and embroider small lashes if desired. Attach cream muzzle piece centered on lower face and sew tightly; stitch around the boundary to blend edges.
— Attaching Antlers, Ears, Leaves & Berries :
Info :
Pin antlers symmetrically above the eyes, approximately 6-8 stitches apart from the center depending on your face size. Use the long tails to stitch through face and background — enter through face base and exit through background to hide ends.
Info :
Sew ears slightly to the sides and above the eyes. Position holly leaf clusters beneath antlers and at lower sides, stitching leaf bases to the background but also catch a few face stitches for a layered look. Secure berry clusters on top of leaf groups with a few stitches each.
— Decorative Surface Stitching & Nose :
Round 1 :
With black and yarn needle embroider small triangular nose centered on the muzzle: use satin stitch to fill a 6-stitch wide nose base, tapering to a point (approx 8-10 vertical embroidery passes). Secure ends inside the face.
Round 2 :
With black work a short vertical line down from nose center and two tiny stitches to suggest nostrils; optionally add a tiny white french knot for a wet-nose highlight.
Info :
Use surface slip stitch with cream along cheek edges to emphasize the lighter facial panels. Add a few short surface stitches above the eyes to shape brows if desired.
— Outer Cluster Rows & Colorwork (Green Ring) :
Round 1 :
With forest green, join into any side ch2 corner and work (3 dc, ch2, 3 dc) in each corner and (3 dc) in each side cluster space, placing ch1 between cluster sets around to create a defined green ring (counts vary by square size; aim for equal cluster numbers per side)
Round 2 :
With green continue one round of (3 dc in each cluster) to bulk out ring and create ledges for holly leaves; work evenly placing 3 dc clusters across sides (maintain square shape)
Info :
This green ring forms the wreath-like border around the reindeer and visually separates the cream inner field from the red outer border. Keep tension consistent for even cluster height.
— Red Outer Scallops & Shell Border :
Round 1 :
Change to deep red. In each side cluster space work: *ch1, skip 1, (5 dc) shell into next sp, ch1, sl st into next sp* across sides; at corners work shells with ch2 corners to preserve square (shells create the scalloped look)
Round 2 :
Work 1 sc into each stitch and 2 sc into chain spaces between shells to stabilize the scallops (this will even out counts and create a firm edge). Fasten off and weave in ends.
Info :
Optional extra round: work a final round of 1 sc in each st BLO around square to create a neat raised ridge before final scallop round. This produces the framed look seen in the photo.
— Finishing Edge - Picot & Slip Round :
Round 1 :
With red join and work 1 sc in each st around. At each shell peak work *sc, ch3, sl st into base of ch3 to make a picot* to create small points along scallops (fasten off after full round)
Info :
Weave in all ends on the back side. Block the square lightly to even edges and flatten applique. Use light steam with pressing cloth if desired.
— Finishing Touches & Optional Variations :
Info :
Add small metallic beads into berry centers for sparkle, use slightly lighter brown for inner antlers for highlight, or add tiny embroidered snowflakes around the border. To make a cushion, work a second square exactly the same and whip stitch together leaving an opening for stuffing.
You did it — you created a festive, richly textured reindeer square that’s perfect for holiday decor, cushions, or framed art! 🍂🧶 Each carefully attached leaf, berry and antler adds personality and seasonal charm. Take a moment to admire your layering and colorwork — this piece makes a beautiful handmade gift or a cozy accent for your home. Share a photo and celebrate your stitches — happy crocheting! 🎁