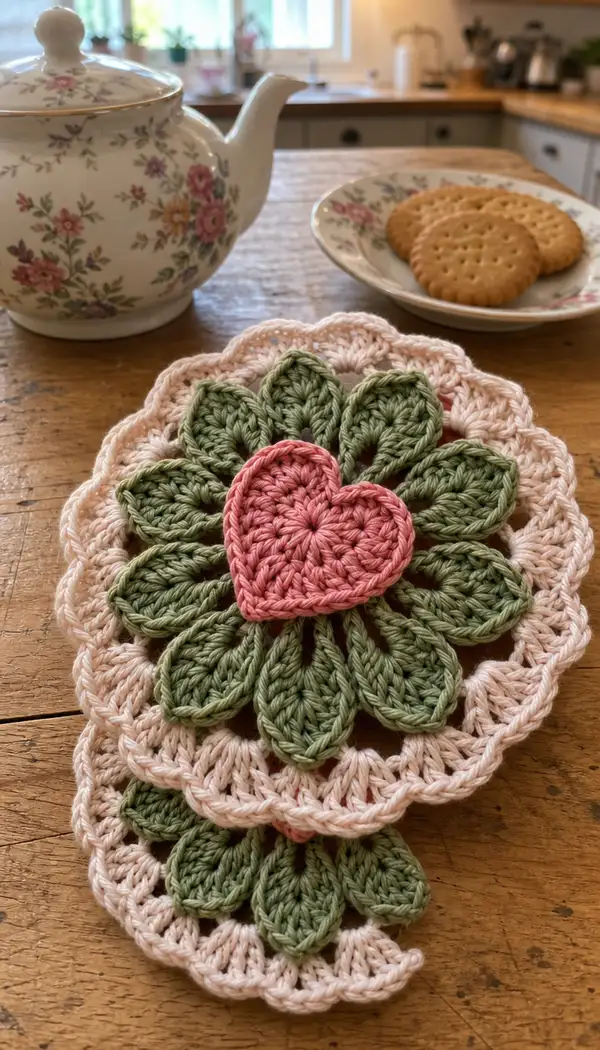
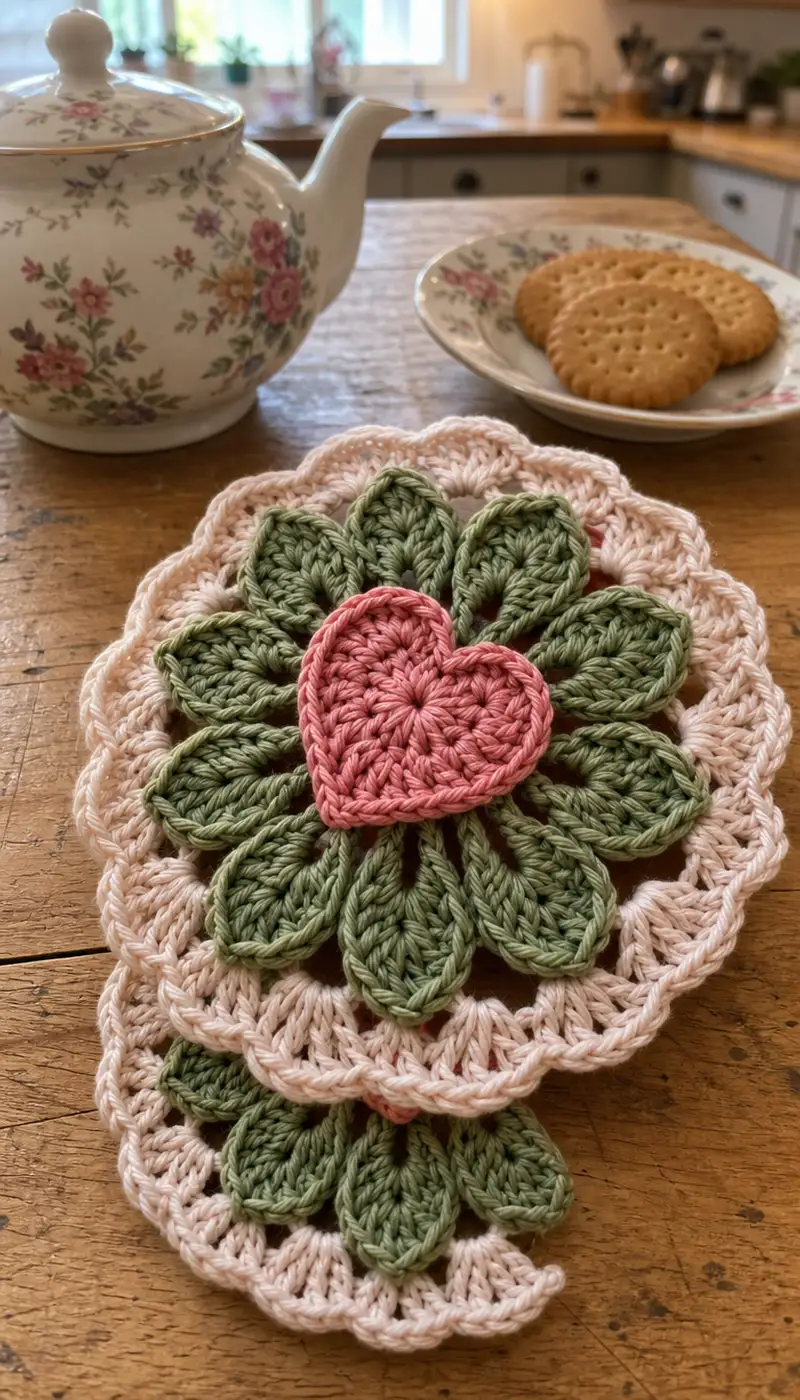
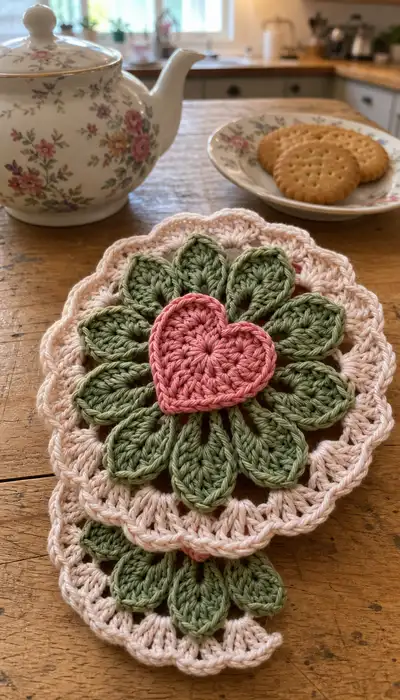
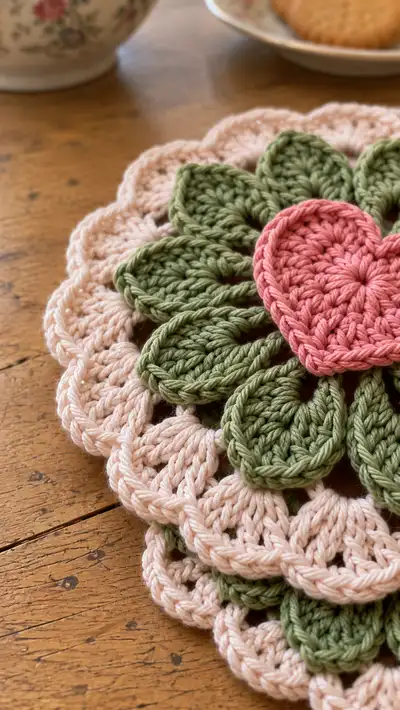
A layered floral doily with a sweet crochet heart center, delicate green petal ring, and soft scalloped pink border. Worked in cotton for a crisp, vintage look — perfect as a coaster or decorative accent. The design features 12 raised petals radiating from a textured heart center and a lacy double scallop edge. Finished piece lies flat with gentle 3D petals for a charming, handcrafted table accent.
Progress Tracker
0% Complete
— Center Heart (Applique) :
Round 1 :
With dusty rose yarn, make a magic ring, ch2 (counts as first hdc), 7 hdc into ring, pull tight and join with sl st to top of first hdc (8 hdc total). Fasten place marker to track rounds if desired.
Round 2 :
Ch2, 1 hdc in same st, 2 hdc in next, 1 hdc in next, (move to form left lobe) in same st as last hdc do (2 hdc, ch2, 2 hdc) to make first lobe; continue around making small lobes: 1 hdc in next, 2 hdc in next, 1 hdc in next, (2 hdc, ch2, 2 hdc) for second lobe, join with sl st to top of first hdc. You should have formed two rounded lobes at the top and a pointed lower section. (Visual note: this forms the heart curvature; counts vary depending on spacing — keep shape symmetrical.)
Info :
The heart center is intentionally shallow and worked small so it sits slightly raised above the petal ring. Keep tension even; if your heart looks too small, work an extra round of even hdc before shaping lobes.
Round 3 :
Ch1, sc evenly around the entire heart edge inserting 2 sc into the chain spaces that form the lobes so the curve remains smooth. Approximate stitch count should be 24-28 sc depending on previous increases. Join with sl st to first sc.
Round 4 :
Ch2, work 1 hdc in each sc around, placing 2 hdc into the two corner/lobe apex stitches to maintain the heart curve. (24-30 hdc). Finish with sl st to join.
Info :
Optional: If you prefer a slightly puffier heart, add an extra round of hdc or switch to dc for one round. For a flatter applique, stop after Round 3 and weave in ends. Keep the heart small enough to sit within the petal ring (about 6–7 cm wide when using worsted cotton and 4.0mm hook).
Round 6 :
Ch1, sc in each st around for a neat edge. Make sure to sl st into the base where needed to keep the heart symmetrical. Join and fasten off, leaving a long tail for sewing the heart to the center (approx 25–30 cm).
Info :
Block the heart lightly if desired: dampen slightly, pin to shape on blocking mat and let dry to keep curves smooth and edges even. We will sew the heart onto the petal ring after constructing the ring and petals.
— Inner Center Ring (Foundation for Petals) :
Round 1 :
With olive green yarn, make a magic ring, ch3 (counts as first dc), 11 dc into ring, pull tight and join with sl st to top of ch3 (12 dc total). This small round forms the anchor for petal clusters.
Round 2 :
Ch1, sc in same st, *ch3, skip 1 st, sc in next* repeat around to create 12 ch-3 loops around the circle. Join with sl st to first sc. These ch-3 spaces are where we will attach petal bases. (12 sc and 12 ch-3 spaces)
Info :
Place a stitch marker at the beginning of this round so you can keep track of the 12 evenly spaced loops; these become the anchor points for the raised petals. If your spacing seems off, gently stretch the round and reposition.
Round 3 :
Ch1, sc in each sc around and sc into each ch-3 space once. This tightens the ring slightly and gives a firmer base for petals (approx 36 sts including spaces).
Info :
We will make petals into each ch-3 loop. Work tension evenly; do not pull the center too tight or the petals will tilt upwards unnaturally. If needed, block this ring flat before adding petals.
— Petal (Leaf) — Make 12 :
Round 1 :
Working into one ch-3 space from previous section: join olive yarn with sl st in ch-3 space, ch1, sc into same space to anchor. (This is Petal 1 foundation.)
Round 2 :
Ch6 (counts as turning chain and base for elongated petal), sc into 2nd ch from hook, hdc in next ch, dc in next 2 ch, tr in last ch (creating a long chain). Now work back along the chain into the corresponding loops: dc in next 2 ch, hdc in next ch, sc in next ch, sl st into the base sc. This creates a single layered petal with a full, tapered shape. (Petal formed in one round; counts are chain-based.)
Info :
The petal shape uses taller stitches at the center and decreases toward the tip for a tapered leaf appearance. Keep the turning chain loose enough so the tip lays flat; if petal leans, reduce hook size by half a size when making petals only.
Round 4 :
Optional Decorative Row: ch1, sc around the edge of the finished petal working 1 sc in each stitch along the shaping edge (approx 12 sc around petal). Sl st to join. This gives a neat raised edge and helps the leaf hold shape. Fasten off and weave in ends for this petal.
Round 5 :
Repeat Rounds 1–4 into each of the remaining 11 ch-3 loops to make a total of 12 petals. After making all petals, there will be a ring of twelve raised leaf shapes anchored to the inner ring.
Info :
Make sure each petal is worked in the same direction and attached uniformly to avoid petals that twist. When you have made 4–6 petals, lay the motif flat to preview and adjust spacing. Use stitch markers to mark every third petal position so you can ensure even placement of the outer scallops later.
— Petal Reinforcement & Decorative Ridge :
Round 1 :
Join olive yarn in any sc between two petals, ch1, *sc in the space between petals, ch4, sc in next seam* repeat around to create 12 ch-4 picot-like reinforcement loops between petals. Join with sl st. These loops give a delicate lace effect and reinforce gaps.
Round 2 :
Ch2, hdc in same st and in each sc around including the top of each petal base; work 2 hdc into the apex of each petal where the base meets the center ring (this lifts and supports the petal). Approx stitch count will be around 36–42 hdc depending on petal edging choices.
Info :
Stuffing note: these petals are flat and do not require stuffing. If you want a more sculpted look, slip a tiny bit of fibrefill under each petal tip and tack down with a few invisible stitches from the underside.
Round 3 :
Ch1, sc in each hdc around to smooth the ridge; join and fasten off olive yarn if you plan to switch to blush for the outer scallop. Leave long tail for sewing if you prefer to sew outer scallop rather than join by working into stitches.
— Joining Heart to Petal Ring :
Info :
Position the dusty rose heart over the center of the green petal ring. The heart should closely overlap the central ring; align so heart point sits between two bottom petals for a balanced look. Pin or hold center in place before sewing.
Round 1 :
Thread long tail from the heart onto a yarn needle and whip-stitch the heart to the green base through the back loops only of the heart edge and the top loops of the green ring. Use small, even stitches and hide knots on the underside. Secure with a double knot and weave ends across the underside of the motif.
Info :
For an invisible finish, use matching dusty rose thread to sew through the hdc round of the heart and only the top loops of the inner green ring so stitches are not visible from the front. Alternatively use a few tidy sl sts if you prefer less sewing.
— Outer Scallop Round 1 (Blush Pink) :
Round 1 :
Join blush pink yarn in the space at the base of any petal with a sl st, ch3 (counts as dc), 2 dc in same space, *skip to the base between next two petals and work 3 dc in the space between petal bases* repeat around to create 12 small 3-dc shells. Join with sl st to top of ch3. (36 dc total: 12 shells x 3 dc)
Round 2 :
Ch1, sc in each dc and sc around the shells to even the edge (approx 36 sc). This evens out the shell bases and prepares for larger scallops. Join and place a marker at the join to keep track of the start.
Info :
If your shells are uneven, try adjusting tension or insert the hook under both loops of the shell base to distribute stitches evenly. The sc round tames the shell edges so the next round scallops sit evenly.
Round 3 :
Ch4 (counts as tr + ch1), tr in next sc, ch1, skip 1 sc, *(3 tr, ch1, skip 1 sc) in next sc* around to create 12 elongated scallop arches. Join with sl st to 3rd ch of starting ch4. These ch1 spaces form the arches that will be filled with shell clusters next.
Info :
This round sets up larger scallops — keep tension consistent and work stitches loosely enough on tall tr stitches so the scallops don't pull the motif into a wave. Use a slightly larger hook (4.5mm) for this round if your fabric is too tight.
Round 5 :
Into each arch created by the ch1 spaces: work (sc, hdc, 5 dc, hdc, sc) all into the arch space. This forms a full scallop shell. Repeat in each arch around (12 scallops). Join and fasten off blush yarn if you plan to add another layered scallop.
Round 6 :
Ch1, sc around the outer edge of each scallop placing 3 sc into the top of each scallop shell for a neat ridge (approx 60–72 sc depending on shell stitch count). Join and weave in ends or leave for later finishing.
— Outer Scallop Round 2 (Double Scallop Layer) :
Round 1 :
Rejoin blush yarn in the top of any scallop shell, ch3, 2 dc into same top, skip next 2 sc, *(3 dc, ch2, 3 dc) into next top of scallop* repeat around to create a larger double-layered shell that overlaps the previous scallops. Join with sl st. This gives the double ruffled border visible in the sample.
Round 2 :
Ch1, sc into the ch2 space and into the dc stitches to anchor the bigger scallop. Work evenly to keep the outer edge flat. Approximate stitch count will be around 72–84 stitches depending on how many sc you place around each scallop.
Info :
At this point, place the motif on a flat surface to check the scallop symmetry. If the edge waves, remove the last scallop round and adjust increase spacing (skip one fewer stitch between shells). Blocking with pins will also help flatten and set the double scallop edge.
Round 3 :
For a decorative finish, work a final edging round: *ch3, sl st into same st to make small picots along each scallop top*, or work a neat sc round placing 2 sc into the peak of each large scallop. Join and fasten off. Weave in all ends neatly on the underside, trimming close.
— Tail Motif and Small Leaf Sprig (Optional Hanging Tail) :
Round 1 :
If you want the cascading leaf tail (as pictured), work a chain of 18–24 ch from one scallop join point, then slip stitch to the center of each small ch loop to make 3–4 tiny leaf clusters along the tail: join green yarn, ch6, sc back into chain to form a mini petal, fasten off; repeat along the chain at chosen intervals to create small leaf sprigs.
Info :
These tiny leaf sprigs add a trailing accent similar to the photographed piece. Keep them small and flat so they do not weigh down the doily. For a sturdier tail, reinforce the chain by running an invisible thread below the chain base before attaching sprigs.
— Finishing Techniques & Blocking :
Info :
Weave in all loose ends by threading tails onto a yarn needle and weaving through the underside stitches of the motif at least 3 cm before trimming to prevent unraveling. For an especially neat underside, bury ends into the inner ring and tie a small secure knot then weave the knot under several stitches.
Info :
Blocking: wet-block the finished motif by lightly dampening with a spray bottle or submerging briefly then pinning to a clean blocking mat in the exact shape you desire. Pin each petal tip and each scallop peak, stretching gently until the outer scallop is even. Allow to dry completely before unpinning. Use rust-proof pins.
Info :
Optional backing: if you plan to use this piece as a coaster, consider sewing a small circle of felt to the underside to protect surfaces and stabilize the flat center. Use a matching color and whip-stitch through the outer sc rounds to attach the felt.
Info :
Care instructions: hand wash gently in cool water with mild detergent. Reshape and pin flat to dry. Store flat to preserve scallops and petal shape.
— Variant Notes & Scaling Up :
Info :
You can scale the motif up or down by changing yarn weight and hook size. For a larger centerpiece, use cotton aran (#5) and a 5.5mm hook and increase chain lengths in the petals and number of dc in scallops proportionally. For a smaller coaster, use sport weight (#2) yarn and a 3.0mm hook and reduce chain lengths in petals by 1–2 chains.
Info :
Color suggestions: try a neutral cream for the scallop with teal petals and a coral heart, or golden outer scallop with sage petals for a vintage autumn look. Try ombre yarn for a playful gradient across the scallop rounds.
Info :
Edge reinforcement: if you find scallops are too floppy, work an additional sc round in a slightly smaller hook into the back loop only to create a supportive ridge that stabilizes the edge.
Completing this floral heart doily is such a sweet and satisfying experience — each petal and scallop layers into a pretty, vintage-inspired accent. The heart center adds a charming focal point while the raised petals create delightful texture. It’s a fast project with big charm, perfect for gifting or brightening a cozy tea table. 🧶💗