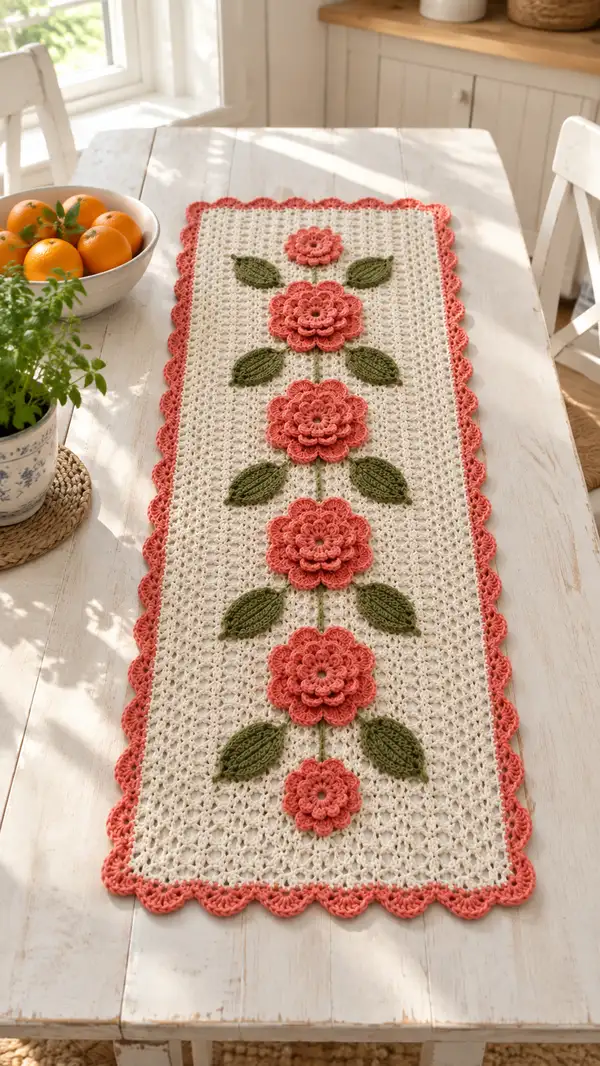
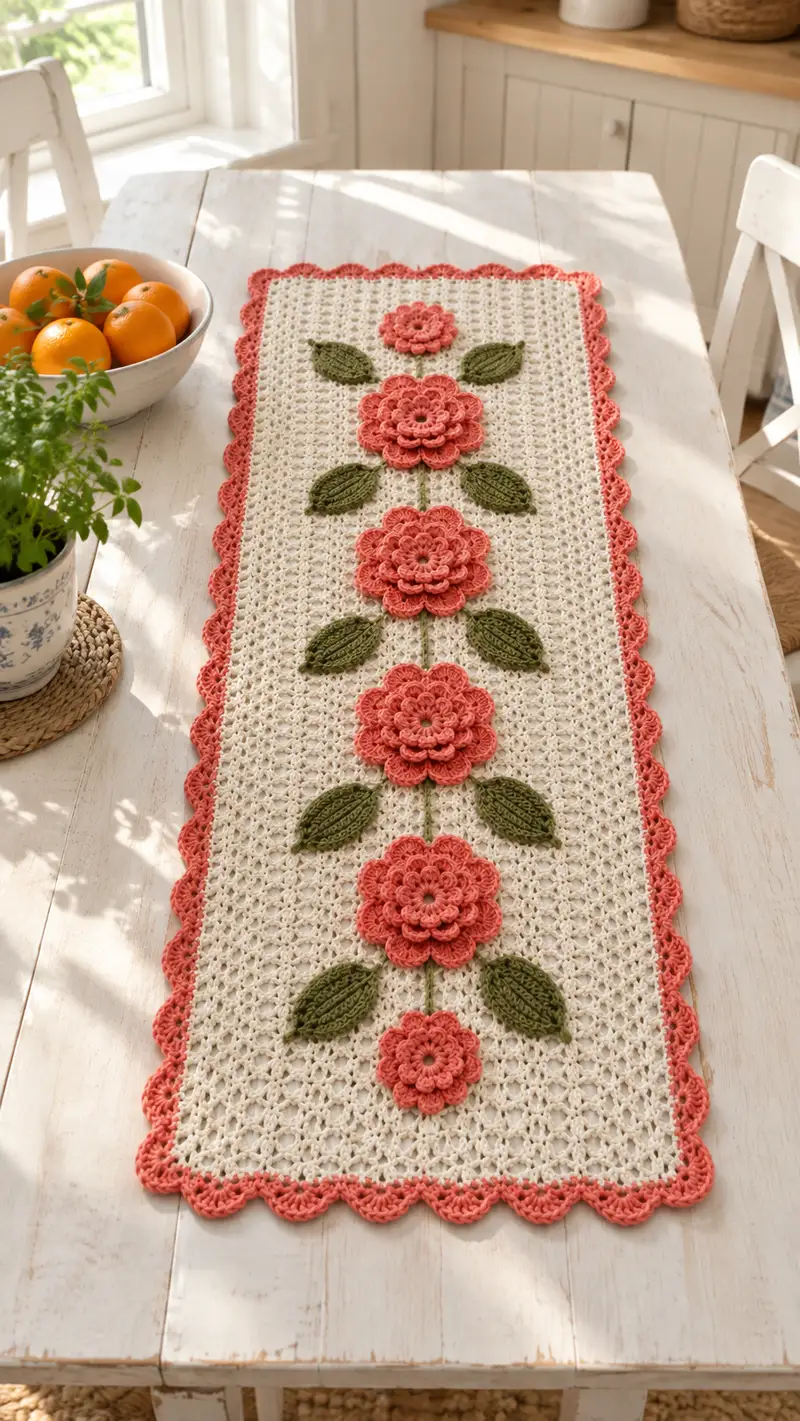
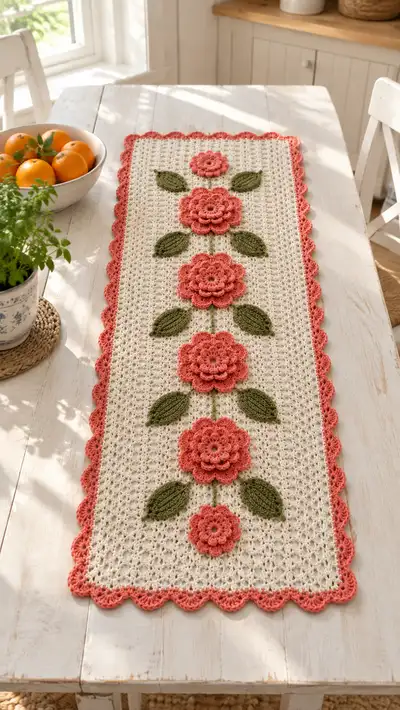
A delicate rectangular table runner featuring a lacy cream mesh ground, scalloped coral border and layered three-dimensional coral flowers with olive-green leaves. The runner has five floral motifs aligned down the center and a scalloped edge in contrasting coral for a warm, vintage-inspired look. Perfect for a sunny kitchen table or as a seasonal centerpiece, this pattern combines simple mesh stitches with assembled floral appliques for an elegant handmade accent.
Progress Tracker
0% Complete
— Overview & Gauge :
Info :
Finished size approximately 12" wide x 42" long (30cm x 107cm) using worsted weight yarn and 4.0mm hook. Gauge for mesh: 10 V-stitch repeats (measured across) = approximately 4" (10cm); adjust foundation chain to alter width. The pattern is worked flat for the mesh and motifs are made separately and sewn on.
Info :
Terminology: we work rows across for the mesh and rounds for motifs. Throughout the mesh section 'Round' refers to rows (flat). Mark the first stitch of each row with a pin or marker. Block mesh fully before attaching motifs to get accurate alignment.
— Materials & Foundation :
Round 1 :
Base foundation: Ch 123. (This is 3 + (2 x 60) so you have 60 V-stitch repeats across the width.)
Info :
If you prefer a wider runner, increase the foundation chain by 2 for each extra V-stitch repeat. Maintain the 3-chain turning beginning.
— Center Mesh (Main Ground) :
Round 1 (Row 1) :
Working in cream yarn: Ch 3 (counts as first dc). Dc in 4th ch from hook. *Ch 1, sk 1 ch, dc in next ch; repeat from * across to last ch. End with dc in last chain. Total: 60 dc and 59 ch-1 spaces (60 V positions across).
Round 2 (Row 2) :
Ch 3, turn. Dc in same top of turning ch. *In next ch-1 space: (dc, ch 1, dc) making a V-stitch; repeat across into each ch-1 space; finish with dc in top of turning ch. (60 V-stitches across)
Round 3 :
Ch 3, turn. Dc in top of ch-3. *In each ch-1 space work (dc, ch 1, dc); repeat across; finish with dc in top of turning ch. (60 V-stitches across)
Info :
Keep tension even. Use a stitch marker to note the first V-stitch of each row if it helps. The V-stitches stack vertically to form open columns for a lacy diamond effect when blocked.
Round 4-12 :
Repeat Row 3 for a total of 12 rows worked so far (60 V-stitches across each row). (Maintain 60 V-stitches; mesh builds vertically.)
Info :
After 12 rows, check width and squareness. Blocking after finishing the full mesh is recommended, but you may pin periodically to keep edges straight.
Round 13-24 :
Continue repeating the V-stitch row pattern (Ch 3, turn, dc in turning chain top, (dc,ch1,dc) in each ch-1 space across, finish with dc in turning ch). Work Rows 13 through 24 maintaining 60 V-stitches per row. These rows extend the runner towards the midpoint height.
Info :
At this stage you will have 24 rows total. Place temporary pins to mark where central motif placements will go: five floral centers spaced evenly along the length with at least 6-8 rows between them for lily spacing. The pattern here places five motif centers roughly at rows 6, 14, 22, 30, and 38 of the final mesh; exact placement will be adjusted later after completing full mesh.
Round 25-36 :
Work Rows 25 through 36 repeating the V-stitch pattern. Count carefully; remain at 60 V-stitches per row. At the end of Row 36 you will be approximately mid-length of the intended runner roughly 36 rows tall. (60 V-stitches across each row)
Info :
If you would like a longer runner, continue additional V-stitch rows in multiples of the motif spacing (work additional 8-row increments per extra motif spacing) before starting border rounds. Keep blockable edges by making turning chains consistent.
Round 37-48 :
Continue repeating the mesh row (Rows 37 through 48). Keep consistent stitch count (60 V-stitches across). After Row 48 you should be approaching the lower motif area; leave space for final bottom motifs and edge rows.
Info :
Final mesh length in this pattern uses 48 total mesh rows before edging is started. If your yarn or tension differs, you may work to desired total length before trimming and edging.
Round 49-60 :
Complete Rows 49 through 60 repeating the same V-stitch row. This completes the flat mesh panel for this pattern sample at 60 rows high with 60 V-stitch repeats across. Fasten off and weave in any running ends temporarily; do not trim appliques yarns yet if you plan to change colors for edging.
Info :
Lightly steam-block or wet-block the mesh rectangle to the final 12" x 42" (30cm x 107cm) measurements, pinning the edges straight and keeping V-stitch alignment square. Allow to dry completely before applique placement.
— Flower Motif (Large Rosette) : make 3
Round 1 :
Using coral yarn: Make a magic ring. Ch 1, work 8 sc into ring. Pull ring closed. (8)
Round 2 :
(Increase) *Inc in each st around: (2 sc in each st) x 8. (16)
Round 3 :
(Sc, inc) x 8 = (1 sc, 2 sc in next) repeat 8 times: (24)
Round 4 :
Ch 1, *sl st in next st, ch 3, (dc, tr, dc) in next st to form small petal cluster; sl st in following st; repeat around to make 8 small petals; finish with sl st to first sl st. (8 petals)
Info :
Petal cluster creates a textured base. Keep petals evenly spaced by counting stitches carefully. Adjust tension to keep petals sit flat rather than curling.
Round 5 :
Ch 1, *work in space behind each petal: (sc, hdc, 3 dc, hdc, sc) in the base space behind each petal to create a fuller petal; repeat for 8 petals; sl st to join. (8 larger petals).
Round 6 :
Ch 1, *in the space between larger petals: ch 4, sl st to base to create small picot loops; repeat around to add lace between petals. Finish with sl st. (8 picot loops)
Round 7 :
Change to a slightly tighter tension or 3.5mm hook if you prefer crisper petals. Ch 2, *3 dc in the outer edge of each large petal, ch 2, sl st to next petal edge; repeat to form a ruffled outer row of petals (24 dc groups total across 8 petal positions). Finish with sl st. (ruffle round)
Round 8 :
Ch 1, *in each ruffle group work (sc, inc, sc) into the center stitch of the 3-dc group to create added height; repeat around to define petals. Finish and fasten off leaving a long tail for sewing. (24 small scallops)
Info :
For large flowers, make three identical rosettes. For a layered look, consider making a second, slightly smaller rosette by repeating Rounds 1–6 and stacking it on top of the larger base (see assembly).
— Flower Motif (Medium Rosette) : make 2
Round 1 :
Magic ring, ch 1, 8 sc in ring. Pull closed. (8)
Round 2 :
(Sc, inc) x 8 = 12 sc. (12)
Round 3 :
Ch 1, *sl st, ch 3, (dc, dc) in next st to create a three-stitch petal; sl st; repeat around to make 6 petals; finish with sl st. (6 petals)
Round 4 :
Work 1 sc around base to stabilize, then work *5 dc in each petal base; sl st between petals; finish and fasten off leaving long tail for sewing. (6 fuller petals)
Info :
Make two medium rosettes to act as intermediate layers. Stack them between large and small motifs for visual variety.
— Flower Motif (Small Rosette) : make 2
Round 1 :
Magic ring, ch 1, 6 sc in ring. Pull closed. (6)
Round 2 :
(Sc, inc) x 3 = 9 sc. (9)
Round 3 :
Ch 1, *sl st, ch 2, (dc) in next st to make small petals; repeat to make 3 small petals; finish and fasten off leaving long tail. (3 tiny petals)
Info :
Two small rosettes are used at each end of the runner to balance the composition. They should be proportionally smaller than the central florals so place them with smaller gaps to the nearest large flower.
— Leaf Motif : make 8
Round 1 :
With olive yarn: Ch 10. In 2nd ch from hook: Sc, hdc, dc, hdc, sc across to end of chain; now working back up the other side of the chain: sc, sl st to join at starting point to form a flat oval leaf base. Fasten off. (approx 10 sts across base)
Round 2 :
Re-join at base mid-point: Ch 1, work (sc, hdc, 3 dc, hdc, sc) around the outer edge to create a defined leaf. Finish with sl st and fasten off leaving a sewing tail.
Round 3 :
To add central vein: With contrasting olive (same color), use surface slip stitch or embroidery directly down the center of leaf placing raised line: *Insert hook at the base center, pull up a loop, sl st along the center of leaf working 6-8 sl sts to the tip; fasten and weave in ends. Repeat for all leaves.
Info :
Make 8 leaves in total: two for each large flower cluster and one leaf for the small flowers if desired. Leaves are mounted flat and slightly overlapped at the base of flower placements.
— Stem (Surface Crochet) :
Round 1 :
Once mesh is blocked and dry: Using olive yarn with a yarn needle or a hook, work a surface slip-stitch chain from the center of the top small flower placement down the length to the bottom small flower placement, passing through the mesh rows. Work a centered vertical line by inserting the hook from RS to WS at the starting point and pulling yarn through, then working slip stitches along the center of V-stitch columns to create a raised stem. Length will be approximately the vertical distance across the mesh and should pass through the centers of the five floral placements.
Info :
Make the stem continuous for a natural look. Secure ends on the WS with a few stitches and weave tails in. Adjust tension of surface slip stitches so the stem lays flat and does not pull the mesh.
— Assembly of Flower Layers :
Round 1 :
Position the large rosettes three across the central stem: place one near upper third, one centered, and one near lower third. Pin in place through the outermost round of petals. Use the long tails to whip-stitch each rosette to the mesh at multiple evenly-spaced points around the base (approx 8 to 12 stitches per flower) so petals sit flat but retain dimension.
Round 2 :
Stack the medium rosettes on top of the large ones to add depth. Use 4-6 stitches through the center of the medium rosette into the larger bottom rosette and into the mesh to secure the layers. Fasten off and weave in yarn tails on WS.
Round 3 :
Attach small rosettes at top and bottom positions to balance the design. Sew through the center and a few side points to secure. Space leaves evenly around each large and medium cluster: two leaves per large cluster at 45-degree angles from the stem; one leaf for each small rosette if desired.
Info :
Take care not to pull the mesh out of shape while sewing. Work from RS and check placement frequently. If a flower sits too flat, add a tiny bit of stuffing under the center before closing to give gentle dome shape.
— Leaf & Stem Final Details :
Round 1 :
Sew leaves to the mesh at the base of each flower using long sewing tails: insert needle through leaf base and mesh around the stem area and back through the leaf base several times to secure. Angle leaves slightly for a natural look. Make sure to secure the leaf tip with 1-2 hidden stitches to the mesh so it lays flat.
Info :
To create subtle shadowing, use a slightly thinner yarn for the leaf vein or a darker olive and embroider a center vein with a few long sl sts. Repeat for all 8 leaves.
— Scalloped Border (Edging) :
Info :
Edging is worked in coral yarn around the entire blocked mesh rectangle. Work in rounds around the rectangle with corners worked evenly to maintain scallop continuity. Join coral yarn at a corner and work the edging around the perimeter.
Round 1 :
With coral, join with sl st at any corner point. Ch 1, work 1 row of sc evenly around the rectangle, placing 3 sc in each corner row to maintain a smooth turn. Keep sc spacing approximately matching the count across. Fasten off and weave in ends if you prefer a smaller base for scallops.
Round 2 :
Re-join coral at any corner: *Ch 3, skip 1 sc, sl st in next sc; repeat across to create small picots around the edge. This is a preparation round to create spaces for scallops. At corners make (ch 3, sl st, ch 3) to create buffer. Finish with sl st and continue to scallop row.
Round 3 :
Scallop round: *Work (5 dc, ch 2, 5 dc) all into designated picot space to form a shell scallop; sl st into next spacing between sc groups; repeat across each side and make (5 dc, ch 2, 5 dc) at corners to keep scallop continuity. Fasten off and weave in tails. This creates the pronounced shell border visible in the image.
Info :
If scallops look too large relative to runner width, reduce to (4 dc, ch 2, 4 dc) per scallop or work 4 shells per side spacing accordingly. Maintain symmetry by counting scallops per side so both long edges match exactly.
— Finishing Touches :
Round 1 :
Weave in all ends on the WS carefully using a yarn needle. Clip any stray fibers. Re-block the completed runner flat to final measurements and let dry fully to set scallops and appliques.
Round 2 :
Optional: Attach a tiny crocheted center button or yarn-knot in a contrasting tone to the center of each rosette for a finished look; sew these on securely and hide tails on the WS.
Info :
Press lightly or steam gently; avoid direct heavy iron pressure on appliques. Use blocking pins to ensure scallops are evenly shaped. Your runner is now ready to display.
Completing this runner ties together lacy mesh, dimensional florals, and a scalloped border into a charming tabletop accent. The process is meditative—stitching a little garden you can display for seasons to come. Enjoy blocking, sewing and seeing each flower come alive! 🌸🧶✨