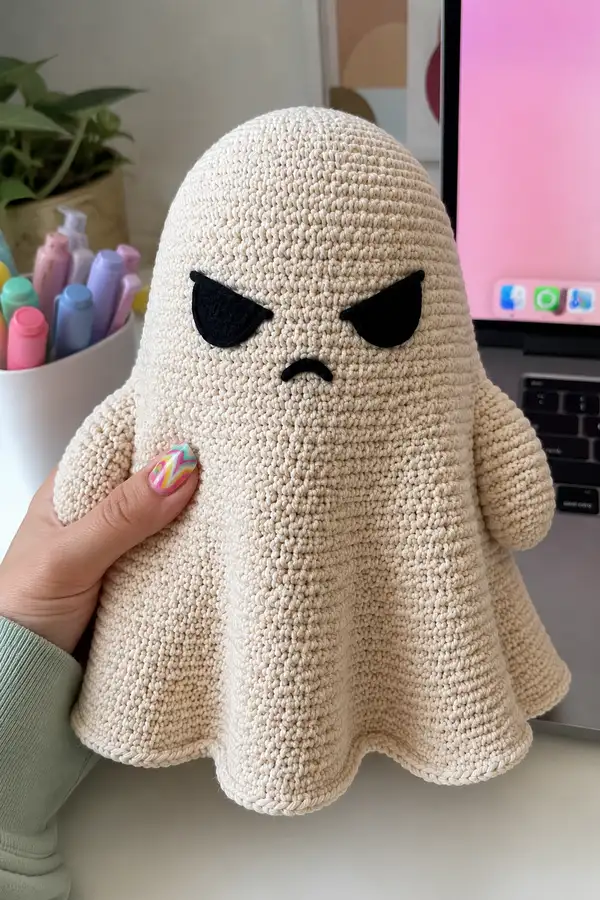
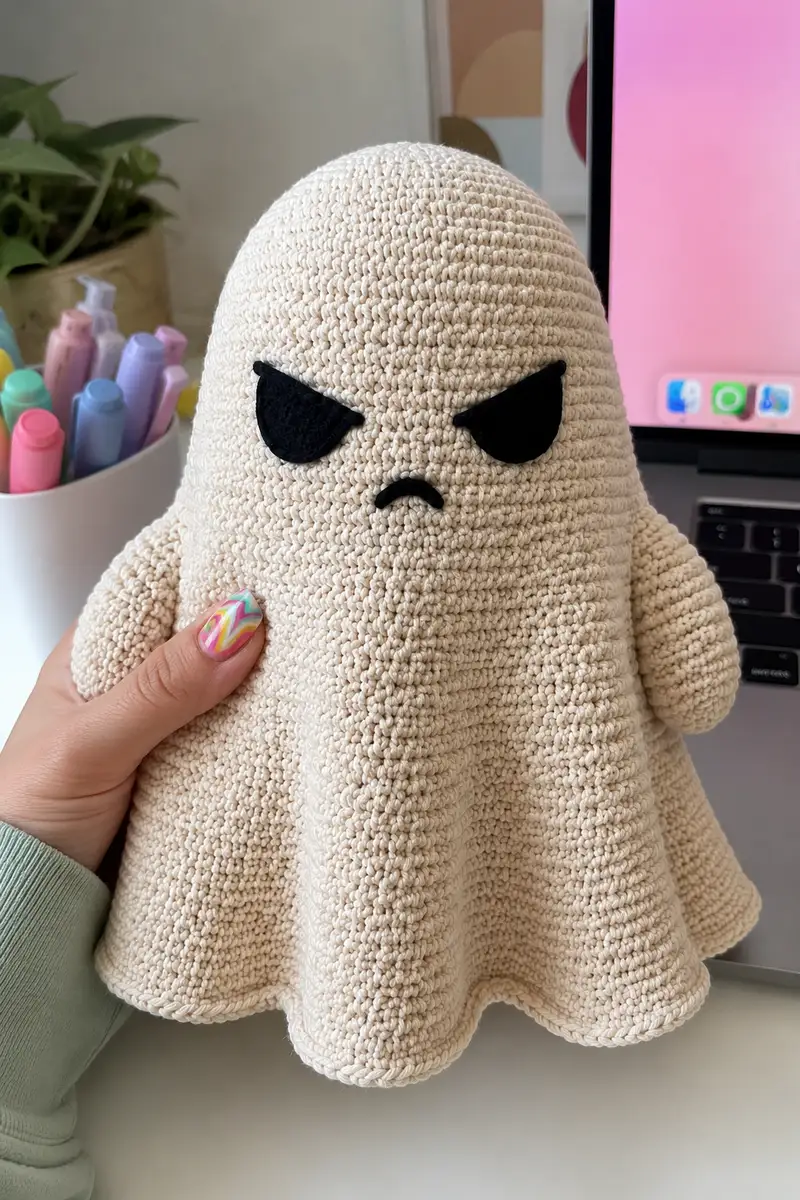
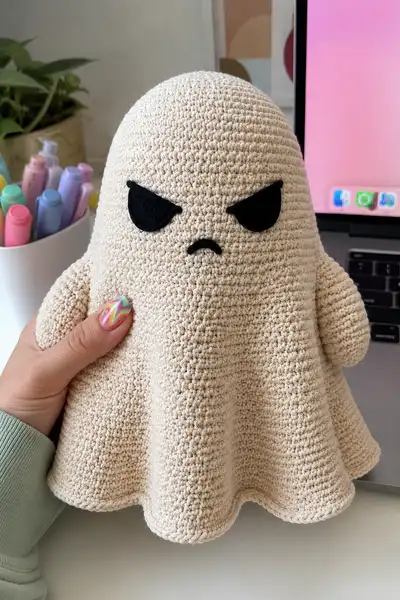
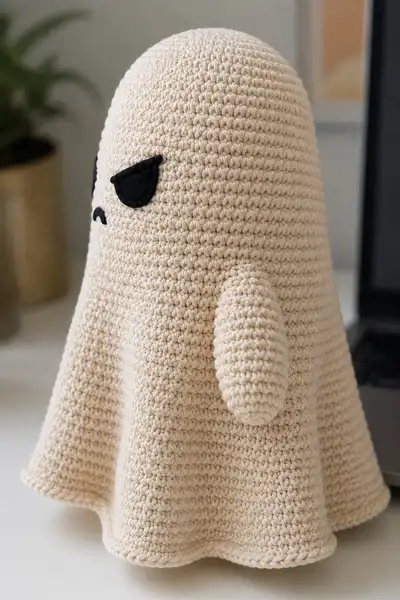
Make a cuddly, drapey Giant Grumpy Ghost amigurumi with a rounded dome head, soft flared skirt, tiny sausage arms, and dramatic felt eyes and mouth. Worked top-down in continuous rounds to create a single flowing silhouette, this plush uses simple shaping and a fun ruffled hem. The neutral cream body and bold black facial features give it a strong personality — perfect for spooky season or year-round quirky decor.
Progress Tracker
0% Complete
— Head :
Round 1 :
6 sc in magic ring (6)
Round 3 :
(1 sc, inc) x 6 (18)
Round 4 :
(2 sc, inc) x 6 (24)
Round 5 :
(3 sc, inc) x 6 (30)
Round 6 :
(4 sc, inc) x 6 (36)
Round 7-12 :
1 sc in each st (36) — work 6 rounds to form the dome height
Info :
Place safety eyes or mark eye placement between rounds 9-10 (if using safety eyes). For felt eyes, place pins on round 9-10 and mark 10-12 stitches apart depending on expression. Count from the center front to keep eyes symmetrical.
Round 13 :
(4 sc, dec) x 6 (30)
Round 14 :
(3 sc, dec) x 6 (24)
Round 15 :
(2 sc, dec) x 6 (18)
Info :
Begin stuffing the head firmly now. Use small pieces of fiberfill gently worked into the dome so the shape is smooth. Stuff gradually as you complete the next rounds to avoid lumps.
Round 16 :
(1 sc, dec) x 6 (12)
Info :
Do not close these 12 stitches. Leave them live — we will continue from this opening to form the body/skirt so the head transitions smoothly into the drape. Double-check eye placement now while the dome is stable and lightly stuffed.
— Body / Skirt (worked from head opening) :
Round 1 :
Join to the 12 live stitches from head round 16. (1 sc, inc) x 6 (18)
Round 2 :
(2 sc, inc) x 6 (24)
Round 3 :
(3 sc, inc) x 6 (30)
Round 4 :
(4 sc, inc) x 6 (36)
Round 5 :
(5 sc, inc) x 6 (42)
Round 6 :
(6 sc, inc) x 6 (48)
Info :
These rounds construct the small neck flare and begin opening the skirt. Work in continuous rounds with a stitch marker at the first stitch. Smooth the fabric with your hand to ensure stitches are even as the circumference increases.
Round 7 :
(7 sc, inc) x 6 (54)
Round 8 :
(8 sc, inc) x 6 (60)
Round 9 :
(9 sc, inc) x 6 (66)
Round 10 :
(10 sc, inc) x 6 (72)
Info :
At round 10 the skirt is a wide circle. If you prefer a more dramatic drape increase the repeats (for example work one extra round of increases) to make a larger skirt. Keep counts accurate: each 'x 6' corresponds to the six increase points created by the starting 6 segments of the neck.
Round 11-22 :
1 sc in each st (72) — work 12 rounds to build skirt length
Info :
These even rounds determine the length of the ghost. Try the piece on a vase or roll of paper to estimate final length and add or remove rounds as preferred. Keep tension even and avoid overstuffing the skirt — the skirt is intended to be soft and drapey rather than firmly stuffed.
Round 23 :
(4 sc, inc) x 12 (84)
Round 24 :
(5 sc, inc) x 12 (96)
Info :
Ruffles are formed by staged increases. The pair of increase rounds above create a gentle flare. If you want a subtler scallop do only one increase round; for an exaggerated ruffle add an additional increase round using the same logic (e.g., (6 sc, inc) x 12).
Round 25-34 :
1 sc in each st (96) — work 10 rounds to set the flared section
Info :
If your piece looks slightly tubular instead of sheet-like, block the skirt lightly by pinning it to a flat surface and misting with water, then let dry. This will encourage the flared hem to rest outward.
Round 35 :
Edge: *sc in next 2 sts, skip 1 st, 5 dc in next st, skip 1 st* rep around to create scalloped hem. Join with sl st and fasten off. (Note: stitch count will change slightly due to dc clusters but this is an edging only)
Info :
For the scalloped hem work into the top of a stitch, do 5 dc in the same stitch, then skip one stitch to force small waves. If you prefer a simpler finish, work 2-3 rounds of sc and then a final round in BLO to create a neat rolled edge instead.
— Arm (Make 2) :
Round 1 :
6 sc in magic ring (6)
Round 3-12 :
1 sc in each st (12) — work 10 rounds for arm length
Info :
The arms are short sausage shapes. If you want longer arms add extra even rounds here. Stuff the hand end firmly with small pieces of fiberfill to help the arm hold shape, then stuff the remainder more lightly for a softer look.
Round 13 :
(2 sc, dec) x 3 (9)
Round 14 :
(1 sc, dec) x 3 (6)
Round 15 :
1 sc in each st (6) — work 1-2 rounds if you want a slightly longer tapered shoulder
Info :
Fasten off leaving a long tail for sewing. Insert a light wire or pipe cleaner if you want poseable arms — fold the ends of wire back on themselves to avoid sharp points, then stuff around the wire so the shape remains soft but holds a bend.
— Felt Eyes & Mouth :
Info :
Cut two dramatic slanted teardrop shapes from black felt, each approximately 6-8 cm wide at the outer curve and 3-4 cm tall for this size of ghost. Cut a small downturned frown 2.5-3 cm wide for the mouth. Pin in place first to check position.
Info :
Suggested placement: measure from the crown center down to round 9-10 (about the widest part of the dome). Place each eye so the inner corners sit approximately 9-12 stitches apart across the center front. The mouth sits 4-6 rounds below the eye line centered between them.
Info :
Sew felt pieces on using small whip stitches in matching black thread for an invisible look, or blanket stitch around the edge for a decorative finish. If you prefer safety eyes or embroidered eyes, place and secure them before stuffing the head fully.
— Optional Internal Base :
Info :
To help the ghost stand, cut a small circle of plastic canvas or heavy cardstock approx 6-10 cm diameter (depending on final skirt size) and insert it into the skirt after several rounds of the body when the circumference is large enough. This makes the base more stable but is optional if you prefer a floppy drape.
— Finishing Details :
Info :
Weave in all ends through several rounds to hide them. Shape the skirt so scallops sit evenly. If you see gaps in the fabric where stuffing shows through, use a slightly smaller hook for tidier stitches next time or add a lining round with sl sts to tighten the fabric.
Info :
For the look in the photos the ghost is lightly starched around the hem or gently blocked to help the scallops open; mist lightly and pin to shape until dry. Be cautious with starch if the yarn is heat or water sensitive.
This Giant Grumpy Ghost is a playful mix of classic amigurumi shaping and whimsical personality — a little grumpy, very cuddly, and full of handmade charm. The flowing skirt and crisp felt face mean your finished friend will stand out on a shelf or desk. I hope you enjoy the gentle shaping and expressive details as much as I enjoyed designing it! 🧶👻