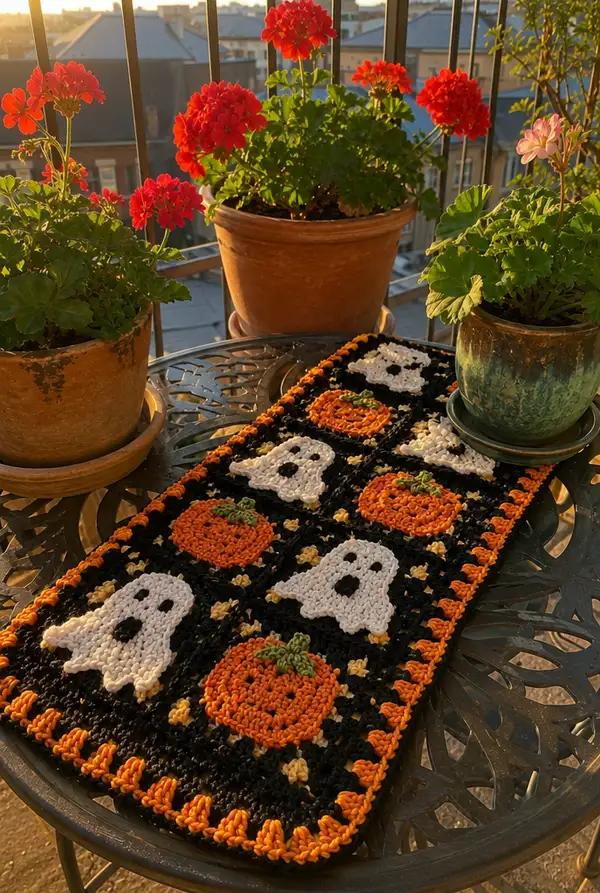
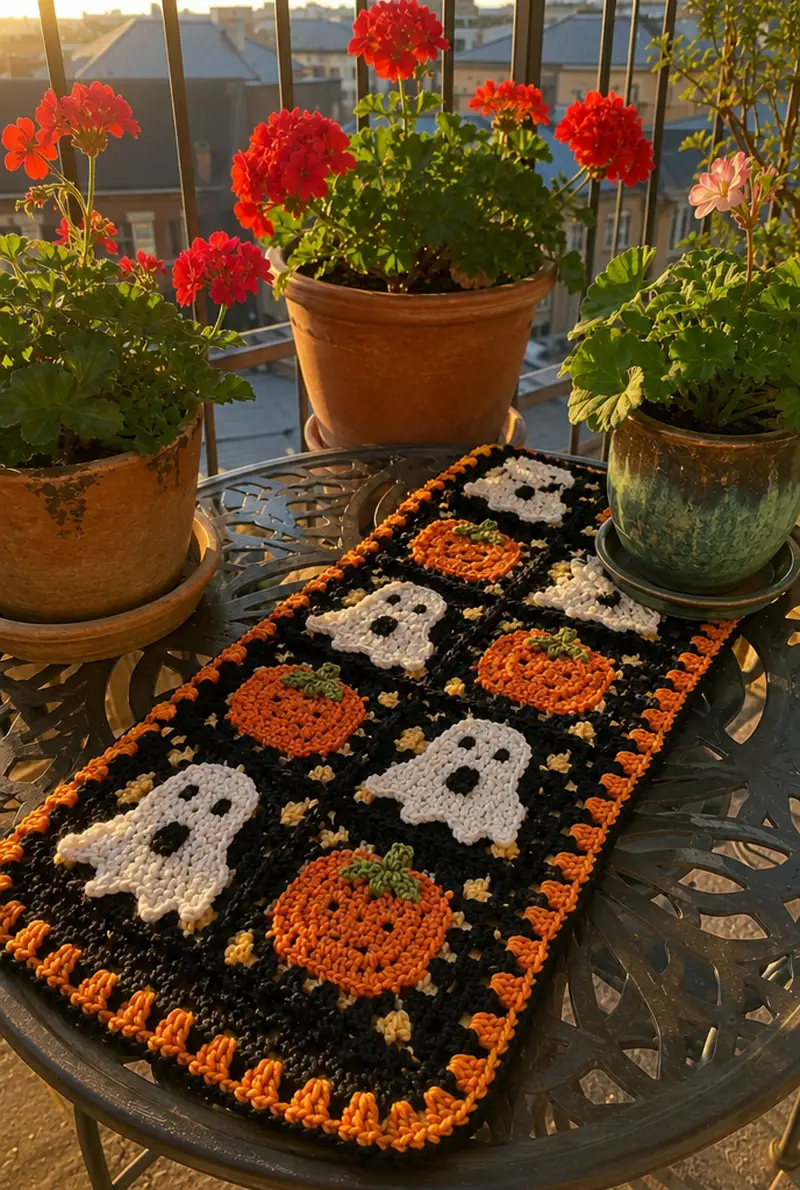
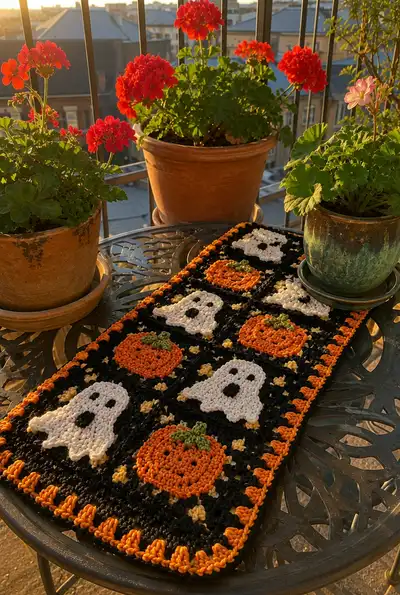
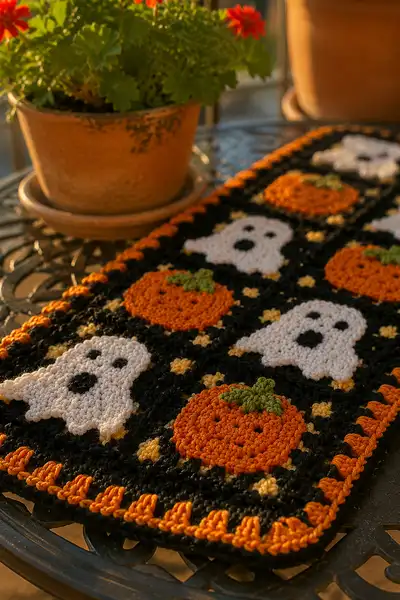
A cozy Halloween table runner made from 12 solid granny-style motifs featuring playful white ghosts and bright orange pumpkins set on a deep black grid. Textured stitches, tiny yellow star accents, and a bold orange scalloped border give this runner a handcrafted seasonal charm perfect for mantels and tables. The pattern uses worsted weight yarn, clear color-change instructions, and join-as-you-go assembly for a neat finished look.
Progress Tracker
0% Complete
— About the construction :
Info :
This runner is made from 12 identical solid motifs (3 columns by 4 rows). Make 12 base squares in black, then make 6 pumpkin appliques and 6 ghost appliques and sew or appliqued them into the center of alternating squares (ghost, pumpkin, ghost...). Join squares using join-as-you-go or a neat whipstitch. Finish with a multi-row scalloped border in orange and black and small golden star accents placed in the grid intersections.
— Solid Granny-Style Motif (Make 12) :
Round 1 :
6 sc in magic ring (6)
Round 3 :
(1 sc, inc) x 6 (18)
Round 4 :
(2 sc, inc) x 6 (24)
Round 5 :
(3 sc, inc) x 6 (30)
Round 6 :
(4 sc, inc) x 6 (36)
Round 7 :
(5 sc, inc) x 6 (42)
Round 8 :
(6 sc, inc) x 6 (48)
Info :
At this point you have a flat circular disc approx 48 sts around. The motif will be expanded and converted into a square frame over the next rounds. Use stitch marker at start of each round. Keep tension even for consistent motif size.
Round 9 :
1 sc in each st around (48)
Round 10 :
1 sc in each st around (48)
Round 11 :
1 sc in each st around (48)
Info :
These even rounds build height and stabilize the shape. Check gauge: each finished motif should be square-ish when blocked; if too small/large adjust hook accordingly. Place a temporary marker at 12, 24, 36 and 48th stitch to mark the four sides for the next round.
Round 12 :
Working with markers in place: *10 sc, (2 sc, ch2, 2 sc) in next st for corner* repeat 4 times (60)
Info :
The ch2 loop creates a corner space that will help square-up the motif. Each corner added 3 extra stitches; 4 corners = +12 stitches total. After this round the motif will begin to read as a soft square.
Round 13 :
1 sc in each st and into each ch2 corner loop around (60)
Round 14 :
1 sc in each st around (60)
Round 15 :
1 sc in each st BLO around to create a defined side ridge (60)
Info :
Working Round 15 in BLO makes a narrow ridge which gives a subtle frame for the applique and will help the black grid read cleanly. Keep all 12 motifs consistent and block them to a uniform square size before joining.
Round 16 :
1 sc in each st around (60)
Round 17 :
1 sc in each st around (60)
Round 18 :
Fasten off leaving a 12-18cm tail for joining. Weave in tail partially and leave remainder for join.
Info :
Make a total of 12 black motifs. Block each motif gently to the same measurements (for example 10.5cm square) so they will join evenly into a rectangular runner. If your motifs are slightly different in size, consider adding an extra thin round of sc to even them before joining.
— Ghost Applique (Make 6) :
Info :
Ghosts are worked flat in rounds to create a slightly scalloped bottom edge. Use white/cream worsted yarn and a slightly smaller hook (3.5mm) for a tight, neat applique. Optional: add a tiny bit of stuffing under the head if you prefer a slightly puffed look, but most versions are flat and sewn on.
Round 1 :
6 sc in magic ring (6)
Round 3 :
(1 sc, inc) x 6 (18)
Round 4 :
(2 sc, inc) x 6 (24)
Round 5 :
(3 sc, inc) x 6 (30)
Info :
Rounds 1-5 create a rounded head for the ghost. From here we will shape the body and scalloped bottom using short increases and selective rows to create the drippy base.
Round 6 :
1 sc in each st around (30)
Round 7 :
(4 sc, inc) x 5 + 1 sc (35)
Round 8 :
1 sc in each st around (35)
Round 9 :
(3 sc, inc) x 7 + 1 sc (43)
Info :
This round increases the width of the mid-body so the ghost will sit nicely on a square center. Count carefully. Marker the front-center stitch for facial placement (we will add eyes/mouth later).
Round 10 :
1 sc in each st around (43)
Round 11 :
1 sc in next 3 sts, *(sc, ch1, sc) in next st to make a small scallop; skip next st* repeat around to create scalloped bottom; adjust repeat so you finish with 6 scallops (approx 6 scallops) (approx 36-38)
Info :
The scalloped base is formed by working small shell elements across the lower edge. Work gently so the applique lays flat when sewn. If scallops draw in too tightly, replace ch1 with ch2 in shells for a looser scallop.
Round 12 :
Fasten off leaving long tail for sewing. Embroider eyes and mouth: use black yarn and a yarn needle to create two small horizontal ovals for eyes and a round 'O' for the mouth at the marked front-center. Place eyes about 3-5 sts apart depending on final size.
Info :
If you prefer safety eyes, sew applique onto square before inserting safety eyes (not recommended for small appliques). Otherwise embroidered features are safest and most expressive. Make 6 ghosts matching size and expression.
— Pumpkin Applique (Make 6) :
Info :
Pumpkins are worked flat in rounds with orange body and green stem/leaf detail. Use orange yarn for body and a small amount of green for stem. Work with 3.5-4.0mm hook depending on desired tightness.
Round 1 :
6 sc in magic ring (6)
Round 3 :
(1 sc, inc) x 6 (18)
Round 4 :
(2 sc, inc) x 6 (24)
Round 5 :
(3 sc, inc) x 6 (30)
Info :
These rounds form a round pumpkin base. To emphasize ribbing and shape, we will create shallow increases and then define a slightly flattened bottom so the pumpkin reads clearly when sewn to the square.
Round 6 :
1 sc in each st around (30)
Round 7 :
(4 sc, inc) x 5 + 1 sc (35)
Round 8 :
1 sc in each st around (35)
Round 9 :
(3 sc, inc) x 7 + 1 sc (43)
Info :
Round 9 creates the broadest part of the pumpkin. From here we will shape a slightly flattened lower edge to allow the stem to sit on top center.
Round 10 :
1 sc in each st around (43)
Round 11 :
Work across next 6 sts: sc, hdc in next, dc in next, hdc next, sc next to create a small raised ridge for pumpkin texture; repeat this 6 times spaced evenly around (43 unchanged stitch count)
Info :
Use stitch markers to evenly space the 6 vertical rib rises; these give the pumpkin a friendly, plump look and help it read on the black background. If you prefer a flatter pumpkin, skip the raised ridges and keep a simple sc round.
Round 12 :
Fasten off orange leaving a long tail for sewing. Join green yarn at top center and work 6 sc into a small magic ring for the stem, sl st to join, ch 3, work 3 sc into second ch from hook for a tiny leaf, fasten off leaving seam tail.
Info :
Sew stem to top center of pumpkin and tack pumpkin to motif center with matching long tail. Add a tiny bit of stuffing under the center before sewing for slight dimension, if desired. Make 6 pumpkins in total.
— Tiny Star Accent (Make 12) :
Round 1 :
4 sc in magic ring (4)
Round 2 :
*ch2, 3 sc into ring* repeat 4 times to make a small cross-like star (no increase count change, adjust as needed)
Round 3 :
Fasten off leaving tail for tack-down. These tiny stars are worked in golden yellow and are sewn into grid intersections between motifs.
Info :
Make 12-16 small stars depending on how many intersection points you want highlighted. They will be sewn on after joining the squares for precise placement.
— Join-As-You-Go Method for Grid (3 x 4 Layout) :
Info :
You may join squares by whipstitch or use join-as-you-go (JAYG). The following is a join-as-you-go method using single crochet joins in black so join lines read as a continuous lattice. Arrange your motifs in the desired layout and work join rounds on the live edge of each square as you add it.
Round 1 :
Hold square A (first square) with right side facing. Attach yarn at midpoint of first side and work 1 sc evenly around edge to place start marker (work approximately 15-16 sc per side to match counts). Fasten off.
Round 2 :
Place square B adjacent to square A (right sides facing outward). Join B to A by holding edges together and working sc through both layers across the meeting edge: sc through last loop of square B and corresponding stitch on square A. Continue until edge is joined. Repeat to create first row of 3 squares.
Round 3 :
When starting second row join, work sc across the top edge of each lower square and sc through bottom edge of corresponding upper square, aligning corners carefully. Use stitch markers at corner spaces for accuracy.
Info :
Keep joins neat by using consistent tension and by pinning neighboring squares together before joining. If using whipstitch instead, use mattress stitch for an invisible seam and hide tails on the wrong side.
Round 4 :
After all 12 squares are joined you will have a solid rectangle with visible seam lines. Weave in all long tails on the wrong side. Lay flat and block lightly again to square up joins.
Round 5 :
Use black yarn and, from the right side, sc into each join stitch along the interior grid lines to tidy any gaps and create a uniform lattice look. Work slowly and push stitches together so no light shows through the join lines.
Info :
Before finalizing the joins, place the pumpkin and ghost appliques centrally on alternate motifs (rows and columns as in the photo) and pin them in place. Ensure consistent orientation (ghost faces toward the same runner end) before sewing with long tail and mattress stitch.
— Border Edging (5 rounds main + decorative scallop) :
Round 1 :
With right side facing, join black at any corner and work 1 sc evenly around the entire runner edge. Place 3 sc in each corner space to maintain square corners. Work evenly to accommodate join seams. Count total stitches and note for next rounds (approximate count will vary by gauge; ensure corners have 3 sc).
Info :
Round 1 evens out the perimeter and creates a foundation for the decorative rounds. If your runner measures slightly different, alter number of sc between corners to keep corner spacing even.
Round 2 :
1 sc in each st around (same stitch count)
Round 3 :
Change to Orange yarn: 1 sc in each st around (same)
Info :
Changing to orange for the subsequent decorative scallops creates a vibrant edge contrast. Carry black yarn up the wrong side if you prefer fewer ends to weave in; otherwise fasten off black and join orange cleanly.
Round 4 :
With orange: *ch2, skip 2 sts, 5 dc in next st (shell), skip 2 sts, ch2, slip stitch into next stitch* repeat around to create spaced shells. Work 3 dc clusters into corner spaces to anchor scallops (stitch count will vary).
Round 5 :
Switch back to black: sc in each stitch around to tidy shell bases. Fasten off orange and weave tails on wrong side.
Round 6 :
Optional decorative ridge: Join orange again and work slip stitch loops across the edge: *ch3, sl st in next shell apex* repeat to make raised loops. Fasten off and weave tails.
Info :
Finish by placing golden yellow stars at grid intersections: use long tails from the tiny stars to tack them down on the right side so they appear in the black squares between motifs. Use a few invisible stitches under each star point to secure them flat.
— Finishing Touches :
Round 1 :
Check all joins and applique placements. Weave in any remaining tails securely on the wrong side through several stitches. Trim excess yarn close but not into the woven tail.
Round 2 :
Lightly block the entire runner to smooth shells and settle the joins—dampen slightly, pin straight on blocking mat to desired rectangular dimensions, and allow to dry fully.
Info :
Once dry, press lightly if necessary (use a cloth barrier) or steam gently. The blocking will give a crisp grid and ensure the runner lays flat on a table surface.
Round 3 :
Optional: Add a thin backing fabric cut to runner size glued or hand-stitched on the wrong side for extra durability and to hide seams. Use small running stitches around the perimeter through the sc border to attach.
Info :
Store your runner flat or rolled to avoid crease lines. Spot clean gently or hand wash in cool water and lay flat to dry to maintain shape and colors over time.
Finishing this runner is such a satisfying project — the contrast of black, orange, white and golden yellow reads beautifully in warm evening light! Each motif comes together quickly, and the join-as-you-go method gives a tidy grid with minimal finishing work. I love placing it on my table for autumn evenings; it feels both festive and handmade. Happy stitching and enjoy the cozy seasonal charm of your new runner! 🎃🕯️