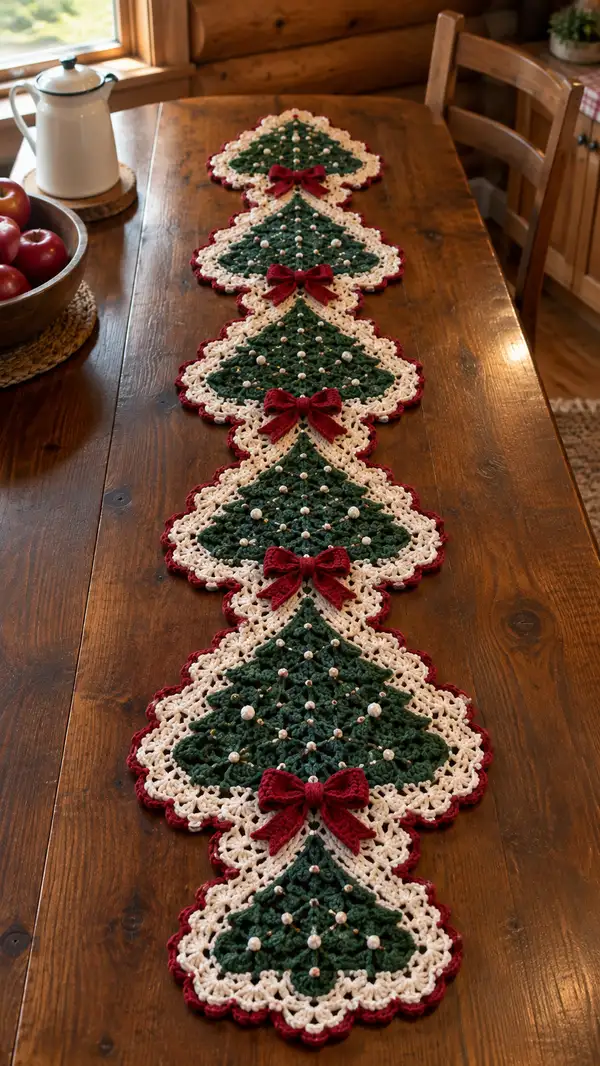
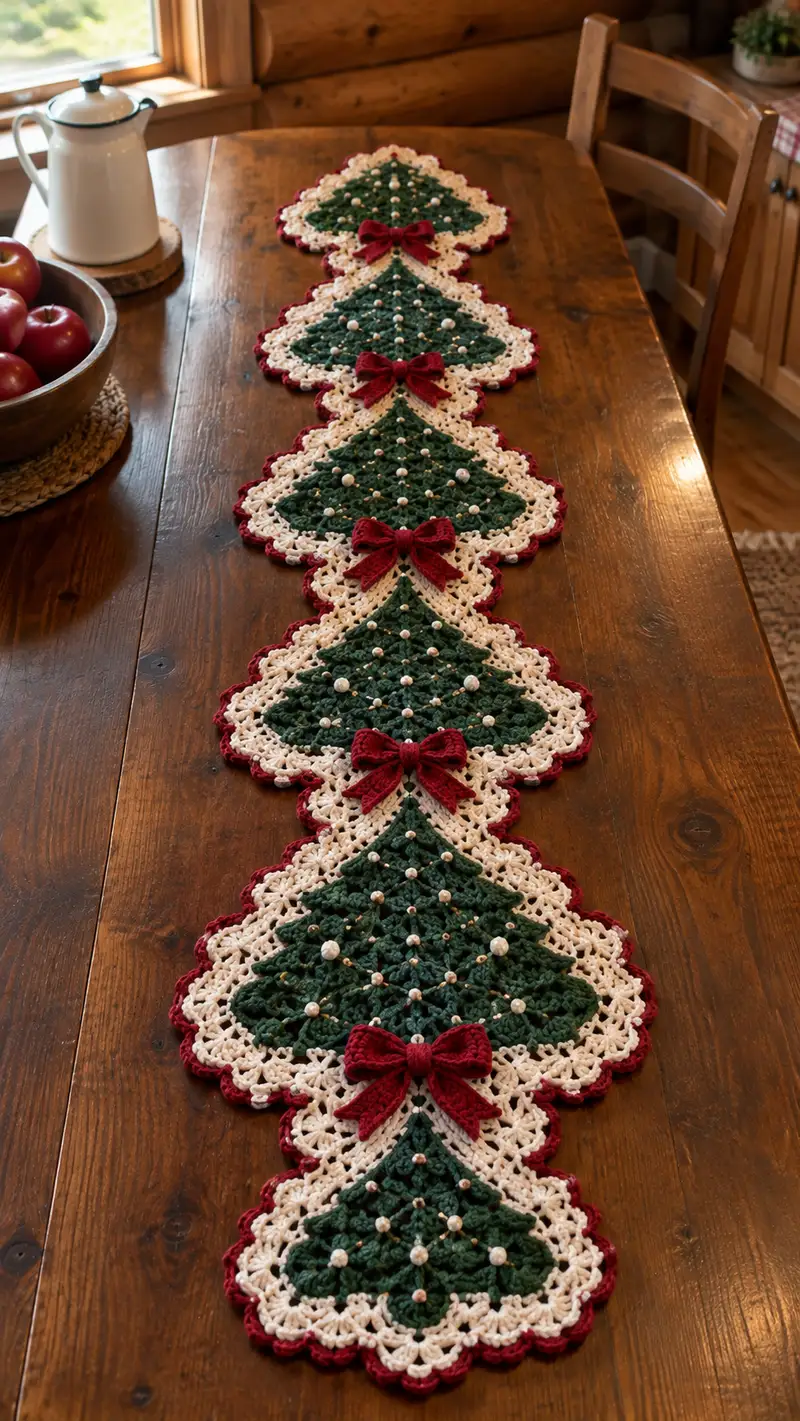
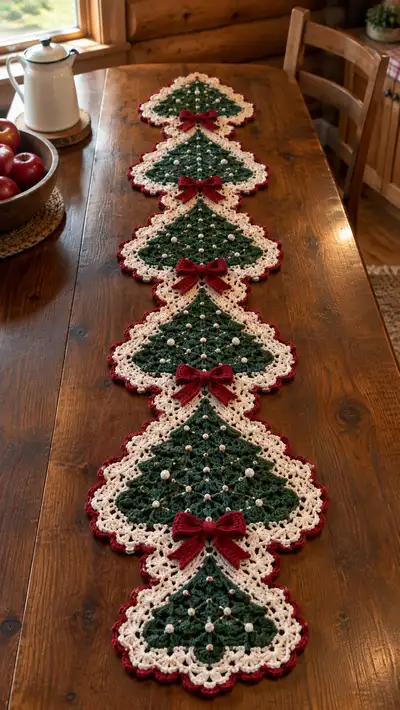
Create a charming holiday table runner made from repeated Christmas tree motifs edged in cream and finished with a deep red scallop and bows. This pattern shows how to crochet each tree-shaped motif, add a delicate lacy border, join motifs into a runner, and embellish with pearl-like beads and bows for a vintage farmhouse look. The finished runner is long, elegant, and perfect for centerpieces or holiday gatherings.
Progress Tracker
0% Complete
— Materials & Gauge :
Info :
Use worsted weight yarn (#4). Gauge is not critical for this decorative runner, but for consistency aim for approx 12 dc x 6 rows = 10 cm in green worked in pattern stitch. Use a 4.0mm hook for the main motifs and a 3.5mm hook for crisp edging and bows. Block motifs to flatten before joining.
— Tree Motif (make 6-8 motifs depending on runner length) :
Note :
Each motif is worked in concentric rounds starting with a small ring and expanding into a stylized triangular tree form by using carefully placed increases and chain spaces to create three points. Counts are multiples of six to keep symmetry; rounds will use clusters and chains for lacy texture.
Round 1 :
6 sc in magic ring (6)
Round 3 :
(1 sc, 1 inc) x 6 (18)
Round 4 :
(2 sc, 1 inc) x 6 (24)
Round 5 :
(3 sc, 1 inc) x 6 (30)
Info :
Change to deep green yarn now if you started in a provisional color. This early increase section builds a compact center that will later be shaped into the tree profile using clusters; keep tension even.
Round 6 :
(4 sc, 1 inc) x 6 (36)
Round 7 :
(5 sc, 1 inc) x 6 (42)
Round 8 :
(6 sc, 1 inc) x 6 (48)
Round 9 :
1 sc in each st (48)
Round 10 :
Work pattern: *ch1, sk 1 st, dc3tog cluster made over next 3 sts, ch1, sc in next st* repeat around to create small textured knots (48 clusters/positions counted as 48)
Info :
The dc3tog cluster round creates dense texture that reads like tree foliage. Place a stitch marker at the start of this round to track pattern repeats accurately.
Round 11 :
*(ch2, dc) in ch1 sp (creates raised picot-like texture), sc in top of next cluster* repeat around (48)
Round 12 :
1 sc in each st around (48)
Info :
To begin shaping the three-sided tree silhouette, the next rounds will add extra increases at three evenly spaced points — think of placing three 'corner' increases separated by equal stitch counts. Place three removable stitch markers at 12-stitch intervals to mark the three tree points.
Round 13 :
At each marker: (1 sc, inc, inc, 1 sc) in the same st (this is a triple-point increase), then sc in next 10 sts; repeat for each marker. Total repeats: 3; new stitch count (48 + 6 extra increases) = 54
Round 14 :
Work 1 sc in each st around (54)
Round 15 :
Between each point: *(2 sc, inc) x 3; at point work (sc, inc, sc) to maintain point fullness; repeat for 3 sections* — total (54 + 3 increases) = 57 (work will be 57)
Round 16 :
1 sc in each st (57)
Info :
From this round onward your motif will begin to read more triangular. The increases are intentionally subtle; do not over-increase or the tree will swell prematurely. Keep stitch markers at the tip points for reference.
Round 17 :
At each point: (sc, inc, sc, inc) then 12 sc between points. Repeat for 3 points. New count: 57 + 3 = 60 (60)
Round 18 :
1 sc in each st (60)
Round 19 :
Work in pattern: *ch2, sk 1 st, dc cluster (dc3tog) in next 3 sts, ch2, sc in next st* repeat around. These chain spaces open lace 'branches' across the tree face (60)
Round 20 :
1 sc in each st (60)
Info :
At this point the motif is the bulk of the tree face. If you plan to add beads sewn in later, mark their approximate positions now with removable markers — typical placement is spaced symmetrically across the cluster round (Round 19) about every 6-8 sts.
Round 21 :
Begin subtle decreases to form the top taper: *(7 sc, dec) x 6 — but applied across three point zones: do (10 sc, dec) at each point area and 1 sc between points to maintain shape* Result reduces by 6: 54
Round 22 :
1 sc in each st (54)
Round 23 :
At each of the three points: (sc, dec, sc) then 10 sc between points. This reduces 3 sts overall: new total 51
Round 24 :
1 sc in each st (51)
Info :
Start stuffing only if you plan to make slightly raised motifs. For the table runner we want motifs flat; do not stuff. Instead, use blocking and light starch to stabilize shape. If you prefer a slightly puffed look, insert a thin layer of quilt batt into center before finishing border.
Round 25 :
Work a decorative textured round: *(ch1, sc in next 2 sts, (fpdc around next st) ) repeat around to create a raised stitch in every fourth st producing clustered texture (51)
Round 26 :
1 sc in each st (51)
Info :
Change color to cream for the lacy surrounding border. Fasten off green and join cream with a sl st at the center top point marker (one of the three tip points). Carry unused green inside if you prefer, or finish and weave ends now.
— Cream Lace Border :
Round 28 :
With cream yarn joined at top tip: ch4 (counts as tr + ch1), *skip 2 sts, (3 tr cluster) in next st, ch1, sl st in next st* repeat around marking three point corners with an extra ch2 sp to maintain triangle shape. This round creates the initial lacy scallops (approx 51 + clusters)
Round 29 :
*(ch3, sc in top of next cluster, ch3, sl st in chain sp) repeat around*. This lengthens lace and forms open mesh (stitch count varies by cluster count but maintain pattern spacing)
Info :
Keep three visual points in mind. At each corner area add an extra ch3 loop to emphasize the triangular outline. These chain loops are what will later read as the 'snowy' lace surround.
Round 30 :
Work shell stitch along each scallop: *in each ch3 sp work (2 dc, ch2, 2 dc) shell; in each cluster top work sc; repeat around* Maintain shells at the three corners so that the triangle form remains evident.
Round 31 :
1 sc in each st (maintain stitch distribution; shells count as 4 sts each), keep 3 corner shells larger by making them (2 dc, ch3, 2 dc)
Round 32 :
*(ch2, sk 1, dc in next 2 sts, ch1, dc in next 2 sts) around shells to refine looped texture; sl st at end of round to join* (stitch equality maintained)
Info :
Place beads now or leave for later. Many crocheters prefer to sew beads on after blocking so they sit neatly on the surface. If you plan to sew beads in the cream border, mark bead locations now using pins and stitch markers.
Round 33 :
Work picot edging within the cream shells: *(sc in shell top, ch3, sl st in 3rd ch) repeat across each shell* This creates a delicate snow-lace effect (stitch numbers will reflect shells count)
Round 34 :
1 sc around to tidy and stabilize previous picot round. Ensure corners retain a slightly larger shell per three points to keep triangular silhouette.
Info :
Pin the motif to blocking mats at this stage, gently stretching to even shape, and leave to dry. Blocking will flatten round joins and make motifs consistent in size for joining.
— Outer Red Scalloped Edge :
Round 35 :
Change to deep red yarn. Join with a sl st into any shell apex. *ch2, (5 dc) in next space, ch2, sl st into next shell apex* Repeat around creating prominent scallops. Each scallop will be anchored to a shell so count scallops accordingly (typical: 12 scallops)
Round 36 :
In each scallop: *(sc, hdc, 3 dc, hdc, sc) across the 5-dc shell to round out edge*. This defines the red scallop rim and adds stability.
Round 37 :
Work a small reverse picot finish: *sc in each st around scallop, then (ch3, sl st into base of ch3) across every other scallop top* for decorative points.
Info :
Use the 3.5mm hook if your scallop feels loose; a slightly smaller hook tightens the edge and gives sharper bow anchor points later.
Round 38 :
1 sc around to finish. Fasten off and weave in ends. Repeat all motif rounds to make as many tree motifs as required for your runner length; the picture shows six trees joined end-to-end.
— Join-As-You-Go Assembly (joining motifs lengthwise) :
Info :
Join motifs by overlapping the small cream shells between adjacent motifs using a join-as-you-go slip-stitch method. Choose which edge of each motif becomes the joining edge — in the pictured runner motifs meet point-to-base forming a continuous zig-zag tree line. Ensure each motif is blocked and positioned before joining.
Round 39 :
With right sides facing, place Motif A and Motif B overlapping their adjacent cream shells by one shell depth. Insert hook into a chain space of Motif A and corresponding ch sp of Motif B, sl st through both to join. Continue working sl sts through matched spaces across the join. Repeat for each contact shell (approx 8-10 sl sts per join depending on shell spacing).
Round 40 :
Work a reinforcement round: with cream yarn, sc through both motif layers along the join row, spacing evenly to flatten seam (typical count 10-12 sc across the join). Fasten off cream and invisibly weave ends between motifs.
Info :
When joining, match the triangular points so trees alternate direction slightly if desired (photo shows trees pointing alternately so bows sit between trees). Use pins to hold motifs before joining to avoid misalignment.
Round 41 :
Repeat the join process for each subsequent motif, ensuring consistent spacing. After all motifs are joined, work one more continuous red edge round across the entire outer rim to even up scallops where joins may have altered spacing: sl st into each red scallop apex, *ch1, sc in next scallop* repeat across runner length.
Round 42 :
1 sc in each st across red border to neaten, then fasten off, weave in long tails into the back of runner and trim.
Info :
Blocking the entire runner flat after joining is recommended. Pin down gently and mist with water or use steam blocking. This will help seams settle and shells lay flat.
— Bow (make one per join or as many decorations as desired) :
Round 1 :
With red yarn and 3.5mm hook, ch16, sl st to first ch to form a loop or work foundation row of single crochets: sc in 2nd ch from hook and across (15)
Round 2 :
Turn, ch1, sc in each st across (15)
Round 3 :
Turn, ch2, hdc in first st, 3 dc in next 3 sts, hdc in next 3, sc in remaining to shape fullness (15)
Round 4 :
Fold piece in half lengthwise so that sts line up; use slip stitch to join short ends together creating a tube; fasten off leaving long tail for sewing. This forms the bow loop.
Info :
To create the bow shape, wrap a narrow yarn strand around the middle of the loop pulling gently to cinch and form bow loops. Secure with several stitches at the back and hide tail inside the bow body. Alternatively, insert a thin wire and twist to hold shape before covering with a yarn wrap.
Round 5 :
Work bow tails: With red yarn, ch22; row 1: sc in 2nd ch and across (21). Row 2: ch1, turn, sc2tog at start to create tapered tip, sc until last 2 sts, sc2tog, finish. Fasten off and weave edges to make pointed tails. Make two tails per bow and sew to the back center of bow.
Round 6 :
Optional stiffening: lightly starch or spray-firm bow and shape on a small pad; dry fully before attaching.
Info :
Use fabric glue sparingly at the back center of the bow if you worry about slipping, then sew bow to runner using long tail. Make sure bow center sits neatly over the middle cream shell between two adjacent trees as pictured.
— Beading & Ornament Attachment :
Info :
Select pearl-look beads for larger ornaments and small gold seed beads for delicate accents. Thread a beading needle with matching thread or fine yarn strand. Plan bead placement symmetrically across each tree; typical placement is at cluster intersections of Round 19 cluster/chain round and in the cream shell apexes.
Step :
Sew beads by passing needle from the back to the front through the cluster intersection and snug bead down, then pass needle back through adjacent stitch to anchor. Use two passes for larger beads to secure them. Knot thread on the back and weave ends into nearby stitches.
Info :
Spacing guideline: place 6-8 medium beads per motif arranged from top point to base in evenly spaced vertical rows, plus a few tiny gold beads to fill gaps. Keep bead sewing tight so beads sit atop stitches without sagging.
— Finishing Touches & Stabilizing :
Info :
After attaching bows and beads and weaving ends, give the entire runner a final blocking. Pin it flat on a foam board measuring the final desired length and width. Mist lightly then allow to dry fully. This sets scallops and evens seams.
Step :
Trim any visible loose ends. If edges lift after drying, work a very shallow slip-stitch round with matching yarn along the inner seam to tack edge down invisibly.
Info :
For an extra-secure join, attach a backing fabric strip (cream cotton) to the underside with small whip-stitches to hide knots and add stability for heavy tableware. This is optional but useful for functional runners.
— Pattern Notes & Troubleshooting :
Info :
If motif sizes vary slightly, ease differences by blocking more forcefully on smaller motifs and less on larger ones. Always join motifs when dry to ensure they don't stretch during joining. If scallops pucker, a finishing sc round with a slightly smaller hook will smooth them out.
Info :
For a longer runner, make additional motifs and continue the same join-as-you-go sequence. You can also change the number of motifs to create a centerpiece mat (single motif) or short trio runner (3 motifs).
This festive table runner transforms simple yarn into a vintage-inspired holiday accent that will brighten any table! Each tree motif is a little crochet celebration — lacy cream borders, evergreen centers, pearl-like ornaments and deep red bows combine for a timeless look. I love seeing the runner laid out and imagining it filled with candles, greenery, and holiday memories. 🧶🎄✨