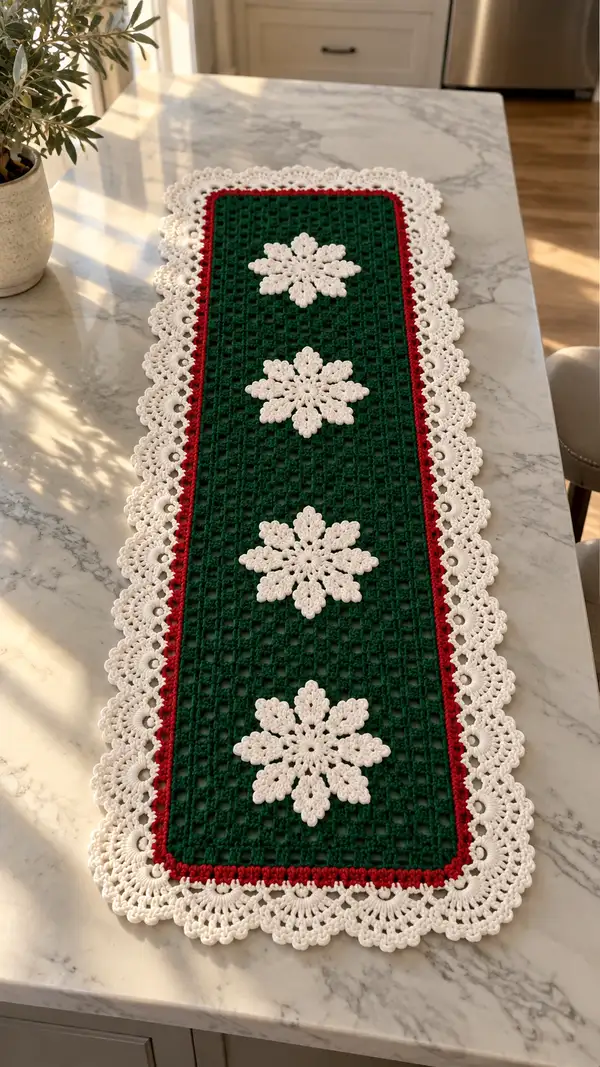
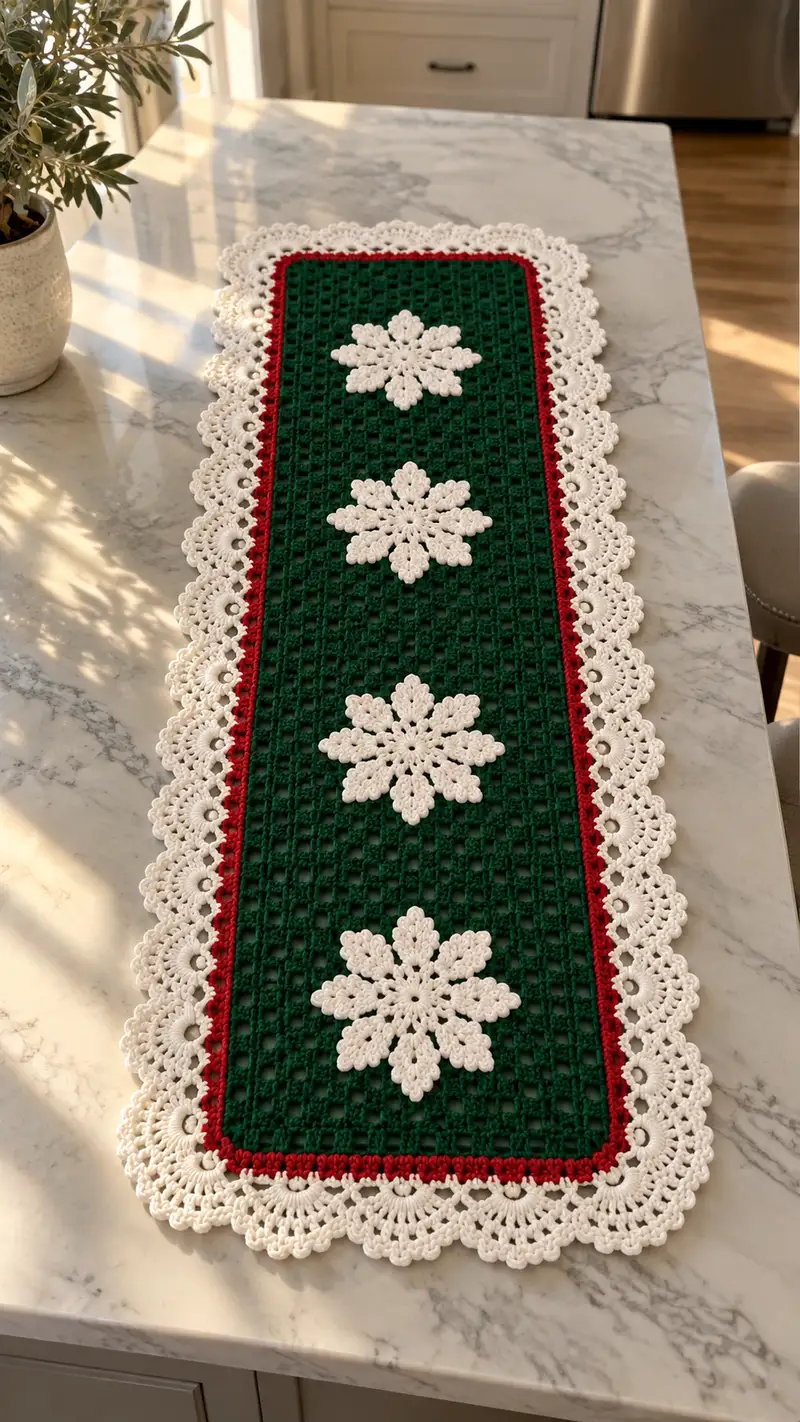
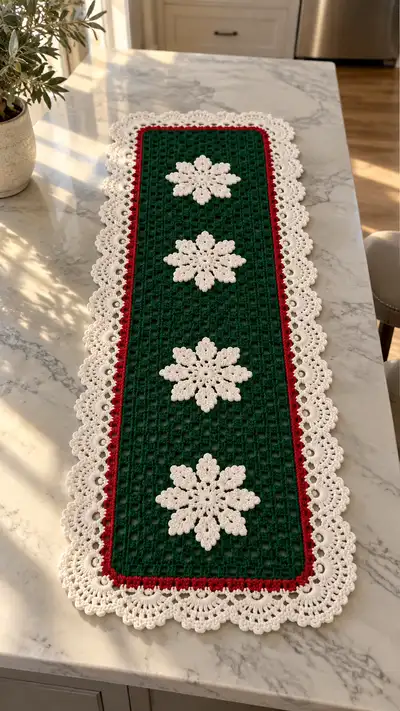
A festive, handmade table runner featuring a deep green mesh center, a bold red inner border and a delicate white scalloped lace edge. Four large white crocheted snowflake appliques sit evenly down the center for classic holiday charm. This pattern uses simple repeating mesh rows and an elegant shell edging to create a project that looks intricate but is achieved with easy, repeatable techniques.
Progress Tracker
0% Complete
— Notes & Gauge :
Info :
Gauge is not critical for this decorative runner, but to achieve the same look aim for approximately 4 dc = 1" and 10 rows = 2" in the mesh when using worsted weight yarn and a 4.0 mm hook. Finished runner in this pattern measures approximately 44" long x 10.5" wide after blocking using the stated yarn amounts and hook. You may lengthen by adding additional mesh repeats and extra snowflake motifs spaced evenly.
Info :
Chaining and turning: This pattern uses standard turning chains (ch3 counts as first dc where indicated). Work right-side rows back and forth for the center panel. Use stitch markers for the first and last stitch of each row to ensure straight edges.
— Center Mesh Panel :
Foundation :
Chain 126. This is 3 + (3 x 41) so you have 41 mesh blocks across; adjust in multiples of 3 + 3 to increase or decrease width.
Row 1 :
Dc in 4th ch from hook (this ch3 counts as first dc), *ch2, sk next 2 ch, dc in next ch* across to last ch, dc in top of ch3 (42 dc, 41 ch-2 mesh spaces)
Info :
Each ch-2 space forms one mesh/open square. To change width, add or remove repeats of 3 chains in foundation chain. Placing a stitch marker in the first dc of every row will help maintain a straight edge.
Row 2 :
Ch3, turn, dc in first st, *ch2, sk next dc, dc in next dc* repeat to end (42 dc, 41 ch-2)
Row 3 :
Repeat Row 2 (42 dc, 41 ch-2)
Row 4 :
Repeat Row 2 (42 dc, 41 ch-2)
Info :
Keep tension even. After 4 rows the mesh pattern is established; the dc across the row are the 'solid' elements while the ch-2 spaces are the open squares. Count the dc across occasionally to ensure 42 remains constant.
Row 5-60 :
Repeat Row 2 for a total of 56 more rows (Rows 5 through 60), maintaining 42 dc and 41 ch-2 spaces per row. This creates the tall mesh panel. (Each row = 42 dc)
Info :
I recommend working up to Row 60 for the runner length shown. If you want a longer runner, continue repeating Row 2 in multiples of 6-8 rows to keep snowflake spacing symmetric. Block center panel flat before adding borders for best results.
Info :
Placement guide for snowflakes: This runner uses four snowflake motifs set centered within the grid. After blocking, measure the total length and mark positions centrally spaced so each motif is equidistant. For a 44" panel work marks approximately 7.5" from each short end and equally space the remaining two in between.
— Red Inner Border :
Info :
Join red yarn with a standing sc in any corner stitch of center panel after blocking. Work continuous rounds without joining by using a stitch marker to mark round starts, or work joined rounds if preferred. This border adds a narrow frame between the green center and white scalloped edge.
Round 1 :
With red, sc evenly around the entire rectangle placing 3 sc in each corner space (work 3 sc in the corner turning chain area). Maintain 1 sc per dc or sc along the straight edges. Total stitch count will vary slightly with edge length; aim for even coverage and approximate counts of 42 sc along rows and appropriate sc down sides to align corners.
Info :
To keep corners squared, make 3 sc in the corner stitch/space. If you are working continuous rounds, place a stitch marker in the first sc of each round and slide it up as you work.
Round 2 :
Ch1, turn if working joined, or continue continuous; work 1 sc in each sc around (same count as Round 1). Fasten off red after completing round 2 and weave ends to the wrong side. (approx same stitch count as Round 1)
Info :
If you prefer the red inner border to be more pronounced, you may add an extra sc round or an hdc round in same color — one extra round will widen the contrast stripe.
— White Transition Row :
Round 1 :
With white yarn, join in any sc from the red border, ch1, sc in same st, *ch2, sc in every 3rd stitch along edge* forming a small picot-like chain loop around the inside edge. Work 3 sc in corners to keep even. This row prepares for the scalloped shell rounds.
Info :
These small ch-2 loops act as anchor points for the shell scallops. Keep loops even in size for uniform shells later. If your loops are too tight, increase to ch3; if too loose, catch and reduce by a stitch when attaching shells.
— Scalloped Lace Edging (White) :
Info :
Scalloped edging is worked around the outer edge, building a layered shell pattern. Each complete scallop is based on repeats of shells and picots. Shells are worked into the ch-2 loops created in the previous transition row; if you changed to ch3 loops in the transition, shells still anchor comfortably.
Round 1 (Edging) :
Join white in any transition loop: *[sk next sc on red border, work (sc, ch3, sc) into transition loop]* repeat across side, with (sc, ch3, sc) centered into transition loops and extra sc in corner to balance. This establishes the points where scallops will be worked. Approximately 41 loops per long side and appropriate number on short ends.
Info :
Keep corners neat by working an extra sc or a (sc, ch3, sc) pair centered across corner loops as needed to avoid crowding or large gaps. The counts along the long sides will be the largest and determine overall scallop count — make them even by adding or removing one small sc in the transition round if necessary.
Round 2 (Shell foundation) :
Work into each anchor point: *ch1, sc in same loop, ch3, (5 dc) all into next loop, ch3, sc into same loop* repeat to form alternating small sc peaks and large 5-dc shells. In corner loops work (sc, ch3, 7 dc, ch3, sc) to allow shell to wrap the corner comfortably. Count: each shell = 5 dc; corner shells = 7 dc; number varies along sides.
Info :
This round builds the base shells. Keep the 5 dc shells consistent; a 5 dc shell will create a pronounced scallop without being overwhelmingly large. If your shell looks too flat increase to 7 dc across all shells but be aware this widens edging.
Round 3 :
Ch1, turn work slightly to face outward: In each 5-dc shell work *(sl st into center dc of shell, ch3, (3 tr) into shell center, ch3, sl st into same spot)* to create tall fan points. Into corner 7-dc shells work (sl st, ch3, 5 tr, ch3, sl st). This embellishes the scallop peaks and creates the lacy profile.
Info :
Ensure all shells face outward and are mirrored from side to side. Use pins at this stage to hold shells straight while working the next decorative round if your shell rounds tend to twist.
Round 4 :
Working into the spaces between fans: *ch1, sc into base between shells, ch4, sl st into tip of fan (picot)* repeat across. This creates small picot points between larger scallops and adds definition. Count will be equal to the number of shells plus small sc in between.
Info :
The ch4 and sl st into tips add delicate lace holes that catch the light. If you prefer a stiffer edge, use a slightly smaller hook (3.5 mm) for the lace rounds only.
Round 5 (Optional final nicety) :
Round of sc around the very edge to tidy and slightly stiffen shell tips: sc into each sc and sl st into picots, finish with one extra sc in each corner. Fasten off and weave ends on the wrong side. This completes the scalloped edging build up. (Stitch counts vary by edge length.)
Info :
After completing the scalloped edging, lightly steam-block the entire runner pinned to measured dimensions to open and straighten the scallops and center mesh. This is an essential finishing step for a crisp, professional look.
— Snowflake Motif (Make 4) :
Info :
Each snowflake motif is worked in white using a 3.5 mm hook for neat definition. The motif is an 8-point snowflake built from layered rounds that create a raised petal/puff effect similar to the photo. Make four and arrange evenly along the center panel after blocking. Motif diameter will be approx 5" to 5.25" when worked in worsted with the smaller hook.
Motif Round 1 :
With white yarn and a 3.5 mm hook make a magic ring, ch3 (counts as dc), work (dc, ch2, dc) x 7 into ring (that's 8 v-stitches). Join with sl st to top of ch3. (16 dc, 8 ch-2 spaces)
Info :
This creates the star foundation. Keep the magic ring tight to avoid a hole in the center. If you prefer a small hole for visual effect, leave the ring slightly loose before joining.
Motif Round 2 :
Ch1, sl st into first ch-2 loop to start petal, *(ch3, 3 dc, ch3, sl st) into each ch-2 loop* repeat 8 times forming 8 rounded petals. (24 dc this round distributed as 3 dc per petal)
Info :
Each petal is created into the ch-2 loop from Round 1. Keep the petals uniform by pulling each ch3 to roughly the same height before working the 3 dc cluster.
Motif Round 3 :
Turn motif and into each petal: *sl st into middle dc of petal, ch2, (hdc, hdc, ch1, hdc, hdc) into same spot, sl st to finish* making a small raised leaf inside each petal. This creates texture and thickness. (Each petal receives 4 hdc clusters)
Info :
This round builds the central relief of each snowflake arm. Use blo or flo if you want the inner leaves to sit slightly raised or recessed — work the hdc into the flo of the petal dc to allow the hdc leaf to sit in front.
Motif Round 4 :
Ch1, *into the gap between petals work (sl st, ch4, 1 tr, ch4, sl st) creating a tall point between petals* repeat 8 times. This adds elongated spikes between petals. (8 tall spike points)
Info :
These tall spikes form the secondary point of the snowflake. Be careful not to pull too tightly; leave ch4 loops open and even so the outerize round will sit flush.
Motif Round 5 :
Into each tall spike: *ch1, sl st into base of spike, ch3, (5 dc) into top chain of spike, ch3, sl st into base* repeat 8 times building a large petal top. (5 dc per spike top = 40 dc total)
Info :
The addition of the 5-dc fan on each spike gives the motif the fuller, snowflake-like petals seen in the photo. If you want an even fuller snowflake add 2 dc to each fan (7 dc) but note the motif will become slightly larger and heavier.
Motif Round 6 :
Ch1, working around the outside of each fan work (sc into first dc, ch3, sl st into center dc, ch3, sc into last dc) connecting fans and forming decorative loops. Repeat 8 times. This creeps around the edge and helps define the silhouette.
Info :
Fasten off leaving a 12" tail for sewing. Weave through several stitches on the wrong side to secure. Block motifs lightly by pinning them to a flower-shaped template to hold petal shape while damp. Motifs will flatten slightly when joined to panel, creating the layered petal effect.
Motif Round 7 (Optional raised edging) :
For extra texture: rejoin yarn at base of any petal and work one round of picot edging: *(sc into outer dc, ch3, sl st into outer dc)* all the way around. Fasten off and weave in ends. (Counts vary by motif size)
Info :
Make 4 identical motifs. If you want a single-color runner, make them in green or red for a tone-on-tone look; white is classic and high contrast on the green mesh.
— Placement & Attachment :
Info :
After blocking the center panel and finishing the scalloped edge, arrange the 4 snowflake motifs evenly down the center. Using the placement guide noted previously, pin each motif so the points are centered between the mesh columns and aligned with each other. Use a small ruler to ensure equal spacing between motifs and between motifs and ends.
Attachment :
Sew each motif to the center panel from the wrong side using the long tail left when fastening off: Thread yarn needle and sew through the motifs base round and into the mesh, taking small, neat stitches around the inner round. Make 12-16 evenly spaced sewing points per motif to ensure they sit flat and secure. Weave in the tail and repeat for each snowflake.
Info :
For an invisible attachment, use matching white yarn and sew from the underside of the motif through the ch-2 spaces, catching only a couple of threads of the mesh so the front shows no thick seams. If you prefer a decorative join, use a contrasting red or green blanket stitch around the motif edge.
— Final Finishing :
Info :
Weave in all ends on the wrong side, trim close. Pin the runner to dimensions on a blocking mat and spray or mist lightly; allow to dry fully. Light steam ironing from the wrong side (no direct heat on acrylic) can help flatten and set shells.
Final Touch :
Optionally block each snowflake separately with pins so they keep their raised petal shape before sewing. If the runner will be used frequently, consider sewing a lightweight cotton backing to the wrong side to protect the lace edge and help it lie flat.
This holiday table runner brings warm, handmade charm to any table with a classic palette and delicate lace edging. The open green mesh provides a stately backdrop while crisp white snowflakes and a bold red border create the perfect seasonal statement. Each section is crafted to be repeatable and customizable so you can make it longer or shorter to suit your table. 🧶❄️ I hope stitching this project fills your space with festive cheer and makes every meal feel just a little more special. 🎄