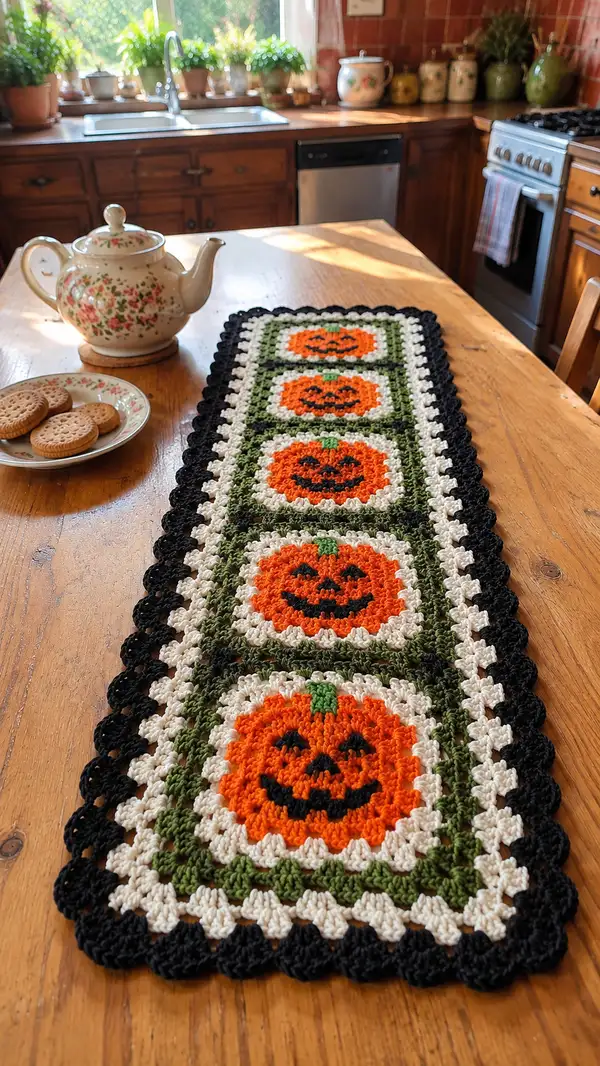
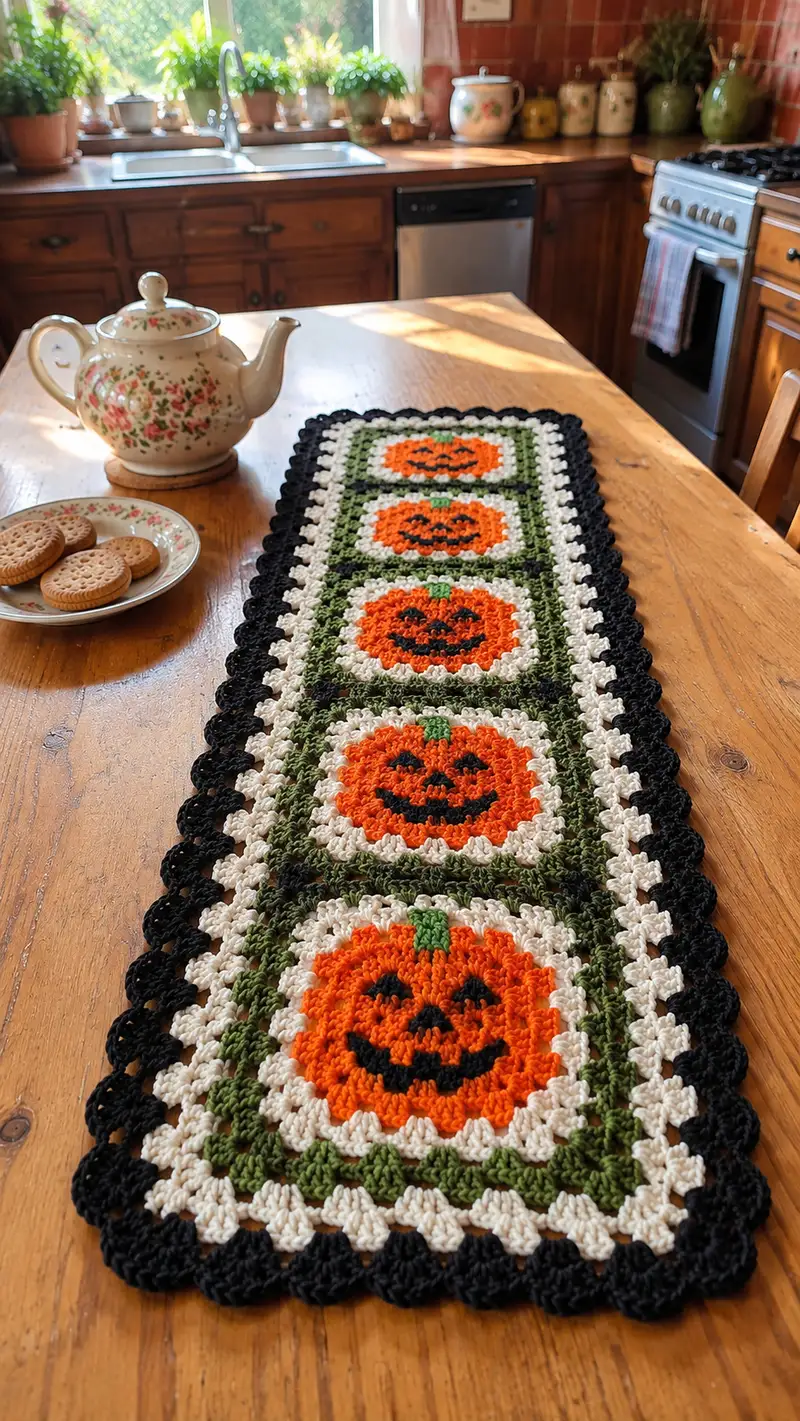
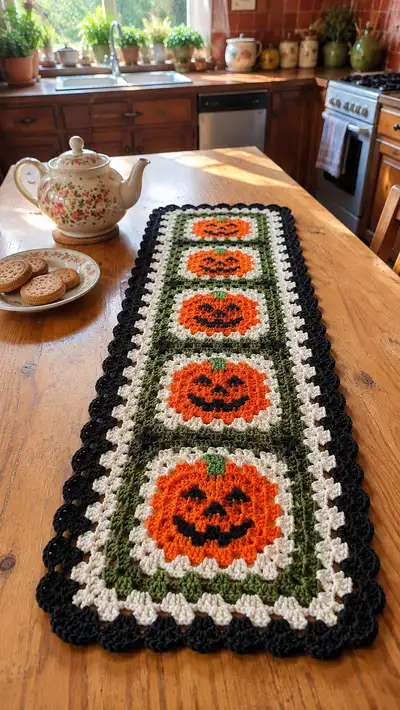
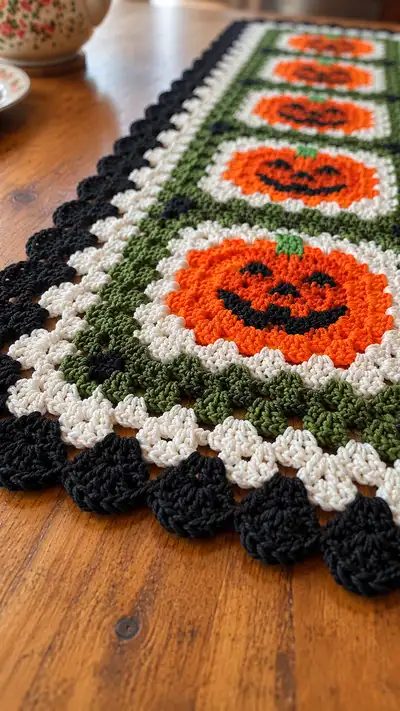
Create a festive Halloween table runner featuring five smiling jack-o-lantern granny squares joined into a long, scalloped-edged runner. This pattern uses classic granny techniques with color changes for orange pumpkins, black facial details, olive green frames and a crisp cream background. Perfect for seasonal decor, the runner lays flat and blocks beautifully to show off the scalloped black border and repeating pumpkin tiles.
Progress Tracker
0% Complete
— Overview :
Info :
This pattern makes one long runner composed of five identical pumpkin granny squares joined in a row, finished with layered cluster borders. Work each pumpkin tile separately and block them flat before joining for the best appearance. All instructions are written in US terms. The pattern lists rounds for one pumpkin tile; repeat to make the number of tiles required (five tiles pictured).
— Pumpkin Tile (make 5) :
Round 1 :
With orange yarn, make a magic ring. Work 6 sc into ring. Pull tight. (6)
Round 2 :
Inc in each st around (2 sc in each st) — 6 inc. (12)
Round 3 :
(1 sc, inc) x 6 — repeat around. (18)
Round 4 :
(2 sc, inc) x 6 — repeat around. (24)
Round 5 :
(3 sc, inc) x 6 — repeat around. (30)
Info :
These early increases build a small circular pumpkin center. Keep tension even to ensure a flat, smooth center. Place a removable stitch marker at the first stitch of each round until you change to working in joined rounds.
Round 6 :
(4 sc, inc) x 6 — repeat around. (36)
Round 7 :
(5 sc, inc) x 6 — repeat around. (42)
Round 8 :
(6 sc, inc) x 6 — repeat around. (48)
Round 9 :
1 sc in each st around. (48)
Round 10 :
1 sc in each st around. (48)
Info :
Rounds 9-10 build the pumpkin's height and begin to give it roundness. If you would like a slightly puffier pumpkin, add one extra even round here before continuing.
Round 11 :
Change to BLO with orange: 1 sc in each st BLO around to create a subtle ridge. (48)
Round 12 :
1 sc in each st (48)
Round 13 :
1 sc in each st (48)
Info :
These interior rounds work the textured body of the pumpkin. The BLO round gives a faint ridge that helps visually define segments when the facial embroidery is added. Keep your last stitch join tidy; we'll transition into the halo round next.
Round 14 :
Change to cream yarn. Join with sl st to any stitch. Ch3 (counts as first dc). *Skip next 2 sts, in next stitch work (3 dc, ch2, 3 dc) to start a corner cluster; skip next 2 sts, 1 dc in each of the next 6 sts; rep from * around placing four corner clusters evenly. Finish with sl st to top of starting ch3. (This round begins the transformation from circle to square; you will form 4 corners.)
Info :
When converting a circular motif into a square shape, four corner cluster locations must be spaced evenly. A helpful trick is to place temporary pins at the quarter points of your round to visualize and ensure fairly even spacing. The counts above create sufficient side clusters to square up the pumpkin motif.
Round 15 :
Ch3 (counts as dc), in same corner sp work (2 dc, ch2, 3 dc) for corner; *along side work (3 dc, ch1) in each side sp for even row until you reach next corner sp, then (3 dc, ch2, 3 dc) in corner sp; rep from * around. Join with sl st to top of ch3. (You will have 4 corner clusters and a measured number of side clusters.)
Round 16 :
Repeat Round 15 in cream to enlarge the halo, working 3 dc clusters along each side and (3 dc, ch2, 3 dc) in each corner. Join. (This builds the cream halo which frames the orange center.)
Info :
At this stage you should clearly see a circular pumpkin within a cream framed square halo. If your square feels slightly lopsided, you can gently adjust by adding or subtracting a single side cluster before moving on, but avoid large changes that will affect later joins.
Round 17 :
Change to olive green. Ch3 (counts as dc). In corner ch-2 space work (2 dc, ch2, 2 dc). *Along side ch-1 spaces work (3 dc, ch1) in each, and in corner ch-2 spaces work (2 dc, ch2, 2 dc); rep around. Join with sl st. (This forms the first green frame round.)
Round 18 :
Ch3 (counts as dc), in same corner sp work (2 dc, ch2, 2 dc); *work (3 dc) in each side space (3 dc clusters into each ch1) until the next corner; in corner work (2 dc, ch2, 2 dc). Join. (Green frame increases slightly; counts by cluster rather than exact stitch numbers.)
Info :
The green rounds form the visible grid between tiles when squares are joined. Use consistent tension so all five squares align easily when seamed. If you prefer a denser frame, work one extra green round with clusters placed across sides and corners as above.
Round 19 :
Repeat Round 18 in olive to create two rounds of green frame for stability. Join and fasten off olive. Weave tails in neatly. (Square should measure approximately the same size as others.)
Round 20 :
With black yarn, use surface slip stitch embroidery to worked pumpkin face: embroider two crescent eyes, a small triangle nose and a smiling mouth by running surface sl sts in desired curves across the orange center. Secure ends on the back and weave in. (This is finishing detail rather than counted stitches.)
Info :
Work facial features while the square lays flat. Use a ruler to center features approximately 2-3 rounds in from the orange edge so faces look consistent across all tiles. Practice on scrap before committing to main work.
— Repeat Pumpkin Tile Notes :
Info :
Make five identical tiles following Rounds 1-20. Block each square gently to shape. Arrange squares in a single long strip (portrait orientation) with the green frames meeting between each tile as shown in the photos. When all tiles are blocked and dry, prepare to join.
— Joining the Pumpkin Squares (Seam Rows) :
Round 21 :
Lay two squares right sides together and align edges. With matching olive yarn and yarn needle, whipstitch through the outermost green rounds across the seam, sewing through both loop posts of the outer green cluster. Sew neatly from edge to edge making small even stitches. Repeat to join squares 1-2, 2-3, 3-4, 4-5 — you should have a long strip of five squares. (Joining reduces overall seam width slightly.)
Info :
Pin squares in place before sewing to ensure perfect alignment. Alternate: use slip stitch join or single crochet join for a raised seam. Whipstitch is recommended for a flatter join that blends with the granny clusters.
Round 22 :
After joining, use cream yarn to weave a tidy chain-line across the long seams: with right side facing, pick up a loop at the seam edge and work a round of sc evenly along both long edges of the joined strip (work one sc into each stitch along the outer green round). Work carefully to maintain even spacing. (This prepares the runner for the outer shell border rounds.)
Round 23 :
Sc evenly around the entire outer perimeter of the joined strip in cream, placing 3 sc in each corner space to keep corners squared. Work 1 sc in each stitch along sides. Join with sl st and fasten off cream. (This evens the edge for the next decorative rounds.)
Info :
The sc perimeter provides a consistent edge count for the decorative scallops. If your seam has small gaps, use this sc round to tidy them up by adjusting sc counts slightly in small areas.
— Layered Border (Scalloped Shells) :
Round 24 :
Change to olive. Ch3 (counts as dc). Work in set of shell clusters along the edge: *(sc in next st, sk 1 st, shell in next st) — Shell = (5 dc in same st); sk 1 st; sc in next st; rep from * around. In each corner work (sc, shell, sc) to keep corners square. Join with sl st. (This adds texture and a subtle olive frame before cream scallops.)
Round 25 :
With olive, repeat Round 24 but work shells in same positions to build thickness. Join and fasten off olive. (Shelled edge should look uniform with cream space above it.)
Info :
If your runner feels narrow after the olive rounds, add an extra row of (sc in each st) before starting cream scallops to increase width slightly. Keep counts even along long sides so scallops will sit symmetrically.
Round 26 :
Change to cream. Join with sl st at any point. Ch1, sc in same st, *ch2, skip 2 sts, sc in next st; rep from * across long edges placing 3 sc in each corner space. Join with sl st. (This sets up spaces for scallop shells.)
Round 27 :
Ch3 (counts as dc). In each ch2 space work (7 dc) to form a large scallop shell. In side spaces between shells work (1 dc). In corners work (3 dc, ch2, 3 dc). Join with sl st. (Large cream scallops will create the light band below the final black scallop.)
Info :
To keep scallops even, place a stitch marker at the center of each shell as you work the first scallop round and use it as reference. If a shell wants to flatten, tighten by pulling working tail through center and weaving it in later.
Round 28 :
Repeat Round 27 in cream to thicken scallops and produce a bold contrast. Join and fasten off. (The cream scallops are now raised and will be framed by black.)
Round 29 :
Change to black. Join with sl st behind any cream shell center. Ch1, sc in same st, *work (sc, ch1, sc) into the top of the cream shell center (this anchors the black scallop), skip to next cream shell and repeat; in corners work (sc, ch2, sc) to turn; rep from * around. Join. (This connects black to the cream scallops to provide a foundation for the final deep scallop.)
Round 30 :
Ch3 (counts as dc). In each black anchor made over cream shell, work (7 dc) to create large black scallops that overlap the cream. In corner anchors work (3 dc, ch2, 3 dc). Join with sl st and fasten off. (This completes the dramatic black scalloped border.)
Info :
Work the black scallops carefully so that they are evenly spaced and mirror the cream shells below them. If a scallop looks tight, block the runner when finished to coax them into consistent shapes.
— Final Decorative Rounds and Finishing Touches :
Round 31 :
With black remaining, work a reverse crab stitch (reverse single crochet) evenly around the outer edge, working 1 reverse sc into each outermost dc of the scallops. This gives a neat corded edge. Join and fasten off. (This is optional but recommended for a polished finish.)
Round 32 :
Weave in all remaining ends on the back of the runner using a yarn needle, burying tails through several stitches to secure. Trim any excess. (This secures all color changes and joins.)
Info :
When weaving in ends, follow the curve of the border and avoid pulling tightly, which can distort scallops. Use a threader or blunt tapestry needle for neat work.
Round 33 :
Carefully steam or wet-block your finished runner: pin to measurements on a blocking mat, shaping scallops and straightening side edges. Allow to dry completely before removing pins. (Blocking will even scallops and square up the runner.)
Info :
Blocking cotton and cotton-blend yarn should be done with care to avoid shrinkage—use warm steam and gentle pinning. Do not stretch beyond natural measurement, just coax scallops into round shapes and ensure sides are straight.
— Optional Variations and Size Adjustments :
Round 34 :
If you want a longer runner, add more pumpkin tiles following the Pumpkin Tile instructions and join them using the same method. To make a shorter runner or table centerpiece, work just 3 tiles and follow the joining and border instructions identically.
Round 35 :
To make the runner narrower or wider, you can adjust the number of shell repeats in the border rounds: add an extra olive or cream shell round or decrease them to change final width by ~1/2" per round depending on yarn and tension.
Info :
Changing yarn weight: use a hook one size smaller for a neat dense cotton fabric. Gauge will affect final size—test one tile to know final measurement scale before making all tiles.
Round 36 :
Final check: inspect front and back for loose tails, ensure all embroidery is secure, and press lightly if needed. Your runner is ready to display!
This jack-o-lantern granny runner brings seasonal cheer and handcrafted charm to any table! Each pumpkin square is lovingly built from the center out, combined to create a playful, coordinated display. The layered scalloped border gives a professional finished edge that frames each smiling face beautifully. Whether used for a Halloween breakfast or as a focal centerpiece, this runner is a delightful seasonal accent that you'll enjoy making and displaying. 🧶🎃