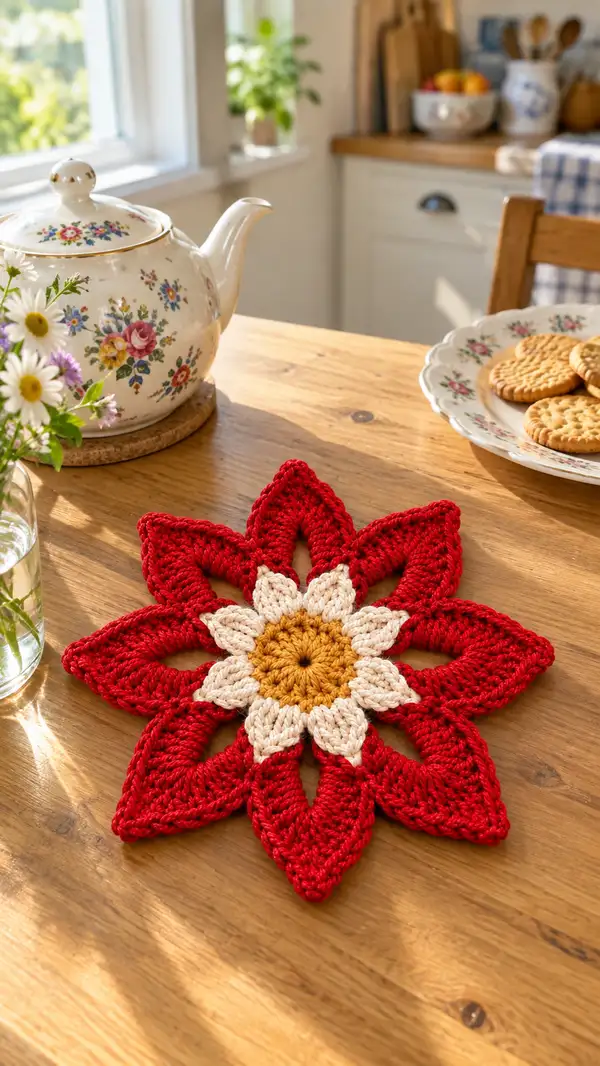
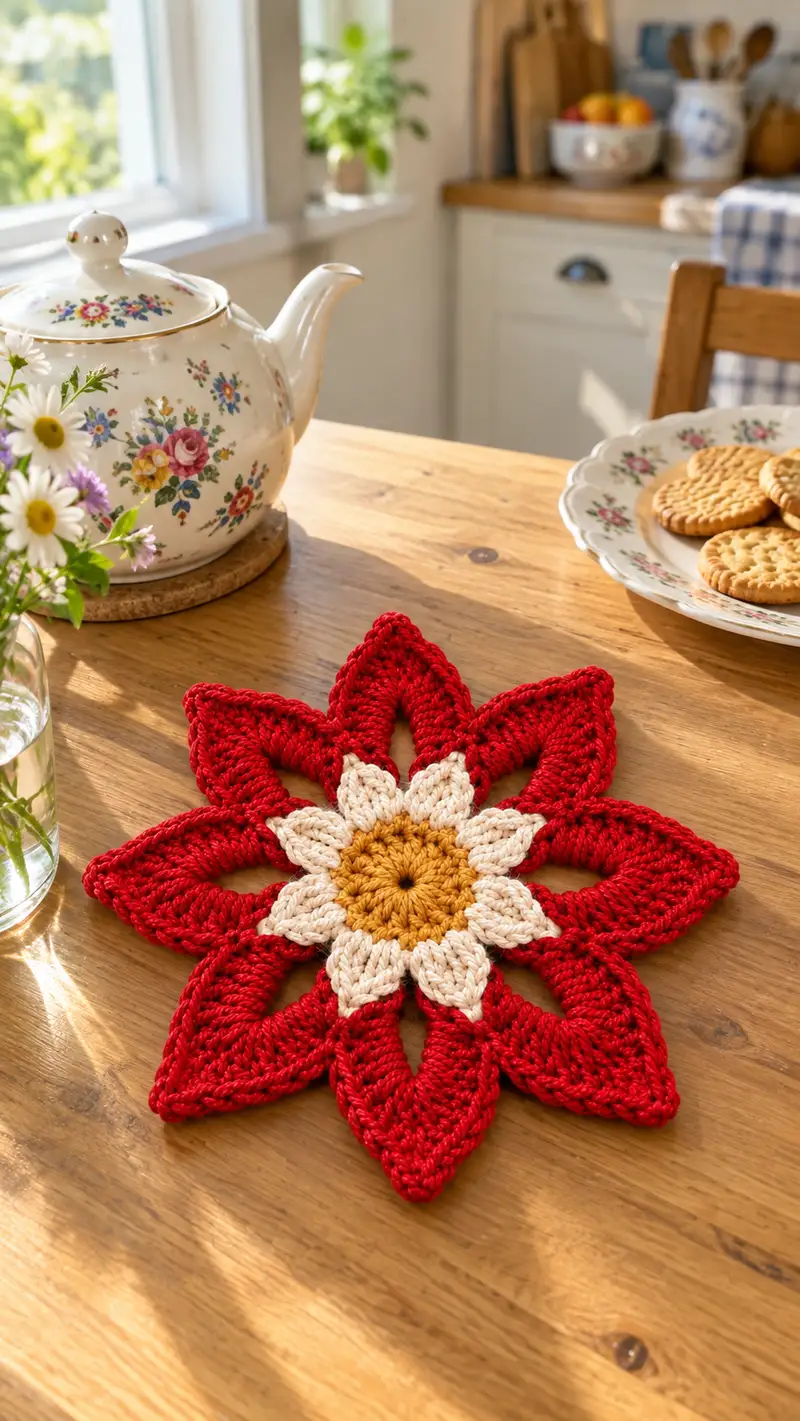
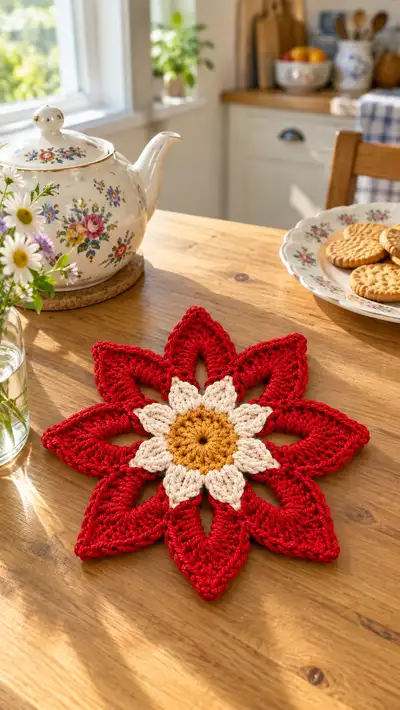
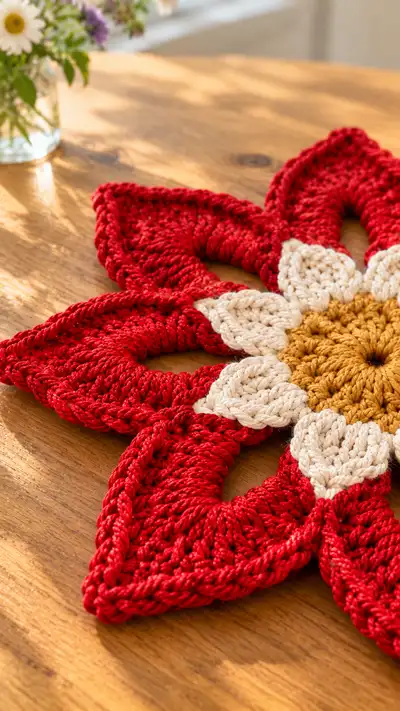
A bold layered flower placemat with a golden center, cream inner petals and large red outer petals. This flat decorative mat uses textured stitches and tall clusters to create sculpted petals and open spaces for a striking table centerpiece. The finished piece lies flat on the table and is perfect for teapots, plates or as a seasonal decoration.
Progress Tracker
0% Complete
— Center (gold) :
Round 1 :
6 sc in magic ring (6)
Round 3 :
(1 sc, 1 inc) x 6 (18)
Round 4 :
(2 sc, 1 inc) x 6 (24)
Round 5 :
(3 sc, 1 inc) x 6 (30)
Info :
Use golden mustard yarn. Keep stitches tight and even so the center lies flat; choose a hook that gives a firm center.
Round 6 :
(4 sc, 1 inc) x 6 (36)
Round 7 :
(5 sc, 1 inc) x 6 (42)
Round 8 :
(6 sc, 1 inc) x 6 (48)
Info :
Final center round has 48 stitches. This is deliberate so you can place 8 evenly spaced inner petals (48 / 8 = 6 stitches between anchors)
— Prepare for Inner Petals (change to cream) :
Info :
Join cream/off-white yarn with a sl st anywhere on the last round. We will create 8 evenly spaced chain loops across the 48 stitches to act as petal foundations.
Round 1 :
*Sc5, ch6, sl st in next st* x 8 (48 anchors, 8 ch-6 loops). Finish round with sl st to join.
Info :
Each repeat consumes 6 stitches from the center round (sc5 + sl st in next =6). You now have 8 chain-6 loops around the center; work the next rounds into those loops to form inner petals.
— Inner Petals (make 8, worked in the round into ch-6 loops) :
Round 1 :
Working into the first ch-6 loop: (sc, hdc, 3 dc, hdc, sc) into the ch-6. Sl st to the join point between loops. Repeat in each loop around (each petal = 7 stitches). After completing 8 petals, you will have 56 top-stitches across the petal row (approx 56)
Info :
Keep the first tiny petal round shallow; work tightly so petal bases sit close to the center. Place a stitch marker at the start of the first petal to remember the pattern repeat.
Round 2 :
Turn into petals and build height: in each petal (into the same petal stitches) work: sl st into base, ch2 (counts as hdc), 2 hdc in next stitch, 3 dc cluster across middle, 2 hdc, sl st to close. Repeat for each petal. End with sl st (petal row now thicker).
Round 3 :
In each petal, ch3, (dc, dc) in next stitch, 5 dc across center of petal (worked across tops of previous 3 dc cluster), (dc, dc) next stitch, ch3, sl st to base. Repeat across 8 petals (expanded petal edge)
Info :
Rounds 2-3 bulk up the small petal so it has a gentle point. You can switch to a slightly smaller hook if you want the cream petals more compact.
Round 4 :
Work around petals, placing 1 sc between petals on the base joins: *sc at base join, sc in next 8 petal stitches (around the petal top)* x 8. This evens stitches around petals and prepares anchors for the outer petals (estimate 64 sc around)
Round 5 :
BLO: 1 sc in each st BLO around (64). This creates a small ridge that visually separates inner petal ring from outer petal anchors.
Info :
Begin to check the layout of the eight inner petals—they should sit evenly around the center with small gaps between adjacent petals for the outer petal anchors.
Round 6 :
1 sc in each st around (64)
Round 7 :
*Sc3, ch4, sl st into the first st at the outer edge of the next petal to make 8 outer loops* (creates 8 ch-4 spaces evenly). Work carefully so loops align to gaps between cream petals (consumes 64 anchors)
Info :
These ch-4 loops act as foundation loops for the large outer petals. Pin with removable markers if needed to check placement before proceeding.
Round 8 :
Fasten off cream and weave ends neatly under petals. Check symmetry and lightly block the inner ring to keep it flat before building the larger petals.
— Outer Petals (red) - foundational rounds (work 8 petals around the ring) :
Info :
Join red yarn in any ch-4 loop that sits in a gap between two cream petals. Each outer petal is worked into its ch-4 loop foundation and partially into adjacent stitches to create an elongated leaf shape. We'll make a layered petal formed by many rounds so it becomes sculpted and thick like in the photo.
Round 1 :
Into one ch-4 loop: ch1, 8 sc into the ch-4 loop, sl st to base to close (petal base created). Repeat for each ch-4 loop around (8 petals, each petal base = 8 sc) (total petal-base stitches = 64)
Round 2 :
Work evenly around all petal bases: 1 sc in each st across petal bases (64). Place marker at start of first petal as you progress.
Round 3 :
Increase to shape: In each petal area work as follows: *sc2 in next stitch, 1 sc in next 6 sts, sc2 in next stitch* across the group of 8 base sts to increase tips (this expands each petal slightly). After working each petal, sl st to join to next petal base. (Per petal becomes 10 sc; around total = 80)
Info :
These increases add fullness to each outer petal. Keep the distribution symmetrical across each petal so the petal sides remain even.
Round 4 :
1 sc in each st around (80)
Round 5 :
Working up the petal: At the start of a petal area (marker), ch3 (counts as dc), 2 dc in next st, 3 dc in next 2 sts (creating a raised middle), 2 dc in next st, dc in next st, sl st to base. Repeat for each petal to create a first tall row of doubles (use dc for height). Each petal now has a raised middle shell; this round will increase total stitch count around because we place multiple dc per petal; approximate 'working units' notated but expect expansion.
Round 6 :
Turn petals into a sculpted leaf shape by working the following per petal (work into the tops of previous dc): ch2, (hdc, 3 dc, 3 dc cluster across center using 3-tr cluster technique), 3 dc, hdc, sl st to base. Work evenly around 8 petals.
Info :
Round 5-6 use tall stitches and clusters; if your yarn is heavy, watch tension to prevent curling. Use the same hook to create a slightly raised petal plane.
Round 7 :
Work 1 sc around the entire piece focusing on placing 1 sc at the base joins between petals so the base row becomes neat and stabilized (approx 160 sc; this number depends on your tall-stitch counts). The aim is to create a continuous base row that links petals and reduces open gaps.
Round 8 :
Surface ridge: 1 sc in each st BLO around the big petal ring to create a ridge along the petal edge (this helps to define each petal). Keep count consistent with previous round.
Info :
This BLO ridge is visible from the top as a raised seam; it creates the thick braided look seen near the petal edges in the photo.
Round 9 :
Increase on the petal outer edge to create a pointed tip: in each petal area work the following repeat: (sc, hdc, 5 dc, hdc, sc) across the petal tip; sl st back to the base and repeat for each petal. This expands the petal outward and gives it length.
Round 10 :
Work sc evenly around entire outer petal circumference to even out the stitch count and create a round foundation for further shaping (approx 200 sc). This creates a solid, even rim around all petals.
Round 11 :
Layered texture row: *ch2, work 3 fpdc (front post double crochet) around the next 3 tall-dc clusters to create vertical ridges across each petal, ch1, sl st in next st to anchor* x 8. This forms decorative vertical ribs seen on each petal.
Info :
Front post stitches wrap around the posts of previous rounds to create deep ribs — practice on a sample to get consistent fpdc height.
Round 12 :
Work a second fpdc row offset by 1 stitch to thicken the vertical ribbing: *fpdc around next post, ch1, sl st in next* around. This deepens the sculptural rib visible on the finished petal.
Round 13 :
1 sc in each st around to tidy up (maintain count established in Round 10). Pull fabric flat as you stitch so the petal tips lie flat outward.
Round 14 :
Shaping decrease towards tips (slightly tapered): In each petal, work: sc2tog at the two edge points of each petal tip (one per side), then 1 sc across the tip center. This sculpts the tip into a point and removes a few stitches per petal to sharpen shape.
Info :
After Round 14, check symmetry and make tiny adjustments by adding or removing single crochets at petal edges to make each petal match visually.
Round 15 :
Contour round: 1 hdc in each st around petals, working into both loops so the texture softens and the petals have a rounded ridge (gives the plush edge seen in photos).
Round 16 :
Repeat an outer shell: in each petal tip work (ch3, 5 dc, ch3) forming a small shell edging accent. Sl st to base and continue around. This accent emphasizes the pointed tip shape and mirrors the inner petal crescents.
Round 17 :
1 sc around to flatten and secure shell edges. Check for consistency and block as needed. Fasten off red yarn if you will do a separate edging round in a contrast color.
Info :
At this stage the outer petals should be fully formed and sculpted, with deep ribs and pointed tips; the whole piece should lie mostly flat with slight 3D petal lift.
— Structural Join & Back Reinforcement :
Round 1 :
Flip the piece. On the wrong side work through both layers (center and petal backs) placing 1 sc in each base stitch around the inner ring to secure petals' backs (approx 200 sc depending on previous counts). This stabilizes the piece and keeps it flat.
Info :
Sewing through both layers with single crochet ties the layers together and prevents them from pulling apart when in use. Work gently to maintain flatness.
Round 2 :
Work a row of hdc around the entire back, placing hdc evenly so the surface is smooth (counts will vary based on earlier increases). The aim is a dense backing for table use.
Round 3 :
Slip-stitch seam row: 1 sl st in each st around back plane to finish off and hide ends. This gives a neat back edge and prevents fraying of tall stitches.
Info :
If your placemat will be used under hot items, add a thin insulating pad or use heat-resistant fabric underneath; crochet cotton alone is not heat-proof.
— Final Edge & Decorative Border (optional contrast cord) :
Round 1 :
Rejoin red (or choose a contrast) at any petal tip. Work a round of sc around the entire outer silhouette, decreasing slightly where two outer shells meet to create a smooth scalloped finish (count varies; aim for even stitches around).
Round 2 :
Work reverse single crochet (crab stitch) around the entire edge for a twisted rope effect visible in the photo. This stitch creates the defined outer cord. Keep tension slightly firm.
Info :
The crab stitch is worked left-to-right (reverse sc) and gives a rounded cord that emphasizes each petal outline. Use a slightly larger hook if crab stitch becomes stiff.
Round 3 :
Optional picot row for a pointed finish: *sc4, picot (ch3, sl st into 1st ch)* repeat around each petal tip to accent points (do this only at tip zones, not across the entire circumference).
Round 4 :
Weave in all ends through the back with a tapestry needle. Trim closely and neaten any visible tails.
Info :
Pin the placemat to a blocking board and spritz lightly with water. Shape each petal so the points are even; allow to dry fully for a crisp flat finish.
— Extra Texture & Variation Rounds (if you want a thicker petal) :
Round 1 :
If you want the petals even thicker, before the final edging, add a filler round: 1 sc in each st working through both layers (back and front) to add bulk (repeat 1-2 times as desired).
Round 2 :
Alternate texture: Add 1 row of puff stitches at the petal midline across each petal: *(yarn over twice, insert, pull up loop, repeat 3 times into same stitch, yarn over pull through all loops), ch1 to close* across the designated petal band. This increases plushness dramatically.
Info :
Use these optional rounds conservatively; too many layers will prevent the piece from lying flat. One extra structural round is usually enough.
— Finishing Touches :
Info :
Weave ends securely and hide tails inside petal ribs or under the back reinforcement. Steam-block or wet-block the whole piece shaped to a circular flower with eight even petals. Allow to dry under pins for best flatness.
Round Final :
Admire your work, place a teapot or decorative centerpiece on it, and enjoy the layered sculptural look of the finished flower placemat.
This layered flower placemat celebrates texture and bold color — a handmade accent that brightens any table setting. 🧶 The golden center, cream inner petals and sculpted red outer petals create a dramatic focal point that's both decorative and functional. With careful blocking and the detailed rounds provided, your finished piece will be flat, symmetrical and beautifully defined. Enjoy making this project and sharing it at tea time or gifting it to someone who loves handcrafted charm! 🌼✨