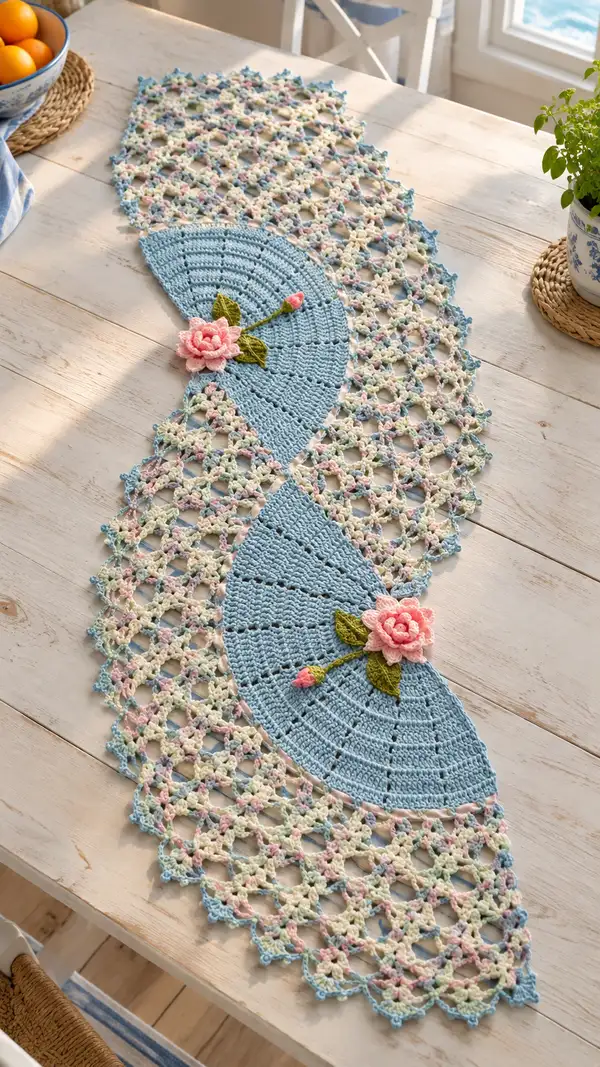
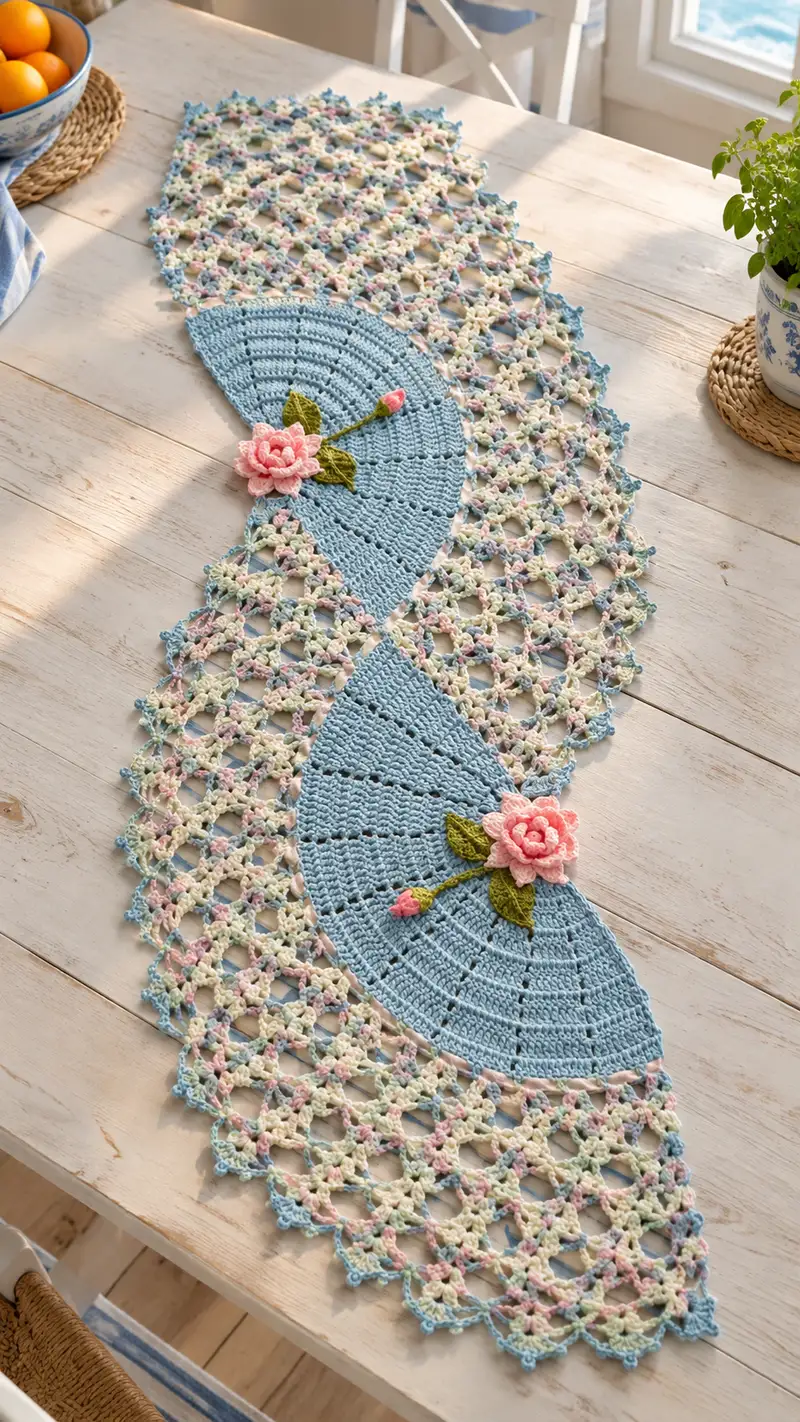
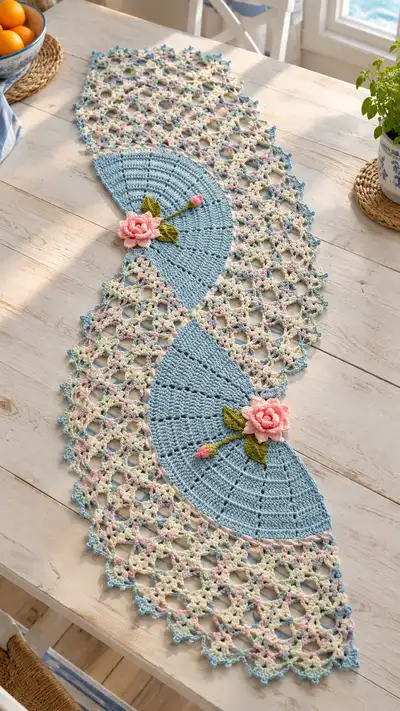
Create a romantic pastel lace table runner featuring two solid fan motifs linked by airy multicolored lattice panels and finished with delicate 3D rose and leaf appliques. This elegant runner showcases a soft blue semicircular fan, a creamy pastel variegated mesh, and delicate scalloped edges—perfect for spring or shabby-chic décor. Detailed step-by-step instructions guide you from the first stitch through assembly and finishing.
Progress Tracker
0% Complete
— Notes & Overview :
Info :
This table runner is constructed from two identical semi-fan solid motifs (worked flat as wedges), two long openwork mesh panels worked in variegated yarn, and a scalloped picot edging. Two 3D roses plus buds and leaves are made separately and sewn on as decorative appliques. Work with the recommended hook and yarn weight for best results. Blocking at the end is essential to open the lace and set the shape.
Info :
Finished size (approx): 10" (25 cm) wide at the widest points, 42" (107 cm) long from end to end. Size will vary slightly with tension and number of mesh repeats. To lengthen, add mesh repeats between fan motifs or widen mesh repeats for extra length.
— Fan Motif (Make 2) :
Round 1 :
6 sc in magic ring (6)
Round 3 :
(1 sc, 1 inc) x 6 (18)
Round 4 :
(2 sc, 1 inc) x 6 (24)
Round 5 :
(3 sc, 1 inc) x 6 (30)
Round 6 :
(4 sc, 1 inc) x 6 (36)
Info :
We are shaping a flat semi-fan by increasing evenly. Maintain a centering marker at the start of round to keep track of the arc's midpoint. The counts here will form a broad wedge; the increases are placed evenly around the half-disk to ensure smooth curvature.
Round 7 :
(5 sc, 1 inc) x 6 (42)
Round 8 :
(6 sc, 1 inc) x 6 (48)
Round 9 :
(7 sc, 1 inc) x 6 (54)
Round 10 :
(8 sc, 1 inc) x 6 (60)
Info :
At this point you have a wide wedge; the increases are regular to keep the curve even. If your wedge looks puckered, block later while wet. If it spreads too much, work the next even rounds a touch firmer by using a smaller hook for the first stitch of each round.
Round 11-14 :
1 sc in each st around (60)
Round 15 :
Ch3 (counts as dc), 1 dc in next st, (ch2, sk 1 st, 2 dc in next 2 sts) across to create an even fan ribline set (60)
Info :
Round 15 introduces taller stitches (dc) worked in specific positions to create subtle radial ribbing on the fan. Keep the ch-2 spaces consistent; these will create visual lines that read as fan ribs. Do not over-tighten the dc sections.
Round 16-18 :
1 dc in each dc and 1 sc in each sc around, maintain established stitch pattern to keep the wedge dense (60)
Round 19 :
(8 sc, 1 inc) x 6 (66)
Round 20 :
1 sc in each st around (66)
Info :
The fan's straight side will be worked later as the join edge to the mesh. The increases in rounds 19-20 subtly give the outer arc a slight fullness to accommodate the scalloped edging. If you prefer a less pronounced arc reduce increases by one repeat.
Round 21-24 :
Alternate rows of (1 sc) and (1 sc BLO) to create a faint ridge near the outer edge (66)
Round 25 :
(9 sc, 1 inc) x 6 (72)
Round 26-28 :
1 sc in each st (72)
Info :
Finish the fan as a wide, flat wedge. Fasten off leaving a long tail (approx 30-40cm) for attaching to the mesh panel. Block the fan lightly with pins to ensure it lays flat while you work the mesh panels.
— Variegated Mesh Panel (Make 2 long panels) :
Info :
Each mesh panel is worked as a multiple of a 12-st repeat across the width. The panel pictured uses a chain foundation to achieve an airy, open lattice. Work the panel flat in rows, turning at the end of each row. Gauge and repeat counts below will give an approximate width to match the fan's straight edge.
Foundation Row :
Ch 72 + 3 (or multiple of 12 + 3 for your desired width). This gives a panel approximately matching the fan width. Use the variegated pastel yarn.
Round 1 (Row 1) :
Dc in 4th ch from hook (counts as dc), *ch3, sk 2 ch, 3 dc in next ch*, rep from * to * across ending with 1 dc in top of turning ch (panel width depends on foundation) (approximately 60-72 dc clusters depending on foundation)
Info :
This first mesh row establishes shell clusters of 3 dc separated by ch-3 spaces; these ch-3 loops will be used to anchor the next row’s clusters and picots. Keep your tension consistent for even mesh.
Round 2 (Row 2) :
Ch3, turn. *3 dc in ch-3 sp of previous row, ch3, sk next cluster*, rep across, end with dc in final st (the ch-3 spacing aligns clusters into a diamond mesh) (same stitch count as previous row)
Round 3 :
Repeat Round 2 (openwork lattice forms). (same stitch count)
Round 4 :
Ch1, turn. Sc in each dc and ch3 sp across to create a stabilizing row (this compresses the mesh slightly for joining points) (same stitch count)
Info :
Every 3–4 rows you can add a stabilization row of sc to keep the mesh from growing too wide and to give points for secure sewing to the fan edges. This runner alternates two open rows and a stabilizing sc row to maintain structure.
Round 5-28 :
Repeat Rows 2–4 in sequence to create a long panel. For the pictured runner work 24 additional repeats to reach panel length that fits between the two fans (approx 24 cm per panel before joining). Maintain consistent tension. (stitch counts remain constant per row)
Info :
When you reach the desired length, end with an openwork row so the join to the next motif is decorative. You may adjust the number of repeats to change runner length. Place a marker where the panel will meet the fan so joining is even.
Round 29 :
Work a final stabilizing row: ch1, turn, sc in each st across, fasten off leaving long tail for joining.
Info :
Repeat for the second panel. If you prefer a continuous runner without separate panels, work a longer series of mesh repeats and join fans at the appropriate distances. Blocking each panel before assembly will make joins flat and invisible.
— Joining Fans to Mesh Panels :
Info :
You can either join as you go (crochet slip-stitch or single crochet into mesh loops) or sew the fan edges to the mesh panels using the long tails. Below are instructions for whip-sewing which gives a neat invisible seam.
Join Step 1 :
Position fan straight edge along the top edge of the panel. The edge of the fan should align with the final sc stabilizing row of the mesh. Pin in place every 2–3 cm to avoid shifting.
Join Step 2 :
Thread the long tail from the fan onto tapestry needle. Whip stitch through outer loops of the fan and through the stabilizing row of the mesh, taking a small stitch each time to create an even seam. Sew around entire straight edge. Fasten off and weave in tail.
Info :
If your join is slightly loose, add a second row of slip stitches from the right side into the seam to tighten. If joining as you go, you can align the final fan round with the mesh row and slip-stitch each fan stitch to the mesh's ch-3 spaces for a decorative join.
— Outer Scalloped Picot Edging :
Round 1 :
With blue yarn picked up at outer arc, attach with sl st. Ch1, *5 sc in next 3 sts, picot, skip 1 st* along outer arc of fan portion to create small scallops. Work evenly around arc (approx 12 scallops across the arc; adjust as needed) (stitch count variable per scallop)
Info :
The picot = ch3, sl st into top of last stitch. The scallops set the runner's outer decorative edge and echo the shape in the mesh panels. For a more delicate look use 3 sc per scallop.
Round 2 :
Turn to the mesh edge. Attach variegated yarn with a sl st into a ch-3 sp. *Ch3, (sc, ch3, sc) into same sp, sl st into next ch-3 sp* Repeat across the mesh to create a picot-loop connector where the fan meets the mesh. Fasten off and weave ends. Repeat for second fan.
Info :
Work edging with light tension; picots will open during blocking and give the runner a delicate finish. If you prefer fewer picots, work (sc, ch3, sc) every second ch-3 space.
— 3D Rose Applique (Make 2 full flowers + 2 buds) :
Round 1 :
Ch 6, join to form ring (or MR alternative). Ch3 (counts as first dc), work 11 dc into ring, sl st to top of ch3 (12 dc) — this is the rose center base.
Round 2 :
Ch1, sc in same st, *ch3, skip 1 st, sc in next st* around to create small loops (12 loops). Sl st to first sc. (12 loops)
Round 3 :
Working in loop spaces: *(sc, hdc, 3 dc, hdc, sc) in each ch-3 loop* around to form first petal layer (12 petals). Fasten off and leave long tail for sewing (do not stuff).
Info :
Petal shaping uses increases inside each loop; keep petals slightly overlapping for fullness. Use soft pink yarn for a natural rose look. Layer the petals by making a second slightly larger round and sewing on top of first to get the realistic multi-layer look.
Round 4 (Optional Larger Petal Layer) :
Create a second circle: ch4, join, *ch3, sl st* around to make 12 loop spaces. In each loop, make (sc, 2 hdc, 5 dc, 2 hdc, sc). Stitch this layer offset to sit between the petals of the first layer. Fasten off leaving tail for sewing.
Round 5 :
Sew the two layers together starting at the center and securing petals with small stitches. Tug petals into shape, stitch down base so rose holds an upward-facing bloom. Make two full flowers.
Bud (Make 2) :
Ch6, sl st around to make a small tube, then decreasing rounds with sc in back loops only to shape a tapered bud. Fasten off and leave long tail for attaching to stems.
Info :
Shaping advice: slightly stuffing the bottom center with a tiny amount of fiberfill (a very small pinch) helps the rose sit with a natural center. If you prefer flatter appliques, omit stuffing. Secure petals by sewing the base tightly to prevent petals from moving.
— Leaves & Stem (Make 4 leaves + 2 stems) :
Leaf Round 1 :
Ch 12, sc in 2nd ch from hook, hdc in next, dc in next 3, hdc in next, sc in next, sl st in last. Turning on the other side of foundation, work matching stitches back to starting point to create a symmetrical leaf. Fasten off leaving long tail for sewing. (approx 10–12 sts per side)
Leaf Round 2 :
Use surface slip-stitch veins: With same color, make 3–5 surface sl st lines from base to tip to simulate leaf veins. Optionally block over a leaf template for shaping. Make 4 leaves.
Stem :
Ch 40–60 depending on placement, sl st in each chain back to the base to create a cord-like stem. Use two strands held together for thicker stems or crochet an I-cord style tube. Fasten off with long tail for positioning and attaching either beneath the rose or between fan and mesh panel as pictured.
Info :
Leaves should be slightly cupped and starched lightly if you want them to hold shape. Stems are best made slightly flexible; do not insert wire unless you fully encase it or wrap it with yarn to avoid sharp ends.
— Final Decorative Edging Around Mesh Panels :
Round 1 :
Pick up variegated yarn at one long side of mesh panel. Sl st into corner, *ch3, sc in next ch-3 sp, ch3, picot* along the side border in every ch-3 space to create small loops. Fasten off at end of panel. Repeat on opposite long side.
Round 2 :
Work a finer picot-bound scallop on short ends of panel: sc in each end st, *(sc, ch3, picot, sc) in corner ch-3 sp* to form a neat corner. Fasten off.
Info :
These finishing rounds bring cohesiveness between the fan's scalloped border and the variegated mesh panel. Block the panel again after edging to even out picots and lace openings.
— Assembly & Placement of Appliques :
Info :
Lay the assembled runner flat. Position fans at opposing locations with mesh panels joining them as pictured (fans facing opposite directions to create a flowing S-shape). Place roses near the inner arc of each fan, with a bud and two leaves arranged as in the photo to mimic natural placement. Pin each applique securely before sewing.
Attachment :
Sew roses on by passing the tapestry needle through the base of the petals and into the fan and mesh seams, anchoring with several secure stitches. Sew leaves and bud stems into position, hiding tails under the flower base. Fasten off and weave ends deeply into the fabric to hide them.
Info :
Take care to sew through both fan and mesh where they overlap to ensure appliques are firmly attached and will not pull away when the runner is moved. Use small, even stitches and knot securely at the back. Trim surplus yarn and weave in ends to the underside.
— Blocking & Final Finishing :
Info :
Soak the completed runner in lukewarm water with a mild wool wash if desired, gently squeeze out excess water (do not wring), and pin to blocking board to exact shape. Stretch gently to open the mesh diamonds and set picots and scallops. Allow to dry completely (12–24 hours) before removing pins. Press lightly with a steam iron using a cloth if needed to refine the edges.
Info :
Once blocked and dry, give the runner a final inspection and secure any loose stitches. If items such as appliques need additional stabilization, discreet tacking stitches on the underside can keep them flat while leaving the tops free and dimensional.
This pastel lace table runner brings a timeless, romantic accent to your home — from airy variegated mesh to the elegant fan motifs and sweet rose appliques. Each stitch adds warmth and personality, making it ideal for seasonal displays, special breakfasts, or as a treasured handmade gift. Enjoy the meditative rhythm of the lacework and the satisfying moment when all elements come together beautifully. 🧶🌸