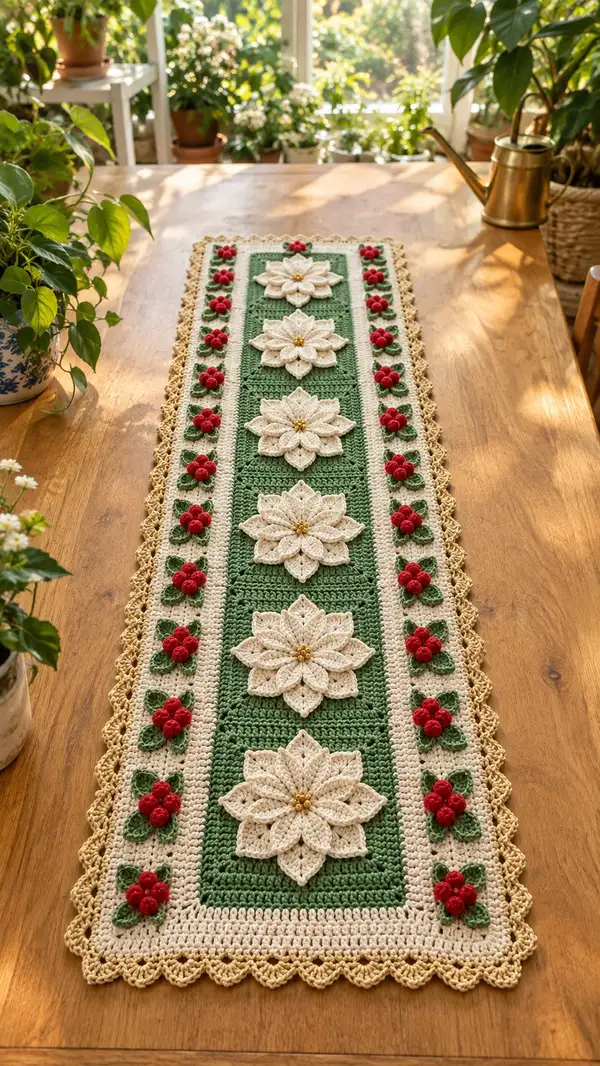
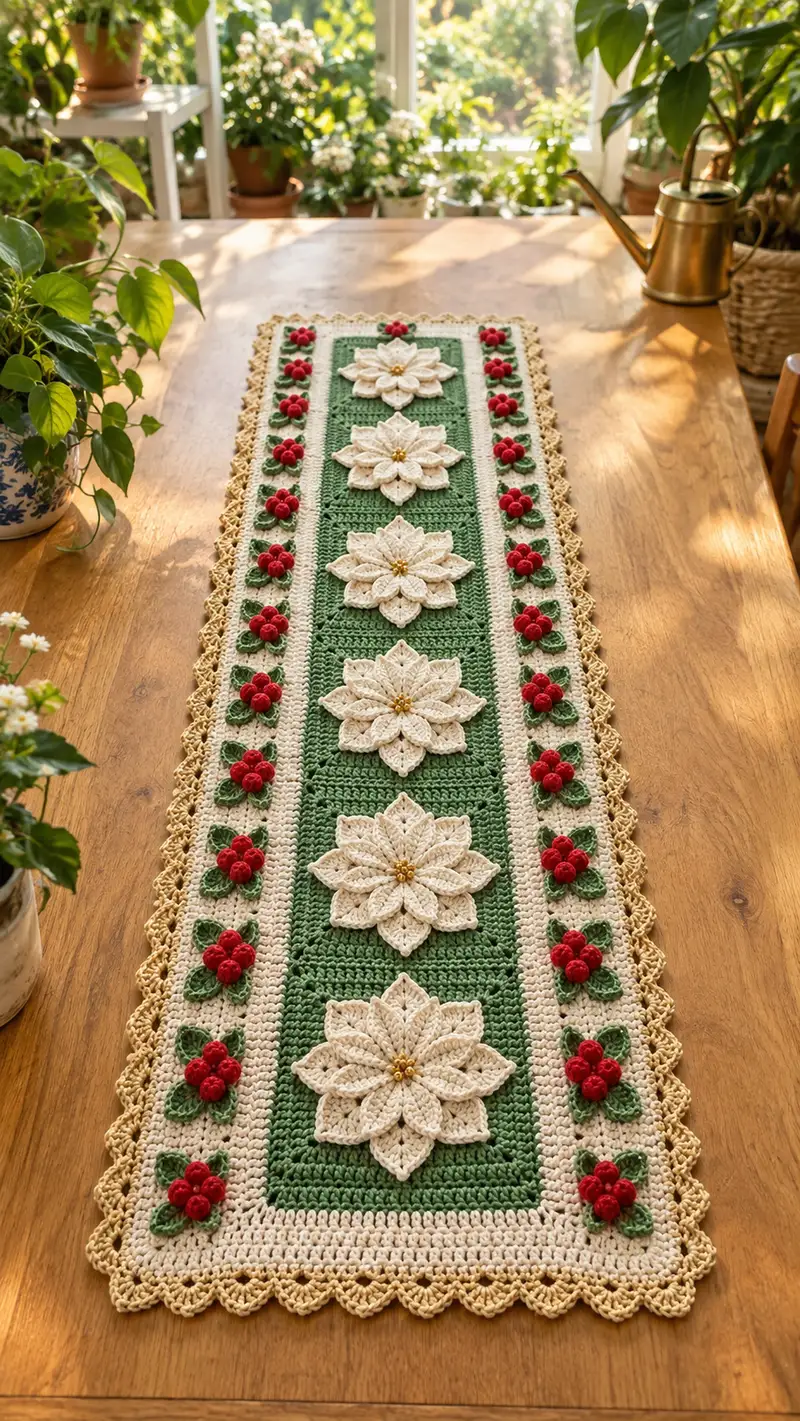
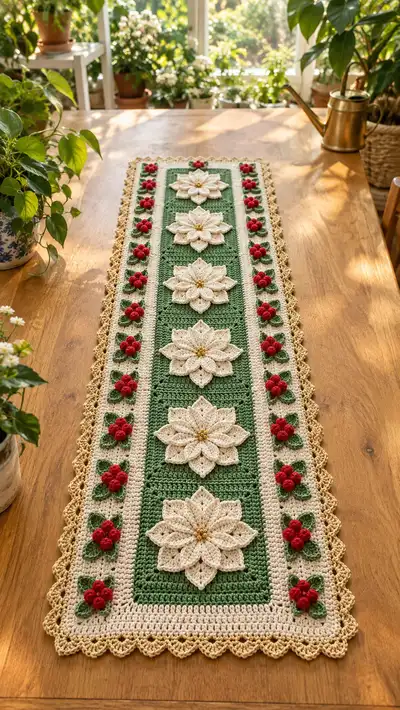
A festive, vintage-inspired table runner featuring layered cream poinsettias, deep green rectangular panels, and rows of three-dimensional red berry clusters with verdant leaves. The runner is finished with a warm beige scalloped border for an elegant holiday centerpiece. This pattern uses simple motifs joined together to create a striking long runner ideal for a dining table or sideboard. Detailed instructions, motif counts and joining steps included to guide you through each stage.
Progress Tracker
0% Complete
— Poinsettia Motif (Make 6) :
Round 1 :
6 sc in magic ring (6)
Round 3 :
(1 sc, 1 inc) x 6 (18)
Round 4 :
(2 sc, 1 inc) x 6 (24)
Round 5 :
(3 sc, 1 inc) x 6 (30)
Info :
This creates a slightly domed base for the flower center. Keep tension firm so the center is compact. Add a few fibers of stuffing if you prefer a plump center before starting petal rounds.
Round 6 :
(4 sc, 1 inc) x 6 (36)
Round 7 :
1 sc in each st (36)
Round 8 :
1 sc in each st (36)
Info :
Place 6 small gold seed beads evenly across the center now if you plan to sew them on later; leave beads pinned with a small stitch so they will be captured when attaching petals.
Round 9 :
For first petal base: *ch 5, sk next 5 sts, sl st into next st* around to create 6 ch-loops. Join (6 loops)
Round 10 :
Work petals into each ch-5 loop: (sc, hdc, 2 dc, tr, 2 dc, hdc, sc) in loop. Repeat around (6 petals)
Info :
Petal sequence forms a tall, pointed petal shape. Tighten the starting ch loop before working to keep petals neat. Use the 3.5mm hook if you want firmer petals.
Round 11 :
Ch 2, turn to the back side of the first petal and join with sl st behind the petal; ch 3 and create small picot base to lock petals into place. Repeat behind each petal (6 picots)
Round 12 :
To form second layer of petals, *ch 6, sl st into base between first layer petals* to make 6 larger loops (6 loops)
Round 13 :
Work larger petals: (sc, hdc, 3 dc, tr, 3 dc, hdc, sc) into each ch-6 loop (6 petals)
Info :
When working the back layer, offset petals between the front petals so they sit staggered and create a fuller flower. Use your fingers to shape petals outward as you work them.
Round 14 :
Fasten off cream; weave tail under the flower center to stabilize. If adding small bead centers, position beads now and secure with short pieces of matching thread or yarn.
Round 15 :
Optional: Embellish petal edges with slip stitch detailing: join cream at petal tips and sc evenly around tip edges to create a crisp outline (work 6-8 sc at each tip)
Info :
If you want slightly larger flowers, after the second layer you may add a third staggered petal row by creating *ch 7 loops and working 4 dc center petal clusters*. Keep counts consistent across all six flowers.
Round 16 :
Optional third petal layer instruction (if adding third layer): *ch 7, sl st between petals to create 6 loops*, join (6 loops)
Round 17 :
Work larger petal: (sc, hdc, 4 dc, tr, 4 dc, hdc, sc) into each ch-7 loop (6 petals)
Round 18 :
Finish and secure tail by weaving through back of petals, trim close. Flower should measure approximately 12-13 cm across when slightly fluffed (depending on tension and yarn). (No stitch count change)
Info :
Make 6 identical poinsettia motifs. Block gently with pins on a flat surface to ensure petals open consistently and flowers lie flat when sewn to panels.
— Berry Cluster (Make 24) :
Round 1 :
Make a magic ring, ch 1, 6 sc in ring (6)
Round 2 :
Inc in each st around (12)
Round 3 :
(1 sc, inc) x 6 (18)
Round 4 :
Ch 1, sc in each st (18)
Info :
Form three berries per cluster: you will make three small balls and sew them together into a triangular cluster. Keep stuffing minimal — just a tiny pellet of fiberfill for shape.
Round 5 :
For each berry: fold circle in half and use sl sts along the edge to close and form a tight little berry. Fasten off leaving a tail for sewing. Make 3 per cluster (3 tiny berries)
Round 6 :
Sew three berries together at their bases using tails to form triangular cluster. Add a single invisible stitch through their centers to secure.
Round 7 :
Optional: Add a tiny French knot with metallic yarn or sew in a 2-3 mm bead to each berry center for a glossy highlight (no stitch count)
Info :
Make 24 berry clusters. Position them along each cream strip: six clusters per side per runner (spacing given in assembly section). Make extras to allow for trimming placement while joining.
— Leaf (Make 36) :
Round 1 :
Ch 8, in 2nd ch from hook: sc, hdc, 2 dc, 2 tr, 2 dc, hdc, sc. Fasten off (1 leaf)
Round 2 :
For a textured vein, with contrasting green, use surface slip stitch down the center of leaf from base to tip. Secure and weave tail.
Info :
Make two leaves to accompany each berry cluster. Leaves are worked flat and then slightly blocked to curve naturally. Stiffen very lightly if desired with a fabric spray or starch for crispness.
— Center Green Panel (Make 6 Panels, join for length) :
Round 1 :
Ch 36, turn. (this starting chain creates an approximate width of 28-30 cm depending on yarn)
Round 2 :
From 2nd ch from hook, dc in each ch across, ch 2, turn (34 dc)
Round 3 :
Dc in each st across, ch 2, turn (34 dc)
Round 4-8 :
Dc in each st across, ch 2, turn (34 dc)
Info :
Work even in rows of double crochet to create a flat rectangular panel. Each panel will be square-ish; make 6 and block flat. Adjust starting chain if you want wider or narrower motifs.
Round 9-14 :
Continue dc rows (34 dc)
Round 15 :
Change to BLO dc for one row to create a subtle ridge (34 dc BLO)
Round 16-24 :
Continue dc rows, keeping counts even (34 dc)
Info :
Each completed green panel should measure approximately 12-14 cm in length. Make 6 panels and arrange them with small joining seams between each to total the runner length seen in the image. Use consistent tension and blocking for even joins.
Round 25-30 :
Final dc rows for the panel, finish off and weave ends. Make 6 identical panels.
— Cream Side Strips (Make 2 long strips per runner, worked in rows) :
Round 1 :
Ch 10, turn (base width for strip - adjust if desired)
Round 2 :
From 2nd ch from hook, dc across (8 dc), ch 2 turn
Round 3-30 :
Continue dc rows to match the overall length of combined green panels (8 dc each row). Keep counts to align berry placement between cream strip rows.
Info :
Make two long cream strips (one for each side of center panels). The strips should be long enough to run the entire length of the joined green panels. Block to flatten and make sure berry cluster placement will align symmetrically on both sides.
— Joining Green Panels and Side Strips :
Round 1 :
Lay panels edge-to-edge with right sides up, using mattress stitch or whip stitch to join short sides together so seams are flat and unobtrusive. Join panels so you have a long center panel composed of 6 sections (no stitch count)
Round 2 :
Place cream strips to each side of the long center and pin in place. Sew strips using whip stitch through edges (aim for 3-4 mm between stitch lines) so seams are even and flat.
Info :
Position the six poinsettia motifs evenly along the center of the green field before sewing them on. Space them at equal intervals — measure and mark centers with pins or thread to ensure perfect alignment down the runner length.
Round 3 :
Sew cream side strips to the center panel along full length; weave and secure tails and check that the seams lie flat against a blocking board before final assembly.
— Positioning and Attaching Poinsettias and Berry Clusters :
Round 1 :
Pin the first poinsettia centered on the first green panel square. From the top/bottom of the panel measure half the distance to next panel to find center placement for each subsequent flower. Use pins to hold in place.
Round 2 :
Sew each poinsettia using a yarn needle and matching cream yarn. Take small stitches along the base of the flower and through the panel, anchoring flower at 8-12 points around perimeter for secure attachment (no stitch count change)
Info :
Sew through the back layer of petals to hide stitching and keep front petals untouched. Keep thread tension snug but not puckering the panel.
Round 3 :
On each cream side strip, pin three berry clusters evenly into the vertical row spacing per side for each group of central panels: six clusters per side along full runner length (12 clusters total per side group depending on your runner layout)
Round 4 :
Sew the leaf bases behind each berry cluster using matching green yarn, and then sew the berry cluster to the strip with a few anchor stitches inside the berry base to secure. Tuck leaf stems under cluster for a neat look.
Info :
Arrange leaves so two leaves accompany each cluster, slightly angled outward. Use very small, nearly invisible stitches at leaf base for tidy finish. Make sure all left and right strip clusters mirror each other for symmetry.
— Inner Joining Round (Single Crochet Frame Around Center) :
Round 1 :
With cream yarn, join at one corner of joined center + strips using sl st, ch 1
Round 2 :
Work sc evenly along the long edge of the runner, placing 1 sc per row end or approximately 1 sc per 6 dc to keep even tension. When you reach a corner, work (sc, ch 2, sc) to turn neatly. Continue around entire runner to form a narrow cream frame.
Round 3 :
Second round of cream frame: sc in each sc around, ch 1 at corners (no stitch count change)
Info :
This cream frame helps anchor the scalloped outer border and creates a color balance between center panels and the outer edging.
— Outer Scallop Border (Warm Beige) :
Round 1 :
With warm beige, join to any sc on cream frame. *Ch 5, skip 1 sc, sl st in next sc* repeat along long edges to create 1st picot scallop row. At corners, work extra ch 2 loops so scallops lie flat.
Round 2 :
Work into each ch-5 loop as follows: (sc, hdc, 3 dc, hdc, sc) to form scallop fan. Repeat for each scallop around long edges and short ends.
Round 3 :
Repeat Round 2 for a fuller scallop: work (sc, hdc, 4 dc, hdc, sc) in each fan to deepen scallop profile
Info :
Keep scallop stitches even by counting the double crochet clusters. Flatten and block the scallop as you work for a crisp edge; if necessary, pin the fans out to set the shape with a light mist of water.
Round 4 :
Optional decorative picot edge: In the top of each fan, join with sl st and work *ch 3, sl st into second ch from hook (picot), sl st back into top of fan* to give a refined scalloped edge.
Round 5 :
Finish border by working a final slip-stitch round into the back loops of the scallop base to lock everything in place; fasten off and weave tails.
Info :
The beige scallop provides the final polished look. If your runner edge ripples, block with steam or pin and light dampening; adjust scallop density by increasing or reducing dc clusters per fan.
— Final Finishing Touches :
Round 1 :
Sew any loose petals gently to prevent flipping. Use small invisible stitches through the petal base only, avoiding the outer surface.
Round 2 :
Sew gold seed beads into the center of each poinsettia: arrange 6 beads in a circular pattern and secure with matching thread/yarn; knot and weave tail into back of motif.
Round 3 :
Weave in all ends with yarn needle, trimming tails close after weaving them through at least 4-6 stitches to secure.
Info :
Lightly block the entire runner on a flat surface to set the final shape. Use pins along scallop edge and between motifs to keep alignment while drying. Avoid heavy steam near metallic beads.
Round 4 :
Gently brush the petals and leaves to open them up and give a soft, dimensional finish (no stitch count change)
Info :
Your runner is modular — if you wish to make it longer, add more green panels and matching cream strips and repeat motif placements. Store flat or rolled gently to preserve scallop shape.
Completing this table runner is such a satisfying experience — watching the separate petals, berries and leaves come together into a beautiful, heirloom-quality centerpiece is rewarding. The layered poinsettias and scalloped edge create an elegant, cozy accent for holiday tables and everyday decor alike. Enjoy the gentle meditative rhythm of assembling motifs and savor the polished result when you lay it down on your table. 🧶✨ Happy stitching and share your finished runner for others to admire! 🎄