๐Ÿงถ Beautiful โœจ Detailed ๐Ÿ’ Adorable

Pumpkin Spooky Spiral Ornament Amigurumi Pattern

Pumpkin Spooky Spiral Ornament Amigurumi Pattern
4.6โ˜… Rating
5-7 Hours Time Needed
4.0K Made This
โœ‚๏ธ

Intermediate Level

Ideal for those with basic crochet experience, featuring slightly more advanced stitches and techniques to expand your skills.

โฑ๏ธ

Weekend Treat

Takes 5-7 hours, making it an enjoyable project to finish over a couple of days.

๐Ÿ‚

Autumn Vibes

Earthy harvest tones and playful Halloween motifs blend into a charming seasonal decoration perfect for porches, doors, or indoor displays.

๐Ÿงถ Jump to Pattern โ†“

About This Pumpkin Spooky Spiral Ornament Amigurumi Pattern

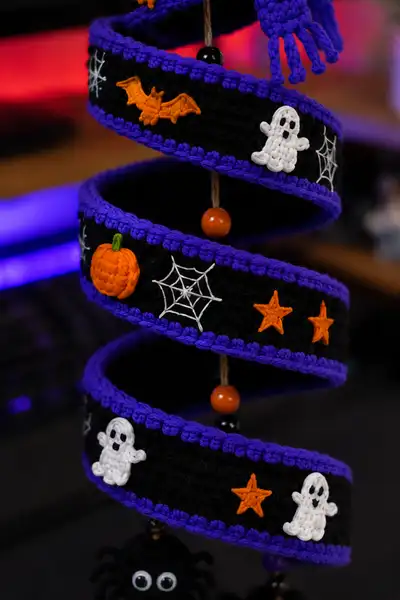
This pattern recreates the spiral Halloween ornament pictured: a round orange jack-o-lantern head wearing a floppy black witch hat, a short purple scarf, and a long black spiral ribbon edged in vivid purple. The spiral is embellished with small appliques (white ghosts, orange bats, pumpkins and stars) and embroidered spiderwebs, plus wooden and glass beads threaded through to allow the spiral to hang and coil freely. The bottom ends in two tiny crocheted spiders with googly eyes that swing below the spiral.
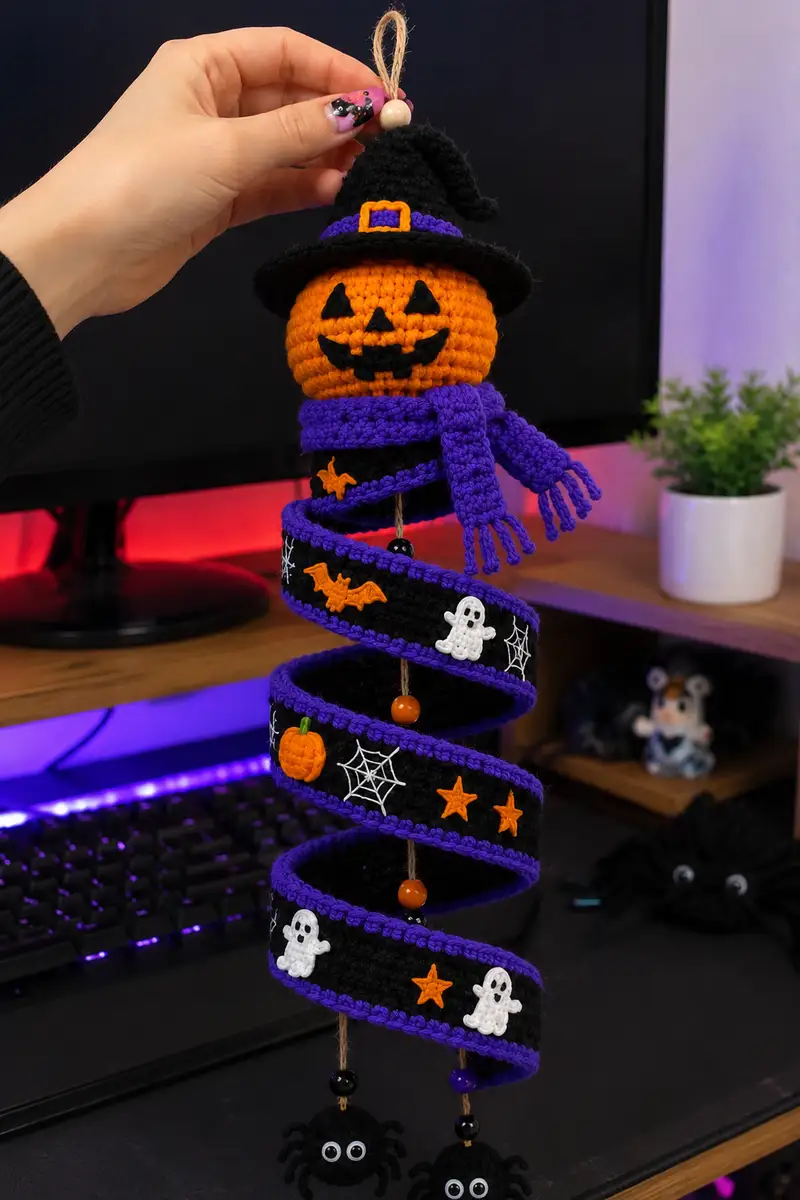
Pumpkin Spooky Spiral Ornament Amigurumi Pattern crochet pattern - detailed view of completed project

Designed to be made with worsted weight yarn and small beads, this project is modular โ€” crochet each element separately then assemble onto a central cord. The spiral is made as a long rectangular strip and coiled into the hanging spiral shown.

Why You'll Love This Pumpkin Spooky Spiral Ornament Amigurumi Pattern

I love how festive and playful this ornament is โ€” it captures Halloween spirit without being scary. I enjoy the mix of small appliques and embroidery for character, and the hanging spiral construction gives it beautiful movement. The pattern is also satisfying because you finish many small motifs along the way, which keeps momentum and makes the project feel quick.

Pumpkin Spooky Spiral Ornament Amigurumi Pattern step 1 - construction progress Pumpkin Spooky Spiral Ornament Amigurumi Pattern step 2 - assembly progress Pumpkin Spooky Spiral Ornament Amigurumi Pattern step 3 - details and accessories Pumpkin Spooky Spiral Ornament Amigurumi Pattern step 4 - final assembly and finishing

Switch Things Up

Common Mistakes & How to Fix Them

โœ— Skipping stitch markers at round starts can cause misaligned features and uneven shaping; always mark your first stitch of each round. โœ— Inconsistent tension between rounds creates lumpy or uneven surfaces; practice maintaining steady, even tension throughout the entire project. โœ— Not stuffing the pumpkin head gradually makes it hard to shape later; add small amounts of fiberfill as you progress. โœ— Using a hook that is too large for amigurumi leads to visible stuffing through stitches; use a slightly smaller hook than the yarn label recommends for a tight fabric. โœ— Not securing or doubling the cord through the beads and spiral can allow the spiral to slide; knot securely and hide knots with beads. โœ— Attaching appliques before final placement without pinning leads to uneven spacing; lay out all decorations along the spiral first and pin before sewing. โœ— Forgetting to fasten off tails long enough for sewing causes a struggle when joining pieces; leave 10-15 cm tails to weave and attach easily.
Pumpkin Spooky Spiral Ornament Amigurumi Pattern

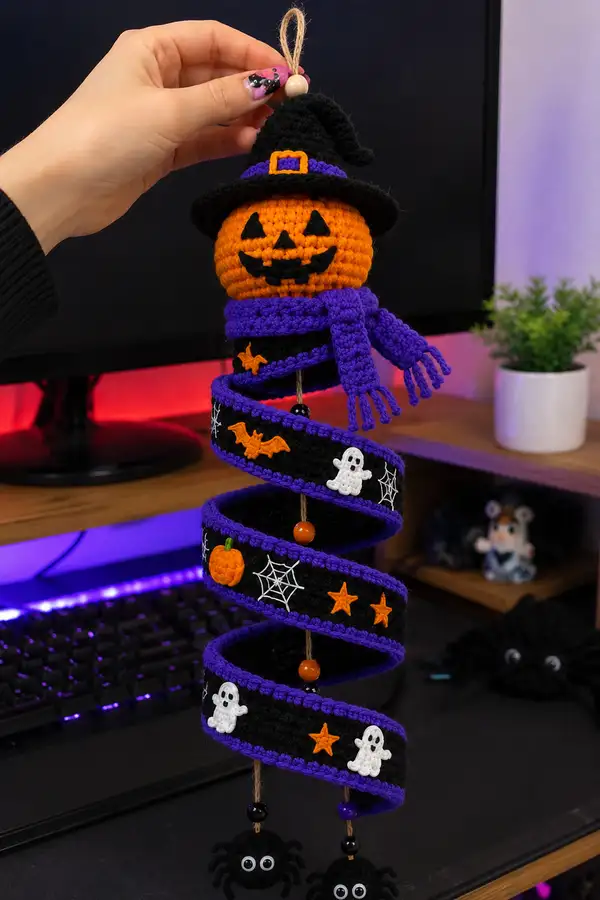
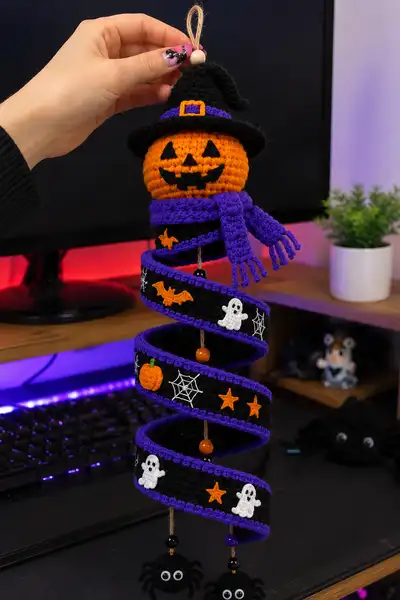
A whimsical hanging Halloween ornament featuring a smiling crocheted jack-o-lantern wearing a little witch hat, wrapped by a coiled black-and-purple spiral ribbon decorated with tiny ghosts, bats, pumpkins, stars and spider pals. The spiral hangs from a loop with beads and two dangling crocheted spiders at the bottom. This pattern includes step-by-step stitch-by-stitch instructions for each component so you can recreate the full festive decoration.

Intermediate 5-7 Hours

Materials Needed for Pumpkin Spooky Spiral Ornament Amigurumi Pattern

โ€” Main Fabric

  • 01
    Worsted weight yarn (#4), approximately 120g in orange (main pumpkin color)
  • 02
    80-100g in black for spiral and hat
  • 03
    70-90g in purple (accent edging, hat band, scarf)
  • 04
    20g in white for ghost appliques and embroidered webs
  • 05
    20-30g in orange accent for small appliques (stars, bats, pumpkin details)
  • 06
    Small amounts (10-15g) in green for pumpkin stem and black for facial embroidery details

โ€” Tools Required

  • 01
    3.5mm (E) crochet hook for main work
  • 02
    3.0mm (D) crochet hook for tighter details and appliques (optional)
  • 03
    2.75mm (C) hook for tiny details (optional)
  • 04
    Yarn needle for sewing pieces and weaving ends
  • 05
    Polyester fiberfill stuffing
  • 06
    Embroidery needle and white/orange/black embroidery threads for webs and small details
  • 07
    6mm-10mm safety eyes for spiders or small beads for eyes, or black yarn for embroidery
  • 08
    Assorted beads (wood or glass) for the central cord - orange and black beads shown
  • 09
    Twine or strong cord for the central hanging core
  • 10
    Stitch markers (at least 4)
  • 11
    Scissors
  • 12
    Pins for positioning appliques
  • 13
    Optional: hot glue or fabric glue for extra secure embellishment

Progress Tracker

0% Complete

โ€” Head (Pumpkin) :

Round 1 :

6 sc in magic ring (6)

Round 2 :

6 inc (12)

Round 3 :

(1 sc, 1 inc) x 6 (18)

Round 4 :

(2 sc, 1 inc) x 6 (24)

Round 5 :

(3 sc, 1 inc) x 6 (30)

Round 6 :

(4 sc, 1 inc) x 6 (36)

Round 7 :

(5 sc, 1 inc) x 6 (42)

Round 8 :

(6 sc, 1 inc) x 6 (48)

Info :

Use worsted weight orange yarn and a 3.5mm hook. Work tightly so stuffing does not show. Place a stitch marker at the first stitch of each round to keep track.

Round 9-12 :

1 sc in each st (48)

Info :

If you want deep pumpkin ribbing, after round 12 you can work surface slip stitch ridges later; continue rounds now for a smooth round pumpkin head.

Round 13-16 :

1 sc in each st (48)

Info :

Position eyes: if using safety eyes, insert them between rounds 13 and 14 about 10-12 stitches apart (approx 3/4 of the way across the front). For this design, we will use embroidered triangle eyes later, so do not insert safety eyes here.

Round 17 :

(6 sc, 1 dec) x 6 (42)

Round 18 :

(5 sc, 1 dec) x 6 (36)

Info :

Begin stuffing the pumpkin head lightly now with fiberfill. Add more as you go so the head is firm but slightly squishy; a firm head keeps the spiral balanced.

Round 19 :

(4 sc, 1 dec) x 6 (30)

Round 20 :

(3 sc, 1 dec) x 6 (24)

Round 21 :

(2 sc, 1 dec) x 6 (18)

Info :

At this point the head should feel round and pumpkin-like. Add more stuffing to round out the cheeks and face area. Keep the top (where hat attaches) slightly less stuffed so the hat sits nicely.

Round 22 :

(1 sc, 1 dec) x 6 (12)

Round 23 :

6 dec (6)

Info :

Fasten off leaving a long tail for sewing onto the hat base. Finish stuffing through this round before closing; weave tail through remaining 6 sts and pull tight to close and hide the knot inside.

Round 24 :

Using a tapestry needle, close the small hole created by round 23 and weave the tail into the inside of the head.

Info :

Embroider the jack-o-lantern face now for best control: use black yarn or embroidery thread to create triangular eyes and a wide crescent mouth with small vertical

Assembly Instructions

  • ,

Important Notes

You ask,

we answer.

FAQs