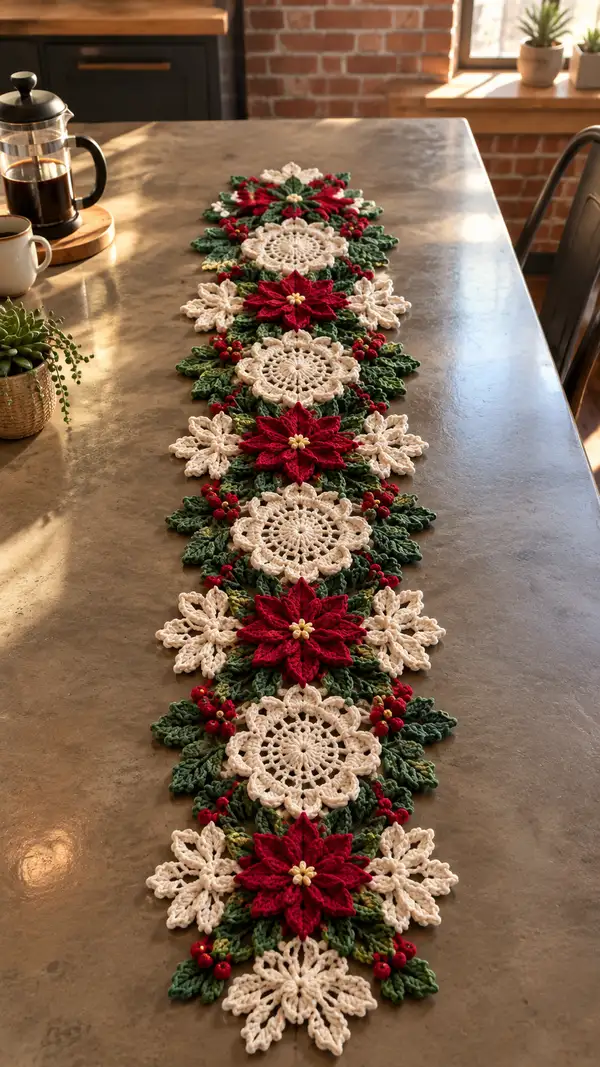
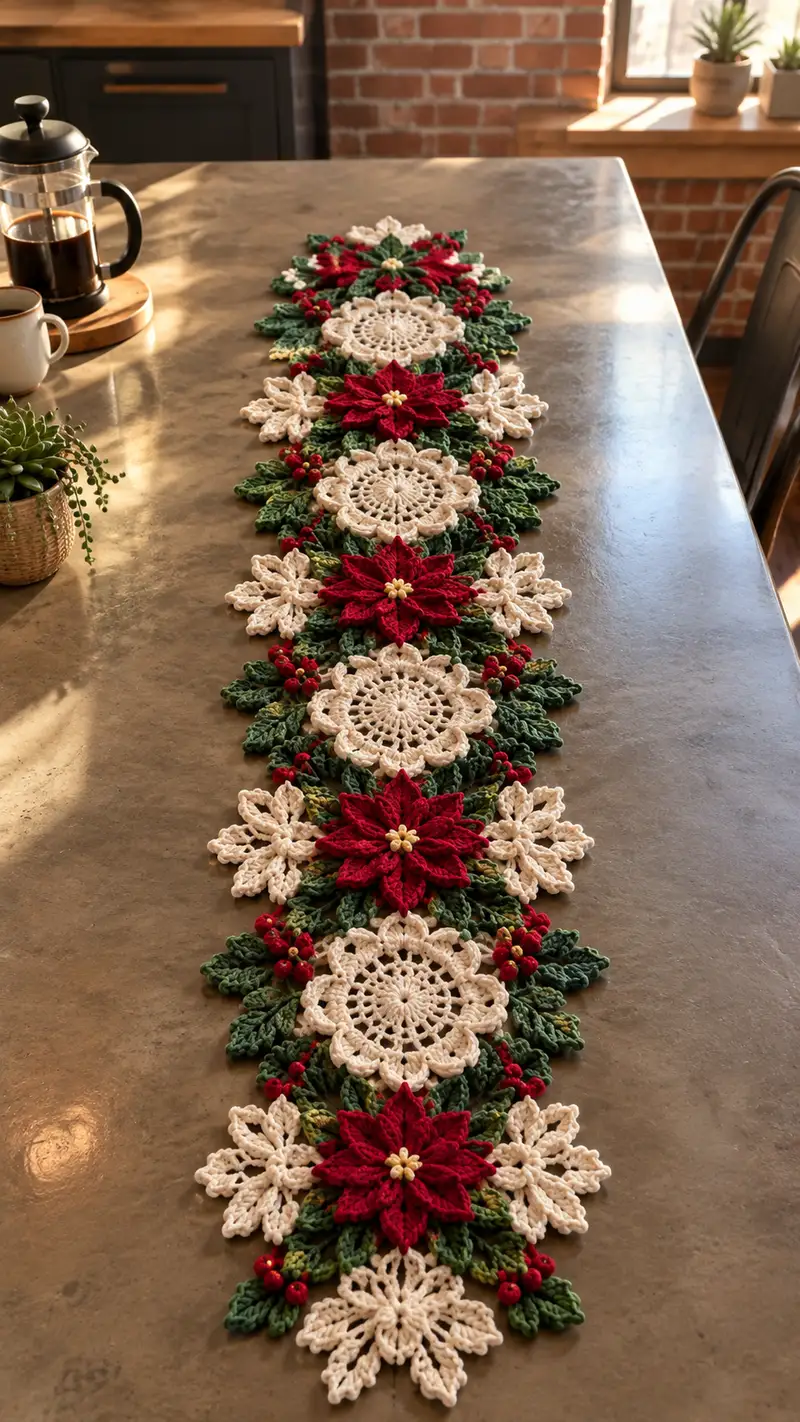
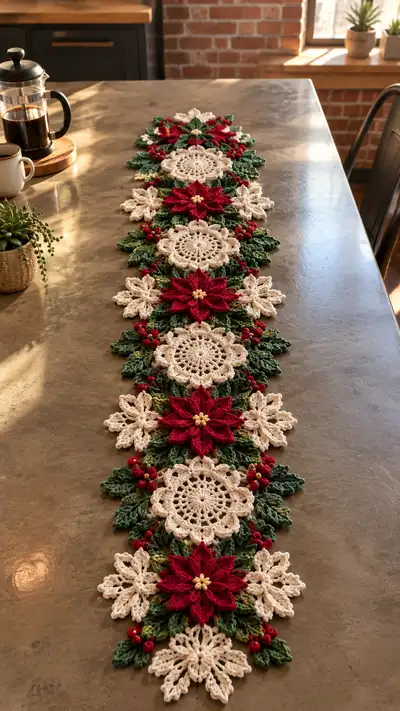
Create a festive, elegant table runner featuring layered red poinsettias, delicate cream snowflake medallions, textured green leaves and tiny red berry clusters. This pattern uses modular motifs joined as you go to form a long runner that lays beautifully down a holiday table. Works up in worsted-weight yarn with easy color changes and a mix of textured stitches for a rich, hand-crafted look.
Progress Tracker
0% Complete
— Overview :
Info :
This runner is constructed from three primary motifs arranged in sequence: Cream Doily (Motif A), Red Poinsettia (Motif B), and Cream Snowflake Accent (Motif C). Each motif is worked separately and joined-as-you-go (JAYG) where indicated. Make 3-5 full motif sets depending on desired length; the pictured runner contains five repeating units (doily—poinsettia—doily—poinsettia—doily) with snowflake accents placed between poinsettias. Use worsted-weight yarn and a 4.0mm hook for best results. Work tightly for structure.
Info :
Gauge is not critical for motif fit as you will join motifs visually, but maintain consistent tension. Block individual motifs lightly if edges do not lie flat before final join.
— Motif A: Cream Circular Doily (Make multiple) :
Round 1 :
With cream, mr, ch2 (counts as first dc), 11 dc into ring, sl st to top of ch2 to join (12)
Round 2 :
Ch2, dc in same st, 2 dc in each st around, sl st to top of ch2 (24)
Round 3 :
Ch3 (counts as dc), *dc in next st, 2 dc in next st; rep from * around, sl st to top of ch3 (36)
Round 4 :
Ch2, dc in same st, *dc in next 2 sts, 2 dc in next st; rep from * around, sl st (48)
Info :
Work even increases for a balanced circular base. Keep tension consistent; blocking after Round 6 helps set shape for later joins.
Round 5 :
Ch1, sc in same st, *ch3, skip 2 sts, sc in next st; rep around forming 16 ch-3 loops, sl st to first sc (16 ch-3 loops)
Round 6 :
Into each ch-3 loop: (sc, hdc, 3 dc, hdc, sc) to create scallop petals; sl st to join (16 scallops)
Info :
Scallops form the decorative outer edge of the cream medallion. If your scallops are too loose, switch to 3.5mm hook for Rounds 5-6 then join motifs with 4.0mm hook.
Round 7 :
Ch1, sc in same st, *ch5, sc in center dc of next scallop; rep around to create longer picot-style loops for leaf joins (16 long loops)
Round 8 :
Ch1, sc in same st, *work 7 dc across ch-5 loop (or 3 dc, ch1, 4 dc) to produce a raised shell, sl st to next sc; rep around, sl st to join (16 shells)
Info :
These larger shells provide a stable edge to sew leaves and to anchor join points for the leaves and berry clusters. Mark three evenly spaced shells where the motif will meet the poinsettia and leaf cluster.
Round 9 :
Ch1, sc in same st, *ch3, sc in same place as previous sc (forming small loops between shells), rep around; sl st to join (16 ch-3 loops)
Round 10 :
Into each ch-3 loop: (sc, hdc, 3 dc, hdc, sc) forming inner scallops that add dimension; sl st to join (16 inner scallops)
Info :
Fasten off leaving a long tail (~20–30cm) if you plan to join immediately to the next motif with whip stitch. Otherwise weave ends in and set aside for blocking and assembly.
— Motif B: Layered Red Poinsettia (Make multiple) :
Round 1 :
With red, mr, ch1, 6 sc into ring, pull ring tight, sl st to first sc (6)
Round 2 :
Inc in each st around (12)
Round 3 :
(1 sc, inc) x6 (18)
Round 4 :
(2 sc, inc) x6 (24)
Round 5 :
Ch1, sc in each st around (24)
Info :
Round 1–5 create a firm circular base which will anchor the layered petals. Keep this round flat; block lightly if needed.
Round 6 :
Ch3 (counts as dc), *skip next st, in next st work (dc3tog shell: 3 dc in same st), ch2, sk1, sl st into base to form a petal foundation; rep 8 times to create 8 petal foundations, sl st to join (8 petals)
Round 7 :
Work around first petal foundation: join yarn at petal base, (ch3, 2 dc, tr, 2 dc, ch3) all in the base to form a pointed petal; sl st to next petal base; rep around for 8 outer petals
Info :
Use post stitches lightly to sculpt the petal points. If petals curl, block with light steam or finger shape while damp.
Round 8 :
Switch to smaller 3.5mm hook if you prefer tighter petals. Ch1, sc around the base of petals across top of stitches to join and tidy (join 8 petals securely)
Round 9 :
For inner layer: With red, ch5, sl st into base between petals to create loops for inner petal anchors (8 ch-5 loops)
Round 10 :
Into each ch-5 loop: (sc, hdc, 5 dc, hdc, sc) forming fuller inner petals; sl st to join (8 inner petals)
Info :
Inner petals sit between and slightly above the outer petals. Offset them when joining to create a layered look. Use a small amount of stuffing at petal base for added lift if desired.
Round 11 :
Ch1, sc across bases, working behind inner petals into base circle to secure and tidy (24 sc)
Round 12 :
Switch to yellow/gold for center: mr, ch1, 6 sc in ring; sl st to join, fasten off leaving long tail to sew center into place (6)
Info :
Sew the yellow center onto the center of the red layers. Emphasize a slightly raised center by inserting a few small stitches through the petal bases and then through the yellow disk. Option: use 6 small yellow beads instead of crocheted center.
Round 13 :
Edge tidy: With red, join at a petal tip, ch1, sc evenly around outside of petals to neaten edges, approx 64 sc around depending on shaping; sl st to join
Round 14 :
Decorative puff row: *skip 2 sts, puff stitch (yarn over, insert, pull loop 6 times, yarn over and pull through all loops) over next stitch, ch1; rep around creating 10-12 puff clusters to add texture; sl st to join
Info :
Puff stitches create the lush velvet appearance of poinsettia petals. Keep puffs consistent in size by using the same number of loops for each puff. If puffs are too loose, use smaller hook or fewer loops.
Round 15 :
Fasten off leaving a long tail for joining. Weave tail through underside of base and secure. Mark three positions along base edge where leaves and berries will attach to face the doily when assembled.
— Motif C: Cream Snowflake Accent (Make many) :
Round 1 :
With cream, mr, ch3 (counts as dc), 11 dc into ring, sl st to top of ch3 (12)
Round 2 :
Ch4 (counts as tr), *ch1, tr in next st; rep around, sl st to top of initial ch4 (12 tr groups)
Round 3 :
Join in each ch-1 space: (sc, ch3, sc) making small picot arms (12 arms)
Round 4 :
Work into each arm: (sc, hdc, 3 dc, hdc, sc) to create a fuller snowflake arm; sl st to join (12 fuller arms)
Info :
Snowflake accents are delicate and lacy; avoid heavy puff stitches here. Make extra snowflakes to tuck between poinsettias as connectors and corner accents along the runner edge.
Round 5 :
Ch1, sc around center joining arm bases, then ch5 loops between arms: *sc in arm base, ch5, sk arm base, rep (12 ch-5 loops)
Round 6 :
Into each ch-5 loop: (sc, hdc, 5 dc, hdc, sc) creating slightly raised arms; sl st to join (12 arms)
Round 7 :
Trim and fasten off leaving long tail if joining-as-you-go. Optionally, add tiny yellow or gold center with a small knot of yarn or bead sewn into center.
— Leaf Unit (Make many clusters) :
Round 1 :
With green, ch8, sc in 2nd ch from hook, hdc in next, dc in next 3, hdc in next, sc in next, sl st to join to create a solitary leaf (approx 7 sts along leaf)
Round 2 :
Turn leaf, working along opposite side: sc in first, hdc in next, dc in next 3, hdc in next, sc in last; sl st to base to form symmetrical leaf, fasten off (leaf shape completed)
Info :
Use variegated or two-tone green by alternating a few rounds of lighter green at the tips to create depth. Make 4–6 leaves clustered around each poinsettia and 2–4 leaves around each doily join.
Round 3 :
Optional ridge: rejoin darker green to center back of leaf, work bpdc along center to create raised vein (approx 6 bpdc), fasten off
Info :
Work leaves slightly cupped by blocking or by placing a small dab of starch and shaping; this helps the runner read as fresh foliage rather than flat shapes.
— Berry Cluster (Make many small clusters) :
Round 1 :
With burgundy/red, mr, ch1, 6 sc in ring, sl st to join (6)
Round 2 :
Ch1, sc in each st around (6); fasten off leaving long tail; make 3-5 berries per cluster and sew them together in a small, triangular cluster
Info :
Alternately, use small red craft beads or wooden beads threaded onto strong thread and sewn into place for a bright, shiny berry look. Position clusters at leaf bases between motifs.
— Assembly: Join-as-you-go Sequence and Layout :
Info :
Lauout strategy: Lay motifs out in the order you desire on a flat surface: Doily (A) centered, two symmetrical leaf clusters and berry clusters on either side, then Poinsettia (B) bridging to the next Doily. Snowflake (C) accents are placed between poinsettia petals and adjacent doilies as pictured. Pin motifs in place before any joining.
Info :
Use the ch-loops or scallop shells created in Motif A (Rounds 5–8) and the marked join points on Motif B (Round 15) as anchor points for join-as-you-go. Join motifs with slip stitch or single crochet through both motif edges for a discrete connection. For a more visible decorative join, use surface slip stitch or chain loops between motifs.
Round J1 :
When joining Doily A to adjacent Poinsettia B: align three scallop shells on Doily with three base marks on Poinsettia. From wrong side, insert hook through shell loop and petal base, ch1, sc through both pieces to secure. Continue sc evenly across 8–12 contact points creating a firm seam. Fasten off.
Info :
Join every adjacent motif pair at 6–8 points for stability. When joining a snowflake between two larger motifs, sew only at three delicate points to preserve lacy shape.
Round J2 :
For leaf clusters: place 3–5 leaves around the seam between motifs. Use mattress stitch or whip stitch to tack leaf bases to motif edges, securing each leaf with 3–4 passes. Insert berry clusters at leaf bases, sewing bartack-style through berry centers and leaf base for extra hold.
Info :
Maintain visual rhythm - when running the full length, repeat the same join pattern (doily—poinsettia—doily) to maintain symmetry. Space motif centers approximately 10–12 cm apart depending on your tension and yarn bulk; adjust as needed for your runner length.
— Border and Edge Finishing (add after full assembly) :
Round E1 :
With cream, join at an outer shell point anywhere along runner edge, ch1, sc evenly around entire perimeter working through both layers and motif edges where needed; maintain approximately 1 sc per 6–8 mm of edge, adjust to fit (estimate 200–300 sc depending on runner length)
Round E2 :
Ch3, *skip 2 sc, (3 dc, ch1, 3 dc) in next sc to form shell, skip 2 sc, sl st in next sc; rep around to create scalloped edge, sl st to join
Info :
If scallops overlap motif points, reduce shell frequency accordingly. Sew in ends and block lightly to set scalloped border.
Round E3 :
Optional decorative ridge: With green, work bpdc along scallop edges or surface slip stitch around petals to emphasize foliage outlines—work as desired for contrast
Info :
Blocking: Lightly wet-block runner on flat surface and pin scallops outward for a crisp finished look. Use low steam on polyester yarn. Cotton yarn benefits from full wet block for firm shape.
— Optional Decorative Techniques & Tips :
Info :
Bead option: Add small gold seed beads to poinsettia centers for shimmer. Sew beads in a tight circular cluster in center of yellow disk or replace yellow disk with bead cluster. Be sure beads are secure if runner will be laundered by hand only.
Info :
Color variation: For a softer look, use dusty rose instead of red, and pale sage instead of dark green. For metallic accents, use a gold thread carried alongside cream in the final scallop round for subtle shine.
Info :
Length customization: Add or remove middle motif sets (Doily + Poinsettia) to adjust runner length. Each full motif set measures approximately 22–26 cm (8.5–10.5 in) in length depending on tension and yarn; plan layout before joining for balanced ends.
Info :
Storage and care: Hand wash in cool water and lay flat to dry to preserve shape and color. If you must machine wash, place runner in mesh bag and use gentle cycle; reshape while damp.
This festive table runner comes together as a joyful medley of creamy doilies, layered red poinsettias, and lush green leaves accented with tiny berries. Each motif adds texture and holiday charm, making your table feel special without fuss. I hope you love making and displaying this runner as much as I enjoyed designing and writing the pattern—it's a perfect seasonal project to show off handmade warmth. 🧶🎄✨