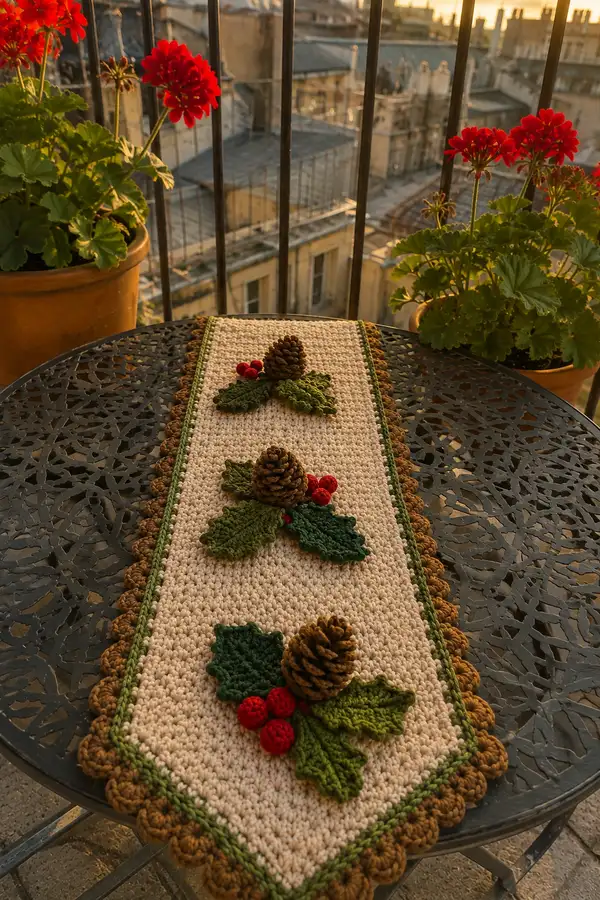
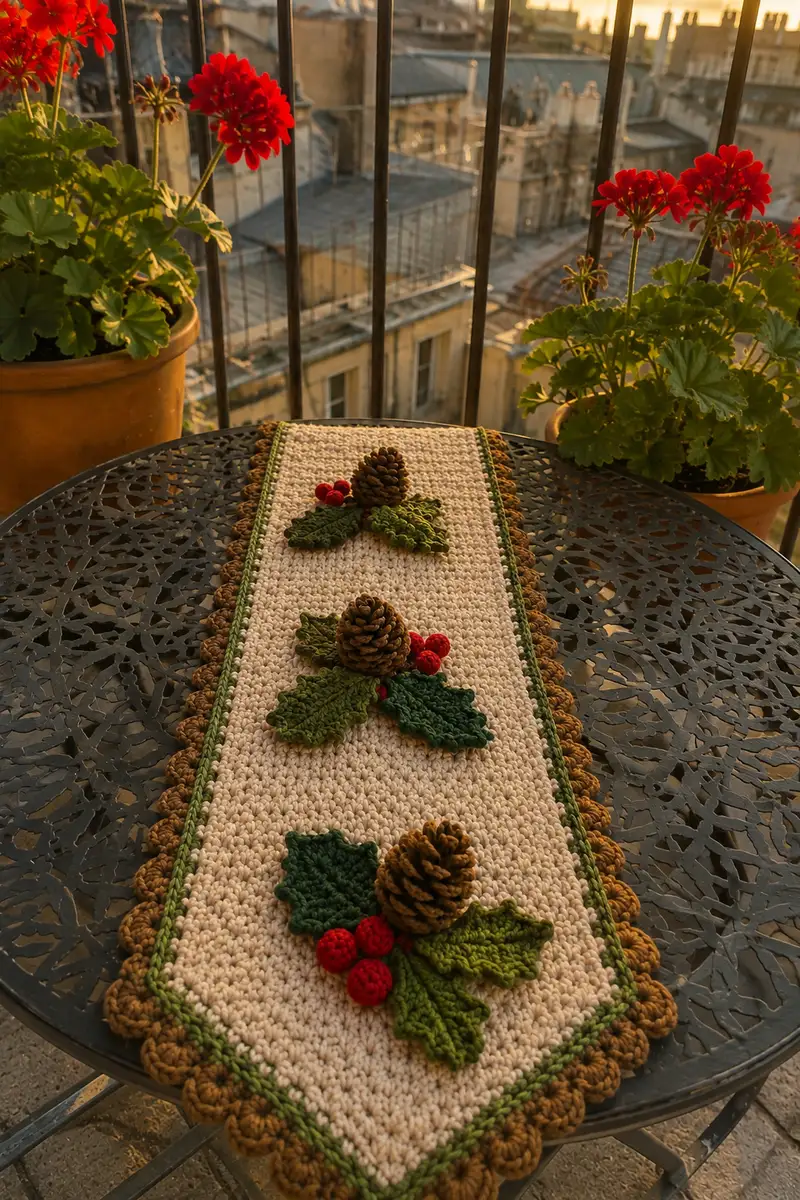
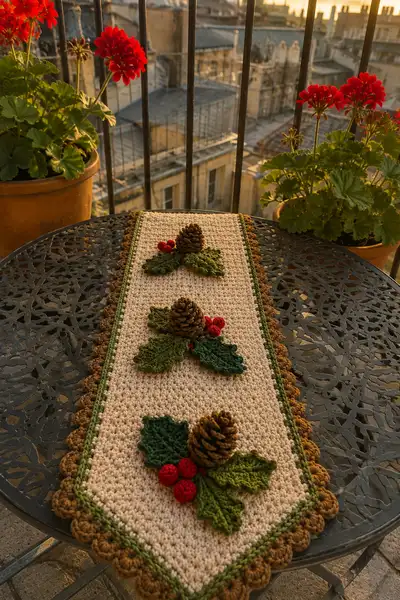
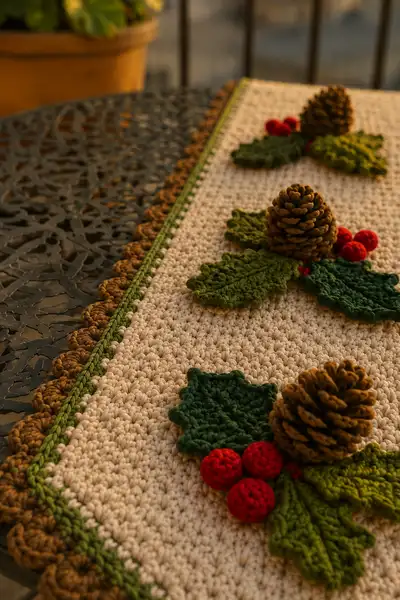
This cozy, holiday table runner features a neutral textured background, a delicate green inner border, and a warm brown scalloped outer edge. Three clustered holly sprigs with bright red berries and rustic pinecones create a classic seasonal focal point. The pattern uses simple stitches and modular motifs so you can make the runner to fit any table length.
Progress Tracker
0% Complete
— Materials & Gauge :
Info :
Gauge is approx 16 sc x 10 rows = 4 in (10 cm) using worsted weight yarn and 4.0mm hook in single crochet. Adjust hook size to match gauge if you want exact dimensions. Runner in photos is approximately 10-12 inches wide by 36-40 inches long; you can lengthen or shorten the central panel by adding or removing foundation chains and working even rows to desired length.
— Abbreviations & Notes :
Info :
All rows are worked in joined rounds or back-and-forth rows depending on preference. The pattern below uses 'rows' for the rectangular main panel and 'rounds' for circular or spiral motifs. Work tightly for appliques so stuffing doesn't show; the base panel can be worked at a slightly looser tension for drape.
— Main Panel (worked flat as rows) :
Round 1 :
Foundation chain 84 (or adjust to desired width; 84 produces a runner ~10-12" wide with worsted yarn and 4.0mm hook). Turn chain carefully to avoid twisting (84)
Round 2 :
1 sc in 2nd ch from hook and in each ch across. Ch 1, turn. (83 sc)
Round 3 :
1 sc in each st across. Ch 1, turn. (83 sc)
Round 4 :
1 sc in each st across. Ch 1, turn. (83 sc)
Round 5-10 :
1 sc in each st across for 6 rows total, maintaining even edges. Ch 1 at end of each row and turn. (83 sc)
Info :
Check your width now; if you want a wider runner, increase foundation chain by multiples of 2-4 stitches. Keep stitch count consistent across rows; mark the first stitch in each row with a stitch marker for accurate counting.
Round 11-30 :
Continue 1 sc in each st across for 20 rows (83 sc each row). These rows form the central textured panel. For the stitch texture shown in the photo, you can alternate rows of sc and hdc every 4 rows if you prefer more texture: e.g., Rows 15-18 hdc in each st, then resume sc.
Info :
Place pins where each holly cluster will be attached (three evenly spaced positions down the center). Measure equally from each end; approximate spacing for a 36" runner is every 9-10 inches. You will add appliques later; mark their center points now.
Round 31-50 :
Continue 1 sc in each st across for 20 more rows (83 sc). After Row 40, check total length. The pattern pictured uses 50 rows total for the main cream panel to reach a length around 36-40". Adjust rows to your desired final length. (83 sc)
Info :
Row 51 :
Finish main panel with a tidy edge: 1 sc in each st across, fasten off leaving a long tail for joining border. Weave in any short ends but leave tails for sewing the inner green border. (83 sc)
— Inner Green Border (worked in rounds around panel) :
Info :
We will work a neat joined-round border in moss green around the rectangle using sc stitches. Join yarn to any corner stitch and work in continuous rounds, placing 3 sc in corners to maintain a flat border.
Round 1 :
With moss green, join yarn to a corner stitch. Round the short edge: 3 sc in corner, sc evenly along short side (count 21 sc), 3 sc in corner, sc along long side (83 sc), 3 sc in corner, sc along opposite short side (21 sc), 3 sc in final corner, sc along remaining long side (83 sc). Slip stitch to first sc to join. Total will be approx (3+21+3+83+3+21+3+83)=221 sc.
Info :
To keep counts even, place a stitch marker at the midpoint of each long side when you join the first round so you can space stitches evenly. If the base has slight puckering, work the first round looser; if the border gaps, work a size smaller hook for border rounds.
Round 2 :
1 sc in each stitch around, placing 3 sc in corner stitches. Join with sl st to first sc. (221 sc)
Round 3 :
1 hdc in each stitch around for a slightly raised band; join with sl st. (221 hdc)
Info :
This raised green band is decorative and visually separates the main panel from the scallop edge. Fasten off and weave in ends or leave a tail for the scallop border join.
— Scalloped Outer Border (warm brown) :
Info :
The scallop edge is worked in rounds of shells along the green band. Use the same hook as the green band for consistent scale. Attach brown yarn at any corner.
Round 1 :
Join brown yarn to a corner sc. *Skip 1 st, sc in next st, skip 1 st, 7 dc in next st (shell made), skip 1 st, sc in next st; rep from * evenly around, placing shells over the corners by working (sc, 7 dc, sc) in corner clusters as needed. Join with sl st. Count: approx 55 shells (depends on spacing around perimeter).
Round 2 :
Sl st into center of each shell, ch 1, 1 sc in center to anchor, ch 1, sl st into next shell center; rep around to create a tight scallop. Fasten off and weave in ends.
Info :
Use stitch markers to mark shell centers if needed. If shells pull too tight, reduce to 5 dc per shell. Adjust to suit your aesthetic.
— Holly Leaf Applique (Make 6 leaves for each cluster: 3 leaves per cluster x 3 clusters = 9 leaves total — pictured uses 3 clusters with 3 leaves each) :
Info :
Leaf pattern is worked flat in rows with increases and decreases to create a pointed holly shape. Use worsted weight in two greens (deep and moss) to create variation if desired. Each leaf is symmetrical and made in 12 rows/rounds.
Round 1 :
Ch 14. Sc in 2nd ch from hook and in next 4 ch (5 sc), 3 sc in next ch (tip increase), continue working along opposite side of foundation chain: sc in next 4 ch, sc in last ch (10 sc + 3 at tip = 13 sc total). Turn. (13)
Round 2 :
Ch 1, sc in first 2 sts, hdc in next 3 sts, 3 dc in next st (center tip cluster), hdc in next 3 sts, sc in last 2 sts. Do not turn for next row — leave as is. (13)
Round 3 :
Ch 1, working back along the same edge: sc, sc, hdc, dc in the tip center, hdc, sc, sc. This creates a slightly cupped leaf. (13)
Round 4 :
Ch 1, sl st across first 2 sts to sit slightly back from edge, *skip 1 st, (3 sc cluster) in next st to create a point*, rep along edges: create 3 small points per long edge (do symmetric placement), sl st to last st. (Visual counting varies by cluster placement; aim for symmetric points)
Info :
Count of stitches remains roughly 13-15 depending on tiny clusters; the important part is symmetry. For a crisp leaf edge, work the last round in BLO to produce a raised vein on one side. Alternate colors between leaves for a natural look.
Round 5 :
Ch 1, 1 sc in each st BLO across to create a neat ridge vein if desired. Fasten off leaving long tail for sewing. (13)
Info :
Make 3 leaves per cluster: two in lighter moss green and one in deep forest green, or vice versa to mimic the photo's tone variations. Block leaves lightly to flatten and shape points before sewing onto the runner.
— Holly Berry (Make 3 small berries per cluster; 9 berries total) :
Round 1 :
Using red yarn and 2.75-3.5mm hook, MR, 6 sc into ring (6)
Round 2 :
Inc in each stitch around (12)
Round 3 :
(1 sc, inc) x 6 (18)
Round 4-5 :
1 sc in each st around (18)
Info :
Begin stuffing berries lightly with small tufts of fiberfill. Berries should be firm but not overstuffed to keep them round and natural-looking.
Round 6 :
(1 sc, sc2tog) x 6 (12)
Round 8 :
Fasten off leaving long tail. Use tail to close hole completely; thread through remaining sts and pull tight. Weave tail into berry and leave long tail for sewing. (Closed)
Info :
Make 3 berries per cluster and stitch them together in a triangular shape with the long tails then attach to the center of the leaf group. Slight variation in sizes makes the cluster look natural.
— Crocheted Pinecone Option (Make 3) :
Info :
Photo shows small rustic real pinecones; for a fully crocheted look, this pinecone simulates layered scales using small shell/bobble rows worked in the round. Each pinecone is worked in approx 18-22 rounds depending on desired height.
Round 1 :
MR, 6 sc in ring (6)
Round 2 :
Inc in each stitch around (12)
Round 3 :
(1 sc, inc) x 6 (18)
Round 4 :
1 sc in each st around (18)
Round 5 :
(2 sc, inc) x 6 (24)
Round 6 :
1 sc in each st around (24)
Info :
We will now create 'scales' by working shells over pairs of stitches. Use brown yarn. Work tightly to keep scale edges neat. The front post technique can add depth but is optional.
Round 7 :
*Skip 1 st, (5 dc) in next st, skip 1 st, sc in next st; rep from * around to create 12 shells. Join with sl st. (12 shells)
Round 8 :
Working into stitch spaces below, position next row of shells staggered between previous shells: sl st to the base of a shell, *sc in base, skip shell top, 5 dc in space between shells*, rep around to make 12 more shells. Join. (12 shells)
Round 9-13 :
Repeat Round 8 for 5 rounds, decreasing slightly in shell count towards the top by occasionally substituting 3 dc shells near the top rounds. This builds a tapered pinecone look. (12 shells decreasing to 9 shells)
Round 14 :
(1 sc, sc2tog) x around to reduce bulk if needed (counts will vary as shells change); begin filling lightly with fiberfill through openings between shells. Continue shaping by reducing shells in uppermost rounds to close the cone. Fasten off and weave in ends. (Approx 9-12 sc after closing)
Info :
For a more rustic pinecone, use two shades of brown and lightly brush the scales with a dry-brush of taupe or paint for natural highlights after finishing. Alternatively, use small real pinecones glued to the runner for instant authenticity.
— Assembly & Positioning of Motifs :
Info :
Arrange each cluster: three leaves fanned with the deepest green at back, two lighter leaves layered in front and to the side, three berries grouped with long tails joined, and one pinecone centered above the berries. Pin layout first, then take a photograph for reference before sewing.
Round 1 :
Place first cluster approx 2.5-3 inches from one short end, centered across the width. Place second cluster approx 12 inches from the first, center third cluster a similar distance further down. Exact spacing can be adjusted for your runner length.
Info :
Sew leaves in place first along their central veins using the leaf tails. Use small whip stitches, catching only a few threads into the base panel to keep stitches invisible. Sew berry clusters next, through their long tails into the panel center between leaves. Finally, sew or glue pinecones on top taking care to secure firmly.
— Finishing Touches :
Info :
Weave in all ends with a yarn needle through several stitches to hide them. If you used real pinecones, secure with hot glue and stitch a few concealed stitches through their base and into the panel to secure for long-term durability. Lightly steam-block the runner flat if your yarn allows; do not over-wet or press shells that might crush the appliques.
Round 1 :
Optionally add an embroidered red thread 'stem' where berries meet the leaves with 3-4 small stitches in contrasting red to mimic stems and add extra secure anchoring for berries.
Info :
If you plan to launder the runner, test wash a small sample yarn first. Many worsted acrylic blends can be gently hand-washed; wool blends may felt. Remove glued pinecones before washing or steam-clean the runner only.
This Rustic Pinecone and Holly Table Runner is a lovely handmade accent that brings warm holiday charm to any table. The layered appliques and scalloped edging create a vintage, cozy feel perfect for family gatherings. I hope you enjoy making it as much as I enjoyed laying out each stitch — it's a small project with big seasonal impact. 🧶🌲🍒