🧢 Beautiful ✨ Detailed πŸ’ Adorable

Sage Leaf Lace Crochet Table Runner Pattern

Sage Leaf Lace Crochet Table Runner Pattern
4.7β˜… Rating
5-7 Hours Time Needed
3.5K Made This
βœ‚οΈ

Intermediate Level

Ideal for those with basic crochet experience, featuring slightly more advanced stitches and techniques to expand your skills.

⏱️

Weekend Treat

Takes 5-7 hours, making it an enjoyable project to finish over a couple of days.

🏑

Cozy Accent

A warm touch for your space that transforms ordinary corners into inviting nooks filled with handmade charm.

🧢 Jump to Pattern ↓

About This Sage Leaf Lace Crochet Table Runner Pattern

This pattern recreates the long, narrow 'sage leaf' lace table runner shown in the photo. The center panel is worked in sage/green tones in repeated leaf motifs forming a mirrored vine down the center. A delicate cream scalloped border frames the panel and forms pointed ends for a soft, finished look. The runner uses textured stitches (post stitches, clusters, elongated stitches) for leaf shaping and openwork chains in the lace border for a vintage-inspired finish.
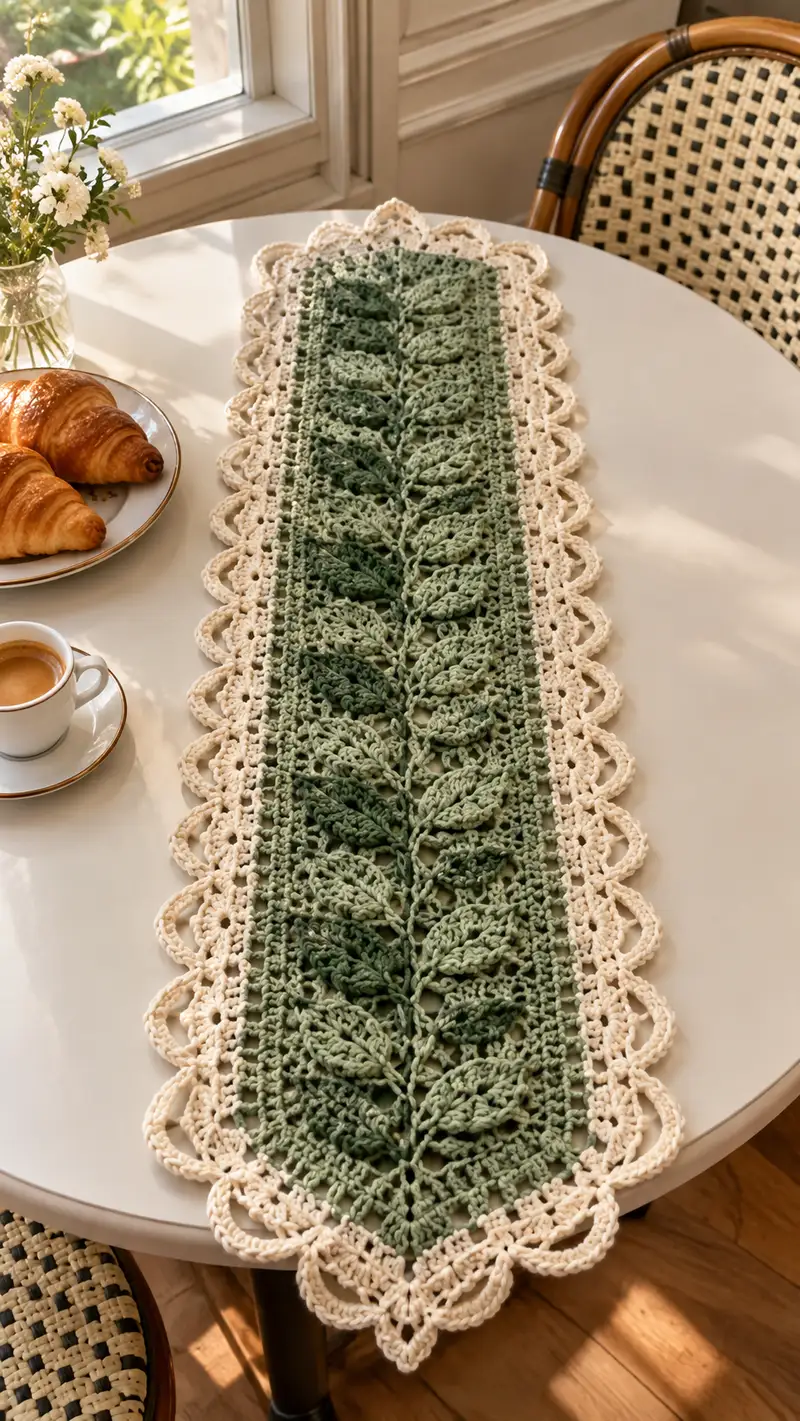
Sage Leaf Lace Crochet Table Runner Pattern crochet pattern - detailed view of completed project

The construction is modular: a repeating leaf motif panel is worked flat to desired length, then a decorative border is added in a contrasting cream color. The pattern includes clear shaping notes, frequent Info tips, and blocking instructions to achieve crisp lace edges.

Why You'll Love This Sage Leaf Lace Crochet Table Runner Pattern

I love this pattern because the leaf vine feels both organic and structured β€” it looks like a miniature botanical tapestry. The sage gradient adds soft depth, while the cream scalloped edging gives a vintage, romantic finish. The stitches create lovely texture that catches light on a table and invites close-up appreciation; I always enjoy seeing how blocking makes those leaves bloom.

Sage Leaf Lace Crochet Table Runner Pattern step 1 - construction progress Sage Leaf Lace Crochet Table Runner Pattern step 2 - assembly progress Sage Leaf Lace Crochet Table Runner Pattern step 3 - details and accessories Sage Leaf Lace Crochet Table Runner Pattern step 4 - final assembly and finishing

Switch Things Up

I love how this runner invites customization β€” you can swap the sage green for any shade to match your decor, or try a gradient of greens for a more dimensional vine effect. Alternatively, choose a soft pastel for spring or a deep hunter green for a more formal look.

I often change the border color to a subtle metallic or warm beige for holiday styling; a fine metallic yarn carried with the cream during the last border row adds a soft shimmer. You can also adjust the number of leaf repeats to make a centerpiece for a round table or a longer runner for a console table.

If you prefer a denser look, use a slightly smaller hook for the panel and a more open hook for the border to emphasize the scallops. I also enjoy adding a thin ribbon threaded under some shells to anchor a runner for special occasions.

Common Mistakes & How to Fix Them

βœ— Skipping stitch markers at row repeats will cause the leaf panel repeats to drift and the vine to appear off-center; mark the center spine and repeat boundaries clearly. βœ— Using inconsistent yarn tension between the green panel and cream border creates puckering; maintain consistent tension or use the same yarn weight with slightly smaller hook for cleaner lace. βœ— Failing to block the finished runner will make the scallops look limp and the leaves less defined; wet-block and pin to shape for crisp edges. βœ— Changing hook size mid-panel without adjusting stitch counts leads to mismatched rows; if you swap hooks, re-check gauge and adjust foundation chain multiples accordingly. βœ— Not weaving in ends neatly at the back can show through the openwork; weave tails inside stitches and clip close for a tidy finish. βœ— Overstuffing chain spaces during blocking (spritzing too much or pinning too tightly) can distort lace; block gently and allow to dry fully before removing pins.
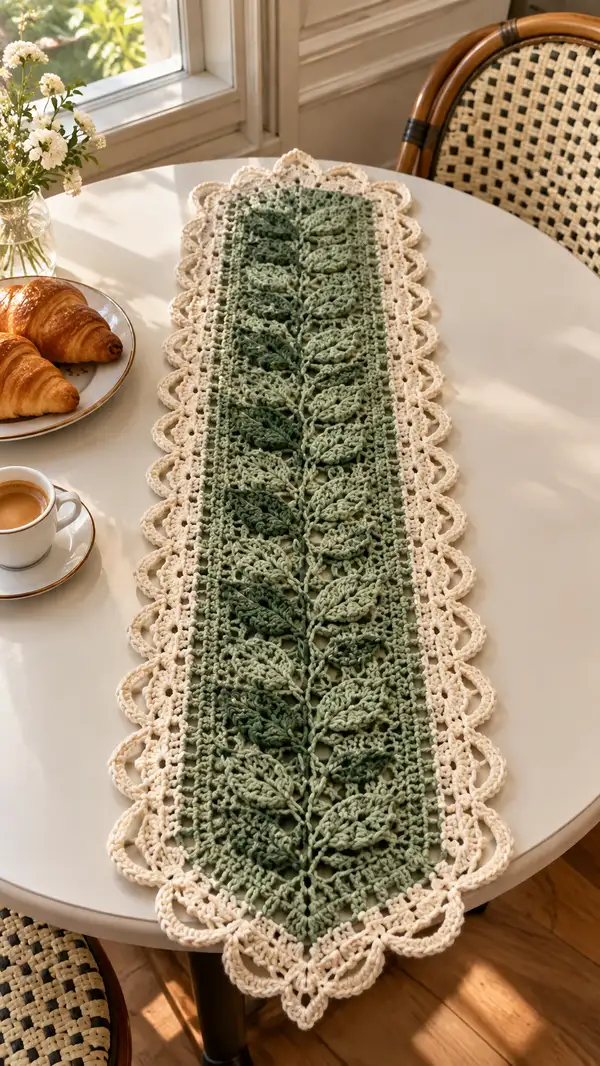
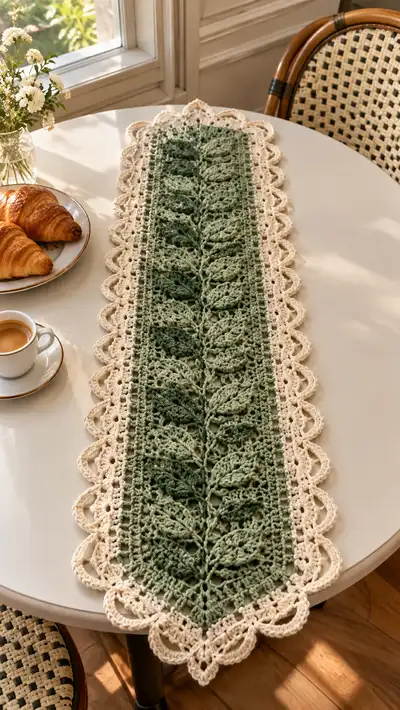
Sage Leaf Lace Crochet Table Runner Pattern

A graceful table runner featuring a central sage-green leaf vine motif surrounded by a soft cream scalloped lace border. This elegant, vintage-inspired runner adds botanical charm to a narrow table or buffet. Worked flat in repeat panels with a delicate looped edging, it pairs textured leaves with airy lace for a light, handcrafted centerpiece. Perfect for living rooms, dining nooks, or seasonal styling.

Intermediate 5-7 Hours

Materials Needed for Sage Leaf Lace Crochet Table Runner Pattern

β€” Main Fabric

  • 01
    Worsted weight yarn (#4), approximately 180-220g in sage green (main leaf panel; choose solid or subtle variegated sage)
  • 02
    120-150g in cream/off-white for border and finishing (accent color seen in photo)
  • 03
    Small amounts (10-20g) in darker/dusky green for optional leaf accent highlights (used sparingly)
  • 04
    Optional: contrasting neutral for embroidery or small details (10g)

β€” Tools Required

  • 01
    4.0mm (G) crochet hook for main work (recommended)
  • 02
    3.5mm (E) crochet hook for firmer lace edge (optional)
  • 03
    Tapestry/yarn needle for weaving in ends and sewing border joins
  • 04
    Blocking mat and rust-proof pins for shaping scallops and leaves
  • 05
    Stitch markers (at least 6) to mark center spine and repeat boundaries
  • 06
    Scissors
  • 07
    Measuring tape or ruler
  • 08
    Optional: row counter or notepad to track repeats
  • 09
    Optional: light starch or fabric stiffener for especially crisp scallops

Progress Tracker

0% Complete

β€” Materials & Gauge :

Info :

Gauge: 18 sts x 12 rows = 10 cm in pattern stitch using 4.0mm hook. Gauge is not critical for runner length but affects final width and drape. Maintain tension consistent with 4.0mm hook for the sage panel and 3.5-4.0mm for border depending on desired scallop firmness.

Info :

Finished size: approximately 12.5" (32 cm) wide x 46-52" (117-132 cm) long depending on number of leaf repeats. Pattern written for a center panel worked to 10 leaf repeats (approx 46-48"), then bordered; you may work more repeats for a longer runner.

β€” Foundation & Setup :

Round 1 :

Foundation chain: Ch 74 (this yields 73 working stitches across). Ensure chain is not twisted; mark the center stitch (st 37) with a removable marker for the central spine.

Info :

We label each horizontal pass as a Round for clarity although the panel is worked flat (turning rows). Keep the center stitch (spine) marked throughout. Counts given are the number of stitches at the end of the row and include all stitches excluding turning chains unless specified.

Round 2 :

Row 1: Sc in 2nd ch from hook and in each ch across. (73 sc)

Round 3 :

Row 2: Ch 1, turn. Sc in each st across. (73 sc)

Info :

Work two foundation rows of single crochet to create a firm base for the leaf motif. These rows stabilize the first leaf anchor and prevent slippage.

Round 4 :

Row 3: Ch 3 (counts as dc), turn. Dc in each st across. (73 dc)

Round 5 :

Row 4: Ch 1, turn. Sc in each st across. (73 sc)

Info :

From Round 6 we begin the leaf motif pattern repeat. Each leaf motif occupies a block of 8 rows vertically, with mirrored leaves on either side of the central spine (marked). The central spine is created with chain spaces and vertical post stitches to anchor leaf halves.

β€” Center Panel (Leaf Motif) :

Assembly Instructions

  • Work center panel to desired number of repeats (pattern described in rounds below). Block the panel lightly before attaching border for clean edges.
  • Attach cream border by joining yarn at corner with sl st and work edging around entire panel; when working sides, place shells at intervals to center scallops between leaf repeats (see border rounds for counts).
  • When sewing border corners and pointed ends, pin shape first; use mattress stitch for flat joins where border was worked in rows and whipstitch for secure joins at tips.
  • Weave the green yarn tails into the wrong side of the runner and trim. Make sure not to pull too tight to avoid puckering edge stitches.
  • After finishing, wet-block the entire runner to final dimensions. Pin each scallop outward for even shaping; allow to dry fully before removing pins.

  • Optional: Add small loops under scallops with slipstitches if you want to hang the runner as a wall panel; these should be evenly spaced and reinforced with extra stitches.

Important Notes

  • πŸ’‘Use stitch markers consistently at the central spine (st 37) and at both panel edges to keep leaf halves symmetrical.
  • πŸ’‘Stuffing is not used β€” keep tension even and avoid pulling chains tight so leaf spaces remain open and lacy.
  • πŸ’‘If adjustments to width are needed, change foundation chain in multiples of 6 plus 1 (e.g., 6n+1) to preserve motif symmetry.
  • πŸ’‘When changing to cream for the border, carry the green yarn neatly along the wrong side for 2-3 stitches and then cut to weave in later if the carry becomes bulky.
  • πŸ’‘For crisp scallops, block with pins at each loop and use light steam or damp cloth; do not over-wet cotton blends as they may shrink slightly.
  • πŸ’‘To create a longer runner, repeat the full 8-row leaf panel sequence additional times until reaching desired length; maintain counts and markers for consistent placement.

This Sage Leaf Lace Table Runner brings a gentle botanical elegance to any table β€” the textured leaves and scalloped cream border make a beautiful, handcrafted centerpiece to cherish. Working the repeating leaf motif is meditative and satisfying, and blocking makes the lace sing. Whether you make it for your own table or as a thoughtful handmade gift, this runner rewards patience with delicate, timeless charm. 🧢🌿

You ask,

we answer.

FAQs

What is the finished size of this runner?

Based on the specified materials and the pattern as written (10 leaf repeats), the runner measures approximately 12.5" (32 cm) wide by 46-48" (117-122 cm) long. Adding more repeats increases length proportionally.

Can I use different yarn weights for this pattern?

Yes. You can use any yarn weight but adjust hook sizes accordingly. Using a thicker yarn (bulky) will make a wider, heavier runner; a lighter fingering or sport yarn will produce a more delicate lace look. Recalculate foundation chain to maintain multiples and check gauge with a swatch.

Do I need to block this runner?

Blocking is essential for the lace scallops and leaf definition. Wet-block and pin scallops and leaf points to open the stitch definition and achieve the finished dimensions and symmetry.

How many repeats should I make for a longer table?

Work as many 8-row leaf repeats as needed. Each leaf repeat (8 rows) adds approximately 4-5 cm to the runner length, depending on your gauge. Measure as you go to reach the desired length before beginning the border.

Can I make the runner reversible?

This pattern is designed for one attractive right side. To make it reversible, use more reversible stitches and carry ends invisibly, but note that some of the leaf post stitches create an emphasized face side; small adjustments to placement and finishing can minimize a distinct wrong side.

How to prevent scallops from curling?

Use a slightly smaller hook for the border, block the scallops outward with pins, and let dry thoroughly. A light spray starch or fabric stiffener applied sparingly can help maintain shape without making fabric stiff.

Can I machine wash this runner?

Check yarn care instructions. Many worsted cotton blends or acrylics can be machine washed on gentle, but it is safer to hand wash and lay flat to dry to protect lace scallops and avoid distortion.

What if my stitch count is off after a repeat?

Unravel to the last correct repeat rather than trying to force corrections. Use stitch markers to delineate pattern repeat boundaries to prevent miscounts.