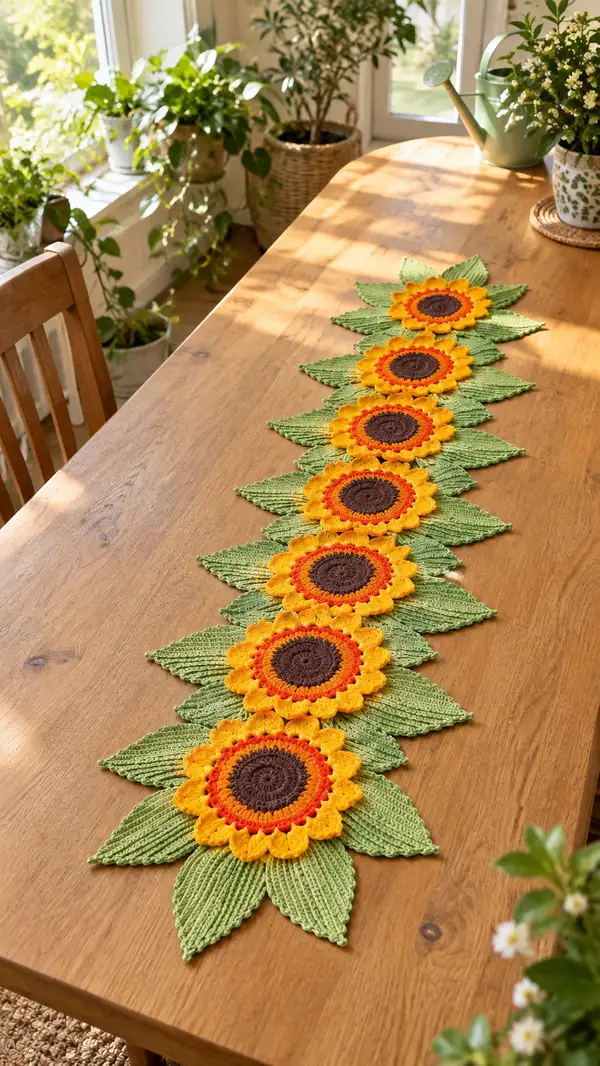
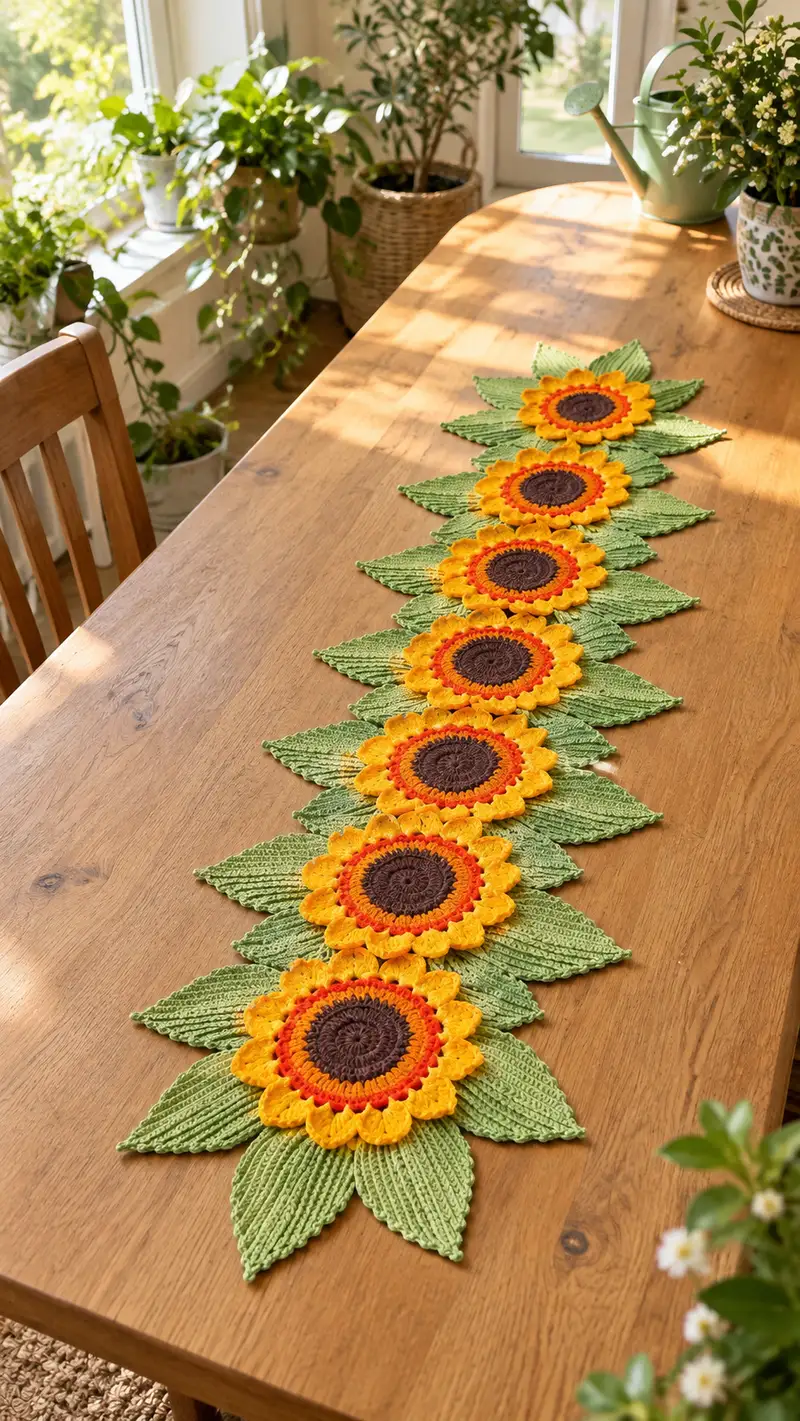
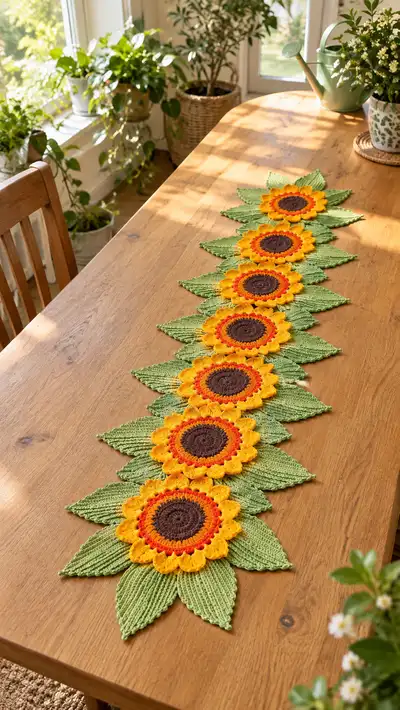
Bright, textured sunflower motifs joined by sculpted leaves create a long, cheerful table runner perfect for summer and autumn. Each sunflower features a deep brown center, a warm orange ring and layered golden petals with raised ridges for realistic depth. The large ribbed leaves interlock between motifs, giving a stitched botanical look that lays flat on a table. This pattern walks you through every round, color change and joining step so you can recreate the elegant runner exactly as shown.
Progress Tracker
0% Complete
— Overview and Notes :
Info :
This pattern describes making a single sunflower motif (center, inner ring, petal layers) and a single large leaf. Make 6 sunflower motifs and 12 leaves to create the runner as photographed. All motifs are worked in continuous rounds unless noted. Gauge is flexible for decorative items, but using the specified hook (4.0mm) and yarn weight gives a sunflower motif approximately 16-18cm (6.5-7") across and leaves about 18-20cm (7-8") long. Block motifs for best lay-flat results.
Info :
Color key used in the pattern: Color A = deep brown (center), Color B = rust/orange (inner ring), Color C = bright golden yellow (petals), Color D = leaf green (leaves and joining). Carry unused yarn inside the motif when possible to reduce weaving ends, or weave in ends as you finish each motif.
— Sunflower Center (Color A to Color B) :
Round 1 :
6 sc in magic ring (6)
Round 3 :
(1 sc, 1 inc) x 6 (18)
Round 4 :
(2 sc, 1 inc) x 6 (24)
Round 5 :
(3 sc, 1 inc) x 6 (30)
Round 6 :
(4 sc, 1 inc) x 6 (36)
Round 7 :
(5 sc, 1 inc) x 6 (42)
Round 8 :
(6 sc, 1 inc) x 6 (48)
Info :
If your center is cupping (doming upward), omit the final increase round and stop at 42 sts. The pictured centers are slightly concave; blocking and a tight round 8 (48) will flatten them nicely.
Round 9-10 :
1 sc in each st (48)
Info :
Change to Color B (rust/orange) at the end of Round 10. Fasten off Color A by finishing the last loop with Color B to secure a tidy join. Work Round 11 with Color B.
Round 11 :
1 sc in each st (48) - (Color B) (48)
Round 12 (texture) :
1 sc in each st BLO (48) - (Color B) (48)
Info :
Working in the BLO on Round 12 creates a shallow ridge which helps define the inner rust ring and anchors petals. Keep tension slightly firmer here to create contrast with the next round.
Round 13 :
1 sc in each st (48) - finish Color B round and secure ends (48)
— Petal Anchor Round (prepare 12 petal anchors) :
Info :
We will create 12 larger petals. To do this, we convert 48 stitches into 12 anchor points by grouping every 4th stitch. Make sure you counted correctly so petals are evenly spaced.
Round 14 :
*sc in next stitch, sc in next stitch, sc in next stitch, sc in next stitch; repeat from * around (48) Note: these four sc groups establish 12 anchor positions when worked with the petal row below.
Info :
Place a stitch marker at the first of each group of 4 stitches if you prefer a clear anchor. You may also use a contrasting scrap loop to mark start-of-round.
— Petal Base Row (Color C) :
Info :
Change to Color C (bright golden yellow) at the end of Round 14. Petals are made over the next 4 rounds with short rows and clusters. Each petal is anchored into the first stitch of each 4-st group (12 anchors total).
Round 15 :
*skip next 3 sts, sc in next st (anchor); ch 1, turn to work a short petal row into this anchor (see rounds below); repeat from * around producing 12 anchor points (12)
Info :
We will work short rows for petals by turning and working back into the same anchor stitch. Keep the ch 1 tension loose so petals flare correctly. Petals are best worked in front of the round so they sit layered when complete.
— Petal Layer (worked as short rows; repeat for 12 petals) :
Round 16 :
At each anchor: (sc into anchor), ch 2, (3 dc, tr, 3 dc) into same anchor, ch 2, sc into same anchor; sl st to next anchor to position for next petal. Repeat around to make 12 full petals. No stitch count change for main round; petals are worked into anchors.
Info :
This round forms the large rounded petal. The combination of dc and tr creates height and curve. Work clusters loosely but with consistent tension so petals look uniform.
Round 17 (petal shaping) :
Turn back into base of each petal: skip sl st to next anchor, in the first dc of the petal: (ch 1, hdc, dc, hdc) across the petal body to shape and shorten the tip; finish with sl st to next anchor. Repeat for each petal (visual shaping only).
Round 18 (edge ridge) :
Working in the round across the tops of petals: *ch 1, sc in top of petal (work into tr if available), ch 1, sl st into base between petals* repeat to create small scalloped ridges across the petal tips. Repeat around; final seam sits under petals (no global st count change).
Info :
If you prefer a fuller petal, work an extra round repeating Round 16 to add a second petal layer that tucks beneath the top layer. The pictured runner has a single tall petal layer with a scalloped edge for brightness.
— Petal Inner Accent (Color B contrast ring) :
Info :
Before finishing petals, create an accent ring between center and petals using Color B to give a warm orange halo.
Round 19 :
Change to Color B. Working into the stitches behind the petal anchors (these will be the back loops of Round 14), *bpdc around one stitch, ch 1; repeat from * around forming a textured ring (48 visible ridge points)
Round 20 :
1 sc in each st around in Color C along back of petals to give a tidy base for the scalloped edge (48)
Info :
Weave in Color B tails to hide the orange halo; this small band is what visually separates the brown center from the cheerful yellow petals.
— Petal Final Edge (decorative picots optional) :
Round 21 :
In Color C: *sc in next 2 sts of petal tip area, ch 3, sl st in 3rd ch from hook to form a picot; sl st into the seam between petals; repeat* around. This creates decorative picots on the outer petal edge. Adjust spacing to make picots even (approx 12 picots total).
Info :
Fasten off and weave in all ends. Block each sunflower flat, pinning petals out to their final shape. Repeat the entire Sunflower section to make 6 identical motifs.
— Large Ribbed Leaf Module (Color D) :
Info :
Leaves are worked flat in rows (not continuous spiral rounds) then seamed to create a central spine. Make 12 leaves for the runner (2 leaves per sunflower, positioned above and below or staggered depending on your layout).
Round 1 (foundation chain) :
Ch 36 (this length gives a leaf ~18cm long; adjust ch for larger/smaller leaves).
Round 2 :
Sc in 2nd ch from hook, sc across to last ch, 3 sc in last ch, working down the opposite side of the chain: sc across to last ch, 2 sc in last ch (this completes an oval base) - total sts approximate depending on chain length (use stitch markers at ends to track).
Info :
Work first round tightly so the leaf has a firm base. After the oval base, we will work increases along each side to create the pointed leaf tip and then decreases back to the base.
Round 3 :
Turn; sc in each st across the first side until you reach the corner; (hdc, dc, tr) in corner stitch to form the tip buildup; continue down the opposite side with sc until end (this shapes a slight point). Keep counts symmetrical.
Round 4-6 (ribbing start) :
Working in rows now: ch1, turn; 1 sc in each st across. On each repeat, work 1 fpdc (front post double crochet) every 2nd stitch across the center spine to make a raised vein. Repeat for 3 rows (no st count change per row).
Info :
Front post double crochets create the ribbed texture that mimics leaf veins. Use a stitch marker to denote the center spine stitch and keep fpdc aligned on every row for a neat rib effect.
Round 7 (shape increase) :
At each tip-side increase row: sc4, inc, sc across to opposite side, inc, sc4 (adds subtle widening near the base). Keep symmetry between sides.
Round 8-11 (veining and shaping) :
Continue working rows with central fpdc ribs for texture. On Row 9, add fpdc pairs (fpdc, skip1, fpdc) to create wider ribs near the center. No overall stitch count change, but adjust spacing to maintain leaf curvature.
Round 12 (tip formation) :
Decrease rows toward the tip: sc across with two sc2tog near the tip row to create a tapered point. Work back down reversing increases, maintaining fpdc ribs on the way back to base.
Round 13-16 (final shaping) :
Work 4 more rows of sc with fpdc ribs; on the final row, work a neat sc border around the whole leaf, placing 2 sc in corner turns to avoid curling. Fasten off leaving a long tail for seaming (approx 30-40cm).
Info :
Block each leaf on a flat surface, stretching slightly along the ribs so the veins show. Optionally use light spray starch for crispness. Repeat to make 12 leaves total.
— Joining Sunflowers and Leaves into Runner :
Info :
Lay out sunflowers and leaves on a flat surface in the desired sequence: sunflower, leaf pair, sunflower, leaf pair, etc. The photo shows six sunflowers with two leaves between each motif overlapping the next center. Pin each element in place before joining.
Round 1 (Arrange) :
Place the first sunflower flat. Position two leaves behind the top and bottom edges so that leaf tips extend outward. Pin all pieces.
Round 2 (Attaching leaves to a sunflower) :
Using Color D tail left on the leaf, sew the leaf base to the back loops of the petal base and to Round 13/14 area on the sunflower center with an invisible mattress or whip stitch. Use 6-8 evenly spaced stitches across the base of each leaf to secure firmly.
Info :
Attach leaves on both sides of a sunflower so they slightly overlap the space where the next sunflower will be joined; this creates the continuous alternating effect seen in the runner.
Round 3 (Join sunflower to next sunflower) :
When the base leaf of the first sunflower overlaps the next sunflower position, align the edge of the second sunflower and slip stitch join through the outermost loops where petals and leaf edges meet: sl st through petal edge loop of sunflower A and corresponding stitch of leaf or petal B. Join with a neat seam using matching yarn.
Round 4 (Reinforce joins) :
Go back over each join with a small whip stitch using contrasting green if you want visible vine-like seams, or matching yarn to be invisible. Secure all tails and trim close after weaving ends into the nearby ribs or petal layers for stability.
Info :
For an especially secure runner that will be handled often, add a tiny dab of fabric glue between overlapping layers before sewing. Allow glue to dry fully before removing pins or stressing seams.
— Decorative Vine and Final Edge :
Round 1 :
With Color D and 4.0mm hook, pick up at the outermost point of the first leaf tip and ch 120-140 to create a subtle vine that traces the runner center (optional). This vine can be tacked down at intervals with sl st or sew with a single thread of yarn into motifs to look like a running stem. Adjust ch length to match runner length; fasten off and sew ends securely.
Round 2 (edging) :
Work sc around the entire runner: along outer petal edges, leaf edges and join seams to unify the motif edges. Place 2 sc in corners where pieces meet to avoid warping. Work slowly to keep the edge neat; total stitch count will vary with layout.
Round 3 (optional scallop) :
To add a delicate finish, work a small scallop around the entire runner: *skip 2 sc, 5 dc in next sc, skip 2 sc, sl st* repeat around. Adjust repeat spacing to match total sc count around the runner so scallops sit evenly.
Info :
Once edging is complete, weave in all remaining ends and block the entire runner flat. If you blocked individual parts earlier, a gentle re-block to unify joins is recommended. Use steam or wet block for best results depending on fiber content.
— Finishing Touches and Blocking :
Info :
Press and block the runner flat on a blocking mat, pinning all petals and leaf ribs in their final positions. Allow to dry fully. If petals curl slightly, steam lightly to coax them flattened. A light spray starch can help petals hold shape over time.
Round 1 :
Inspect all seams; add extra reinforcement stitches where leaves meet centers if necessary. Trim any stray fibers and give a final check for secure tails.
Info :
Storage tip: store runner flat or gently rolled with tissue paper between layers to preserve petal shape. Avoid heavy stacking on top of the runner to prevent flattening petals and ribs.
This sunflower table runner brings sunshine to any table with rich textures and layered petals. Each motif pairs a deep brown center with warm orange and golden petals, framed by sculpted green leaves for a botanical centerpiece. The step-by-step instructions help you build, block and join the motifs into a continuous, elegant runner you can be proud of. 🌻🧶 Enjoy making a centerpiece that celebrates color and handmade warmth!