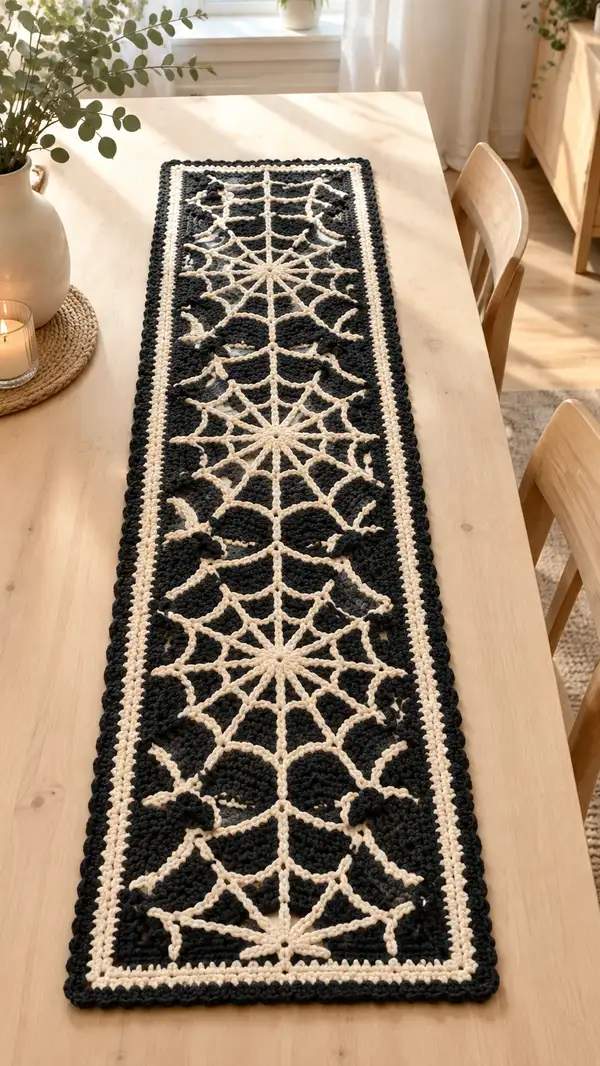
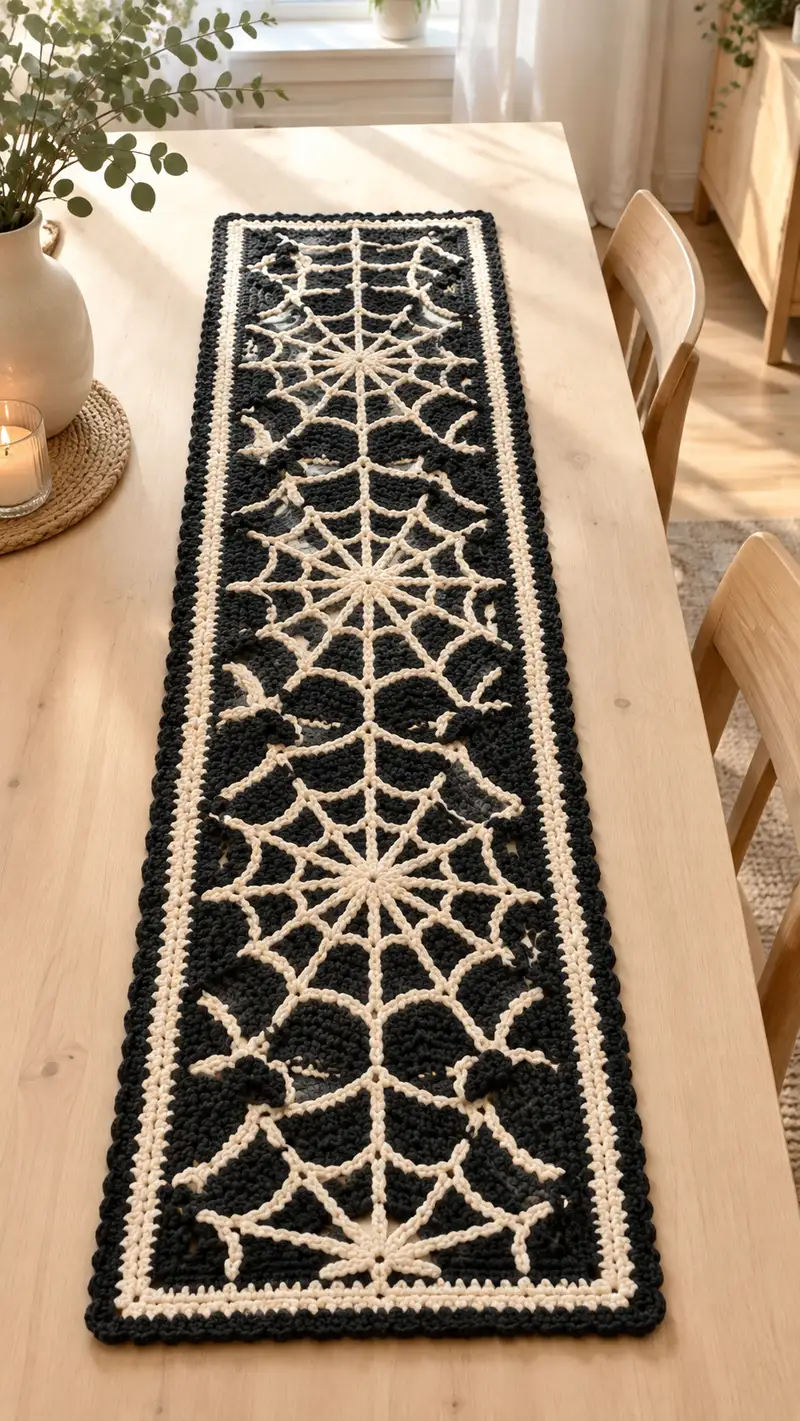
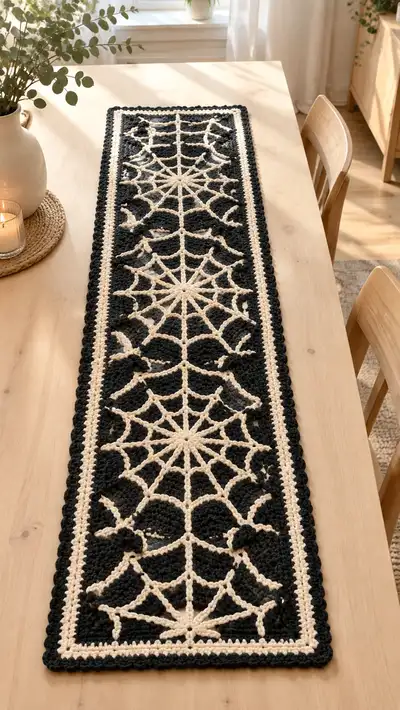
Create a striking Halloween-ready table runner with bold black background and contrasting cream spiderweb medallions. This long, narrow runner features three repeating spiderweb medallions connected by a dense textured background and finished with a scalloped cream-and-black border. The pattern uses simple stitches and surface crochet techniques to build lacy spiderwebs that sit on a solid rectangular base — a beautiful seasonal centerpiece for any table.
Progress Tracker
0% Complete
— Notes & Gauge :
Info :
This runner is constructed as a solid rectangular background in Black with three identical spiderweb medallions worked in Cream and attached. Gauge is flexible for a runner, but for reference: 14 sc x 16 rows = 4 x 4 inches in worsted weight yarn with a 5.0mm hook. Adjust hook size if your fabric is too dense or too open. Finished sample measures approximately 12 inches wide x 60 inches long (after blocking). You may shorten or lengthen the runner by working fewer or more background rows — the medallions are modular.
— Background Panel (Work in Black) :
Info :
We will create a long rectangular ground in single crochet rows to receive surface spiderwebs. The foundation chain is worked to match the number of stitches across the width; the example uses a foundation chain of 121 chains to create a finished width of about 12 inches. If you want a wider runner, add multiples of 2 chains to keep the border symmetrical.
Round 1 :
Foundation chain 121. Turn. (This counts as Row 0.)
Round 2 :
1 sc in 2nd ch from hook and in each chain across (120 sc). Ch1, turn. (120)
Round 3 :
1 sc in each st across. Ch1, turn. (120)
Round 4 :
1 sc in each st across. Ch1, turn. (120)
Round 5 :
1 sc in each st across. Ch1, turn. (120)
Info :
Place stitch markers at Row 12, Row 36, Row 60, Row 84 and Row 108 while you work if you want visual placement guides for medallion centers. The pattern example places three medallions with centers at Rows 30, 90 and 150 — adjust accordingly for the length you choose.
Round 6-15 :
1 sc in each st across. Ch1, turn. (120) Repeat these rounds to build a dense, stable ground. Total of 15 rows completed (including initial rows).
Round 16-25 :
1 sc in each st across. Ch1, turn. (120) Continue until you reach the placement row for the first spiderweb center (Row 30 in this sample). If you are making a shorter runner, place the medallions so there is even spacing between edges and centers.
Info :
If you prefer a textured ground, replace some sc rows with alternating hdc rows: e.g., Row A: 1 sc across; Row B: 1 hdc across. Keep the stitch count identical to maintain straight edges.
Round 26-30 :
1 sc in each st across. Ch1, turn. (120)
Info :
Stop here to place the first spiderweb medallion. You can baste or pin it in position centered across the width and with its center at Row 30 (count from the foundation chain row). The medallion is worked flat as a round;
— Spiderweb Medallion (Make 3 identical in Cream) :
Info :
Each spiderweb medallion is worked in the round using a magic ring and builds to an openwork star with chain loops forming the web. The medallion measures roughly 10-11 inches across when worked in worsted yarn with moderately loose tension. If you want a smaller web, use a smaller hook for the medallion.
Round 1 :
With Cream, 6 sc in magic ring. (6)
Round 2 :
6 inc (12) — work 2 sc in each stitch around. (12)
Round 3 :
(1 sc, inc) x 6 (18)
Round 4 :
(2 sc, inc) x 6 (24)
Round 5 :
(3 sc, inc) x 6 (30)
Round 6 :
(4 sc, inc) x 6 (36)
Round 7 :
(5 sc, inc) x 6 (42)
Round 8 :
(6 sc, inc) x 6 (48)
Info :
You now have a round disk of 48 sc. This forms the center from which the spiderweb spokes radiate. Keep a long tail of yarn (about 18 inches) for sewing if you plan to attach rather than surface crochet. If surface crocheting, leave the short tail and continue working the web directly.
Round 9 :
Ch1, 1 sc BLO in each st around to make a defined ridge for the radial attachment (48). Sl st to first sc. Fasten off and weave in tail if you plan to work remaining web elements with a smaller hook and separate piece, OR keep yarn attached for proceeding to web spokes.
Info :
We will create 12 primary spokes for a balanced look. The following rounds create anchored chain spokes and join them to the center disk and, later, forming concentric loops that become the web.
Round 10 :
Rejoin Cream in any stitch, ch 12, sl st to the same stitch to form the first spoke loop (this creates a chain loop anchored at center). *Sl st in next 4 stitches, ch12, sl st in the next stitch*. Rep from * to * around to create 12 chain spokes roughly evenly spaced. Adjust spacing so you have 12 loops around the disk. End with sl st to base. (12 chain spokes total)
Round 11 :
Turn web to wrong side. Working into the base stitches between spoke loops, *sl st into the stitch between spokes, ch6, sk next spoke chain, sl st into next base stitch*. Rep around to create first concentric ring anchor points. Fasten off. This forms a ring of short arches that will be connected in the next round. (12 arches)
Info :
During these rounds maintain even tension on chain loops — don't pull them tight, but make them firm enough to hold a web shape. Pin the medallion flat on a blocking mat to keep symmetry while you complete the web rounds.
Round 12 :
Rejoin Cream at any base stitch on the center disk. Ch1, sc in same st, *ch8, sl st into the 3rd chain from hook of the adjacent spoke loop to tether the arch, ch8, sc into the next base stitch*. Repeat around creating 12 larger arches that gently bridge spokes; fasten off. (12 tether points)
Round 13 :
Rejoin Cream, ch1, sc around base stitch, then *ch10, sl st into a central point of the previous arch (or into the sl st loop joining arches), ch10, sc into next base stitch*. Repeat to make larger outer loops. After completing the round, do not fasten off — proceed to the final accent round for thicker web lines.
Round 14 :
Without breaking yarn, rotate medallion so spokes are vertical. Working over the previous chain loops, place a thicker raised line by working 3 dc clusters directly into the sl st join points that meet the spoke (or work a surface treble by inserting your hook around the chain and pulling through). Work clusters on every spoke to create a raised radial line effect — 12 cluster anchors. Sl st to join and fasten off. This creates a distinctive raised radial ray for each spoke.
Info :
If you prefer more open webs, reduce chain lengths in rounds 11-13 by two chains each; for larger, lacy webs, add 2-4 chains in those rounds. Always block the medallion flat after finishing to set shape.
Round 15 :
Finishing round: use 1 sc around the outermost chain loop bases to tidy edges. For firm edges you may work 1 sc in each base stitch and an extra sc in the top of each arch to even out spacing. Fasten off and weave ends.
Info :
Make 3 identical medallions. After finishing each medallion, wet-block or steam-block gently to a diameter of approximately 10-11 inches, pinning the outer loops to be even and symmetrical. Allow to dry under pins for at least 4 hours or until completely dry.
— Web Attachment & Connector Rows :
Info :
Medallions can be attached to the background in two methods: sewing with a tapestry needle using whip or mattress stitch through base rounds, or surface crochet joining by slip-stitching or single crocheting around the medallion's base into the background. Both methods are described here. Before attaching, pin each medallion centered across the width and with centers at Rows 30, 90 and 150 (example). Use pins or sewing pins to hold the medallion perfectly flat and centered.
Round 1 :
Position first medallion so its center is at Row 30 on the background panel. Pin several points around the medallion perimeter (12 points: at each spoke and at each arch apex). This gives even anchors for sewing or surface crocheting.
Round 2 - Sewing Attachment :
Using the long tail or a matching piece of Cream, weave a large-eyed tapestry needle and sew with small whip stitches through the outer base round (Round 15 base stitches) into the background sc stitches at the pinned points. Make small even stitches so the cream loops sit gently on the black surface without pulling. Sew around entire medallion every 1/2 inch for stability. Fasten off; weave in end. (Attachment method A)
Round 3 - Surface Crochet Attachment (Alternative) :
Using a 4.0mm hook and Cream yarn, join with a sl st to the outer base stitch of the medallion, then sl st into the background sc in the corresponding position, *ch2, sl st into next medallion base stitch, sl st into next background stitch*. Work around. This yields visible decorative joins that look like thin web strands attaching to the ground. Fasten off. (Attachment method B)
Info :
Repeat the pin and attachment process for the second medallion at Row 90 and the third at Row 150. Be sure each medallion sits flat and that radial spokes are aligned down the length of the runner to form a central vertical line if you want them visually connected. Use a long straight ruler to check for alignment if necessary.
Round 4 :
After both or all medallions are attached, work 8 additional solid sc rows in Black above the first medallion and 8 rows below the last medallion to create a balanced margin. Ch1, turn each row. (120)
Round 5 :
Work connector rows of sc in Black between the medallions to fill the space uniformly. Continue until the runner reaches the desired length with equal margins at both ends. (120)
Info :
If you used sewing attachment, consider adding a light surface chain stitch in Cream that connects medallion spokes along the surface to emphasize the continuous vertical web. Use careful, light tension so as not to pull the background.
— Outer Border (Two-color, worked around the entire rectangle) :
Info :
We will work rounds around the rectangle edge to create a clean two-color border: first a narrow Cream inner border, then a wider Black scallop edge to finish. Work the border flat around the panel, turning at corners with chains to keep it flat. Use stitch markers at corners to count stitches.
Round 1 :
With Cream, join at any corner: ch1, work 2 sc in same corner stitch, then 1 sc in each st along the long edge to the next corner. Work 2 sc in corner stitch, turn and work along short edge in same manner, maintaining 1 sc per row-edge st. Continue around the rectangle, placing 2 sc in each corner to keep corners flat. Sl st to join. (Work evenly; total stitch count depends on current overall perimeter stitches.)
Round 2 :
Ch1, 1 sc in each st around in Cream to build the inner border. Sl st to join. Fasten off Cream leaving tail for weaving. This creates a clean, narrow cream frame to set off the black scalloped edge.
Info :
Measure the total number of stitches around the perimeter after the inner Cream rounds. You will use this number as a guide to place scallops evenly in the next round. Typical scallop pattern uses (5 sc, skip 2) or (3 dc, sl st back) depending on desired height; adjust spacing to fit evenly into the perimeter count.
Round 3 :
With Black, join in any Cream stitch, ch2 (counts as first dc), *skip 1 st, 5 dc in next st, skip 1 st, sl st in next st*. Repeat around to form scallops. If the repeats do not fit evenly, add an extra dc in the final scallop or slightly adjust skip counts at corners. Sl st to join. (Scallop count depends on perimeter.)
Round 4 :
Ch1, 1 sc in each stitch and sl st between each scallop top to tidy. Work additional finishing rounds in Black to deepen the scallops: for a raised scallop, in each scallop top work (ch1, 3 dc, ch1) and sl st in the base between scallops. Fasten off and weave in ends.
Info :
For a neater corner, work (2 sc, ch2, 2 sc) in each corner stitch during the first border round so the scallops stay flat. Blocking after the border rounds ensures scallops are evenly shaped.
— Optional Surface Spider Accents :
Round 1 :
Using a small length of Cream, embroider small spiders or tiny web fragments between the three main medallions by making short chain loops and tiny clusters for body shapes. For a spider body: make a small chain of 3-4, then attach with a sl st to anchor, and sew two yarn knots for body segments. Add short leg stitches of 3-ch chains anchored at sides.
Info :
These small accents are subtle but effective; place them asymmetrically for a natural look. Use long pins to temporarily position elements before attaching with small running stitches.
— Finishing & Blocking :
Info :
Weave in all ends neatly on the wrong side using a tapestry needle. Dampen the runner lightly and pin it to blocking mats, stretching gently so medallion edges are even and the runner is rectangular. Pin scallops so they open evenly. Leave to dry thoroughly. Steam-blocking is an alternative but do not press directly with a hot iron on acrylic yarns.
Round 1 :
Trim all visible ends to 1/4 inch after weaving. Inspect attachment points for any loose areas and topstitch discreetly if needed. Your runner is ready to display!
Info :
To store, fold gently and place tissue between folds to prevent the scallops from flattening. For holiday rotation, keep in a cool, dry place to preserve shape and color.
This elegant spiderweb table runner combines solid texture and delicate openwork to create a dramatic seasonal centerpiece. The crisp cream webs anchored on a bold black ground, finished with a scalloped border, will perfectly frame candles and autumn leaves. Pin, sew, and block carefully — the finished piece becomes a treasured seasonal accent you’ll use for years. 🕸️🧶