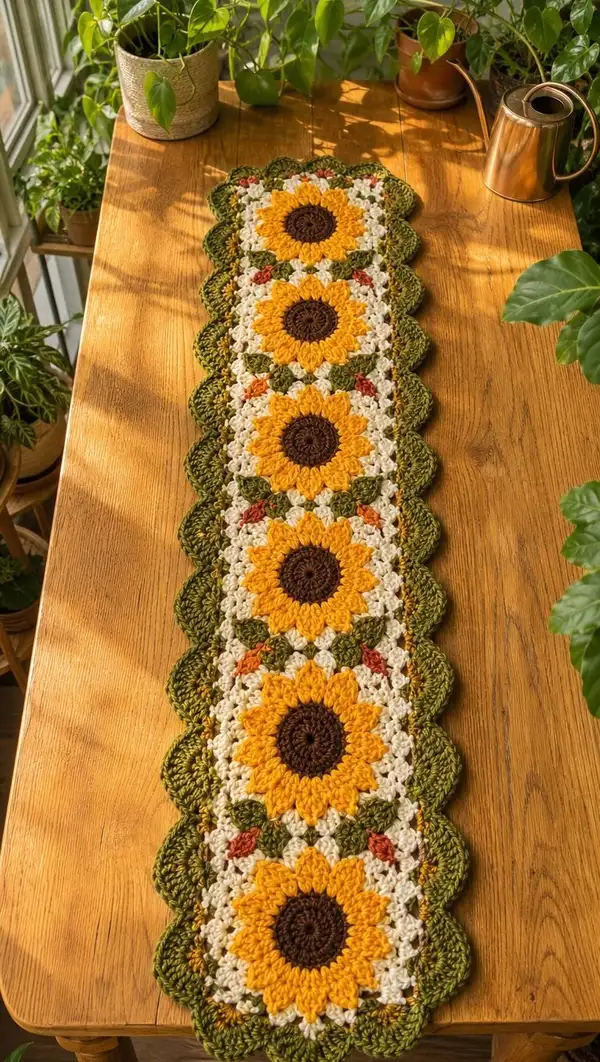
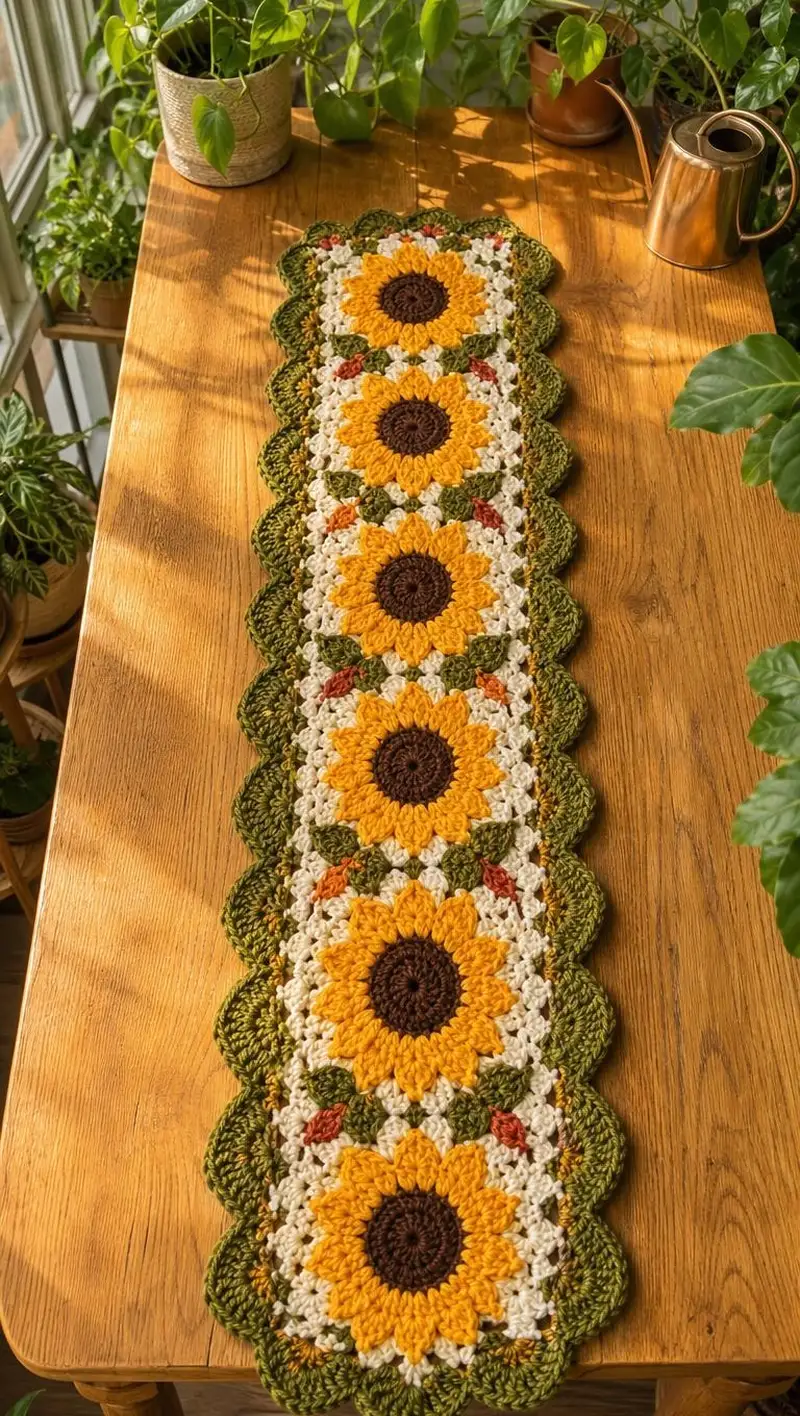
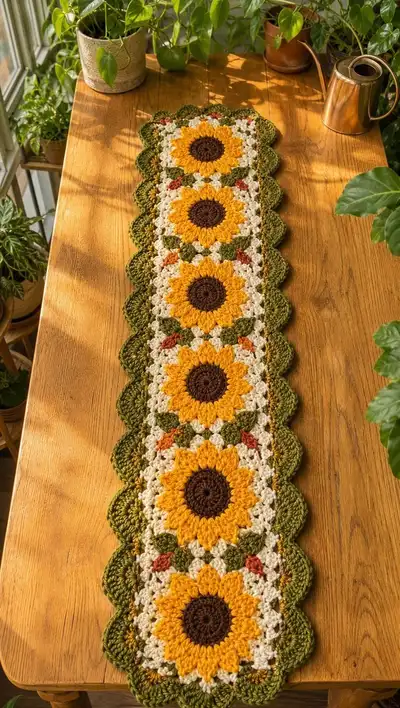
A warm sunflower-themed crochet table runner featuring five linked sunflower motifs set in lacy cream squares with leafy green scalloped edges. Rich golden petals, deep brown centers and small rust accents create a cozy farmhouse look. Works beautifully as a dining table centerpiece or dresser accent; pattern includes motif construction, joining method and scalloped border instructions.
Progress Tracker
0% Complete
— Notes & Techniques :
Info :
Gauge and finished size will vary depending on yarn and tension. The sample runner pictured uses worsted weight yarn and a 4.0mm hook; each completed sunflower square measures approximately 9.5" square and the runner of five motifs measures roughly 48" long by 10" wide. Work tightly enough that stuffing or backing will not show through puff stitches. Use stitch markers to mark round starts when working in continuous rounds.
Info :
Puff stitch method used in this pattern: Yarn over, insert hook in stitch, yarn over and pull up loop (repeat 3 more times to have 5 loops on hook in total for a 4-loop puff), yarn over and pull through all loops, ch1 to close the puff. Adjust number of repeats to create fuller or flatter petals. Abbreviated 'puff' indicates the 4-yarn-over puff unless otherwise specified.
— Sunflower Center (Brown) :
Round 1 :
6 sc in magic ring (6)
Round 3 :
(1 sc, 1 inc) x 6 (18)
Round 4 :
(2 sc, 1 inc) x 6 (24)
Round 5 :
(3 sc, 1 inc) x 6 (30)
Info :
Keep tension even; these early increases create a flat disc for the sunflower center. If your center cups, try switching to a slightly larger hook for the first 2 rounds, then return to main hook.
Round 6 :
(4 sc, 1 inc) x 6 (36)
Round 7 :
(5 sc, 1 inc) x 6 (42)
Round 8 :
(6 sc, 1 inc) x 6 (48)
Round 9 :
1 sc in each st (48)
Info :
Round 9 completes the brown center disc; finish off and weave in ends or leave tail for joining to petal assembly if you prefer to continue without fastening off. Placement of petals will be anchored to the brown round 8/9 stitches around the disc.
— Petal Foundation & First Petal Round (Gold) :
Info :
Change to sunflower gold (mustard). Petals are anchored to the brown center; there are 12 petals total spaced evenly. With 48 sts, anchor a petal every 4th stitch to get 12 petals around the disc.
Round 1 :
Join gold with sl st in any brown stitch. Ch1, *sc in next 3 sts, ch3 (counts as turning point for petal), sk next st, rep from * around to create markers for petal anchors (12 ch3 sp created). Sl st to first sc to finish round (36 sc + 12 ch3 anchor loops looked as part of round)
Info :
We are establishing anchor points only; stitch counts remain effectively 48 anchor positions though there are 36 sc plus 12 ch anchors—petals will be worked into anchors in the next round.
— Petal Construction (Gold) :
Round 2 :
*Into each ch3 anchor: (puff stitch x4, ch1 to close petal, sl st into next sc to move to next anchor) x 12 (petals worked; stitch count around remains anchored to 48 positions)
Info :
Each petal is formed of four 4-loop puff repeats worked into the ch3 anchor to create a full petal. After working a petal, move with a sl st into the next sc so petals sit flush. If you prefer larger petals, use five puff repeats per petal, but ensure petals remain consistent across the round.
Round 3 :
Working behind the petals, ch1, 1 sc in each sc around (36 sc), working sl st in base of each petal to secure (12 sl st) — total effective anchors maintained (48)
Info :
Work this securing round behind petals to lock their bases in place. We will now create a short textured round to raise the petal bases and make the motive sit proudly on the background.
Round 4 :
*(1 sc in next 2 sts, 1 hdc in base of petal), rep around (36 sc + 12 hdc equivalents, maintained anchors)
Round 5 :
1 sc in each stitch around working into sc and hdc evenly to make a tidy edge (48)
Info :
Fasten off gold if you prefer to work the square background separately. The sunflower motif should now be a raised disc with 12 petals neatly anchored and secured. We will build the square background in cream next and incorporate small leaf accents in olive and rust.
— Square Background Roundwork (Cream) :
Info :
The square background is worked in joined rounds around the sunflower motif to produce a lacy granny-style square. We will work 12 rounds of background shaping to reach a square just large enough to sit next to other motifs. Count petal tips as guide points for corner placement.
Round 1 :
With cream, join with sl st in any stitch in the space between petal bases. Ch3 (counts as dc), *2 dc in same space, ch2, 3 dc in next large space between groups of petals, rep around creating 4 corner ch2 spaces. Sl st to top of ch3 to join (total: 12 clusters of 3 dc separated by ch spaces, 4 corners)
Round 2 :
Ch3, dc in same st, *dc in each dc across to corner, (3 dc, ch2, 3 dc) in each corner ch2 sp, rep to end. Join with sl st (clusters around; stitch count varies by cluster but square shape starts forming)
Info :
From this point we will switch to classic granny cluster-style rounds where counts are grouped; treat each set of three dc as a single cluster when counting repeats. Maintain even tension so the square remains flat.
Round 3 :
Ch3, *skip next dc, (3 dc) in next ch-space or between clusters, ch1, rep around working (3 dc) clusters with ch1 spaces between non-corner groups, in corners work (3 dc, ch2, 3 dc). Join to first dc (clusters increase outward)
Round 4 :
Repeat Round 3 expanding clusters. Your square should now show distinct corner ch2s and straight edges. Join with sl st.
Info :
At Rounds 3-6 maintain the pattern of cluster expansion to square the motif. If your square is warping, adjust tension or block between joins. We'll add small leaf accents worked into specific ch1 spaces on the edges starting Round 5.
Round 5 :
Ch1, sc in each ch1 space and each cluster gap around to create a secure fabric (stable foundation for small leaves) (approximate stitch count: 48-56 depending on clusters)
Round 6 :
In selected edge ch1 spaces (on alternate sides) work: *ch1, sc, ch1, sl st to next ch1 sp. For small rust accent leaves: in chosen ch1 sp, join rust yarn and work (sl st, ch3, 3 dc in same st, sl st) to create a tiny petal then fasten off rust and carry cream again. Continue around to make 4 small rust accents placed evenly (this does not change overall cluster count)
Info :
Small rust accents are decorative; place one between each corner on alternating squares to reproduce the look in the photo. Weave in tiny ends neatly on the wrong side.
Round 7 :
Ch3, dc in same st, *dc across clusters and in corner ch2s work (3 dc, ch2, 3 dc) but continue placing dc clusters to square off the sides. Join with sl st (approx clusters: 12 per side grouping, varies with expansion)
Round 8 :
Repeat Round 7 to enlarge the square to the desired finished measurement of approximately 9.5" from petal tip to opposite petal tip. Join and fasten off cream if desired.
Info :
If you plan to join squares as you go, do not fasten off. Instead, carry cream to the side where your next square will be joined and follow the joining-in-rounds instructions in the Joining section below.
— Leaf Motif & Small Green Accents :
Info :
Leaves are worked in olive green and attached at the four inner corners between sunflowers. Each leaf is small but contributes to the botanical feel. Make 4 leaves per square as pictured (two larger leaf clusters flanking each sunflower along the runner's length).
Round 1 :
With olive, join in an edge ch1 space (or the gap between granny clusters) - ch1, sc, hdc, dc, tr, dc, hdc, sc across the chosen gap, sl st to secure (leaf shape formed across 8 stitches) (no change to square stitch count)
Round 2 :
In the base of leaf, around the outer edges work 1 sc in sc, 1 hdc in hdc, 1 dc in dc to lighten and shape the leaf; sl st to join and fasten off leaving a tail for weaving (leaf is decorative only)
Info :
Place leaves at two inner corners along the long edges to mimic photo placement. Use an alternate olive tone for subtle contrast if desired; both tones are used in the pictured scalloped edge to add depth.
— Joining Motifs (Five Square Runner Assembly) :
Info :
The runner in the image is five sunflower squares joined in a straight line. Join squares using a slip-stitch join or whipstitch for a flat seam. Block each square lightly before joining for best alignment.
Method A - Join As You Go (preferred) :
When completing the last round of cream on a finished square, instead of fastening off, position the new square adjacent to the previous square, right sides together. Working with cream, *sl st into the corner ch2 of existing square, sl st into corresponding ch2 of new square, sc across matching ch1 spaces and sl st through both loops of corresponding stitches to join. Continue across edge then fasten off, weave tail. This produces an almost invisible seam with consistent spacing.
Method B - Join After All Squares Are Made :
With darning needle and matching cream yarn, whipstitch squares together from wrong side matching stitch for stitch. Work two passes if seam must be extra secure. Block after joining to settle seams.
Info :
Pin squares edge-to-edge before joining to verify even spacing. Join the five squares in a straight row with their inner leaf corners alternating so rust accents and leaves mirror each other down the runner.
— Scalloped Edge Preparation (Olive Green Two-Tone) :
Info :
For the scalloped border, two tones of olive were used in the sample: a medium olive for the main scallops and a darker olive for the outer scallop shell to create depth. You will work multiple rounds of edging around the entire runner perimeter. Work edging after all squares are joined and the runner is blocked to final size.
Round 1 :
With medium olive, join in any corner ch2 space on the outside edge. Ch1, sc evenly around outside edge into every ch1 space and in between clusters (approx count will vary by runner length; maintain even spacing). In corner ch2s work (sc, ch2, sc). Join with sl st. (estimate 220-260 sc around for five-square runner)
Info :
This establishing sc round creates a sturdy foundation for scallops. Make sure overall stitch count around is divisible by the scallop repeat you choose (we use 8-stitch scallops); adjust spacing with extra scs at corners if necessary.
Round 2 :
Ch1, *sc in next 2 sts, (5 dc, ch1, 5 dc) all in next st or group to form full shell, sc in next 2 sts, rep across. Join with sl st to first sc. (Each scallop uses 8 foundation sts; total scallop count approx 26-32 along long sides depending on spacing)
Info :
Work one scallop in the center of each side section and repeat across. For the rounded ends, work extra shells so the scallop pattern follows the curve and creates a lacy rounded end similar to the photo.
Round 3 :
Change to darker olive. Join with sl st to the top of a shell. Ch3 (counts as dc), (dc, tr, dc) in same top of shell, sl st to center top of next shell to create accent ridge across shell tops; rep around joining shells with sl st. Fasten off darker olive and weave ends. This gently layers a darker ridge on each scallop apex.
Info :
If you prefer a single-color scallop, skip Round 3. The two-tone finish adds shadow and emphasizes the leaf-like scallops in the photo.
Round 4 :
Return to medium olive and work a picot edging: *sc in top of shell, ch3, sl st in 3rd ch to form picot, sc to next top; rep around to add a delicate finish. Join and fasten off. Weave ends.
Info :
Optional: For a fuller border, repeat the scallop round (Round 2) adding (7 dc) shells instead of 5 dc to make larger scallops. Ensure runner still lies flat after enlarging shell size.
— Detailed Round-by-Round Scallop Expansion (for those who want deeper layers) :
Round 5 :
Ch1, sc in each sc across (evening out any unevenness introduced by shells) (same stitch count as Round 1, approx 220-260)
Round 6 :
*Sc in next 3 sts, (7 dc shell) in next st, sc in next 3 sts; rep around. Join. (Larger scallops; count preserved by spacing.)
Info :
This expanded scallop creates the pronounced leaf lobes like those pictured. If your runner puffs or curls, block after Round 6 to set the shape before adding final picot row.
Round 7 :
Change to darker olive, work a decorative ridge by working fpdc around apexes of each large shell: *fpdc around apex, sc in next 6 sts; rep around. Join and fasten off darker yarn.
Round 8 :
Final finishing: Work sc evenly around to tidy, add picot or slip-stitch trim as desired, weave in all tails, and steam-block the finished runner to even scallops and petals.
Info :
Use low steam and pin scallops to blocking mat to set each scallop into a leaf-like curve. Do not over-stretch sunflower petals during blocking; gently shape petals with fingers and pin petal tips if needed to maintain uniformity.
— Finishing Touches & Variations :
Info :
For variations: make more or fewer squares to lengthen or shorten runner; change the cream background to a contrasting color for greater contrast; add beads or small buttons at center of rust accents for extra detail. You can also substitute cotton yarn for a firmer table runner suitable for hot dishes (test for heat resistance).
Info :
To make a table runner with odd number of squares like the sample, align petals so the runner looks symmetrical. For an even number of squares you may want mirrored placement of rust accents and leaves across the runner center.
Completing this sunflower table runner is such a satisfying project — watching each motif come together into a long, sunny chain feels like arranging a garden on your table. The texture of the puff petals and the lacy cream squares give it a handcrafted charm, while the scalloped green border frames everything so beautifully. Make it for a seasonal centerpiece or as a heartfelt handmade gift. 🌻🧶 Happy stitching and don't forget to show off your finished runner!