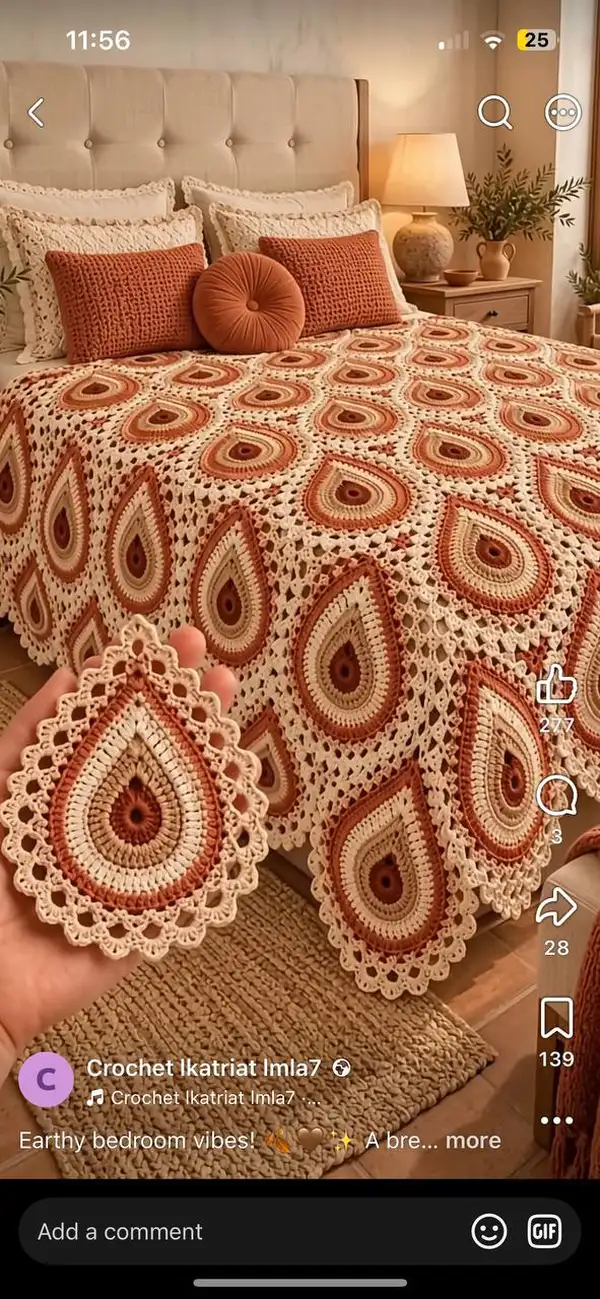
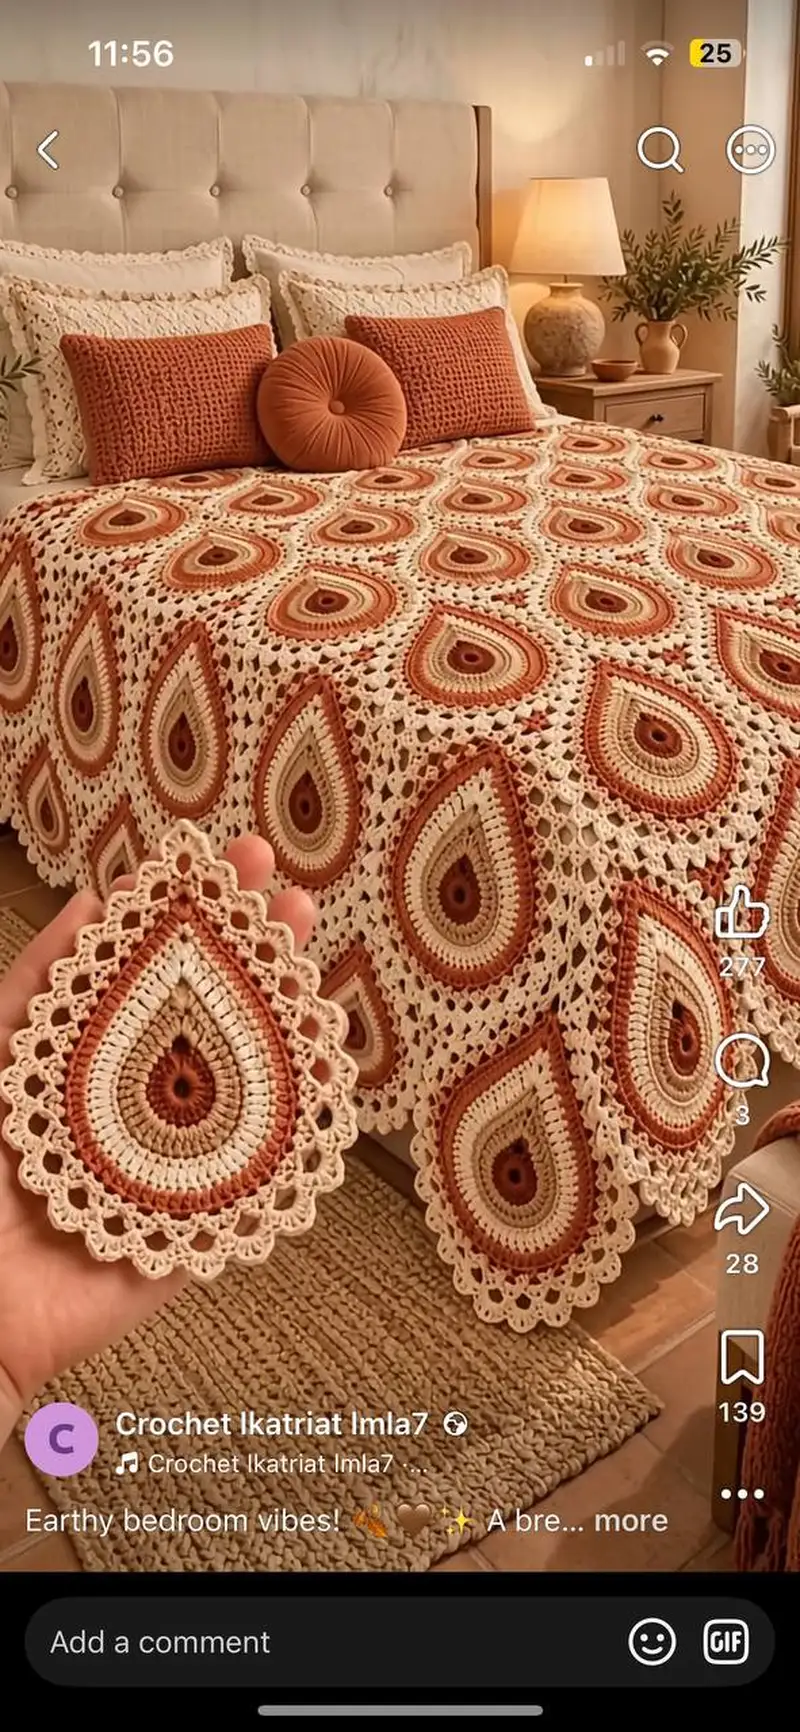
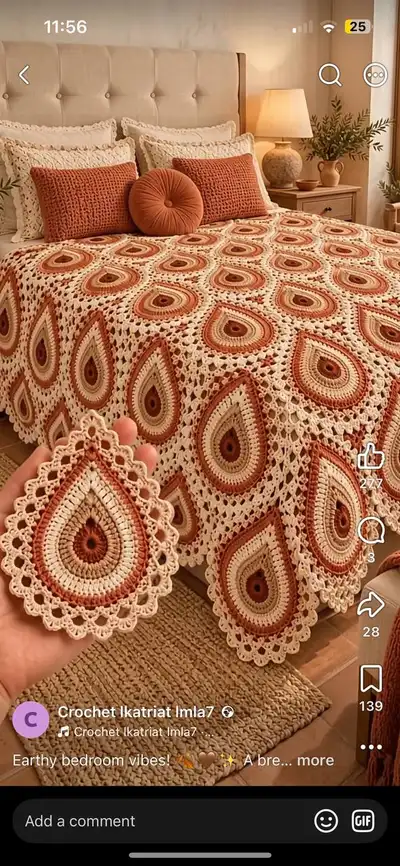
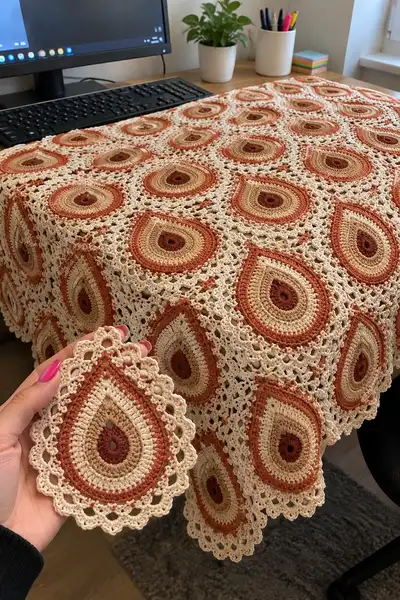
A warm, vintage-inspired bedspread made from joined teardrop motifs in terracotta, rust, beige and cream tones. This elegant bed cover features lacy connectors and a scalloped picot edge for a romantic, handmade look. The pattern uses a join-as-you-go method so motifs flow into a continuous blanket with minimal sewing. Perfect for accenting a bedroom with earthy, cozy vibes.
Progress Tracker
0% Complete
— Overview :
Info :
This pattern describes the teardrop motif, a join-as-you-go connector, and a scalloped edging. Work motifs flat in the round. Each teardrop motif is worked from center out in color changes. After completing a motif to the outer lacy round, you will join it to adjacent motifs using the join-as-you-go picot and mesh instructions in the connector section. Always keep stitch counts accurate; I include frequent Info sections to help with shaping and finishing.
— Motif (Make many) :
Round 1 :
6 sc in magic ring (6)
Round 3 :
(1 sc, 1 inc) x 6 (18)
Round 4 :
(2 sc, 1 inc) x 6 (24)
Info :
Change color to deep rust for the second round if you want a defined center. Fasten off tight if using separate color balls, or carry color up inside to the next round if preferred.
Round 5 :
1 sc in each st (24)
Round 6 :
(3 sc, 1 inc) x 6 (30)
Round 7 :
1 sc in each st (30)
Round 8 :
Change to warm tan. (4 sc, 1 inc) x 6 (36)
Info :
From this round forward we will begin shaping the teardrop. The goal is to create gentle increases on the bottom of the teardrop and slightly fewer stitches near the top. To do this, we will create two 'sides' of the motif by working regular rounds until we reach the shaping round where extra stitches are worked across the lower half only.
Round 9 :
1 sc in each st (36)
Round 10 :
Change to terracotta. 1 sc in first 12 sts, inc in next st, 1 sc in next 12 sts, inc in next st, 1 sc in remaining sts (38)
Info :
Round 10 introduces two small increases placed to create a slightly longer bottom of teardrop. Visualize the motif with a vertical axis: increases belong at the base area, roughly opposite the upper narrow point.
Round 11 :
1 sc in each st (38)
Round 12 :
(5 sc, 1 inc) x 6 + 2 sc (44)
Round 13 :
1 sc in each st (44)
Round 14 :
Change to cream. Working in BLO for a subtle ridge: 1 sc in each st BLO (44)
Info :
Working in BLO creates a defined ridge that will help with the teardrop edge when we begin forming the pointed top. Keep tension a little looser in BLO so the ridge sits nicely without pulling the body inward.
Round 15 :
1 sc in each st (44)
Round 16 :
(6 sc, 1 inc) x 6 + 2 sc (50)
Round 17 :
1 sc in each st (50)
Info :
Now we will begin the shaping sequence to pull two opposite sides in slightly to make the teardrop narrower at the top. Identify the top 14-16 stitches (upper tip) and the lower 20-22 stitches (base). We'll use decreases focused on the top region over a few rounds to produce the point.
Round 18 :
Sc 12, (sc2tog) twice, sc 12, (sc2tog) twice, sc remaining (46)
Round 19 :
1 sc in each st (46)
Round 20 :
Sc 11, (sc2tog) twice, sc 11, (sc2tog) twice, sc remaining (42)
Info :
Begin stuffing tightly only if you will use motif as a cushion; for a bedspread motifs remain flat and unstuffed. Keep motifs unstuffed—we want flat motifs to join into a smooth spread.
Round 21 :
1 sc in each st (42)
Round 22 :
Sc 10, (sc2tog) twice, sc 10, (sc2tog) twice, sc remaining (38)
Round 23 :
1 sc in each st (38)
Round 24 :
Change to terracotta. Round for teardrop ridge: *ch1, skip 1, sc in next* around to create a spaced ridge (38)
Info :
This round with ch-1 spaces forms little eyelets that will later help define the teardrop outer shape. If your tension creates large holes, use ch1, sc next to keep holes uniform. Block later to shape these openings properly.
Round 25 :
1 sc in each st (38)
Round 26 :
Work a shaping round across the top point: sc 6, (dec) x 2, sc 6, (dec) x 2, sc remaining (34)
Round 27 :
1 sc in each st (34)
Round 28 :
Change to cream for outer lacy rounds. Work: *ch3, skip 2, sc in next* around to create elongated chain spaces (34)
Info :
The ch3 spaces should be slightly larger than the ch1 earlier. These chains form the lacy connector points. Check that they are evenly spaced; if necessary, adjust by shifting a sc to even counts.
Round 29 :
1 sc in each st and sp around (34)
Round 30 :
(sc, ch4, sc) in each chain space around to prepare for decorative loops (34 loops)
Round 31 :
1 sc in each st (34)
Round 32 :
Decorative picot round: *(sc, ch3, sl st in last sc to make picot), skip 1* around (approx 34 picots)
Info :
These picots produce the scalloped edging when motifs are laid flat. They also give small loops used to join motifs with the join-as-you-go mesh. Keep picots small and consistent—ch3 works well for worsted cotton.
Round 33 :
Fasten off or continue with join round: If joining now, change to cream and work join round as described below. If making standalone motifs, fasten off leaving long tail for sewing.
Info :
At this point each motif measures approximately 6.5-8 inches tall depending on hook and yarn. For a full bedspread you will make dozens of motifs (bedspread pictured is roughly 6x6-8x8 motif grid depending on bed size). Block motifs flat before final join for accurate shape.
— Join-as-you-go Connector Mesh :
Info :
We join motifs with an openwork mesh built directly onto the outer loopy round of each motif; this creates a lattice of small star/petal shapes between motifs. Work this round as you attach each new motif to its neighbors, joining into the picot/ch-loop spaces created on Round 30-32.
Round J1 :
With cream yarn and working from outer edge: join with sl st into an outer loop on motif A, ch4 (counts as tr), tr in same space, ch3, sl st into nearest outer loop of motif B to attach, ch3, tr 2 in next space of motif A; repeat pattern to attach to adjacent motifs as you go, forming triangular connector spaces
Info :
When joining to an already-placed motif, align motifs right sides up. Use the sl st into the picot base to create a nearly invisible join. Work the connector so that it sits flat between motifs and does not pull them in or out of shape. If you are joining a whole row, pin the new motif in place first.
Round J2 :
After completing a full pass attaching to immediate neighbors, work: ch1, sc in each connector ch-space around to firm the mesh (sc across each chain and tr cluster) keeping counts even (approx 16-20 sc depending on motif spacing)
Round J3 :
Decorative star: *(ch3, sc in top of tr cluster below), ch3, sc in next connector sp* repeat around to create small stars filling the mesh (finished mesh will show small six-point stars)
Info :
Join-as-you-go requires patience: add 1 neighbor at a time. For the central motif in a block, attach four neighbors before completing surrounding mesh rows so the center lays flat. Leaving long tails will be helpful to secure the join neatly.
Round J4 :
Work one more clean-up round: 1 sc in each stitch around connector mesh to make the join sturdy and even (counts vary with number of joins)
Info :
If you prefer to join motifs after making all of them, you can seam using whip stitch or mattress stitch through the outer picot loops, but join-as-you-go gives a cleaner continuous mesh without bulky seams.
— Corner and Edge Adjustment Motif (for borders) :
Info :
Edge motifs that lie on the bed edge may need trimming or extension so the outer scallop forms a continuous border. For these, stop after Round 28 (before picots) and extend with chain arches to match the half-motif size, then add picots as below. Use 3/4 motifs where necessary to maintain symmetry.
Round E1 :
From outer sc edge: ch5, sl st into third sc to form semi-loop; repeat along the edge to match adjacent full motifs. Work 1 sc between each semi-loop to stabilize.
Round E2 :
Picot scallop: *(sc, ch3, sl st in previous sc) across each semi-loop to form a scalloped border. Adjust number of loops so the border falls evenly.
Info :
Test the arrangement by laying motifs along your bed’s edge. Trim or add rows of connector mesh until the width and length are to your liking before committing to final joining on the whole spread.
— Full Blanket Assembly Plan :
Info :
Decide on motif grid size (e.g., for a queen bed aim for ~6 x 7 motifs depending on motif size). Assemble motifs row by row using the join-as-you-go connector. Block each completed row flat before joining to the next row to keep edges straight. Use blocking wires or pins to ensure square rows and even seam tension.
— Border and Scalloped Edge :
Round B1 :
After final joining, work one round in cream around the entire outer edge of the spread: 1 sc in each st and sp to even the edge (work additional sc in larger gaps to keep edge flat)
Round B2 :
Ch5 loops border round: *(sc in next st, ch5, skip 4) around; place loops evenly across the edge to create consistent scallops (approx 80-120 loops depending on spread size)
Round B3 :
Picot scallop finish: *(sc, ch3, sl st in same sc) into each ch5 loop to form a layered scallop. Repeat around entire blanket
Info :
Edge rounds are important to flatten the spread. If some scallops pull more than others, block the border after completing and steam lightly for cotton yarn to relax and flatten the scallops evenly.
Round B4 :
Optional decorative fringe: Attach cream yarn every other scallop with ch20 then sl st back to join; trim ends evenly if desired for a long fringe (optional)
— Alternate Motif Variation (smaller center rounds) :
Round V1 :
For visual interest create alternate motifs with an extra textured round: after Round 14, work one round of hdc in each st (44) then continue with Round 15 instructions. This yields a slightly raised band around the teardrop center.
Info :
Alternate motifs can be scattered across the spread to create a subtle patchwork of texture. Plan layout before joining so repeats look balanced across the blanket.
— Finishing Touches :
Info :
Weave in all ends on the wrong side using a yarn needle, working tails through several stitches before trimming. Block the whole bedspread gently: soak in lukewarm water with mild detergent, press out excess water, pin flat to dimensions, and let dry fully. Final steam blocking helps cotton drape and scallops to open beautifully.
Round F1 :
Edge clean up: work 1 round sc around outermost loops of the scallop using smaller hook (3.0mm) to neaten if necessary
Info :
Store the finished bedspread folded loosely to protect the picot scallops. Re-block after washing if needed to re-open the lacework and restore shape.
This Terracota Teardrop Bedspread brings a warm, handmade touch to your bedroom with its elegant teardrop motifs and lacy joins. Each motif is a little meditation—work many in a row while listening to music or an audiobook and watch the spread come to life. The final scalloped border and gentle color transitions make this piece a beautiful heirloom to enjoy or give as a very special gift. 🧶✨💤