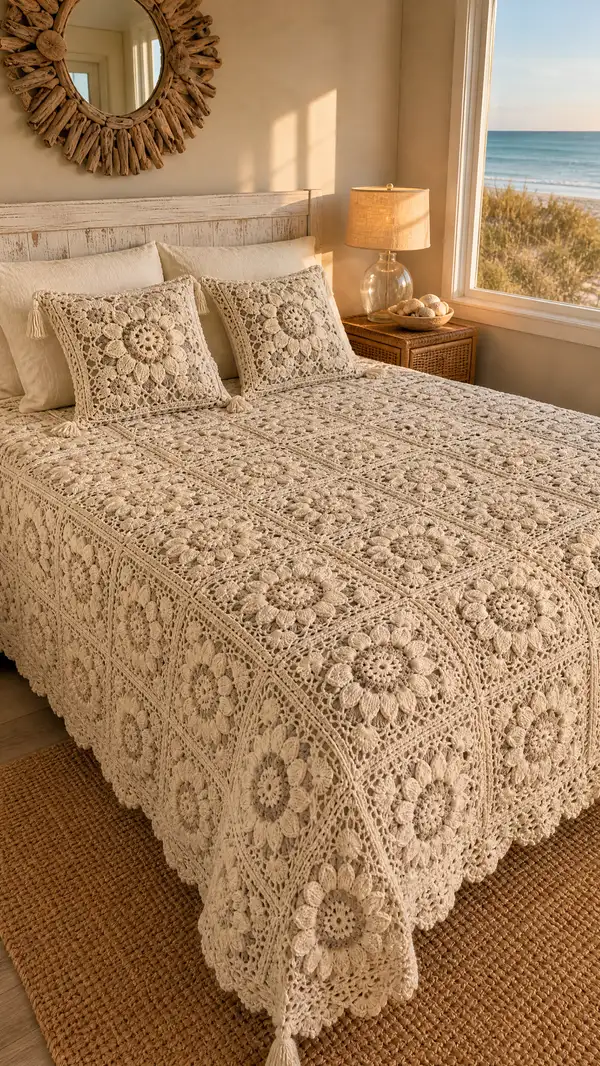
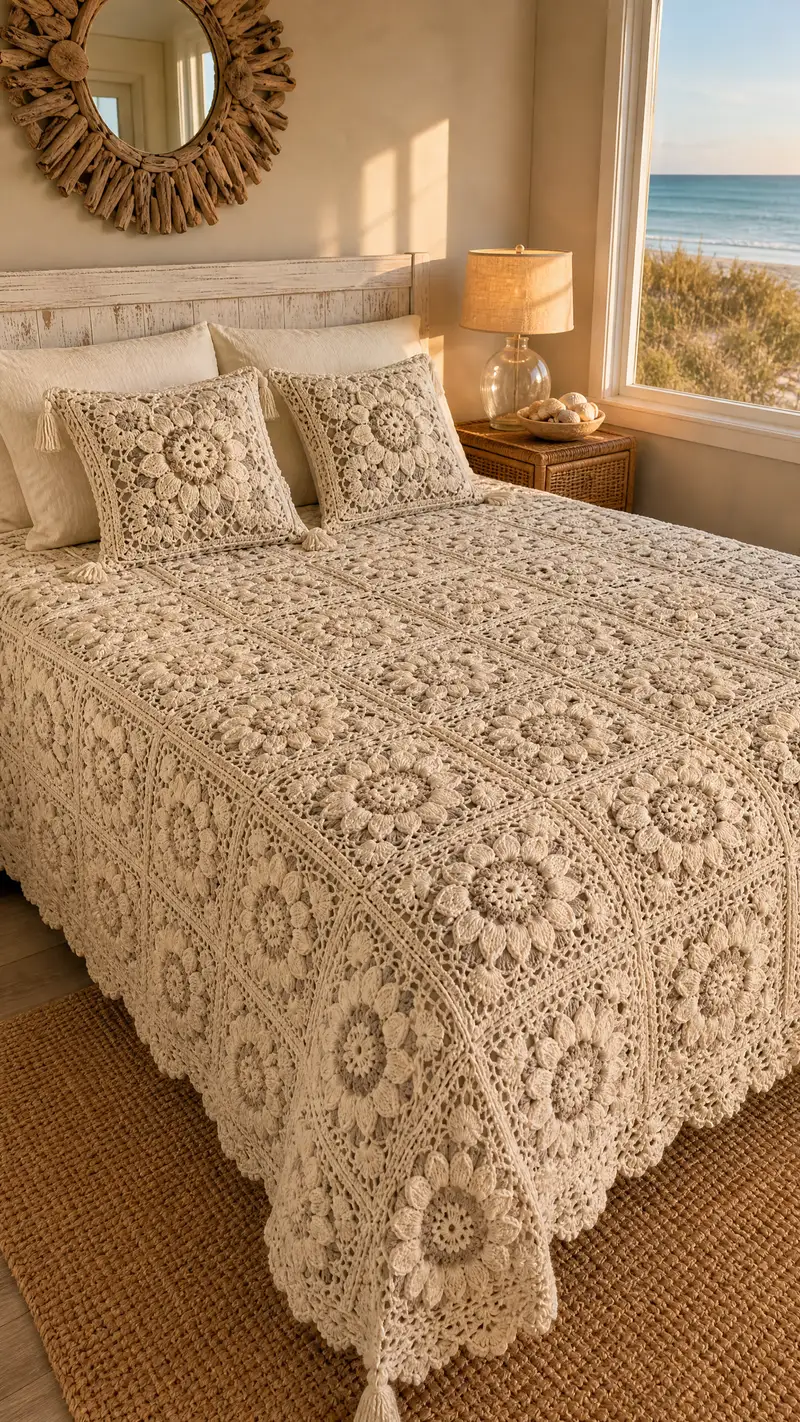
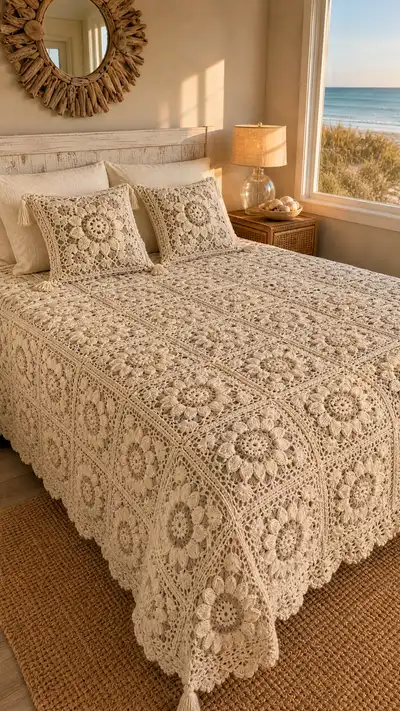
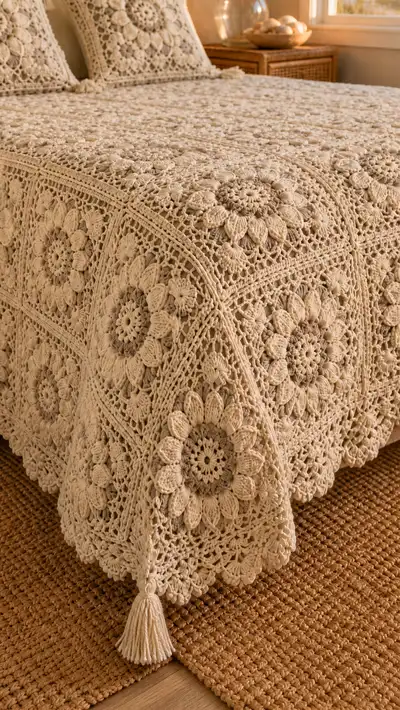
A timeless antique-cream floral granny bedspread that brings vintage elegance to your bedroom. This pattern features large floral granny squares with raised petal texture, open lace joins, and a scalloped border finished with tassel corners. Worked in a soft cotton-blend to show off the stitch definition, the bedspread is breathable, drapey, and full of handcrafted charm.
Progress Tracker
0% Complete
— Motif (Large Floral Granny Square) :
Round 1 :
Make a magic ring, ch1, 12 sc in ring. Pull tight (12)
Round 2 :
Inc in each st around (12 inc) — 24 sc (24)
Round 3 :
*1 sc in next st, ch2* repeat around to create 12 ch-2 spaces (24 sc,12 ch-2 spaces) (24)
Info :
These ch-2 spaces will be the foundation for the 12 petals. Place a stitch marker at the beginning of round 4 to keep track of petal counts.
Round 4 :
In each ch-2 space: (ch1, puff5, ch1, sl st into same space). Sl st to first sl st to close. You will have made 12 puff petals; base stitches remain 24 main anchors (visual petal row, maintain alignment)
Info :
Puff5: yarn over, insert hook, pull up loop, yarn over, pull through (repeat 5 times total), yarn over and draw through all loops on hook, ch1 to close puff. Keep loops even and lightly tensioned for consistent petal height.
Round 5 :
Ch3 (counts as dc), *ch2, dc in base stitch between petals* repeat 11 times, ch2, join with sl st to top of ch3 (24 dc + 12 ch-2 spaces equivalent) (24)
Round 6 :
*In each ch2 space: (ch1, 3 dc cluster, ch1) anchoring with sc in next dc* repeat around to create a ring of clusters. After working around, join with sl st (24 clusters)
Round 7 :
Ch1, 1 sc in same st, *ch3, skip next cluster, sc in next cluster top* repeat around to create 24 ch-3 spaces and 24 sc anchors (24)
Info :
Adjust hook tension so petals remain raised; if petals sink, tighten tension slightly or block squares to lift petal definition.
Round 8 :
In each ch-3 space: (ch1, fpdc around cluster post, ch1, sl st into same space) to create tall textured loops between clusters. Join with sl st (24)
Round 9 :
Change to outer color if using accent now. Ch3, 2 dc in same space (counts as 3-dc cluster), *ch2, 3 dc in next ch-3 space* repeat around to form 12 shell groups, join (36)
Round 10 :
Ch1, sc in same stitch, *ch4, skip shell, sc between shells* repeat to make 12 ch-4 arches around (36 sc anchors remain) (36)
Round 11 :
In each ch-4 arch: (ch1, 5-dc fan: (dc,dc,dc,dc,dc) all into the arch, ch1, sl st into anchor sc) — makes 12 fans surrounding motif (36 fan stitches counted as groups)
Info :
Fans and shells define the motif's diameter. If you want a slightly larger square, add an extra round of shells here (additional increases required later to keep join multiples).
Round 12 :
Ch1, sc in same join, *ch5, sc between fans* repeat to form 12 ch-5 spaces (36)
Round 13 :
Into each ch-5: (ch1, puff6, ch1, sl st into same space) to create a second raised petal ring of 12 larger petals. Join with sl st (36 anchor points)
Round 14 :
Ch3, 2 dc in same st, *1 dc in next sc, ch2, skip puff, 3 dc in next sc* repeat around to expand between petals; aim for (48) total dc grouping anchors after this shaping (48)
Info :
When counting stitches with many chain spaces, count main anchor stitches (sc/dc base stitches) as 'stitch count' for continuity later when joining squares.
Round 15 :
Ch1, sc in same st, *ch6, sc between shells* repeat to make 24 ch-6 loops (48 sc anchors) (48)
Round 16 :
Into each ch-6: (ch1, 7-dc petal cluster worked as puff clusters: puff4 + dc to close) repeat 24 times to create a generous outer petal row; join (48)
Round 17 :
Ch2 (counts as hdc), hdc in each sc and around petals working into anchor points and top loops to even out edge — work 48 hdc total (48)
Info :
This round flattens and evens the outer petal edges so the square joins more neatly. Keep stitches uniform; use BLO on the next round if you want a defined ridge for joining.
Round 18 :
1 sc BLO in each st around to create a ridge for joining (48)
Round 19 :
*ch4, skip 1 hdc, 1 sc in next st* repeat around creating 24 ch-4 picot loops to use when blocking and joining (48 anchor sc remain) (48)
Round 20 :
Ch1, sc in same st, *ch3, sc in next sc* repeat around for final decorative rings. Maintain 48 main stitch anchors (48)
Info :
Fasten off leaving a 12-18 inch tail for blocking and attaching to joins. Weave in the short tail later; leave the long tail for blocking and temporary tacking during layout if desired.
Round 21 :
Optional extra floral border: join yarn at any corner point and work (ch3, 2 dc, ch2, 3 dc) into a ch-space to create corner shells, and work (3 dc in next ch-space) across edges to enlarge motif by one working round (increase anchors to 60) (60)
Round 22 :
Ch1, sc in each st around to tidy edge (60)
Round 23 :
Work a round of reverse single crochet (crab stitch) around the edge for a firm border if you prefer a sturdy look — 60 sc equivalents (60)
Info :
Block each square to match your desired measurement. For a queen layout with 6 across x 6 down of large motifs (example), each square should measure approximately 12 inches after blocking; adjust counts or add extra shell rounds to reach your gauge.
— Square Blocking & Gauge :
Info :
Make a sample motif, wet-block or steam-block, pin to square template to measured size. Measure petal diameter and corner-to-corner. Adjust hook size +/- 0.5mm to match required square size before making full set.
— Joining Motifs (Lace Join Method) :
Round 1 :
Lay two blocked squares right sides together. Join with a 3.5mm hook and yarn through BLO ridge at join points using slip stitch seam: join at a corner sc, ch1, *sl st through both loops of next sc on square A and square B, ch1* repeat across edge. This creates an open chain-lace seam. One seam across equals number of anchor sc on that side (example 12 or 15 depending on motif size)
Round 2 :
At corners, work (sc, ch2, sc) joining both corner shells; continue across edges with sl st joins into anchor sc and ch1 spacing to preserve lace. Fasten off and weave tails into seam.
Info :
Join squares in rows first, then seam rows together. Work joins with the right sides facing out for decorative chain-lace on both faces. Use a long tail and yarn needle to reinforce join if the seam will see heavy use.
Round 3 :
Alternate method: Join-as-you-go (JAYG): On final round of motif, when making the last edging round, replace the sl st into ch-space with sl st into corresponding ch-space of adjacent blocked square to join live. Use this for seamless bedspread construction and fewer ends to weave.
Info :
When using JAYG, join rows as you go from left to right with motifs lined up. Keep tension relaxed to avoid pulling motifs together; pin motifs before joining if needed.
Round 4 :
After joining motifs into panels, work a reinforcement round on the join from the right side: sc into each ch-space of seam through both motifs to firm up connection. This will make the join readable as a subtle ladder stitch (stitch count varies by seam length).
— Bedspread Layout & Assembly :
Info :
Suggested layout for queen bed: 6 motifs across x 6 motifs down = 36 motifs. For full/queen you can do 6x7 or 7x7 depending on motif size. This pattern assumes 6x6 example to illustrate assembly notes.
Step :
Make all motifs, block them flat, and assemble into horizontal rows using chosen join method. Press each finished row and then seam rows together, checking overall drape and alignment regularly.
Info :
When seaming rows together, align motif centers and petals so the floral patterns visually continue across seams. Rotate motifs as needed for a regular repeating pattern.
— Border & Scalloped Edging :
Round 1 :
After the entire bedspread is joined, using 4.0mm hook, join yarn at any corner seam. Round 1: Ch1, sc evenly around the outside edge working 3 sc in each corner shell to reinforce. Count total perimeter stitches and note the number for subsequent rounds (perimeter anchor count example: 240-320 depending on layout).
Round 2 :
Ch3 (counts as dc), dc in next 2 sc, *skip 1 sc, 5 dc shell in next sc, skip 1 sc, dc in next 3 sc* repeat across each motif edge. Increase at transitions between motifs with an extra dc to keep the border flat. Stitch count will vary; maintain even spacing to avoid ruffling.
Info :
If the bedspread puckers, add extra dc groups evenly along the border to add fullness. If it ruffles, remove some shell repeats to flatten.
Round 3 :
Ch1, sc in each dc across, working 3 sc in top of each shell to maintain corners. This evens the border and provides a scaffold for the scallop rows (perimeter sc count stable).
Round 4 :
Ch1, *skip 2 sc, 7-dc scallop in next sc, skip 2 sc, sc into next sc* repeat around to make pronounced scallops. Join and fasten off. Count scallops to ensure an odd/even pleasing repeat at corners (scallops number example: 40-60).
Round 5 :
Optional: Work a decorative chain-lace overlay between scallops: join yarn low between scallops, ch8, sl st into valley between scallops to form a lacy chain fringe. Repeat around for airy finish.
Info :
For heavier edge definition, work an additional round of crab stitch (reverse sc) around the outermost edge using a smaller hook 3.5mm for a crisp finish.
Round 6 :
Optional reinforcement round: sc through both border rows (if you added extra decorative strands) to lock everything in place. Fasten off and weave ends.
— Pillow Cover (Matching Floral Square Cushion) :
Round 1 :
Work 1 motif per pillow front (use same motif rounds 1-20 above). For a 18" square pillow use the large motif; block to 17-18" finished size. Make two motifs for front/back or one motif and a solid back panel.
Round 2 :
For pillow back: work simple granny or solid DC rounds to same measurement as front motif. Example: Ch3, dc around evenly to reach 18" square; fasten off and block.
Round 3 :
Join front and back with sc around three edges, insert cushion form, then work sc+sc in same stitch at last edge to create neat finish and then add tassels to corners by attaching yarn in corner and creating tassel loops (see tassel section). Stitch count depends on pillow perimeter.
Info :
For an envelope back, make two back panels smaller than the front and join with overlap leaving an opening to insert cushion. Edge with sc for stability.
— Tassels & Corner Finishing :
Round 1 :
To make tassels: Wind yarn around a 3.5" cardboard 30-40 times for a full tassel (adjust for scale). Slide loops off, tie top tightly with a short tie yarn, cut loops at bottom, tidy and trim to even length. Make 4-8 tassels for bedspread corners and optional pillow corners.
Round 2 :
Attach tassels by threading long tail through corner, double knot close to corner and secure with extra stitches through corner seam. Hide knot inside tassel head and weave in remaining tails securely.
Info :
For sturdier attachment, sew tassel top onto the last two rounds of motif with a yarn needle and then knot. Test pull gently to ensure stability before trimming excess.
— Final Blocking, Weaving & Care :
Info :
After assembling and finishing, wet-block the entire bedspread on a large blocking surface and pin to final measurements. Allow to dry completely. This evens stitches, opens lace joins, and defines petals and scallops.
Info :
Weave in all tails using yarn needle: weave toward center of motif and into joins for longevity. Cut tails close to fabric after weaving several inches in each direction.
Info :
Care instructions: hand wash cold or gentle machine wash in mesh bag on cold with mild detergent. Lay flat to dry. Iron on low from reverse if needed to flatten after drying, or re-block lightly with steam.
Info :
This pattern's rounds and counts are intentionally descriptive to give you liberty to adapt motif size and number. Keep notes as you make your sample motif so you can scale and calculate the final yardage and number of motifs required for your desired bed size.
Completing this Antique Cream Floral Granny Bedspread is a truly rewarding journey — each textured floral square brings a touch of heirloom charm to your bedroom. The modular construction makes it addictive as you watch the bedspread grow, and the scalloped border plus tassel corners give it that finished, luxurious feel. Whether it becomes a family heirloom or a special gift, you'll be proud of every stitch and detail. 🧶✨ Give yourself time, enjoy each medallion, and relish the calming rhythm of crochet. 🌼