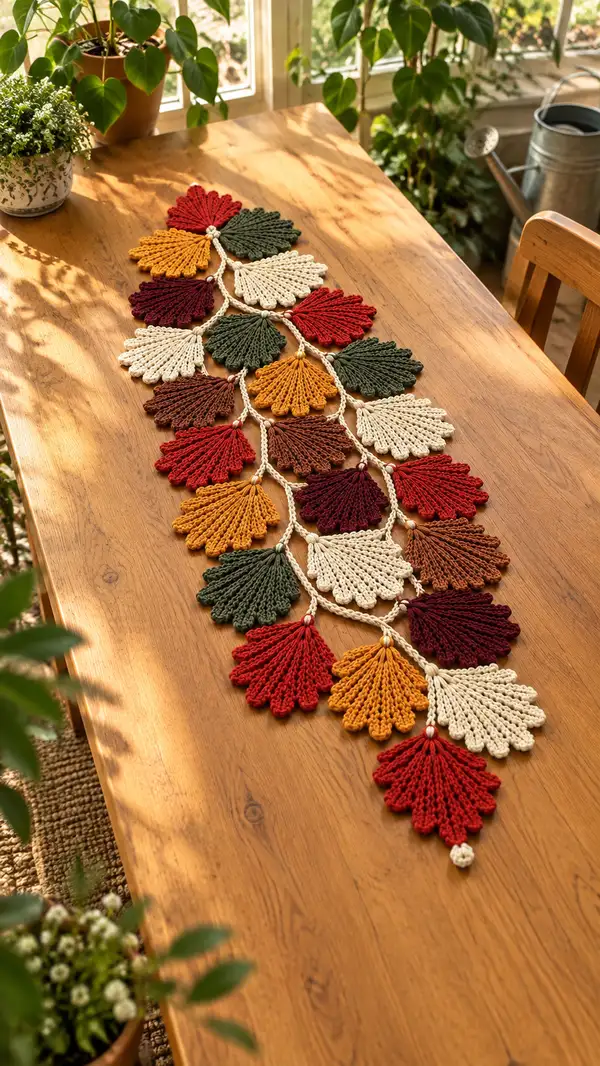
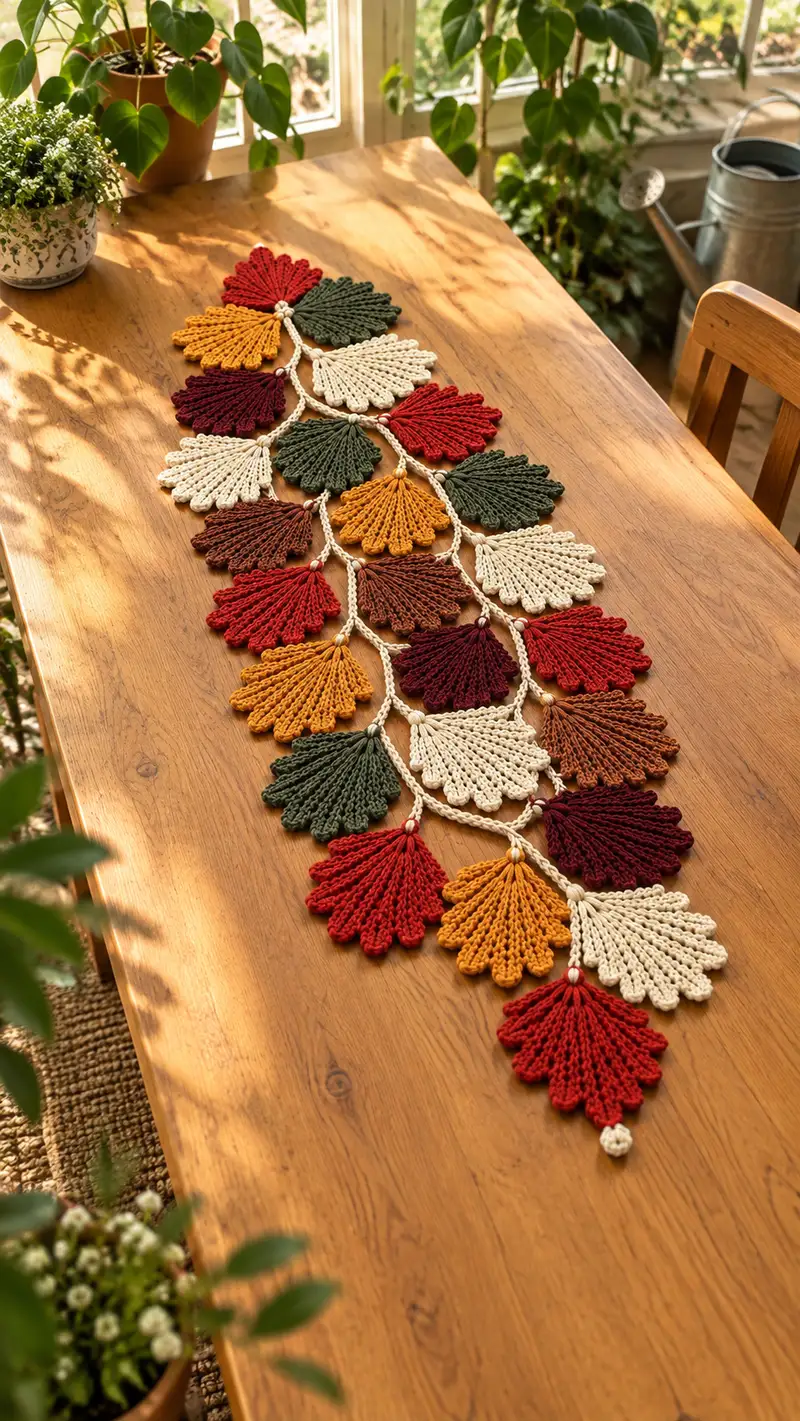
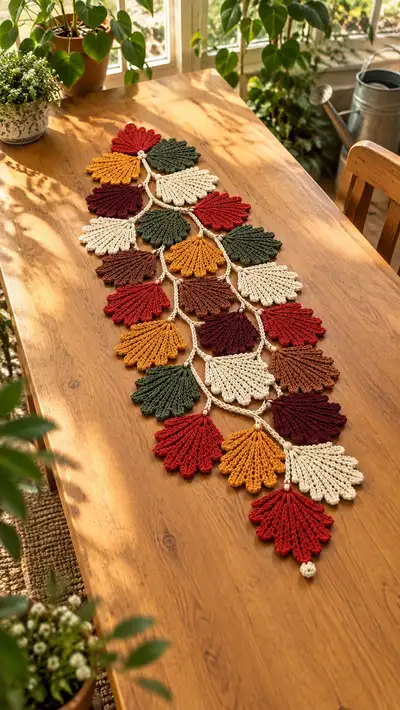
Bring warm fall colors to your table with this crocheted leaf garland table runner. The design features layered fan-leaves in rich autumn shades—deep red, mustard, forest green, rust, burgundy and cream—linked by braided chains to create a flowing runner. Each fan-leaf has textured ridges and scalloped edges for a handcrafted, cozy look. Perfect for seasonal decor, a centerpiece or a heartfelt handmade gift.
Progress Tracker
0% Complete
— Project Notes & Gauge :
Info :
Gauge is not critical for this decorative runner, but for size approximations: 10 cm (4 in) across a finished leaf motif at the widest point using 4.0 mm hook and worsted cotton. The runner pictured measures approximately 110 cm long and 22-24 cm at the widest central section with 22 leaf motifs. Consistent tension is important so motifs remain consistent in size.
Info :
All motifs are worked flat in rows/rounds and finished off. Join motifs using chains worked with the neutral cream yarn. Use stitch markers and blocking to sharpen edges if desired.
— Leaf Motif A (Large Fan Leaf) - Make 8 :
Round 1 :
Start with magic ring. Ch2 (counts as hdc), work 5 hdc into ring. Pull ring tight and join with sl st to first hdc. (6)
Round 2 :
Ch2, 1 hdc in same st, 2 hdc in each st around. Join with sl st to top of first ch2. (12)
Round 3 :
Ch2, (1 hdc, 1 inc) x 6. Join. (18)
Round 4 :
Ch3 (counts as dc), dc in same st, (2 dc, ch1, 2 dc) in next st, *skip 1, (2 dc, ch1, 2 dc) in next st* repeat across to end. End with dc to match start, sl st to top of ch3. This round establishes the first shell segments; adjust so you have 9 shell points. (Approx 36 posts with ch spaces)
Info :
This project uses an increasing fan method: each shell will become a ribbed petal. Make sure shells are evenly spaced; use markers at 3-4 shell anchors to help keep placement consistent.
Round 5 :
Turn and work along the outer edge: Attach yarn at first shell ch1 space, ch1, sc in space, ch3, (3 tr in next dc, ch3, sc in next ch1 space) x across to create tall ribs. End with sc in base join. (9 tall ribs created)
Round 6 :
Ch2, (2 hdc in top of rib, 1 hdc in next) across to form a solid curved edge that begins to widen the leaf. Work evenly so rib bases remain visible. (Approx 36 hdc)
Round 7 :
Ch3, dc in each st across the curved edge, placing extra dc at rib centers to accentuate ribs: (dc, dc+extra in rib base) x around. Join. (Approx 42 dc)
Info :
Work this round with a slight tension difference at ribs to cause slight cupping; this adds the leaf’s 3D texture. If you prefer flatter leaves, keep tension even.
Round 8 :
Ch1, 1 sc in same st, *(2 sc, picot (ch3, sl st into last sc), 2 sc) in next rib valley, sc in each of next 3 sts* rep across to form scalloped edging. Sl st to join. (Approx 48 sc including picots)
Round 9 :
Flip motif. Work a short contrasting ridge along center: join yarn at center base (inside), ch20 to make central stem chain. Sl st back through center joining point to anchor chain and create a visible stem. Fasten off tail for center detail. This chain will be hidden during joining or used as a loop for assembly. (Center chain length 20)
Info :
When making many motifs, leave a 15 cm tail to block and weave in later. Blocking flat on a mat and pinning scallops will sharpen edges and produce uniform leaves.
Round 10 :
Rejoin at base of a rib on the back side and work 1 row of sc in BLO around inner half of the motif to create a slight cupped underside—this helps leaves sit flat when joined. (Approx 30 sc in BLO)
Round 11 :
Finish edge by working sl st around inner edge and fasten off. Weave in ends. Motif should measure ~12 cm wide at the scalloped edge and ~10 cm tall.
Info :
Repeat Leaf Motif A for the count instructed in assembly (Make 8). Use consistent hook and tension so all large motifs match one another.
— Leaf Motif B (Medium Fan Leaf) - Make 8 :
Round 1 :
Magic ring, ch2, 6 hdc in ring. Join. (6)
Round 2 :
Ch2, 1 hdc in same, (2 hdc in next) x5. Join. (12)
Round 3 :
Ch2, (1 hdc, inc) x6. Join. (18)
Round 4 :
Ch3, dc in next two sts, (2 dc, ch1, 2 dc) in next, *skip 1, (2 dc, ch1, 2 dc) in next* repeat to create 7 shells. End with dc to balance, sl st to join. (~28 dc with ch spaces)
Info :
Medium leaves use fewer ribs than large leaves—this produces a visually varied runner and saves yarn while maintaining the same structural join points for connectors.
Round 5 :
Work tall post stitches along shell tops: Attach at shell space, ch1, sc, ch4, (3 tr in shell, ch4, sc) across to form 7 ribs. (7 tall ribs)
Round 6 :
Ch2, hdc evenly across curved edge, increasing by 1 hdc at each rib top to accent ribs. (Approx 32 hdc)
Round 7 :
Ch1, 1 sc in same, *(2 sc, picot, 2 sc) in each rib valley, sc in next 2 sts* repeat to scallop. Sl st to join. (Approx 38 sc)
Round 8 :
Optional: work a short center chain ch14 anchored at base as a stem detail. Fasten off. (Center chain 14)
Info :
Make 8 medium motifs in chosen accent colors. Leave long tails for joining to the neutral chain if you prefer sewing joins rather than crocheting chains between motifs.
— Leaf Motif C (Small Fan Leaf) - Make 6 :
Round 1 :
Magic ring, ch2, 6 hdc in ring. Join. (6)
Round 2 :
Ch2, 1 hdc in same, (2 hdc in next) x5. Join. (12)
Round 3 :
Ch3, work (3 dc) in next st, *ch1, sk1, (3 dc) in next* repeat to create 5 mini shells. Join. (~20 dc)
Round 4 :
Attach yarn at first shell space, ch1, sc in space, ch3, 3 tr in next dc, ch3, sc in next space, repeat across. Sl st to join. (5 ribs)
Round 5 :
Ch1, sc around curved edge placing (2 sc) in rib tops to create texture, end sl st, fasten off. (Approx 24 sc)
Info :
Small motifs serve as tips/ends of the runner and in staggered positions; make 6 in bright accent colors for contrast.
— Decorative Center Chain (Neutral Joining Chain) :
Info :
All motifs will be connected using a neutral chain worked with cream yarn. Each chain link is made as a short braided cord of ch18-22 with small slip-stitch knots at junctions to mimic the runner in the photo.
Round 1 :
With cream, ch 22. Sl st to 2nd ch from hook to form a slight loop if you want a center loop, otherwise leave chain open. This chain becomes a flexible connector between two motifs.
Round 2 :
Return along the chain: working on the opposite side of the chain, sc in each ch across to create a rope-like braid effect. (22 sc)
Round 3 :
Repeat Round 2 for an extra thickness if desired (22 sc). Fasten off leaving long tail for sewing. Make 18-20 chains depending on layout of runner.
Info :
Make slightly longer chains between central motifs for a more draped look, or shorten them for a snug lattice. Carry unused yarn inside chain if working multiple connectors from same skein.
— Joining Chains with Knot Nodes :
Round 1 :
To make the small round nodes pictured between motifs, make a mini popcorn knot: With cream, ch4, 6 dc in 4th ch from hook, sl st to first dc. Pull slightly to form a tight bead. (6 dc into ch space forming knot)
Round 2 :
Secure the bead by inserting the tail through the center and weaving 3 cm through adjacent stitches. Make one knot for each junction between chains and motifs. Make approx 15-18 knots for full runner depending on motif count.
Info :
These small knots act as decorative spacers and help hold the lattice together; they echo the neutral cream accents visible in the photo.
— Optional Tassel or End Motif :
Round 1 :
To finish ends, make a small tassel or single small motif: create a Small Fan Leaf (Motif C) and attach a 6-ch loop at its base for hanging or as a final knot. Fasten off.
Info :
In the photographed runner there is a small round knot at one end—this can be recreated by making one mini popcorn knot and securing it tightly with long tails woven into the underside.
— Texture Variations and Ridge Rounds (Optional extra detail for each motif) :
Round 1 :
After completing the main shell edge on any leaf, rejoin yarn at the base of each rib and work 1 row of BLO sc across the underside to emphasize the rib separation. (Varies by motif width, approximate 18-30 sc)
Round 2 :
For a pronounced raised rib, work 1 round of dtr around each rib post, anchoring at top and bottom with sc—this pulls the ribs into sharper relief. Work slowly and count stitches. (Adds 1 dtr per rib)
Info :
These texture rounds are optional but help replicate the deep ribs visible in the photo. Use a slightly larger hook (4.5 mm) for the ridge row if you want a more pronounced look, then revert to 4.0 mm for the rest.
— Joining Motifs Together (Method A: Crochet-On Chains) :
Round 1 :
Arrange motifs on a flat surface following the layout diagram: stagger motifs in a diamond lattice (photo layout: 22 motifs). Place large (A) and medium (B) leaves alternately with small (C) leaves at ends.
Round 2 :
With cream yarn, attach at base center of a leaf (use the center chain stub left during motif making). Ch18-22 (length chosen for spacing) and sl st into the center base of the adjoining leaf. Repeat to create connecting chains between all adjacent motif centers. Fasten off as you go and weave tails. (Number of chains equals adjacency count.)
Info :
Pin every connection before finalizing to confirm spacing and layout. Adjust chain lengths if a gap looks too wide; it’s easier to change chain lengths before securing than after sewing.
Round 3 :
At each junction where three motifs meet in the lattice, add a small knot node (see Knot Node instructions) to secure the meeting point and mimic the decorative bead in the photo.
Info :
Crochet-on chains give a tidy, continuous look. Alternatively you can sew pre-made chains into place using a yarn needle for a more controlled join.
— Joining Motifs Together (Method B: Sewn Joins for Exact Placement) :
Round 1 :
Arrange motifs and mark base anchor points with pins. Using tails left from motif start or finish, sew base to base with a ladder stitch or whip stitch through the center chain stub on each motif for a clean invisible join. Secure with multiple passes if runner will be moved frequently. Fasten off and weave ends into underside.
Info :
Sewn joins are stronger and allow you to trim chain lengths independently after all motifs are secured. They are especially useful if your table runner will be handled or transported frequently.
— Edge Finishing and Blocking :
Round 1 :
When all motifs are joined, lay the runner flat and gently block each motif: spray lightly with water, shape scallops and ribs with pins on a blocking mat to sharpen scalloped edges. Allow to dry completely.
Round 2 :
Work an optional border along the runner’s long sides by joining at alternating scallop points: join yarn at one end, ch1, sc evenly in outer scallop stitches along one side, ch2 between motifs to keep flexibility. Fasten off at corner and repeat on opposite side. (Number of sc varies)
Info :
If you prefer a minimal look, skip the border. If you expect heavy wear, add a neat sc border to stabilize outer scallops.
— Final Weave & Secure :
Round 1 :
Weave in all tails by threading them through the backside of adjacent stitches and pulling them through at least 4-5 cm before trimming. Reinforce critical joins with one extra pass of whip stitch if desired.
Round 2 :
Check the runner for symmetry and gently adjust chain lengths if needed. Press lightly with a warm (not hot) iron through a damp cloth if desired to smooth any curled edges (cotton yarn only).
Info :
Your runner is now ready to display. Rotate motif colors or spacing to suit your table length and centerpiece width.
— Alternate Layout Suggestions :
Round 1 :
For a shorter runner, reduce motif count by removing one central motif and adjusting chain lengths accordingly. For a wider runner, add additional columns of motifs and add corresponding chains and nodes.
Round 2 :
To make a placemat or trivet, use a single large motif (Leaf A) and add two rounds of dense sc around the back for sturdiness. Block and steam for flatness.
Info :
Color patterning can follow the photo (alternating dark and light) or you can group two of the same color adjacent for a striped look—either choice works well.
This table runner is a celebration of texture and color—a perfect way to welcome fall into your home. Each fan-leaf motif is a small handmade treasure that, when joined, becomes an elegant centerpiece full of warmth and character. I hope making it brings you the same cozy satisfaction it brings me, stitch by stitch. Happy crocheting—and enjoy styling your table with this seasonal accent! 🍁🧶