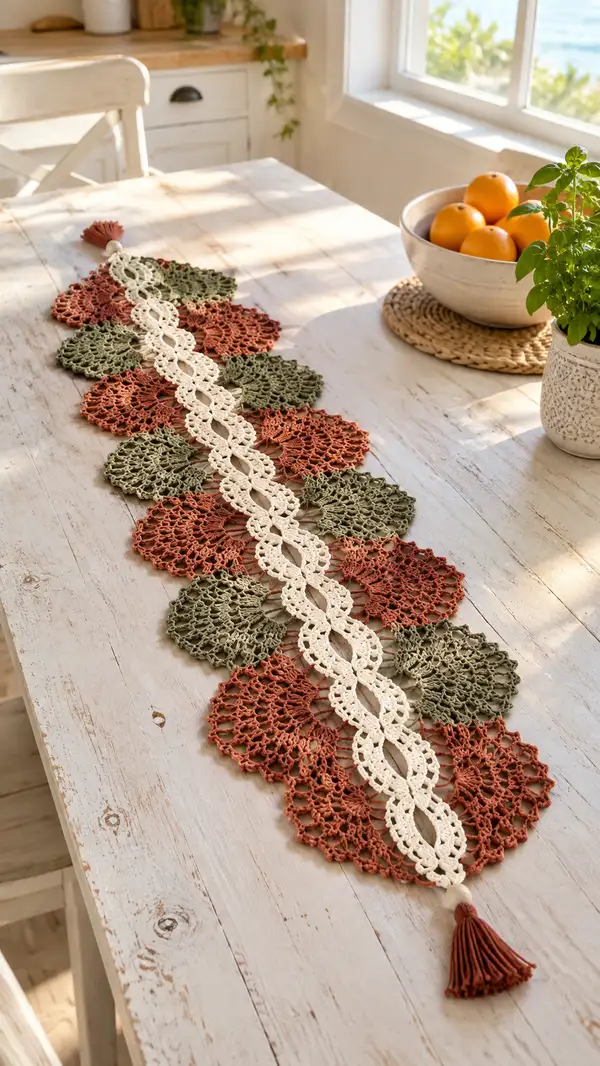
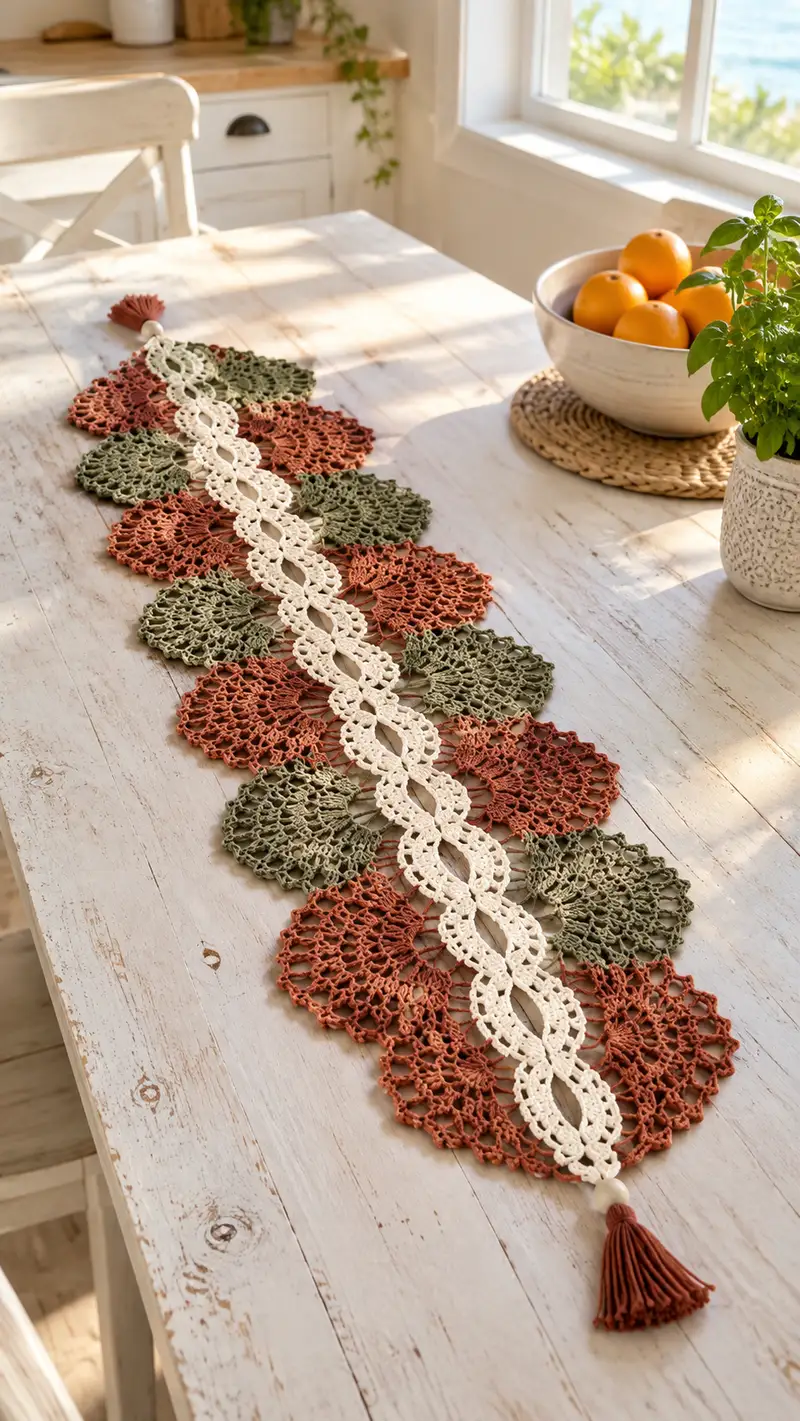
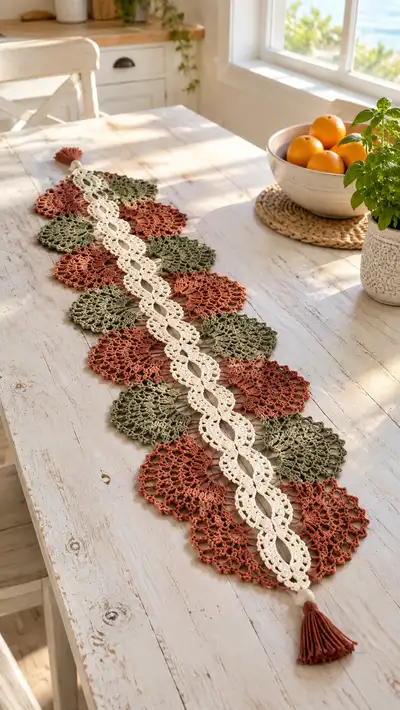
Create a beautiful autumn-inspired table runner made of lacy round fan motifs in warm rust and olive tones, linked by a delicate cream lace chain down the center. Finished with a soft tassel at each end, this runner brings handmade charm and seasonal color to your table. The openwork motifs create a light, airy look while the sturdy cotton yarn keeps the piece functional and easy to care for.
Progress Tracker
0% Complete
— Round Fan Motif (make X motifs in rust and olive) :
Round 1 :
MR, 6 sc into magic ring (6)
Round 3 :
(1 sc, 1 inc) x 6 (18)
Round 4 :
(2 sc, 1 inc) x 6 (24)
Round 5 :
(3 sc, 1 inc) x 6 (30)
Round 6 :
(4 sc, 1 inc) x 6 (36)
Round 7 :
(5 sc, 1 inc) x 6 (42)
Round 8 :
(6 sc, 1 inc) x 6 (48)
Info :
These first eight rounds create a stable circular base. Use a stitch marker at the first stitch of each round to keep track. If you prefer a slightly larger motif, complete one extra increase round: (7 sc, inc) x 6 = 54
Round 9-12 :
1 sc in each st around (48). Work four even rounds to build height for lace detailing (48)
Info :
Change to a slightly smaller hook or maintain 3.5 mm depending on fiber. At round 12, your circle should lie flat; if it ruffles, go down a hook size and rework to match gauge.
Round 13 :
(3 sc, ch 5) x 12 - place 12 ch-5 loops spaced evenly around base (48 sc + 12 ch-loops)
Round 14 :
Into each ch-5 loop: sc, 7 dc, sc (work 9 stitches into each loop) — total used stitches this round: 12 x 9 = 108 (108)
Round 15 :
Ch 1, sc in first st, *ch 3, skip 3, sc in next 9th stitch (center of each shell) across* — this round creates connecting chains and counts as 12 sc + 12 ch-3s (12)
Info :
Ensure your shells are worked evenly so that each ch-space lines up for the next decorative round. If shells look off-center, use a small pin in the shell center to guide your next stitch placement.
Round 16 :
Work into each ch-3: (sc, picot, sc) to create small scallops — you'll complete 12 scallops (36 stitches counted if stretching picot as 1 sc equivalents)
Round 17 :
Ch 3 (counts as dc), work *2 dc into next 3 sts, ch 2, skip 2, 3 dc into next 3 sts* across to create an airy lacy fan border. Maintain pattern for 12 fan segments (72-84 stitches depending on ch- 2 spaces)
Info :
At this stage, the motif begins to take the scalloped leaf-like shape. Block each motif lightly to open the lace before joining to ensure consistent size and shape.
Round 18 :
Into the arches created: *sc, ch 5, sc into the center arch* repeat across to form secondary loops. Expect 12 ch-5 loops after this round (12)
Round 19 :
Into each ch-5 loop work: sc, 5 dc, sc (7 stitches per loop) — 12 loops x 7 = 84 total stitches used in this decorative round (84)
Round 20 :
Final edging: *ch 1, sc in next 3 sts, picot (ch 3, sl st into first ch), sc in next 3 sts, sl st into next shell center* around to create a finished scalloped edge. Work carefully to make 12 crisp scallops (count varies by picot tension)
Info :
Fasten off, leaving a 6-8 inch tail for sewing when joining motifs. Wet-block or steam-block each motif pinned to a 12-14 cm circle, stretching scallops evenly. Use the same blocking shape for all motifs to ensure consistent joining points.
— Center Linked Oval Motif (make Y central links in cream) :
Round 1 :
Ch 10, join with sl st to form a ring (10 ch loop)
Round 2 :
Ch 3 (counts as dc), 23 dc into ring evenly (24) — create a round of double crochet to form base oval
Round 3 :
Ch 2, inc in next stitch, (1 dc in next 2 sts, inc) around to widen ends — pattern adjusts to create flat oval: final stitch count ~32 (32)
Round 4 :
1 dc in each st around (32)
Info :
These first four rounds create the solid oval core. Keep stitches evenly distributed at the two short ends of the oval to avoid a pointed shape; increases should be grouped at the ends only.
Round 5 :
Ch 1, sc in next 6 sts, *ch 4, skip 2, sc in next 6 sts* repeat twice to form three arches along the long sides (32 sc equivalents plus ch loops)
Round 6 :
Into each ch-4: sc, 5 dc, sc (7 stitches per ch-4). You will work into 6 arches (3 per side) = 6 x 7 = 42 stitches used in this round (42)
Round 7 :
Ch 3, 2 dc in next 2 sts, ch 2, skip 2, 3 dc in next 3 sts — work to create a lacy openwork edge; adjust to match same count across both sides (approx 42-48)
Info :
The oval is intentionally slightly smaller than a round motif so the central chain sits recessed between the round motifs. Make sure all center links are blocked to identical dimensions to create a neat central line.
Round 8 :
Work a decorative loop: *sc, ch 6, sc* into each of the outer arches to create connecting points — expect 12 ch-6 loops (12)
Round 9 :
Into each ch-6 loop: sc, 9 dc, sc — 12 x 11 = 132 stitches used in this flourish round (132)
Round 10 :
Ch 1, sc evenly around the oval into every stitch and the top of each shell to tidy the edge (count varies depending on previous round tensions; aim for uniform stitch spacing)
Round 11 :
Form central eye: Working across the long axis place a chain at two opposite points (ch 6 at each center) and sl st to form long eye hole, then reinforce by working sc around the eye opening. This creates the elongated central gap typical of the runner chain.
Info :
Rounds 5-11 bring the chain's lacy look. The exact stitch counts vary slightly with tension; focus on achieving consistent shape and even loops. Block each link flat and measure height to match round motifs (target height equal to center of round fan motifs).
Round 12-24 :
Repeat and mirror rounds 5-11 to add layered lace and create an interlaced motif with texture — for a full ornate link, work a total of 24 rounds per center link including shaping, shellwork, and final tidy round. Fasten off and leave long tail for joining (count will vary depending on shell repeats)
Info :
You will make as many center links as needed for your table length. Standard runner pictured uses 11 center links, interspersed with 12 round motifs (6 on each side overlapping), but you can alter this to suit your table.
— Joining and Assembly :
Info :
Before joining, pin all round motifs and center links in layout: place the center chain along the middle, then stagger round motifs on either side so that scallops overlap slightly and shells nest into the center chain. Pin carefully and check symmetry before sewing.
Step 1 :
Lay center chain link flat. Working with yarn tails left from motifs, sew the first round motif to the chain: align one scallop center to the side of the chain link. Use mattress stitch or whip stitch through the back loops of both pieces for an invisible join. Work 6-8 small stitches through corresponding scallop points for a secure join. Repeat for opposite motif to create the first pair.
Info :
Sew slowly so that scallops sit evenly. Use matching color thread when joining (cream thread for center joins, motif color for outer joins) to make seams less visible.
Step 2 :
Continue adding motifs by alternating sides of the center chain: attach a rust motif to the next link on the left, then an olive motif to the next link on the right, keeping the alternating rust/olive pattern. The runner pictured alternates colors in a warm autumn repeat (rust, olive, rust, olive).
Step 3 :
Where two round motifs meet side-to-side (adjacent across the center line), create a small connecting seam at the outermost scallop points: use a short whip stitch through the outer loop of each scallop to prevent gaping and to lock the runner's shape. Stitch through 3-5 points along the edge for each contact to keep the runner flexible yet stable.
Info :
When joining adjacent motifs, do not pull tightly; maintain a slight ease so the runner lays flat and has slight drape. If any seam shows, weave the join tail inside the nearest shell to hide the join end.
Step 4 :
After all motifs and center links are joined, check the runner's length and alignment. If any mottled gaps appear, add small invisible stitches at the root points where shells meet to adjust tension and flatten the runner.
Info :
Use blocking at the final stage to set the shape. Mistakes in joining are easiest to correct before blocking because blocked pieces will keep their shape strongly.
— Edging & Final Rounds :
Round E1 :
With cream or motif color, work a tidy sc round around the entire runner edge to unify join seams: sc evenly into outermost scallop stitches and around the central chain edges. Maintain even spacing; do not join rounds — work continuous if preferred, break yarn at ends.
Round E2 :
On top of the sc round, make small decorative picot points: *sc 2, picot (ch 3, sl st into first ch), sc 2* across scallop edges for a gentle beaded border. Work slowly to keep picots uniform.
Info :
Finish by weaving in all ends neatly on the wrong side and trimming. If you used beads for tassels, make sure bead holes are large enough for the tassel loop and do not snag the yarn.
— Tassel & Bead Finishing (make 2) :
Step 1 :
Wind yarn around a 6 cm card roughly 40-60 times depending on desired tassel fullness. Slide off and tie tightly at one end with a scrap of yarn to make the head. Fold in half and secure around the fold with a strong knot or wrap to create the head and loop.
Step 2 :
Trim the bottom loops to create straight ends. Take a 20-30 cm length of yarn, wrap around the head several times to form the tassel neck, and tie securely at the back. Trim the ends evenly.
Step 3 :
Thread the top loop through a 10-12 mm bead; secure bead on top of tassel head. Use a small dab of fabric glue inside the bead for added hold if desired. Attach tassel to each runner end by sewing through the bead loop into the runner center link opening and knotting several times to secure.
Info :
Keep tassels light to avoid pulling the runner when draped. A single bead per end adds a handcrafted accent similar to the pictured runner.
— Blocking & Care :
Info :
Block each motif and center link individually after finishing. Pin to shape on a blocking mat and mist with water; allow to dry fully. After joining, perform a final gentle wet block with pins to set scallops evenly. Cotton responds well to steam blocking but avoid excessive heat on mercerized cotton.
Care :
Hand wash or machine wash gentle/delicate inside a mesh bag on cool water. Reshape while damp and lay flat to dry to preserve shape.
Info :
To lengthen or shorten the runner, make additional round motifs and center links and join in the same repeating order. Always finish by blocking to make joins seamless and the lace open and even.
— Layout, Quantities and Total Round Counts :
Info :
Sample pictured runner uses 12 round fan motifs (6 rust, 6 olive) and 11 cream center links. Each round fan motif described above is 20 rounds; each center link is 24 rounds. Total rounds worked across the whole runner in that configuration = (12 x 20) + (11 x 24) = 240 + 264 = 504 rounds. You can vary motif counts to create the exact length needed for your table.
Info :
Because this pattern is modular, you only need to memorize one motif and one center link — repeat them to any length. Frequent Info sections and blocking ensure a flat, consistent runner.
This autumn table runner brings cozy, handmade charm to your seasonal décor with a playful mix of lacy round fans and a delicate cream center chain. The tassel-finished ends provide a polished, artisan touch that feels both rustic and refined. Every motif is block-shaped and sewn with care, resulting in a graceful runner that looks beautiful on dining tables, consoles, or sideboards. 🧶🍂✨