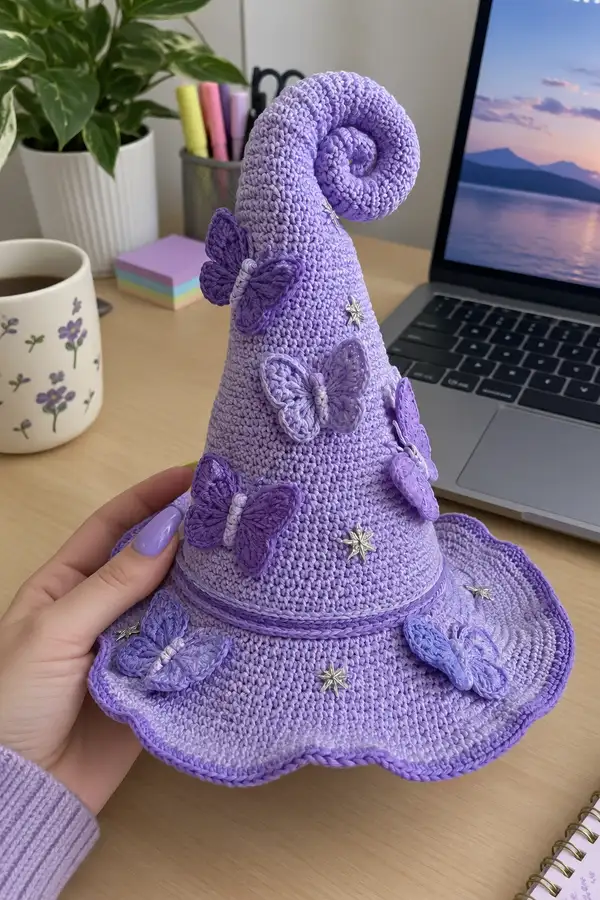
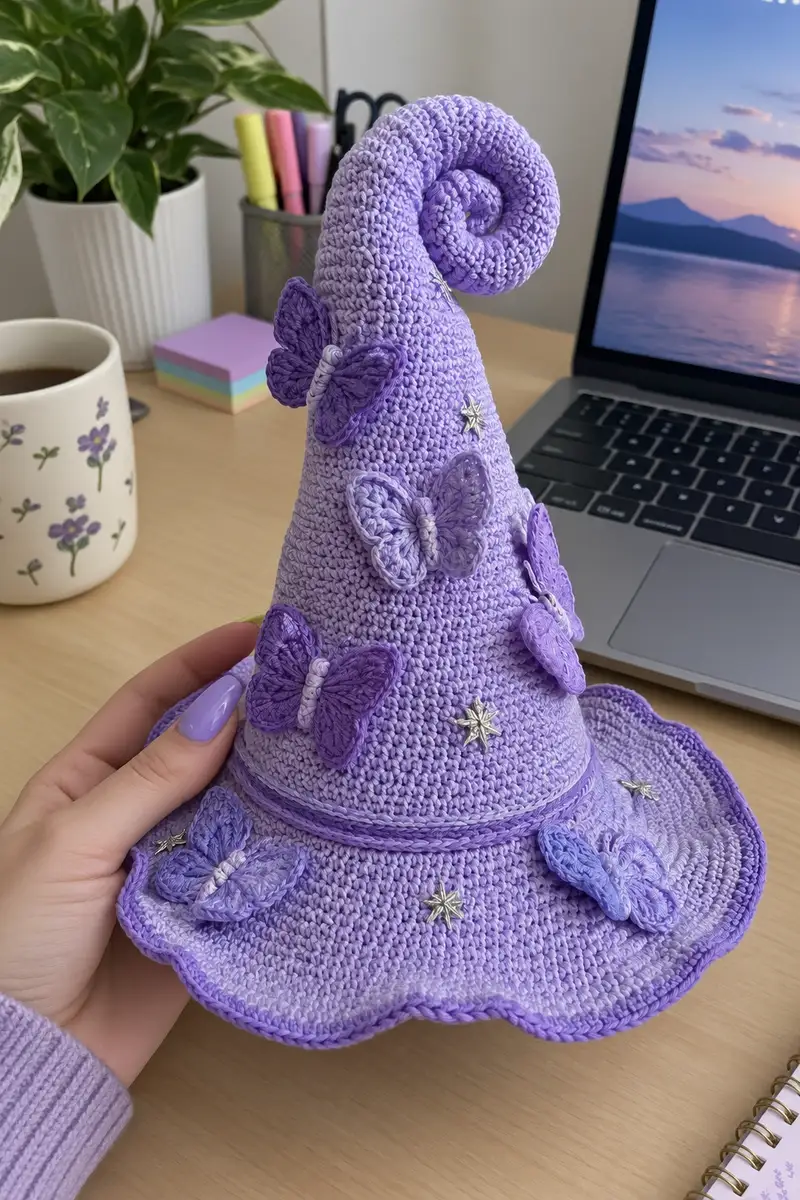
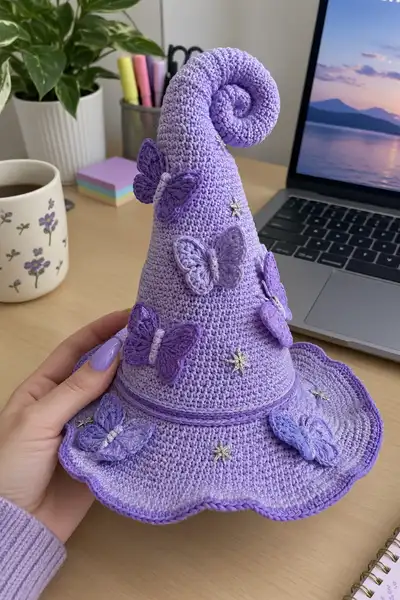
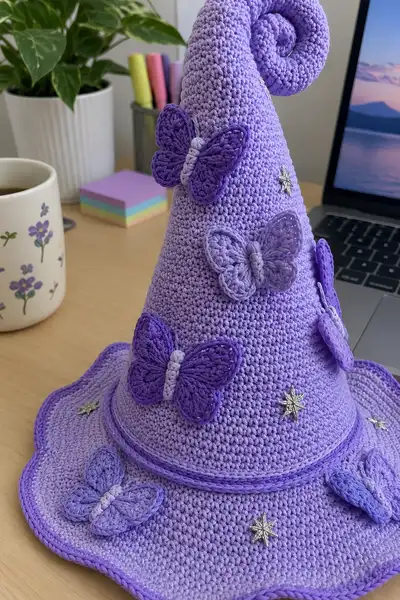
A whimsical, oversized lavender witch hat topped with a dramatic spiral tip, hand-crocheted in a soft gradient of purples. The wide wavy brim and elegant decorative band frame a tall cone studded with layered crochet butterflies and silver star embellishments. This pattern includes full construction, shaping and detailed butterfly motifs so you can recreate the exact charming look.
Progress Tracker
0% Complete
— Notes & Gauge :
Info :
This hat is worked top-down in continuous rounds to form the cone, then the spiral tip is formed from the top and coiled. Gauge is not critical for fit since this hat is decorative; for a dense fabric aim for about 20 sc x 24 rows = 10cm using 3.5mm hook and worsted/DK held single. Tighter tension is recommended so stuffing does not show through.
Info :
Use stitch marker at the start of each round. Work in continuous rounds (do not join) unless instructed. When you need a color change, fasten off and join new color to avoid long carries. Keep notes of round counts if you pause.
— Crown (Cone) :
Round 1 :
6 sc in magic ring (6)
Round 3 :
(1 sc, inc) x 6 (18)
Round 4 :
(2 sc, inc) x 6 (24)
Round 5 :
(3 sc, inc) x 6 (30)
Round 6 :
(4 sc, inc) x 6 (36)
Round 7 :
(5 sc, inc) x 6 (42)
Round 8 :
(6 sc, inc) x 6 (48)
Info :
At this point you have a small cone base. Check your tension and round count. This circumference (48) will become the earliest part of the visible crown; continue increasing to reach a slightly larger base before working height rows.
Round 9 :
(7 sc, inc) x 6 (54)
Round 10 :
(8 sc, inc) x 6 (60)
Round 11 :
(9 sc, inc) x 6 (66)
Round 12 :
(10 sc, inc) x 6 (72)
Info :
Change to a slightly lighter or gradient shade at the join if you want the subtle ombre effect visible in the sample. Fasten off old color and join new; weave ends later. You now have a base circumference of 72 sts which will give a substantial tall cone.
Round 13-20 :
1 sc in each st (72)
Info :
Work even in these rounds to build height of the crown. Place a marker for the front center if you want a reference for butterfly placement later. Aim for 8 rounds even here to create the smooth upper cone before any shaping.
Round 21 :
(10 sc, dec) x 6 (66)
Round 22 :
(9 sc, dec) x 6 (60)
Info :
Begin tapering the cone now. Work decreases evenly to keep the cone centered. Check your stitch count after each decrease round to maintain symmetry.
Round 23 :
(8 sc, dec) x 6 (54)
Round 24 :
(7 sc, dec) x 6 (48)
Round 25 :
(6 sc, dec) x 6 (42)
Round 26 :
(5 sc, dec) x 6 (36)
Round 27 :
(4 sc, dec) x 6 (30)
Info :
Begin stuffing the crown lightly from this point forward. Use small amounts of fiberfill and work it deep into the cone so it keeps shape. The crown should be firm but not rock-hard; you want it to hold its upright shape when the spiral is attached.
Round 28 :
(3 sc, dec) x 6 (24)
Round 29 :
(2 sc, dec) x 6 (18)
Round 30 :
(1 sc, dec) x 6 (12)
Info :
Fasten off leaving a 30-40cm tail for joining the tip tube later, or instead leave the top open to crochet the spiral tube directly from the crown. At this reduced diameter the top is now ready to accept the spiral tip or a short tube which will become the spiral.
— Spiral Tip (worked as a tube, then coiled) :
Info :
We will form a long tube from the top that will be stuffed lightly and coiled to make the spiral. You can either continue from the crown top (leaving a long tail) or join new yarn to the top edge and work downwards/upwards — choose the approach you prefer. The tube will be worked mostly in 12-18 sts depending on how narrow you want the spiral.
Round 1 :
Join yarn to the top st. 6 sc in first round to form a small circle (6)
Round 3 :
1 sc in each st (12)
Round 4 :
1 sc in each st (12)
Info :
Work even in 12 sts for several rounds to create the base length of the spiral tube. You can vary the length of this tube to control how long and dramatic your spiral will be. The sample spiral is approximately 18-22 cm in tube length before coiling.
Round 5-16 :
1 sc in each st (12) (do 12 rounds total)
Info :
Stuff the tube lightly as you work. Use small amounts of stuffing frequently so the tube is evenly filled but still flexible. Avoid overstuffing, which prevents a soft coil. If you'd like a sturdier spiral, insert a thin wire or pipe cleaner inside the tube before coiling. Wrap the ends of the wire so they cannot poke through yarn.
Round 17 :
(3 sc, dec) x 3 (9)
Round 18 :
(2 sc, dec) x 3 (6)
Info :
These decreases taper the end of the tube so the spiral tip closes neatly. Finish stuffing and fasten off leaving a long tail for sewing the tip into a secure coiled shape. Coil the tube from the tip back toward the crown, overlapping slightly to create a round spiral. Secure by sewing the inner coil to the adjoining coil at multiple points with the tail. Hide the tail inside the tube when finished.
Round 19 :
Fasten off and leave a long tail for sewing. Coil tube into spiral and sew in place through the layers so the spiral holds its shape (no stitch count).
— Brim (worked from crown base outward) :
Info :
We will create a wide scalloped brim by increasing gradually from the crown base (72 sts). The brim is worked in rounds joined to the crown's base stitches. The brim in the sample has a wavy, scalloped edge created by alternating increase rounds and a final scallop round worked with dc shells and edging in a darker purple.
Round 1 :
Join yarn at the base of the crown (where you had 72 sts). 1 sc in each st around (72). Place marker at start.
Round 2 :
(6 sc, inc) x 9 (81)
Round 3 :
1 sc in each st (81)
Round 4 :
(7 sc, inc) x 9 (90)
Round 5 :
1 sc in each st (90)
Info :
These increases expand the brim gradually to avoid rucking. If the brim cup begins to ripple, adjust increases slightly or add an extra even round to even out tension. The sample brim reaches about 90-100 sts before shaping the scallop.
Round 6 :
(8 sc, inc) x 10 (100)
Round 7 :
1 sc in each st (100)
Round 8 :
(9 sc, inc) x 10 (110)
Round 9 :
1 sc in each st (110)
Round 10 :
(10 sc, inc) x 10 (120)
Info :
At this point the brim is broad enough to show a pronounced scallop. Adjust your last increase round to get a circumference that is comfortable for your display or wearable size. For a slightly smaller brim reduce increases proportionally.
Round 11 :
1 sc in each st BLO (120)
Info :
Working this round in BLO creates a ridge that defines the brim line and gives a clean edge where the decorative band sits. This ridge also helps the brim keep its shape.
Round 12 :
(*Skip next 2 sts, 5 dc in next st, skip next 2 sts, sl st in next st*) repeat around to create scallops (approx 40 scallops) (no exact stitch count change)
Info :
This creates the scalloped edge. Because shell stitches consume more stitches, your stitch counts are visual rather than an exact numeric series for the shell round; ensure even spacing of shells by adjusting when needed. After shell round, add a tidy edging round of single crochet in darker purple to define the brim, worked evenly around the outer edge of shells.
Round 13 :
Join darker purple. 1 sc in each st around the outer edge of shells, placing 1 sc in the central dc of each shell to space edging evenly (work continuous around) (approx 120 sc)
Round 14 :
(*1 sc, ch 3, sl st in next st, 1 sc in next st*) repeat around to create a small wavy picot edge if desired (optional) (approx 120)
Info :
Fasten off and weave ends. Block the brim lightly with steam or pins if desired to open the scallops and create a neat wavy shape. For more pronounced waves, use a slightly tighter hook on the final edging.
— Decorative Band & Ridge :
Round 1 :
With main lavender, join at circumference where crown meets brim (around the BLO ridge). Ch 1, 1 sc in each st around for 2 rounds to create a tidy band (72 sts across the band; this will sit across the body of the hat once curved) - work continuous (2 rounds)
Round 2 :
Switch to darker purple. Work 1 round of 1 sc in each st in FLO to create a visible raised band (72)
Info :
This raised band serves as a visual divider between crown and brim and provides a spot to sew the butterflies and stars. You can also add a braided chain or I-cord sewn around here for extra detail.
— Butterfly Motif (Make 6-8, varied sizes) :
Info :
The butterflies in the sample are layered: a larger wing pair worked in gradient/lighter lavender and a smaller wing pair in darker purple layered on top, then the body is created by wrapping with contrasting yarn. Each butterfly is worked flat and then folded and sewn to define wing ridges.
Butterfly - Wing Base Left (make 2 per butterfly) Round 1 :
Ch 10, sc in 2nd ch from hook and across (9 sc). (9)
Round 2 :
Ch 1 turn, 2 sc in first st, sc across to last st, 2 sc in last st (11)
Round 3 :
Ch 1, (sc in next 2 sts, inc) repeat until end (14)
Round 4 :
Ch 1, sc across (14)
Round 5 :
Ch 1, (sc2tog, sc in next 2) repeat to shape wing tip (approx 10)
Info :
Fasten off wing base. Repeat for right wing so you have two mirror wings. For a layered look, make the base wings in lighter shade and make a smaller pair in dark purple using ch 8 start and fewer increase rounds (mirror). When sewing wings together, stack smaller wings over larger wings centering them slightly forward.
Butterfly - Body & Assembly Round 1 :
With contrasting yarn (white or cream), wrap yarn 6-8 times around the center of the stacked wings and secure on the back with a few whip stitches to hold. Fasten off and weave ends. Add a small vertical stitch at wing center to make the body ridge.
Info :
To create raised wing veins, use surface slip stitch lines or embroidery with matching darker purple. Use pins to position butterflies on the crown before sewing. Place butterflies at varying heights and angles to mimic the sample photo.
Butterfly - Alternative Crochet Version (single piece) Round 1 :
Ch 6, sl st to form loop, ch 1, 6 sc in loop (6)
Round 2 :
(2 sc, inc) x 2 (8)
Round 3 :
Ch 4, sl st in next st to form top wing, ch 4, sl st to form second wing; repeat on other side to create 4 wings; adjust tension to shape wings (no numeric change)
Info :
This quicker butterfly is ideal if you want multiple tiny butterflies for the brim. Make as many as you like and vary color: darker purple for contrast, lighter for subtlety. Secure bodies by wrapping and sewing centrally.
— Finishing & Embellishments :
Info :
Place the completed butterflies on the crown and brim as seen in the sample: larger butterflies grouped around the mid-crown and smaller butterflies along the brim. Pin them and step back to balance spacing. Place sew-on silver star embellishments in the negative spaces between butterflies to mimic the scattered star look.
Round 1 :
Sew butterflies securely with matching thread or yarn using ladder stitch along the body center and a few stitches through the wing tips to secure. Weave tails in.
Round 2 :
Sew silver stars with small stitches near their edge. If embellishments have shanks or are buttons, secure with small buttons or stitches on the inside of the hat to hide tails.
Info :
Add an optional topcoat of light surface embroidery (tiny starbursts using metallic thread) to tie the silver accents into the hat. If you used wire in the spiral tip, bend and shape the spiral into a pleasing curve and tack at 2-3 hidden points for stability.
Round 3 :
Weave all ends into the nearest rows and clip flush. Lightly steam block the hat or pin the brim to shape until it cools. If the hat is intended to be wearable, add a satin or cotton lining sewn into the crown for comfort.
Info :
Your hat is now complete. Adjust butterflies and stars until you are happy with composition. Consider adding a small internal anchor stitch at one point of the spiral to keep it from uncoiling during display or wear.
— Alternate Butterfly Sizes & Extras :
Info :
For a fuller look make more butterflies in 3 sizes: large (as given), medium (reduce starting chain by 2 for each wing) and small (crochet simple 4-loop butterfly from a single small ring). Alternate colors for additional visual interest. Add beads or seed-beads on bodies for sparkle or embroider antennae with thin metallic thread if desired.
Info :
Pattern adjustments: To make the hat smaller, reduce initial crown increases by removing one increase round (stop at 60 sts instead of 72) and reduce brim increase rounds proportionally. To make larger, add another increase round near round 12 and more brim increases.
This Big Lavender Spiral Witch Hat is a delightful blend of whimsical shaping and delicate details. Each stitch builds a tall, expressive cone crowned by a coiled spiral and decorated with layered butterflies and twinkling silver stars. Working this pattern is a satisfying project that yields a show-stopping display piece or wearable hat full of personality. I hope you enjoy creating every purple butterfly and shiny star as much as I enjoyed writing the pattern! 🧶🦋✨