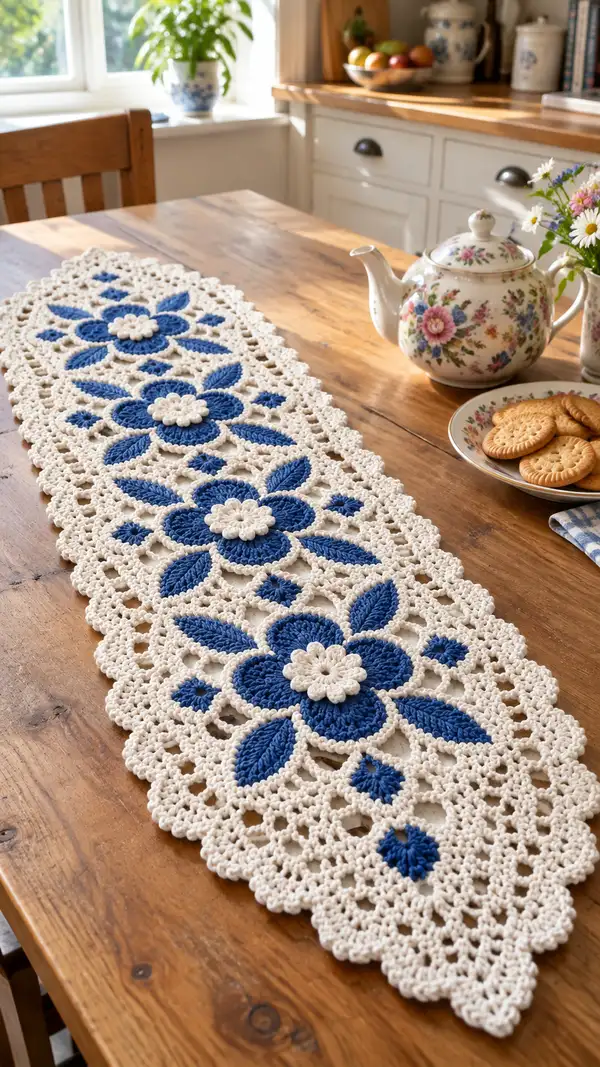
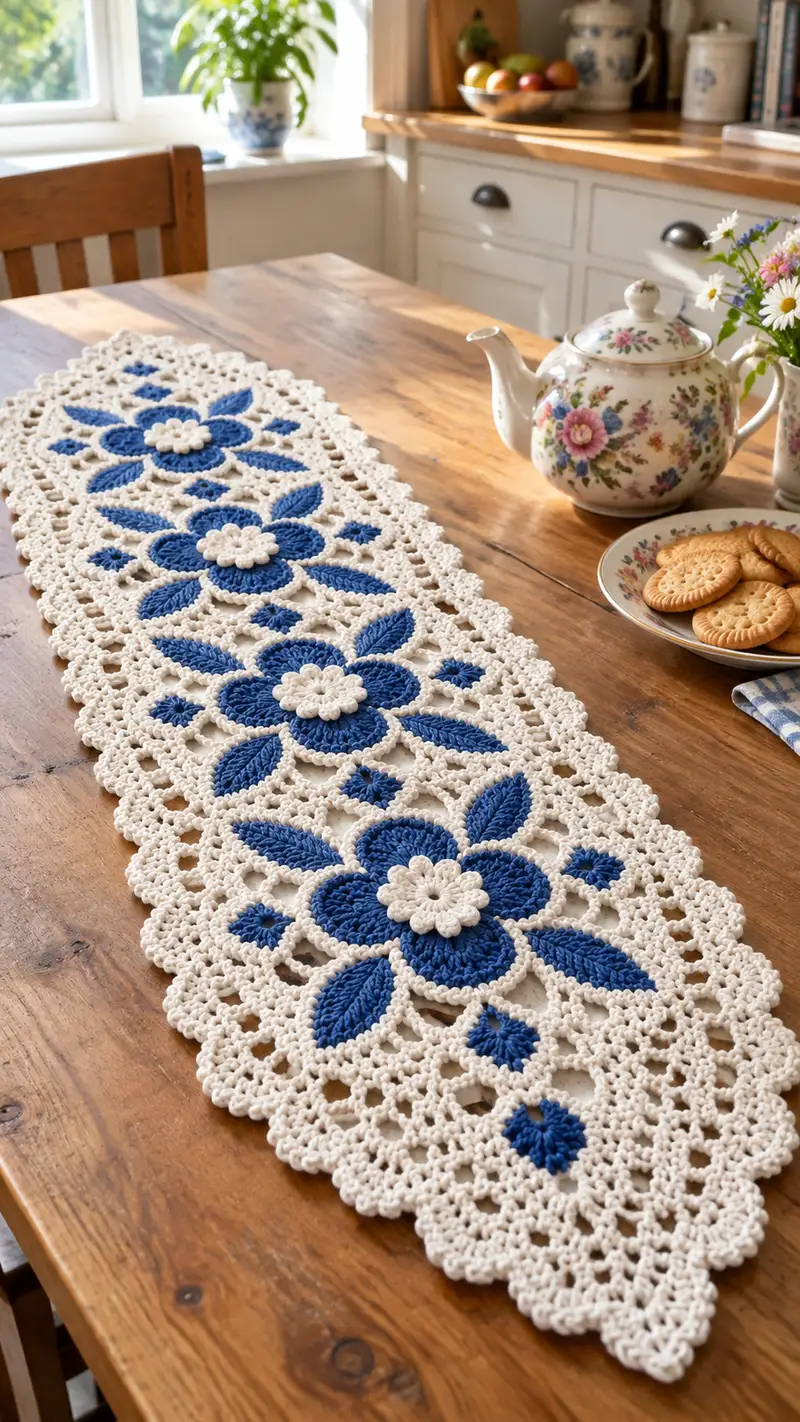
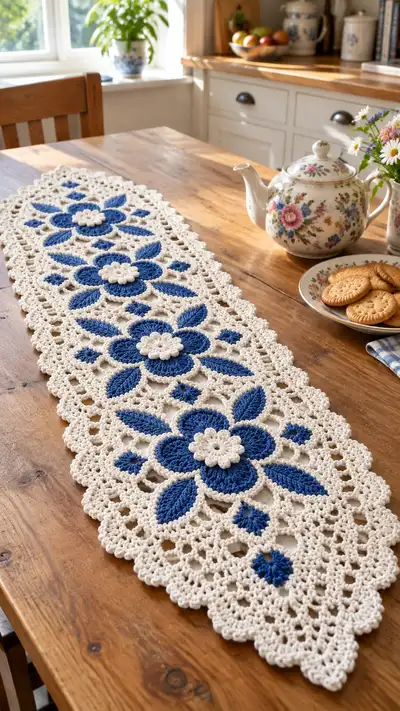
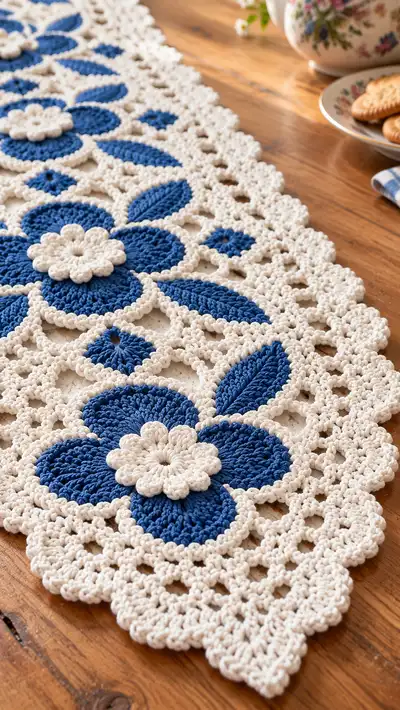
This elegant Blue Blossom table runner features bold blue floral motifs framed in a soft cream lace lattice. The design combines raised petal motifs, delicate leaves and a scalloped lace border for a vintage-inspired centerpiece. Perfect for dining tables, sideboards or as a thoughtful handmade gift, it blends texture and color for a timeless handmade accent.
Progress Tracker
0% Complete
— Overview and Gauge :
Info :
Gauge is not critical for this decorative runner but will affect finished dimensions. With worsted cotton and 4.0mm hook, one large flower motif (after blocking) measures approximately 18cm across. The finished runner in the photo measures approximately 90cm x 25cm. Adjust yarn or hook size for larger/smaller results.
Info :
Work motifs flat in rounds as indicated. Use stitch markers at round starts. Always change to cream yarn before joining rounds unless otherwise noted.
— Large Flower Motif (Make 3) :
Materials :
Blue yarn for petals, cream yarn for outline and rosette center. Use 4.0mm hook.
Round 1 :
Make a magic ring. Work 6 sc into ring. Pull tight. (6)
Round 2 :
Work 6 inc evenly (2 sc in each st). (12)
Round 3 :
(1 sc, inc) × 6. (18)
Round 4 :
(2 sc, inc) × 6. (24)
Round 5 :
(3 sc, inc) × 6. (30)
Round 6 :
1 sc in each st around. (30)
Info :
We will create five evenly spaced petal anchor loops. 30 stitches divide evenly by 5, so place a marker after stitch counts of 6,12,18,24,30 to mark anchors.
Round 7 :
*Ch6, sl st into next marked st, ch1, sk 5 sts; rep from * around to create 5 ch-6 loops. End with sl st. (petal loops made; center remains 30 sc)
Info :
Work petals into these chain-6 loops. Keep tension slightly loose when making chain loops so the petals will sit flat over the center.
Round 8 (Petal foundation) :
Working into first ch-6 loop: sc into loop base, (hdc, dc, tr, tr, dc, hdc, sc) all into same loop to make an elongated petal cluster. Sl st to join at base. Rep for each loop to make 5 petals. (Each petal uses 7 clustered stitches; center remains 30)
Round 9 :
Rotate to WS briefly: ch1, 1 sc in each st around the center (30) slipping between petal bases to create neat join. Fasten off blue if switching to cream. (30)
Info :
Optional: Add a second round of flat dc worked around the petal edges for a fuller petal. If you add these, work 1 dc evenly spaced around each petal tip to keep shape.
Round 10 (Switch to cream) :
Info :
Change to cream yarn. Join cream at the base between two petals to outline the flower and create a ridge around the blue petals. Carry blue inside if you plan to reuse it for small accents.
Round 10 (cont) :
With cream, *sc around base of petal (approx 6 sc around each petal base), ch3, sc into next base* to create small connecting arches around entire flower. Work evenly to total 30 + ch spaces; maintain pattern symmetry.
Round 11 :
Working in cream: 1 sc in each sc, and in each ch-3 work (5 sc) to create puffed bobble arches around petals. This produces a raised cream outline that crisply separates petals from mesh later. (St count will vary due to ch spaces; keep consistent around each petal)
Info :
Puff cluster: yo, insert hook, pull up loop, yo, insert, pull up loop, repeat 3 times to have 7 loops on hook, yo and draw through all loops, ch1 to close puff. Use this for the 5-sc puff clusters if you want more texture.
Round 12 :
Work 1 sc in every visible st around to create a solid base for connecting to the lace. Aim to have 5 small scalloped arches between petals for later mesh joining.
Round 13 :
Work 1 sc evenly in each space, finishing round with sl st to first sc. Fasten off, leaving a 40cm tail for joining. (This creates a neatly edged blue flower with cream outline)
Info :
Make 3 identical Large Flower Motifs. Block them flat with petals spread evenly before joining — this will make aligning mesh rows much easier.
— Center Rosette (Make 3) :
Round 1 :
Make a magic ring. Ch1, work 8 sc into ring. Pull tight. (8)
Round 2 :
(1 sc, inc) × 8. (12)
Round 3 :
Ch1, *puff stitch (as defined) in next st, ch1* around to create 12 small puffs. Sl st to join. (12 puffs)
Round 4 :
1 sc in each puff base around to neaten. Fasten off leaving long tail. Sew or tack this rosette to the center of each large flower to create the layered cream centre seen in the photo.
Info :
Make 3 rosettes and sew to the center of each large flower motif. Slight stuffing of the rosette is optional for more dimension (not necessary when using puff stitches).
— Leaf Motif (Make 12) :
Round 1 :
With blue yarn, ch10. Row-turn style: sc in 2nd ch from hook and across (9 sc). (This leaf is worked flat as a short row leaf, not in rounds)
Round 2 :
Ch1, turn, sc2tog over first two sts, sc in next 5 sts, sc2tog over last two sts (7 sc). (7)
Round 3 :
Ch1, turn, sc2tog, sc3, sc2tog (5). (5)
Round 4 :
Ch1, turn, sc all across (5). (5)
Info :
We will add texture using front post double crochets to create the ribbed vein down the center of the leaf.
Round 5 :
Turn to RS: ch2 (counts as first tr), tr in second st from base to create a raised center; work fpdc along the middle chain row (3 fpdc), tr in last st. (This creates a raised central vein)
Round 6 :
Flip leaf, work 1 sc evenly around the entire leaf edge to neaten (12 sc approximately). Fasten off leaving long tail for sewing. Make 12 leaves.
Info :
Sew leaves into the cream lattice later; position two leaves adjacent to each large flower as seen in the photo (one on each side of the flower point). Block leaves slightly to flatten.
— Small Diamond/Square Motif (Make 6) :
Round 1 :
Make a magic ring. Work 8 hdc into ring. Pull tight. (8)
Round 2 :
(1 hdc, inc) × 8. (12)
Round 3 :
Ch3, turn and work small puff clusters into 4 opposite sts to form a diamond look: *(ch2, puff) in st1, sc in next st* repeat to form 4 small corners. Fasten off. (Visual: square-ish small blue block)
Info :
Make 6 of these small blue diamond motifs. They will sit between main flowers as accent blocks in the cream lattice.
— Joining Mesh and Lace (Cream Background) :
Info :
All joining and background work is done in cream yarn. Arrange your 3 large flowers in a straight line, spacing them so there will be 2 diamond motifs and 4 leaves between them, approximating the photo layout. Pin positions before connecting.
Round 1 (Mesh foundation) :
With cream, attach at edge point between petal outlines. Ch5, sk 5 sts on flower edge, sl st to next flower outline point; repeat to create connecting arches between motifs along one side. Exact number of arches depends on spacing; aim to establish symmetrical anchors on each side.
Round 2 :
Work 1 sc into each arch base and ch-5 loop: *sc into base, ch5, sc into same base*, creating a decorative doubled arch that gives a strong anchor to work mesh rows onto. Keep tension even.
Round 3 :
Continue outward from all anchored points: ch8, sl st into adjacent anchored loop, ch4, sc into the loop on motif edge — this begins to form the lattice that will fill the negative space.
Info :
Place the small diamond motifs and leaves into position by creating a small ch-4 loop, placing the motif over the loop and securing with 1 sc at each corner; the diamonds should sit flush within the mesh squares.
Round 4 :
Work a row of (ch3, sc into next arch, ch3, sc) to create a grid of small squares. Each square will later receive a small blue diamond or remain open for lacy texture. This is a flexible construction — count anchors and keep symmetry across the runner center.
Round 5 :
Info :
We will now build vertical mesh rows connecting both long sides. For each vertical intersection: ch6, sl st into opposite row to make a vertical bar; then work sc around these verticals to strengthen the join.
Round 6-10 :
1 sc in each visible st and in each chain space around, reinforcing connections and forming a stable lace. Work slowly and pin as needed so the runner remains flat and evenly tensioned. (Counts will vary depending on spacing; maintain consistent stitch density)
Info :
If your spacing leaves big holes, add an extra row of sc into chain spaces to tighten the mesh. The photo shows a moderately open mesh, not large holes, so aim for 4-6 dc chain spaces per large open section.
Round 11 :
Where small diamonds will sit, create a 4-sc square by working sc, ch2, sc across the sides and secure diamonds by sewing or crocheting around their perimeter with 1 sc at each corner. Fasten diamonds in place now using join-as-you-go sc stitches.
Round 12 :
Continue connecting leaves by working sc around the leaf base and joining leaf tips into mesh using sl sts. Ensure leaves sit angled along the central axis of runner as in photo.
Info :
When joining pieces, pick up both motif edge and mesh loop with the hook and work a single crochet across to produce a neat join. Use the long tails left earlier to strengthen joins when sewing is needed.
— Large Lace Border and Scalloped Edge :
Round 1 :
With cream, pick up at outermost mesh loop and work *ch5, skip 3 sts, sc in next st* around entire perimeter to create regular loops that will later produce a scalloped edge.
Round 2 :
Work 1 sc into each ch-5 loop, then *ch4, (5 dc) into same loop, ch4, sc into loop across* to form raised picot-like scallops at even intervals around the runner. Repeat around perimeter. Fasten off if your final row will be worked from RS only.
Round 3 :
Info :
We will now create the detailed 3-row scalloped finish. Work in the round: (ch3, 5 dc in loop, ch3, sl st into base) to form a deep scallop. Repeat around; overlap scallops slightly for a continuous curve.
Round 4 :
Working into each scallop: (sc, hdc, dc, tr, dc, hdc, sc) to form a layered scallop that echoes the small clusters seen in the photograph. This layered approach deepens the border and gives the runner a handcrafted scalloped finish.
Round 5 :
Edge finishing: Work an additional neat sc round if needed to neaten stitches and remove any unevenness. Weave in ends and clip tails closely.
Info :
Block the entire runner flat after assembly. Pin edges to desired scallop curve and steam/block to set shape. If a stiffer finish is desired, use light starch during blocking.
— Alternate Joining Option (Join as You Go) :
Info :
Instead of making full mesh then joining, you can join each new motif to already-placed motifs using slip stitch joins and sc into loops. Work the first motif fully, then join second motif on Round 13 with sl sts to the first's Round 12 anchors; continue in a linear join. This method saves sewing but requires careful alignment.
— Final Finishing Touches :
Info :
Weave all tails through several rounds on the wrong side and trim. Use a tapestry needle and matching cream yarn to reinforce any joins that feel loose. Block thoroughly: dampen the runner, pin to size, and leave to dry for at least 24 hours for crisp scallops.
Info :
If you wish to add a felt backing to protect delicate surfaces, cut a felt strip the size of the runner and tack it by hand to the underside using small stitches hidden along the outermost mesh rows.
This Blue Blossom table runner pattern is a delightful blend of texture, color and vintage-inspired lacework — an elegant centerpiece that elevates any table setting. Each motif is satisfying to make and the join-as-you-go options allow you to work your way toward a beautifully balanced runner. With patience and careful blocking you’ll create a heirloom piece perfect for gifting or brightening your own home. 🧶🌸 A few afternoons and your dining table will have a handmade accent full of charm and personality. Happy crocheting! ✨