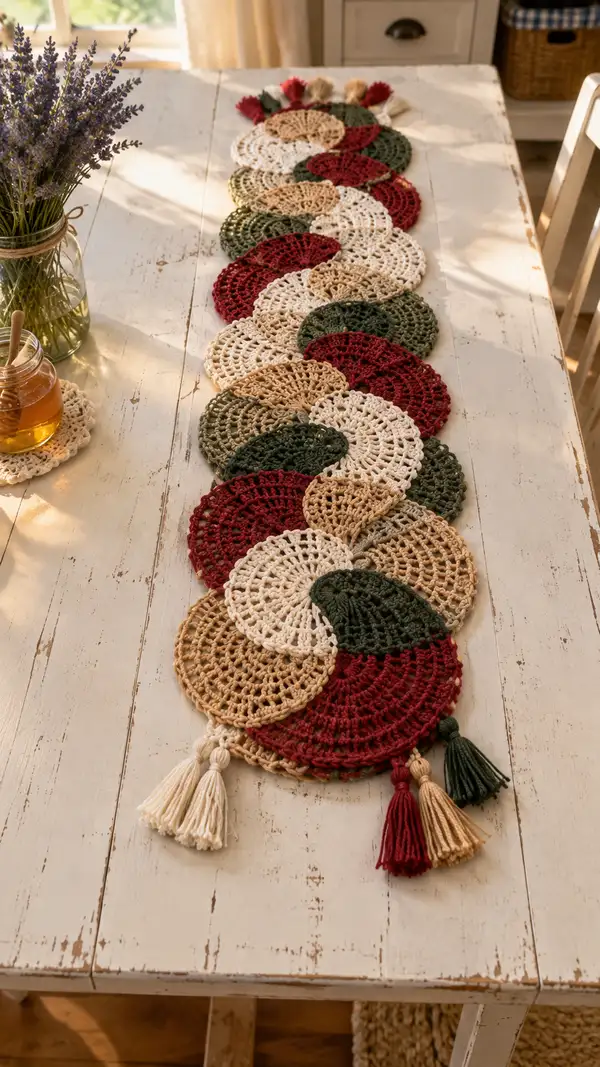
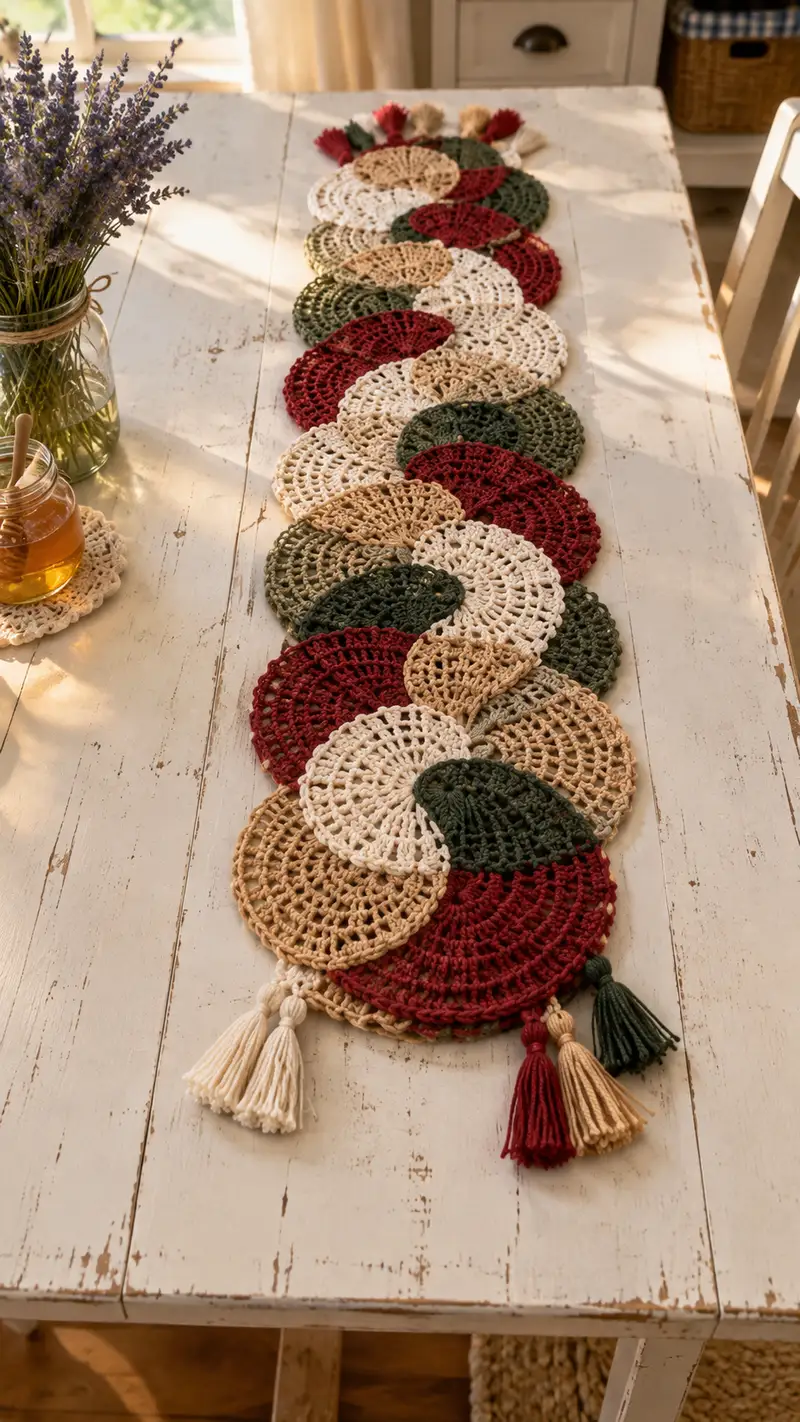
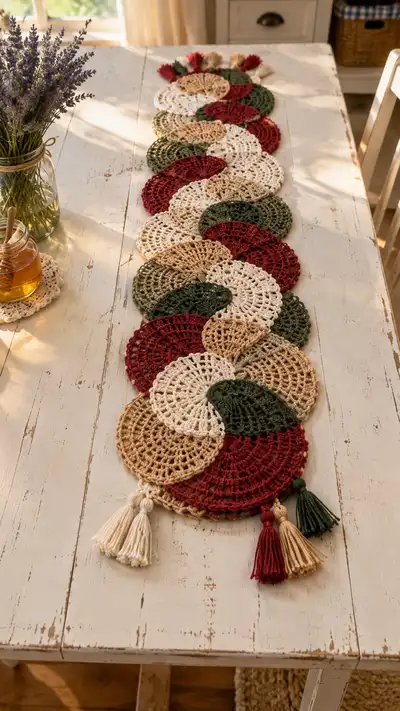
Create a warm, farmhouse-style table runner composed of overlapping spiral motifs in rich burgundy, olive green, warm tan and soft cream. This lacy, elegant runner uses circular motifs joined in an alternating spiral layout and finished with tassels for a cozy, finished look. The pattern explains motif construction, half-motif options for ends, joining methods, and step-by-step tassel instructions. Perfect for seasonal or everyday table styling.
Progress Tracker
0% Complete
— Overview :
Info :
This pattern is modular: you will make individual circular motifs, some half-motifs for the ends, and join them together in an alternating spiral layout. The core motif is a lacy round worked from the center out, finishing with a decorative edge. Make all motifs in any color order you like; the sample uses burgundy, olive, tan and cream in an alternating spiral.
Info :
Gauge is not critical for fit but is important for visual consistency between motifs. Each completed motif (blocked) should measure approximately 6.5" (16.5 cm) across. If your motifs are larger or smaller, adjust hook size accordingly. Block flat before joining.
— Full Motif (Make 12 total in assorted colors) :
Round 1 :
6 sc in magic ring (6)
Round 3 :
(1 sc, 1 inc) x 6 (18)
Round 4 :
(2 sc, 1 inc) x 6 (24)
Round 5 :
(3 sc, 1 inc) x 6 (30)
Info :
Use a stitch marker to mark the first stitch of each round. These early rounds form a firm center to support the lacework. If your yarn is splitty use a slightly larger hook here to avoid splitting.
Round 6 :
(4 sc, 1 inc) x 6 (36)
Round 7 :
(5 sc, 1 inc) x 6 (42)
Round 8 :
(6 sc, 1 inc) x 6 (48)
Info :
At this point your circle should sit flat. If you see cupping or ruffling, adjust the tension slightly: cupping means too tight—try a larger hook; ruffling means too loose—try a smaller hook or work one fewer increase round next motif.
Round 9 :
1 sc in each st around (48)
Round 10 :
Ch 3 (counts as dc), *sk next 2 sts, sc in next st, ch 3* repeat around ending with dc into top of beginning ch-3 (16 sc, 16 ch-3 spaces; spacing created over 48 base sts)
Info :
Round 10 creates regular chain-spaces that will carry the shell clusters. The arithmetic: 48 base sts / 3 = 16 repeats; keep this repeat count exact so outer rounds align properly.
Round 11 :
Into each ch-3 space work (sc, 3 dc, sc) — work these clusters into the chain space, not into the sc that sits between spaces (80 stitches total in the round after working clusters: 16 x 5 = 80)
Info :
Check shells as you go: each shell occupies the ch-3 space and is bracketed by a single crochet on either side in that space. This produces an open, lacy fan all around.
Round 12 :
1 sc in each st around (80)
Round 13 :
(Ch 4, sk next 3 sts, sc in next st) x 20 (20 ch-4 spaces created across 80 sts)
Info :
Each ch-4 loop becomes an outer arch for the decorative edge. 80 sts / 4 = 20 repeats; be sure to end each repeat precisely so the final sc lands at the start stitch.
Round 14 :
Into each ch-4 space work (sc, 2 dc, sc) x 20 — final outer scalloped edge (80 sts equivalent in structure)
Info :
Fasten off and leave a 6" (15 cm) tail for weaving if you will sew motifs together. Block motif flat to 6.5" (16.5 cm) diameter for consistent joins. Make 12 full motifs: distribute colors in alternating spiral order (sample: burgundy, olive, tan, cream, burgundy, olive, tan, cream, burgundy, olive, tan, cream).
— Half Motif for Ends (Make 4 total; 2 for each end layout) :
Info :
Half motifs are worked identically to the full motif until the shell round, then you stop at the midline to create a semicircle. They are made so that two halves (or a half and a full motif overlap) create a graceful end of the runner. Blocking is essential so halves match full motifs.
Round 1 :
6 sc in magic ring (6)
Round 3 :
(1 sc, 1 inc) x 6 (18)
Round 4 :
(2 sc, 1 inc) x 6 (24)
Round 5 :
(3 sc, 1 inc) x 6 (30)
Round 6 :
(4 sc, 1 inc) x 6 (36)
Round 7 :
(5 sc, 1 inc) x 6 (42)
Round 8 :
(6 sc, 1 inc) x 6 (48)
Round 9 :
1 sc in each st (48)
Round 10 :
Ch 3, *sk next 2 sts, sc in next st, ch 3* repeat around to make 16 ch-3 spaces but stop after half of the round (work 8 repeats) and fasten off to leave a straight edge representing the flat base of the semicircle (8 sc and 8 ch-3 spaces used)
Info :
After completing half of Round 10 (eight repeats) your work will form a semicircle. Fasten off and change color if desired for edge. When sewing half motifs into the runner ends, align the straight flat edge toward the runner center or outward per your layout.
Round 11 :
Into each ch-3 space worked (sc, 3 dc, sc) across the semicircular arc (8 spaces x 5 = 40 sts)
Round 12 :
(Ch 4, sk next 3 sts, sc in next st) x 10 across arc to create outer loops (10 ch-4 spaces)
Round 13 :
Into each ch-4 space work (sc, 2 dc, sc) to finish the outer scallop of the semicircle
Info :
Leave 6" (15 cm) tail for sewing and block semicircles flat to match the diameter of the full motifs along the arc edge.
— Alternative Denser Edge Option (Optional Finishing) :
Info :
If you prefer a firmer edge, use a 3.5mm hook for Round 14 on full motifs or for the final outer round on halves. Work (sc, hdc, 2 dc, hdc, sc) into each ch-4 space instead of (sc, 2 dc, sc). This adds structure without changing overall motif diameter significantly.
— Joining Motifs (Detailed step-by-step) :
Info :
Lay out your full and half motifs in the spiral overlapping arrangement on a flat surface. The sample runner alternates full motifs overlapping each other by roughly 25% of their diameter creating the spiral weave. Pin motifs in place with sewing pins or small binder clips.
Joining Method A - Crochet Join (Preferred) :
This join uses slip stitches and single crochet in the outermost round to create a seamless, flat connection.
Round 1 (Join Start) :
With yarn color of the motif you will keep on the runner, join at the outer edge sc of Motif A with a sl st through both fabrics and ch 1 to secure (this is counted as base for sc)
Round 2 :
Working along outer scallop, *sc in next st of Motif A, sc through corresponding outer st of Motif B (paired stitch through both motifs), sl st in next small space if needed to sit flat* repeat across the overlapped segment until overlap area is secured (stitch counts vary by amount of overlap)
Info :
When joining two full motifs with an overlapping quarter to one-third, match the outer scallop points visually and pair nearest sc or dc stitches. Keep the seam flat by alternating sc and sl st joins — too many sl st only joins can create tight points.
Round 3 :
When joining three motifs across a seam where Motif C overlaps the join, weave a 6" tail and sew using mattress or whip stitch through outer loops to reinforce the points where three corners meet. Weave tail back several passes into the fabric to hide the end.
Info :
Do not pull joins tight — maintain the natural curve of each motif so the runner can lie flat. After completing all joins, block the fully assembled runner to marry the seams together.
— Joining Examples and Round-by-round Detail for a Typical Pair (Example Pair Join) :
Round 1 :
Place Motif A and Motif B overlapping by 3.25" (8 cm) of their outer arcs. Starting on the left side of the overlap, insert hook through outer sc of Motif A and outer sc of Motif B, sl st to join; ch 1 (this anchors join)
Round 2 :
*Sc in next outer sc of Motif A, sc through next corresponding outer sc of Motif B; sl st across the adjacent small chain loop to ease curvature; repeat across overlap* End with an extra sl st into Motif B outer sc and fasten off. Weave in ends securely.
Info :
For areas where the scallops do not align perfectly, use a small gathering stitch placed behind the outer loops to reduce the mismatch by 1-2 mm. This is subtle and keeps a neat line.
— Continuous Join Variation (Crochet-As-You-Go Option) :
Info :
If you wish to join motifs as you make them, work full motif through Round 12 and instead of fasten off at Round 13, position previous motif and slip stitch into the corresponding ch-4 space of the neighbor motif, then continue Round 13 edging by working the (sc, 2 dc, sc) into the new ch-4 space and slip stitching into the adjacent motif. This makes a seamless continuous edge as you go and reduces sewing at the end.
— Edge Finish Around Whole Runner :
Round 1 :
Once all motifs are joined, work a single crochet round around the entire runner edge to tidy joins: attach yarn to an outer edge sc and work 1 sc in each visible outer st, working 2 sc into slightly stretched curve areas to maintain flatness. Continue until you return to start.
Round 2 :
For a decorative finish work (ch 3, sl st into next sc) around entire edge to make small picot-like loops. Fasten off and weave tails under edge for a neat finish.
Info :
If you used a combination of colors for motifs, consider working this final edge in cream or a color that harmonizes to blend joins and create a unified look.
— Tassels (Make 8 clusters; 4 on each end) :
Info :
Sample runner shows three small tassels grouped near each end (burgundy, tan, olive cluster on one end; cream, tan, burgundy cluster on other). You will make 8 total tassels to arrange in matching clusters. Each tassel is made from 6-8 doubled strands for fullness depending on desired thickness.
Tassel 1 - Step 1 :
Wind yarn around a 3.5" (9 cm) wide card 12 times for a medium-thick tassel (this yields 24 strands). Slide the bundle off carefully and tie one strand tightly around the top leaving 1.5" (4 cm) tail above tie.
Tassel 2 - Step 2 :
Fold the bundle in half so the tied loop forms the head. Wrap a separate length of yarn (approx. 12" / 30 cm) tightly several times around the top of the strands about 0.5" (1.2 cm) below the tie to form the tassel neck. Knot and hide ends in the tassel head with the yarn needle.
Tassel 3 - Step 3 :
Trim the bottom edge to make ends even. Use a light touch of fabric glue at the neck if you expect heavy handling for extra durability.
Info :
For a fuller tassel, increase the wind count on the card to 16-18 wraps and use thicker yarn. For a smaller, delicate tassel reduce the wraps to 8-10.
Tassel 4 - Attachment :
Attach tassels by threading the loop at the top of the tassel through a small decorative gap on the outer edge of the end-most motif. Pull the strand ends through the loop and tighten to secure (lark's head knot). Sew through the top a few times for reinforcement and clip excess.
— Layout and Assembly Notes :
Info :
Arrange motifs in a gentle S-spiral down the table surface. Overlap each motif by about 25% of its diameter (roughly 1.5" to 2" on a 6.5" motif) to create the woven spiral visual. Alternate colors deliberately to maintain a repeating color rhythm. Pin motifs and view from both ends to confirm balance before final joining.
Info :
For a runner that is longer or shorter, add or remove full motifs and adjust the number of half motifs at the ends as needed. The modular approach lets you expand to a table sash or a small placemat set using the same motifs.
— Blocking :
Info :
Block each motif flat after finishing and before joining: wet block or steam slightly, pin to a circle template of 6.5" (16.5 cm) diameter, and let dry fully. Blocking evens the lace and ensures smooth, flat joins. Re-block the entire assembled runner after joining to help motifs settle into a single plane.
— Care Instructions :
Info :
Hand wash in cool water with mild detergent and lay flat to dry. Cotton yarns may slightly relax when washed; re-block if needed. Avoid tumble drying to maintain shape and color for longer life.
— Finishing Touches and Tips :
Info :
Use small amounts of matching yarn and a yarn needle to invisibly stitch any stiff or misaligned points. If the runner will be used under heavy centerpieces, add a non-slip mat underneath to protect the runner and table surface. For a slightly festive variation, add a small decorative bead at the top of each tassel before closing the head.
Info :
Store the runner flat or loosely rolled in acid-free tissue to avoid creases. If storing long-term, keep away from direct sunlight to prevent fading of the rich tones.
Completing this spiral motif table runner is a satisfying blend of lacework and colorplay — a project that brings warmth and handcrafted character to any table. Each motif joins to form a flowing, spiral path that catches the eye and invites touch. The tassels add a playful finishing touch that makes the runner feel polished and homey. I hope you enjoy blocking, joining, and arranging your own spiral of motifs — it's a lovely way to spend a weekend with yarn and a warm cup of tea. 🧶🍂