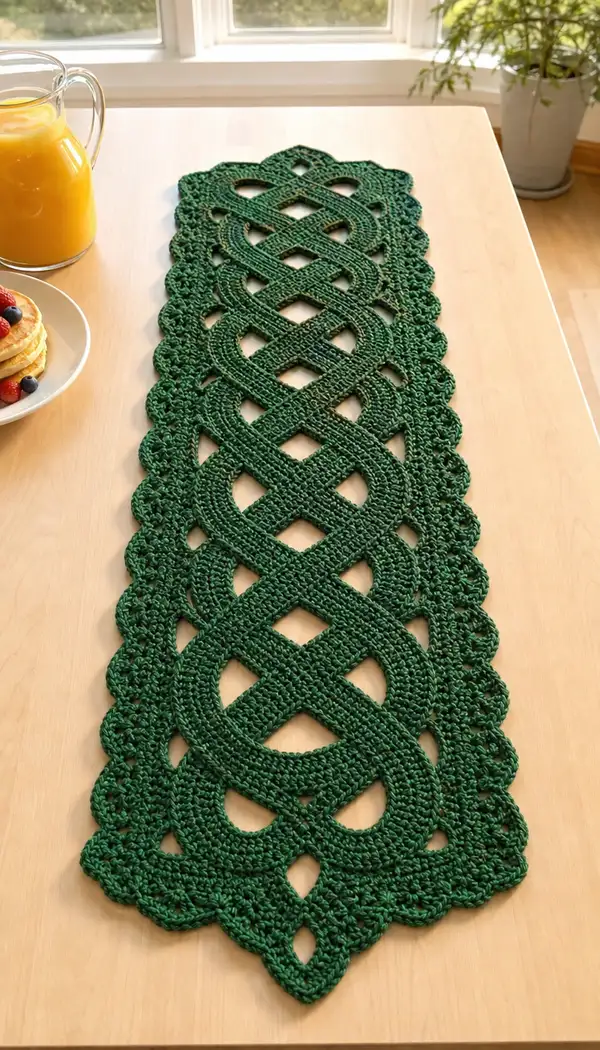
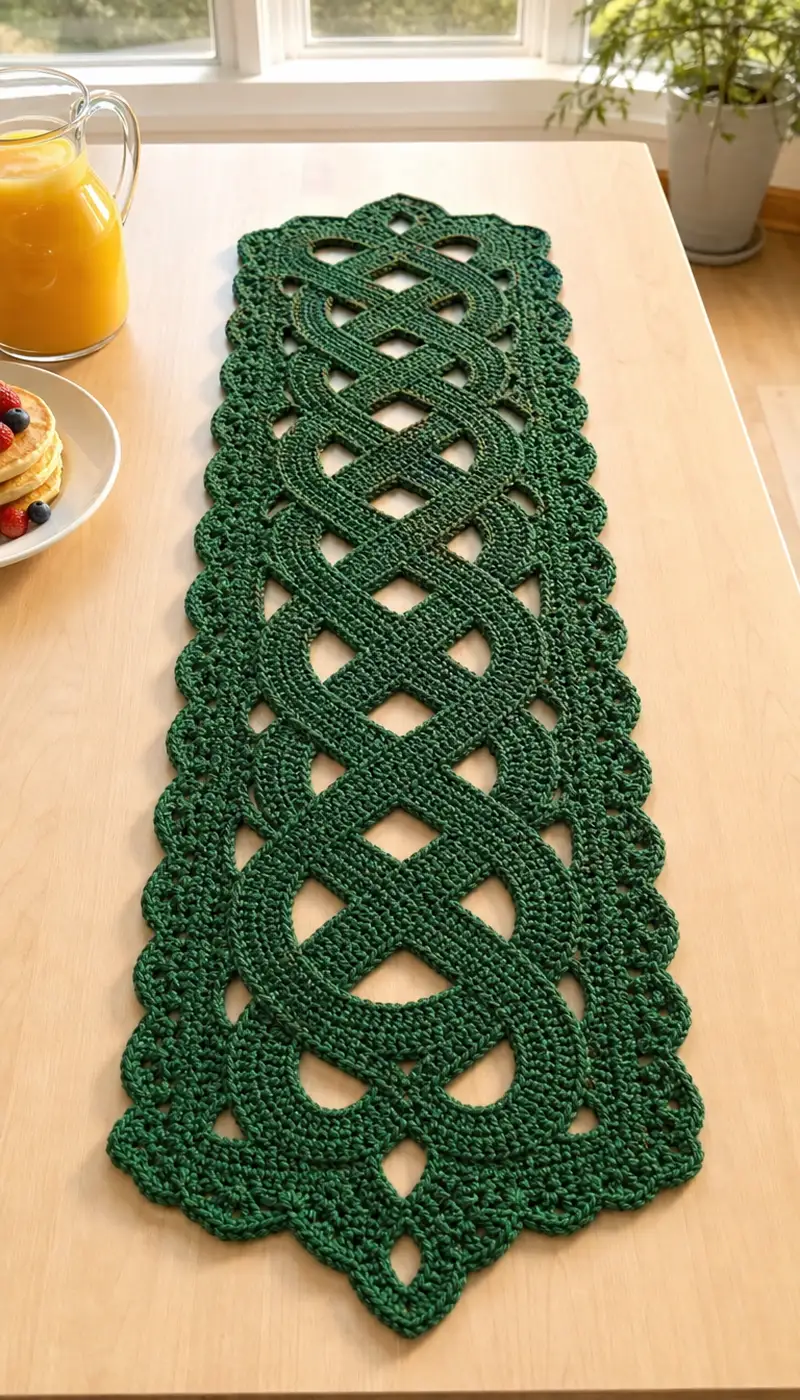
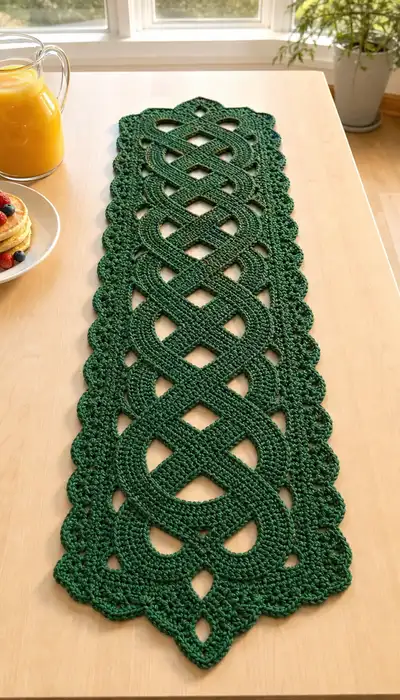
Create an elegant emerald-green table runner inspired by classic Celtic knots. This pattern features raised braided bands that interlace across the center, framed by a delicate scalloped lace border. The finished runner adds refined texture and a handmade statement to dining tables and sideboards. Detailed step-by-step instructions guide you through each strip, join, and scalloped edge.
Progress Tracker
0% Complete
— Notes :
Info :
This pattern is modular. You will make four long flat strips (called Strips A, B, C and D) that become the raised braid elements. Each strip is worked as a long flat piece in rows (we label them 'rounds' to keep formatting consistent). After making strips you will braid/lay them in a Celtic interlace, pin and sew at designated crossing points, then work a scalloped edge around the assembled piece. The pattern gives explicit counts and suggested round numbers; adjust lengths to fit your table by repeating the central motif section as needed.
Info :
Finished size (approx): 34-40 inches long x 8-10 inches wide depending on yarn, tension and number of motif repeats. Use the provided measurements as a guide and adjust strip length to match your desired runner length.
— Strip (Make 4 identical strips) :
Round 1 :
Foundation single crochet (fsc) 36 to create an even, stable base (36)
Round 2 :
Ch 1, turn. 1 sc in each foundation sc across (36)
Round 3 :
Ch 1, turn. 1 sc in each st across (36)
Round 4-8 :
Ch 1, turn. 1 sc in each st across (36)
Info :
Keep tension even. These first rounds set the width of the band. Count regularly; the count should remain 36 until you begin shaping the tips.
Round 9-16 :
Ch 1, turn. 1 sc in each st across (36)
Info :
If you prefer a slightly wider band, increase foundation to 40 fsc; all subsequent rounds remain in the same stitch count. The instructions below are based on a 36-stitch width band.
Round 17-24 :
Ch 1, turn. 1 sc in each st across (36)
Info :
Work each strip until the length measures approximately half the runner length plus 2 inches (this allows for overlap in the Celtic joins). For a 36-inch runner you will make each strip about 20 inches long before shaping ends (count rounds to match length). For the sample runner, work Rounds 2-60 to create a 20-inch strip (total rounds including shaping below will be 70). If you want a longer runner, add additional even rounds before the tapering rounds.
Round 25-40 :
Ch 1, turn. 1 sc in each st across (36)
Info :
Check strip length frequently. Place stitch markers at the midline (round where the center of the braid crossing will occur) to help with later placement when assembling.
Round 41-50 :
Ch 1, turn. 1 sc in each st across (36)
Round 51-56 :
Ch 1, turn. 1 sc in each st across (36)
Info :
For sample runner we now begin to taper the strip ends to create a pointed end that nestles into the knotwork. If you prefer square ends, skip to the 'Finish' Info and fasten off.
Round 57 :
Ch 1, turn. (4 sc, dec) x 6 (30)
Round 58 :
Ch 1, turn. (3 sc, dec) x 6 (24)
Info :
Check your stitch decrease math: starting from 36 sts, (4 sc, dec) x 6 reduces the count by 6 to 30. Next round reduces to 24—this forms a gentle taper. Maintain even tension so tapers match across all four strips.
Round 59 :
Ch 1, turn. (2 sc, dec) x 6 (18)
Round 60 :
Ch 1, turn. (1 sc, dec) x 6 (12)
Round 61 :
Ch 1, turn. 6 dec across (6)
Info :
Finish :
Fasten off leaving a 10-12 inch tail for sewing. Block the strip gently to align edges. Make 4 identical strips in total (Strips A, B, C and D). If you change strip width, be sure all four are identical.
— Central Panel Layout and Placement :
Info :
When all four strips are made, lay them flat on a blocking mat or large table surface. The Celtic knot pattern used here alternates strands over and under at precise crossing points to form continuous loops and diamond windows. The sample layout (viewed from top to bottom of runner) will use the strips arranged as Strand 1 (leftmost), Strand 2, Strand 3, Strand 4 (rightmost). We will refer to strips by letters A-D; arrange A and C to form the prominent larger loops and B and D to weave between them. Use pins to mark crossing points which are set approximately every 2.5 inches along the center axis for the sample runner. Exact placement depends on strip length—mark midpoints and spacing visually and use the diagram provided in notes to guide crossing positions.
Info :
Mark crossing points on each strip with a washable fabric pen or pins. The sample runner has 8 full knot intersections along its length (4 large circular knot loops). If you want a shorter runner, reduce the number of repeats; for a longer runner, add central repeats by increasing strip length before tapering.
— Joining Strips into Celtic Interlace :
Round 1 :
Lay strips flat and pin first crossing: position Strip A over Strip B at the first crossing point (measured 2.5" from strip end). With yarn tail from A, whip stitch A to B through the top layer only, using 8 neat stitches spaced evenly across the overlap (no stitch count given; stitch through both fabric layers where they meet). Remove pins after initial tack.
Round 2 :
Move to next crossing: weave Strip B under Strip C, then over Strip D in the next segment. Using spare yarn tails, secure each crossing with whip stitches; take care to only catch the top layer on the strand that passes over to keep the under/over illusion (use 6-10 stitches per join depending on overlap width).
Round 3 :
Continue along the length, alternating over/under joins to mirror a classic Celtic braid. At each crossing, pin first to ensure correct over/under sequence, then sew through the top strand and under the lower strand loop to secure. Aim for symmetry: crossings at the same distances from each end should line up across strips.
Info :
For a neater finish, use a blunt tapestry needle and the same yarn as the runner. Use small backstitches and avoid pulling too tightly—overly tight stitches will pucker the braid. If desired, sew through both layers at the underside only to make top-over surface smooth.
Round 4 :
When the full length is joined into the knot pattern, make reinforcement passes at the central and end crossings by sewing a second row of stitches through all layers at those points. This keeps the braid from shifting during blocking and use.
Round 5 :
Weave in all long tails on the wrong side of the runner with neat ladder stitching, trimming ends close to the fabric after securing (no visible knots on the right side).
Info :
If you would like the braid to be a little more raised, lightly couch a thin cotton cord along the center of each strip prior to sewing. Lay the cord in the center of the strip lengthwise and work your joining stitches through the cord and fabric to trap it in place. Do not use bulky cord as it will distort crossings.
— Open Diamond Windows (optional accent reinforcement) :
Round 1 :
When strips are joined, small diamond-shaped windows appear between intersections. To tidy the openings and prevent edges from stretching, single crochet a tidy loop around each diamond: insert hook at lower corner of a diamond, ch 1, sc evenly along the edge of the opening (approximately 10 sc around small diamonds) and sl st to join (10)
Round 2 :
Ch 1. 1 sc in each sc around (10)
Info :
Do this sparingly—only reinforce diamonds that look too open. The sample runner leaves most diamonds open for negative space. If you reinforce, make sure each diamond reinforcement is symmetrical left to right.
— Preparing for Border :
Info :
Once all strips are joined and any diamond reinforcements are complete, block the assembled runner. Wet block by soaking in lukewarm water with mild soap, gently squeeze out excess water, then pin the runner to your blocking mat stretching gently to square outer edges and open scallops. Allow to dry completely. Blocking at this stage makes the scalloped edge cleaner and helps the subsequent shell stitches lie properly.
Info :
Measure the outer edge stitch spacing: count or estimate the number of stitches along one long edge to plan scallop placement. The sample edge works with a pattern of shells spaced across an edge stitch every 6 stitches; we approximate and then adjust as you work to keep scallops even.
— Lace Scalloped Border (worked around entire runner) :
Round 1 :
Attach yarn at a corner point with sl st through one edge stitch. Ch 1, evenly sc along edge placing 1 sc for approximately every 4-6 rib stitches to create base (count will vary—sample edge count ~320 sc around full runner) (approx 320)
Round 2 :
Ch 2 (counts as hdc), *skip 1 st, 5 dc in next st (shell), skip 1 st, hdc in next st*, rep from * to * around, adjusting spacing to end evenly at corner. Sl st to join. (shells ~48 across long edges + smaller corner shells)
Info :
Work shells with consistent stitch height to create a uniform scallop. If your spacing does not divide evenly, either work a slightly larger or smaller shell at one end or add one extra hdc between shells to spread the scallops evenly.
Round 3 :
Sl st into center of first shell, ch 1, *(sc, ch 3, sc) all into the center dc of shell to create a picot loop, sl st into base between shells*, rep around to create a lacy picot ring at the top of each shell. Join with sl st. (rep count matches number of shells)
Round 4 :
Ch 1, *5 sc across the top loops formed by previous row (or 10 sc across if using multiple chains for larger picots), sl st in next base chain space*, rep around. Sl st to join. (approx same sc count as Round 1)
Info :
If you prefer a deeper scallop, work an additional round of shells on top: *(2 ch, 3 dc in same st, ch 2, sl st in base)* to accentuate points; otherwise the 3-round motif yields a neat, low-profile edge suited to tables.
Round 5 :
Work a tidy finishing round: ch 1, 1 sc in each st around, working evenly and sewing any slightly loose stitches. Sl st to join and fasten off. Weave in ends and tidy corners with extra slip stitches if needed. (approx same sc count as Round 1)
Info :
On scalloped corners, you may create a pointed motif by extending one shell into three shells in the corner area to mirror the pointed ends of the sample runner. The photo shows triangular points at runner ends; to mimic this, work 3 shells centered on the corner tip, spacing them symmetrically.
— Optional Decorative Raised Ridge (Contrast) :
Round 1 :
If you wish to accent the braid bands, work a single-row ridge along the center of each strip before joining: attach contrast yarn with sl st into center stitch of strip at one end, ch 1, work 1 sc in each st along the strip center (count 36), fasten off. Repeat for each strip while flat. (36)
Info :
Use this only if you want slight tonal variation. This accent shows on the top of the braid without affecting joins; make sure contrast yarn is thin or the same weight to avoid changing strip thickness drastically.
— Finishing Touches :
Round 1 :
After edging, give the entire runner one final light spray and reshape on blocking board. Pin shells and braid loops so they sit flat and aligned. Allow to dry thoroughly. Trim any stray fibers and weave in ends securely to the wrong side.
Info :
If you plan to launder the runner later, test your blocking and finishing method on a spare swatch first. Cotton will soften with washing but blocking after washing helps restore shape.
Round 2 :
Optional: apply a light starch or fabric stiffener to the underside of the scallops if you need them to sit stiffly for a particular display—test on a scrap first.
Info :
Store the runner flat or rolled to prevent creases. If folded, re-block lightly before use to refresh the scalloped edge and braid definition.
This Celtic Knot Emerald Table Runner is a beautiful blend of texture and tradition that will grace any table setting. The interlaced braid and scalloped edge make a lasting handmade statement, and blocking the runner brings the motif into crisp, elegant relief. I hope you enjoy each step of the construction and are proud to display your finished runner! 🧶🍃