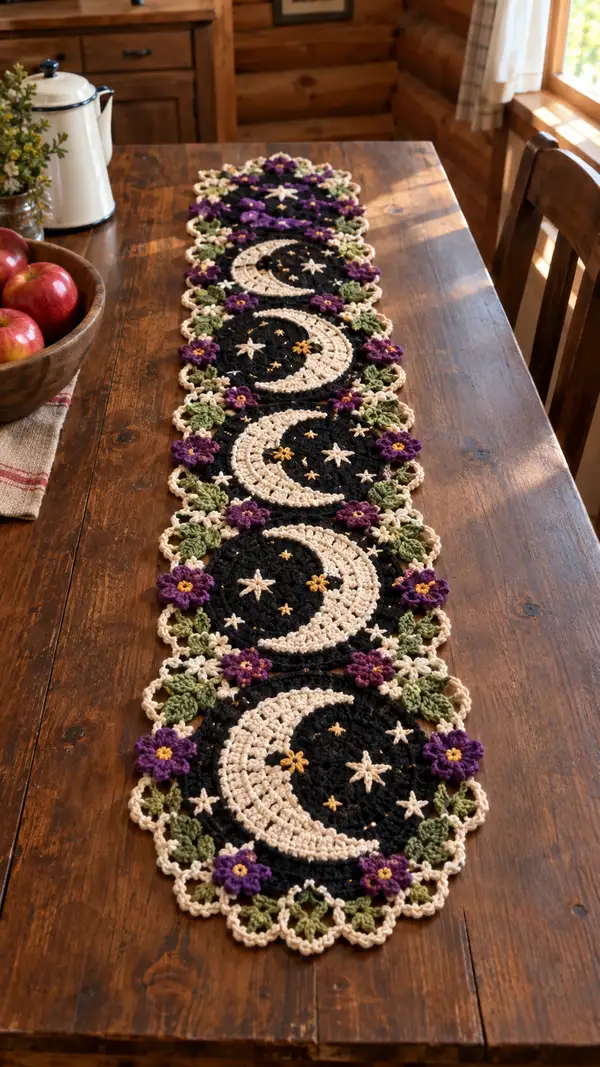
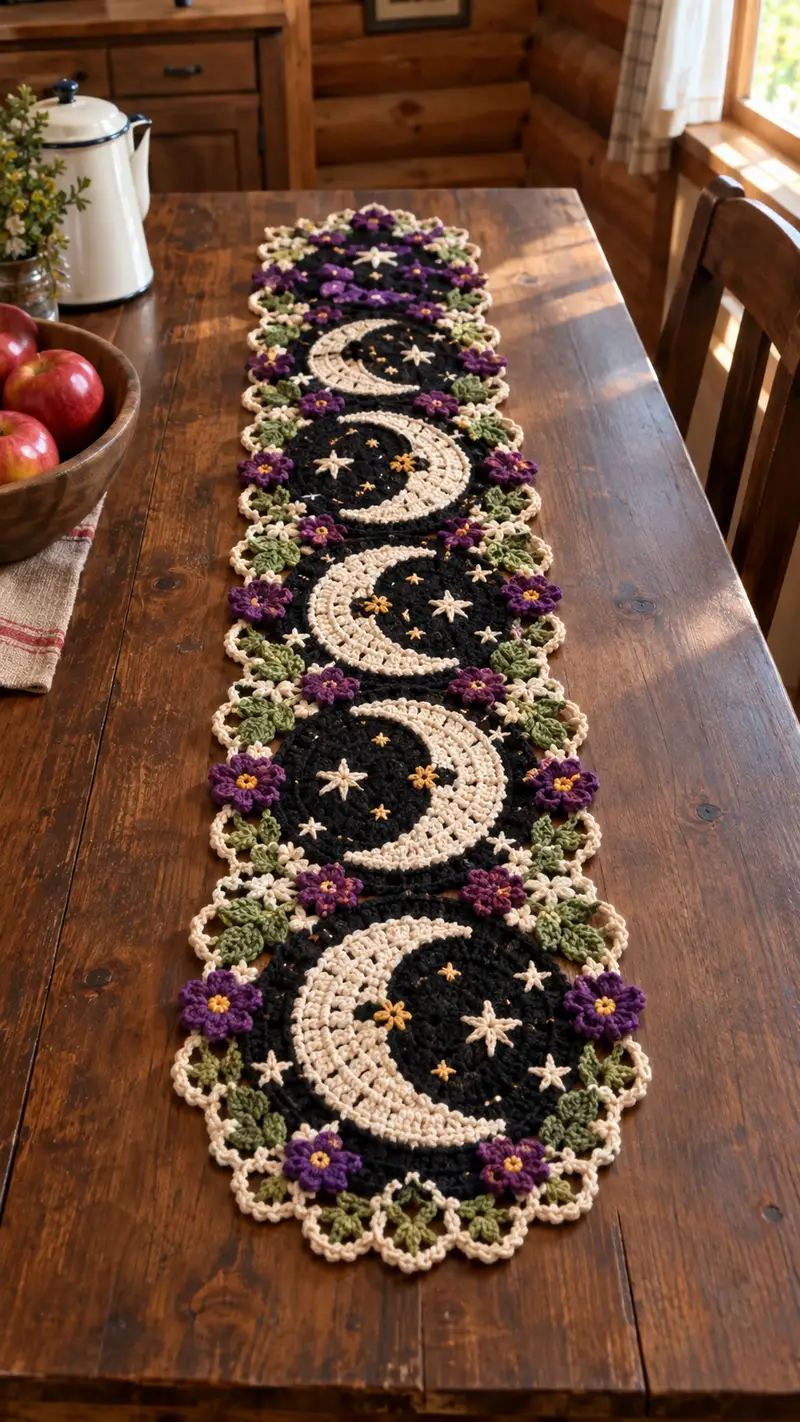
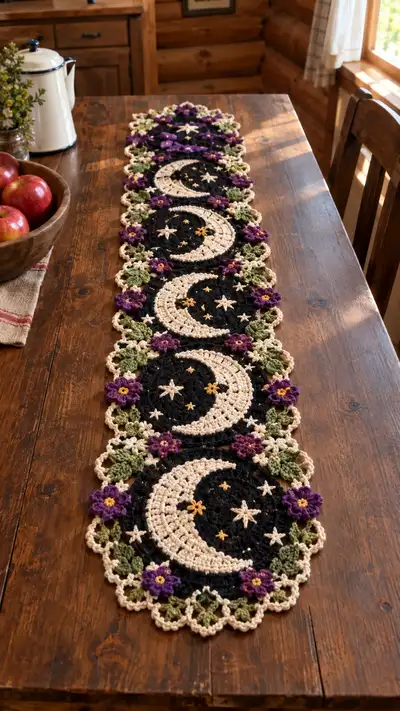
Create a striking table runner featuring repeated round moon motifs on a deep black field, edged with cream scallops, leafy greenery, and vivid purple flowers. This pattern uses simple circular crochet, overlay crescent shaping, embroidered stars, and three-dimensional flowers to create a dramatic handmade centerpiece. Modular motifs are crocheted and joined in a linear sequence so you can make a runner as long as you like.
Progress Tracker
0% Complete
— Materials & Gauge :
Info :
Gauge is not critical for a table runner but consistent tension is important so motifs line up. Using worsted weight yarn and 4.0mm hook, expect each full circular motif to measure approximately 6.25-6.75 inches (16-17 cm) across finished (before blocking). Make a test motif if you want exact sizing.
— Motif A: Black Disc Base (make one per moon motif) :
Round 1 :
6 sc in magic ring (6)
Round 3 :
(1 sc, inc) x 6 (18)
Round 4 :
(2 sc, inc) x 6 (24)
Round 5 :
(3 sc, inc) x 6 (30)
Info :
Keep your tension even; if the disc ruffles, skip an increase later, if it buckles, add a gentle increase round.
Round 6 :
(4 sc, inc) x 6 (36)
Round 7 :
(5 sc, inc) x 6 (42)
Round 8 :
(6 sc, inc) x 6 (48)
Round 9 :
1 sc in each st around (48)
Round 10 :
1 sc in each st around (48)
Info :
Rounds 9-12 create the flat disc field. Keep these rounds flat by working in the same stitch count and spreading your tension evenly. Place a stitch marker at the start of each round.
Round 11 :
1 sc in each st around (48)
Round 12 :
1 sc in each st around (48)
Round 13 :
1 sc in each st (48)
Round 14 :
1 sc in each st (48)
Info :
If you prefer a slightly smaller disc, you can stop at Round 12. For the runner in the photo the disc is modestly deep — work to Round 14 for similar proportions.
Round 15 :
1 sc in each st (48) — Finish and fasten off black yarn leaving a 12" tail for later joining and embroidery placement (48)
— Crescent Overlay (worked in Cream on top of Black Disc) :
Info :
We will overlay a crescent shape on the black disc using an overlay crochet segment that covers roughly half the circle. Work into the black disc by inserting hook into stitches of the disc — this creates a raised cream crescent. Start placement at a point approximately at disc round 9 on the right side (if viewing runner lengthwise) so crescents line up along the runner.
Round 1 :
Join cream yarn at chosen start point with sl st into black disc stitch. Ch 1, 1 sc in same st (1)
Round 2 :
Ch 2 (counts as hdc), 1 hdc in next 2 stitches, 1 dc in next 3 stitches across the arc area you intend to cover (repeat until you reach halfway across — doing 10-12 stitches total across the arc depending on gauge) — aim for approx 10 sts in this crescent base (approx 10)
Info :
Overlay crescents are best formed by working a curved strip of stitches; count across the arc so your crescent reaches roughly from 8 o'clock to 2 o'clock on the disc. Mark the arc on the disc if needed with pins.
Round 3 :
Turn work to face you and work back along the chain base: 1 sc in each st back to start, slipping into the join point (approx 10 sc)
Round 4 :
Working into the same arc area but into the front loops of the underlying black stitches to anchor, ch 1, (1 sc, inc) across the arc ends to gently widen the crescent (approx 12-14)
Round 5 :
1 sc across the new edge (12-14)
Info :
To create the crescent thickness you will work 3-5 rounds building outward from the disc, shaping by strategic increases near the outer edge and fewer near the inner concave edge. The goal is a crescent that sits on top of the black background and reads as a crescent moon.
Round 6 :
(2 sc, inc) x across outer curved side to shape a thicker outer edge (result approx 16-18)
Round 7 :
1 sc around crescent piece in each st (16-18)
Round 8 :
Work (1 sc, dec) at inner concave edge in a few spots to slightly curve the inner border; space decreases evenly (reduce by 2-4 sts depending on your arc width) (approx 14-16)
Round 9 :
1 sc in each st around to tidy edges (14-16)
Round 10 :
Working in FLO across the outermost round, 1 sc in each st FLO to create a subtle ridge and shadow that helps the crescent stand off the black disc (14-16)
Info :
Fasten off leaving long tail for weaving into the black disc; use the tail to sew any gaps and to anchor the inner edge into the black background if necessary. Block the motif gently for shape retention.
— Embroidered Stars and Tiny Details :
Info :
Stars are embroidered after the crescent overlay is secured. Use off-white for the larger star and mustard for small starbursts. Embroider using a yarn needle and single-strand yarn (pull one ply from worsted to make tidy stitches).
Star 1 :
Find center point of disc (approx round 7-8 area). Using off-white single ply, stitch a 6-pointed star: bring needle up, make a straight stitch outward ~6-8 mm, return to center and repeat at 60-degree increments. Reinforce by going over each arm twice. Fasten and weave tail.
Star 2 :
With mustard, embroider three tiny French knot starbursts around the crescent inner space: bring needle up, wrap yarn twice around needle and push through to form small knot. Place 2-3 across the inner curve. Secure tails on back.
Info :
Embroider stars before attaching flowers to avoid working into crowded areas. Keep embroidery stitches small and tidy to match the scale of the motif.
— Small Cream Star Motifs (worked separately for edge accents) :
Round 1 :
With cream, 6 sc in magic ring (6)
Round 2 :
Ch 1, *sl st into next st, ch 3, sl st into same st* x 6 to create little star points. Fasten off leaving tail for sewing (6 star points)
Info :
Make 12 cream star motifs to place between flowers around the edge of each disc, or as many as photo shows. Sew them evenly spaced into the scalloped border later.
— Flower Motif (Make 6 per disc as in photo clusters) :
Info :
Flowers are three-dimensional layered pieces: a small mustard center, a purple petal layer, then a small overlay for depth. Use a 3.25mm hook for slightly tighter flowers so they sit proud of the runner.
Round 1 :
With mustard, ch 2, 6 sc into 2nd ch from hook, sl st to join (6)
Round 2 :
Change to purple. *ch 2, (3 dc, ch 2, sl st) into next sc* around to create 6 petals. Finish with sl st to first petal base. (6 petals)
Round 3 :
Fasten off purple leaving tail for sewing. Optional: add a tiny ring of cream embroidery around center with small straight stitches for contrast.
Info :
Make approximately 6 flowers per motif, using a combination of full 3D flowers and slightly flattened flowers to fit snugly into the motif border. If you prefer fewer flowers, place them at cardinal points for symmetry.
— Leaf Motif (Make 12-16 per disc) :
Round 1 :
With olive green, ch 6. In 2nd ch from hook: sc, hdc, dc, hdc, sc across (5 sts plus turning ch) — fasten off leaving tail for sewing. Shape leaf by slightly stretching and flattening.
Round 2 :
Optional small slip stitch base: join two leaves together with a small sl st chain if you want a fuller leaf cluster. Make as many leaves as needed to mimic the photo clusters between flowers (about 2-3 leaves per purple flower).
Info :
Leaves are sewn with their tails woven to the underside of the motif into the cream scallops. Slightly block leaves with a bit of steam if they curl too much.
— Scalloped Edge Frame (Cream) around each Disc :
Info :
A scalloped frame unifies disc edges and gives points to sew leaves and flowers into. Work this edge directly into the outermost round of the black disc or into the last cream round that wraps the crescent. Use cream yarn and 4.0mm hook.
Round 1 :
Join cream yarn to any outer edge stitch. *ch 3, sl st into next stitch* around to form a light picot mesh; space to create approx 12 picots around each disc depending on gauge (12 picots)
Round 2 :
In each picot: (sl st into picot base, ch 3, 5 dc in picot, ch 3, sl st into picot base) to form shell petals; sl st to next picot base and repeat around to make scallops (12 shells)
Round 3 :
1 sc in each stitch across shell spaces to neaten. Fasten off leaving long tail for joining motifs (12 shells, tidy border)
Info :
Place leaves and stars on the scallop points to test spacing before permanent sewing. The scalloped shells create natural anchors for flowers and leaves.
— Flower & Leaf Attachment (Per Disc) :
Step 1 :
Arrange 6 purple flowers around the disc with leaves grouped in pairs between them, matching photo spacing. Use pins to hold placement and step back to verify even spacing.
Step 2 :
Sew flowers using their long tail through the shell base and into the disc, making several passes to sit the flower snugly. Anchor leaves beneath and slightly behind each flower using whip or ladder stitch so they fan outward.
Info :
For extra security, use a small dab of fabric glue under each flower base before sewing. Avoid glue showing on the right side. Sew through both petal layers to secure the flower against everyday wear.
— Motif Repeat Notes :
Info :
Each complete motif (black disc + cream crescent + scalloped edge + flowers + leaves + stars) is one module. In the pictured runner there are 6 modules joined in a straight linear sequence. You can add more or fewer modules to adjust runner length; each module adds approx 6-7 inches to overall length.
— Joining Motifs into a Runner (sew-join or crochet-join options) :
Method A - Slip Stitch Join :
Align motifs right sides together overlapping scallop shells at the connecting points. Insert hook through both motif edges and work sl st across the adjoining shell bases: *sl st into shell base of motif A, sl st into corresponding base of motif B* around the mini-arc where they meet (approx 6-8 sl st joins). Fasten and weave tails. Repeat to join subsequent motifs.
Method B - Sew Join (preferred for flat runner) :
Position motifs edge-to-edge and use a matching cream yarn tail to sew through the back loops of scallop shells on both motifs with an invisible whip stitch. Use small, even stitches and pull slightly taut to create a flat seam; avoid puckering.
Info :
Before final joining, press and block motifs to identical shape so seams sit flat. Lay modules in a straight line and pin before sewing to ensure they remain aligned.
— Joining Rounds and Additional Edge Unification :
Round 1 :
Once all motifs are attached and seams are secure, join a continuous round of cream around the entire runner edge: attach cream yarn at one seam, ch 1, 1 sc every few stitches across seam area to create a tidy connecting border. Work approximately 2 sc for every exposed scallop space along the length to even out spacing (work to runner length).
Round 2 :
Work *ch 3, skip 1 st, sl st into next* to create a delicate open chain along the runner's edge; this unifies motifs visually and creates small loops for a final scallop (repeat across full length).
Round 3 :
In each ch-3 loop: *5 dc shell, sl st into next loop* repeat along entire edge to form a continuous scalloped frame connecting motifs. Fasten off and weave in ends. This final scallop helps the runner sit flat and hides join seams.
Info :
If you have uneven gaps at joins, tidy them by working small picots into gap spaces before the final scallop. Blocking after final edging will help achieve a uniform scallop curve.
— Final Blocking & Care :
Info :
Lay runner flat on a blocking board or towel. Use T-pins to shape the scallops and ensure crescents are oriented the same way. Lightly mist with water and allow to dry fully. Blocking will even the join seams and set the scalloped edge.
Care :
Hand wash gently in cool water and lay flat to dry. Do not wring. Store flat when not in use to preserve shape.
— Pattern Notes & Scaling :
Info :
If you want a longer runner, repeat motif modules until desired length is reached. To scale motif size, use a larger or smaller yarn/hook combo and adjust number of motif repeats for width and length proportionally.
Tips :
Keep spare flower and leaf motifs handy for repairs. Use a single ply of worsted for small embroidery details so stitches remain crisp.
This cream crescent and purple flower runner combines bold contrast with delicate floral trims to create a stunning table centerpiece. Each modular motif is rewarding to make and satisfying to join into a long, continuous runner. The interplay of black discs, cream crescents, embroidered stars, and three-dimensional flowers gives both drama and warmth to any table. I hope this pattern invites you to slow down and enjoy creating something beautiful for your home. 🧶✨