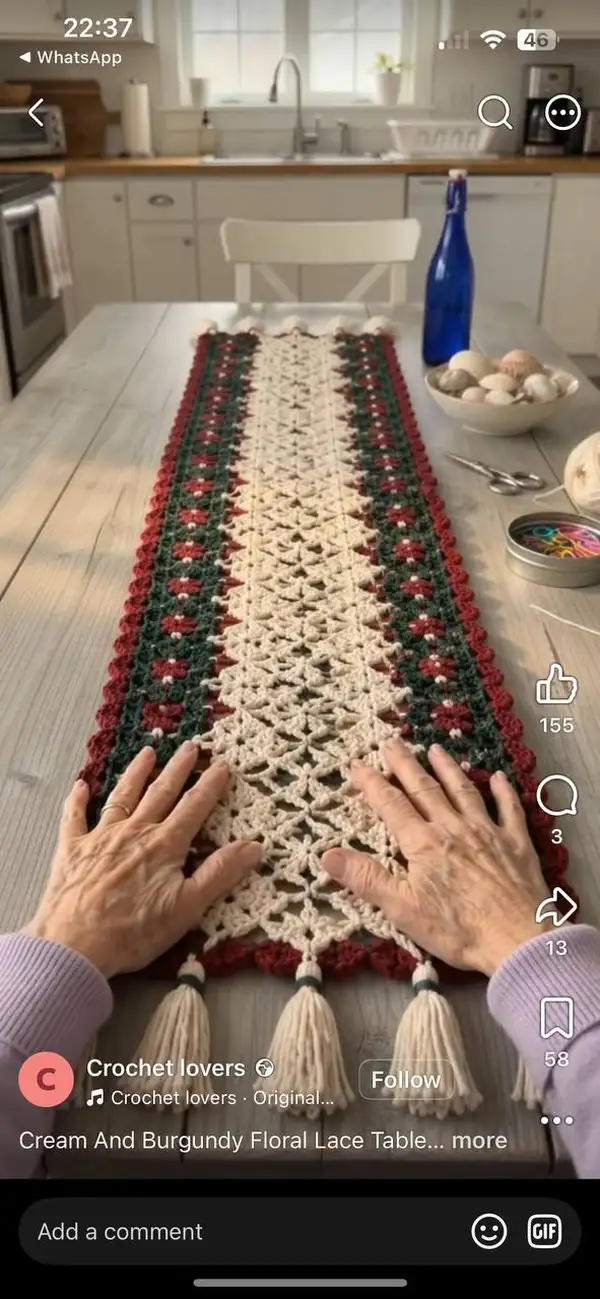
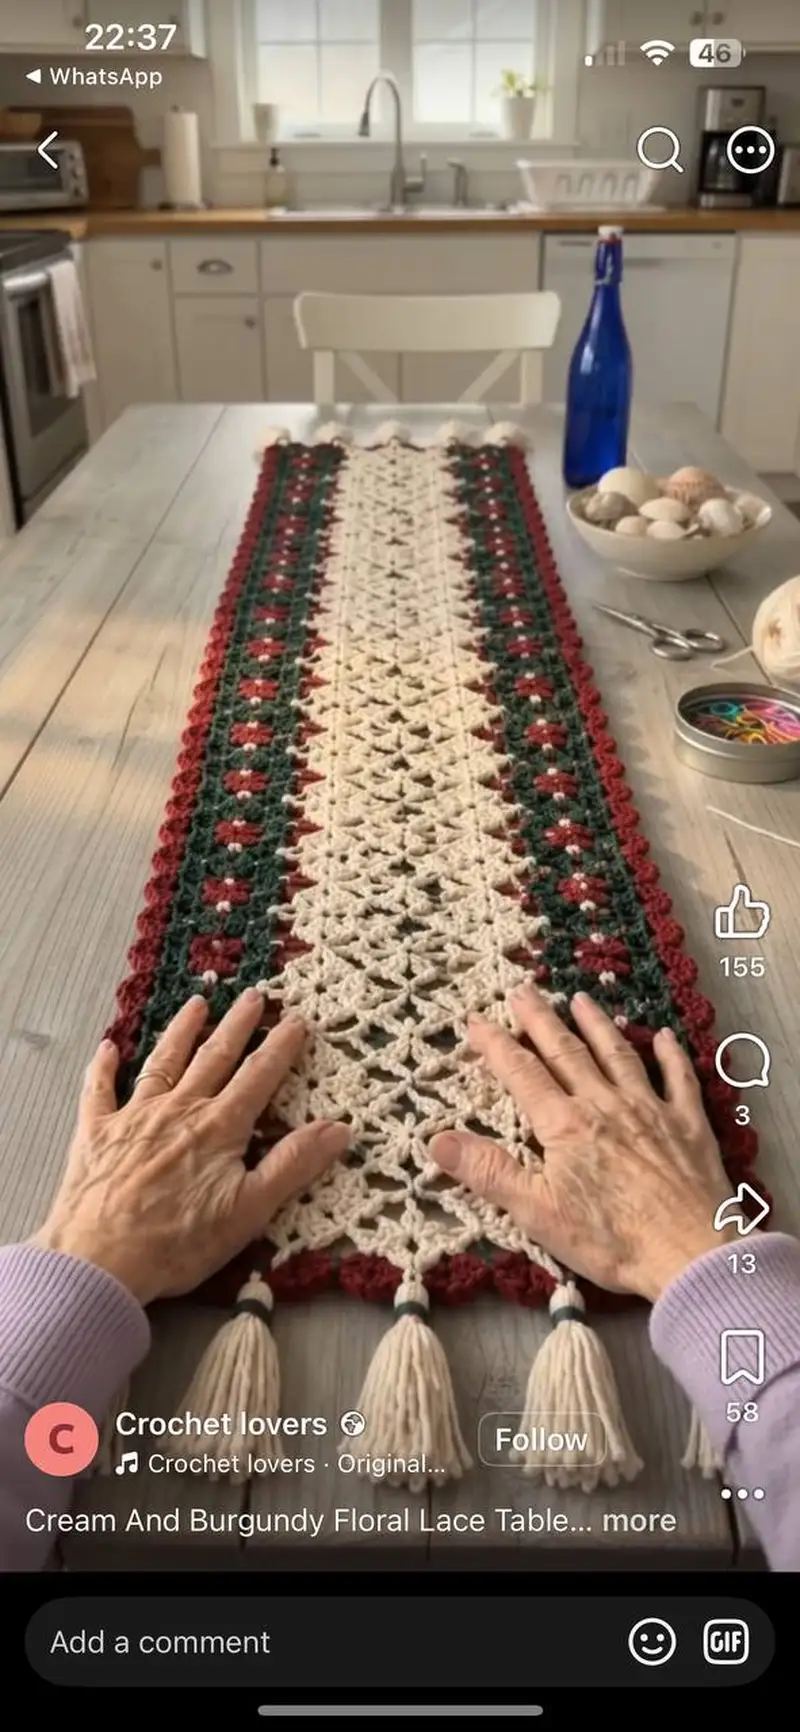
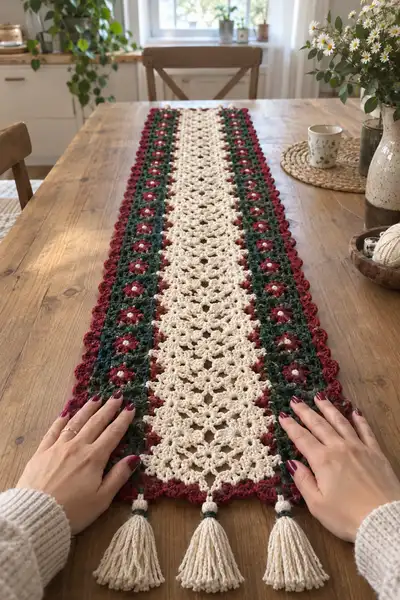
A vintage-inspired cream lace table runner accented with burgundy floral motifs and deep green borders. This long, narrow runner features a central openwork lace panel surrounded by a row of delicate floral granny blocks and a scalloped burgundy edging. Finished with cream tassels at each end, this runner adds handmade charm to any dining table or dresser.
Progress Tracker
0% Complete
— Notes & Gauge :
Info :
Gauge is flexible for this table runner because the pattern is modular and can be lengthened/shortened by adjusting repeat counts. Using worsted cotton and a 4.0 mm hook, the sample runner measures approximately 14.5 cm (5.7 in) wide in the center panel and 115 cm (45 in) long before tassels. If you change yarn weight, adjust hook size to keep stitch definition crisp. All rows below are labeled as 'Round' to match the pattern structure; treat them as rows worked flat unless instructed otherwise.
— Materials & Starting Foundation :
Round 1 :
Using cream yarn, ch 73. (This foundation chain creates a center lace panel width of approx. 14–15 cm; ch count is a multiple of 6 plus 1 to allow the diamond-shell pattern to repeat across.)
Info :
Chain 73 = (6 x 12) + 1. Use a loose chain for the foundation so the first row retains flexibility. Place a stitch marker in the first chain for reference if needed.
— Center Lace Panel :
Round 2 :
Ch 3 (counts as first dc), dc in 4th ch from hook and in each ch across to end. Turn. (73 dc including ch-3)
Round 3 :
Ch 3, dc in next st, *ch 1, sk 1, dc in next 2 sts; repeat from * to last st, dc in last st. Turn. (73 stitches/spaces preserved)
Round 4 :
Ch 3, dc in next st, *(ch 2, 3 dc cluster) in ch-1 space from previous row, sk next dc, dc in next 2 sts; repeat from * to last st, dc in last st. Turn. (Center panel now showing first set of open clusters; approximate 12 clusters across)
Info :
Clusters are formed in chain spaces to create the diamond-lace effect. Clusters are 3-dc groups worked into the ch spaces; this will create the openwork that characterizes the center strip. Keep tension even so clusters sit neatly inside spaces.
Round 5 :
Ch 3, dc in next st, *ch 1, dc in top of 3-dc cluster, ch 1, dc in next 2 sts; repeat from * across, dc in top of last cluster and last st. Turn. (73)
Round 6 :
Ch 3, dc in next st, *ch 2, (3 dc cluster) in ch-1 space between clusters, sk next dc, dc in next 2 sts; repeat across, dc in last st. Turn. (73)
Round 7 :
Repeat Round 5. Turn. (73)
Info :
Rounds 4–7 form the basic shell/cluster repeat. From here, you will repeat a five-row lace sequence (Rounds 3–7) to build the open diamond panel. Count cluster placements at the end of each repeat to ensure alignment (you should observe 12 main cluster columns across). Place stitch markers at the ends of the cluster columns if helpful.
Round 8-27 :
Work Rows 3–7 repeated 10 times (a total of 20 rounds: Rounds 8–27). Maintain the pattern of ch-3 turning chains and make sure clusters stack vertically to form diamond-shaped openings. (73)
Info :
If you wish a longer runner, increase the number of pattern repeats here in multiples of 5 rows. For the sample runner, a total of 26 center repeats (5-row sets) produced the length shown. Stop when center panel reaches the desired length minus border allowance.
Round 28 :
Ch 3, dc in next st, *ch 1, dc in top of 3-dc cluster, ch 1, dc in next 2 sts; repeat across, dc in last st. Turn. (73)
Round 29 :
Ch 3, dc in next st, *ch 2, (3 dc cluster) in ch-1 space between clusters, sk next dc, dc in next 2 sts; repeat across, dc in last st. Turn. (73)
Info :
At this point the center panel will have a clearly established diamond-shell lace. Make an odd number of full diamond repeats across the width so the vertical symmetry remains centered.
Round 30 :
Repeat Round 5. Turn. (73)
Round 31-40 :
Repeat Rounds 3–7 twice more to extend the panel. (73)
Info :
For the example runner, the center panel includes a total of 30 complete lace repeats (150 rows counting the smaller repeat unit as 5 rounds repeated). The pattern below will assume a center panel total height of 60 rounds (including turning rows). If your desired runner length differs, add or subtract repeats in these even sections before proceeding to join side motifs.
Round 41 :
Ch 1, sc evenly across the top edge working 73 sc. Fasten off cream and weave in the first set of ends. (73 sc)
— Side Floral Granny Motifs (Make 36 motifs — 18 per side) :
Info :
The decorative border on each long side is made of a continuous strip of 18 flower granny motifs worked in rows and joined as you go. Each motif is a small 4-round flower square built from the center outward and will measure approximately 3.8–4.2 cm square. You will make 18 motifs and join them into a long strip for each side.
Round 1 :
Using burgundy, make a magic ring (or ch 4 and sl st to join). Ch 3 (counts as first dc), work 11 dc into ring, sl st to top of ch-3 to join. (12 dc)
Round 2 :
Switch to cream for the flower center. Ch 1, sc in same st, *ch 3, sk 2 dc, sc in next dc; repeat around to create 6 ch-3 petals, sl st to first sc. (6 ch-3 petals)
Round 3 :
Switch back to burgundy. Ch 3 (counts as dc), work 2 dc into same petal loop, ch 1, *(3 dc, ch 1) into next petal loop; repeat around to form a round of 6 small puffed petals. Sl st to top of ch-3. (6 petals, 18 dc total including ch-3)
Round 4 :
Switch to forest green. Ch 1, sc in same st, *ch 3, (sc, ch 3, sc) into the ch-1 space between petal groups to start forming square corners; repeat 5 times; sl st to first sc. Turn motif into a small square by working an additional round as follows.
Round 5 :
Still with forest green, ch 3, (2 dc, ch 2, 3 dc) in first corner space, *ch 1, sk to next corner space, (3 dc, ch 2, 3 dc) in corner; repeat for 4 corners; sl st to top of ch-3. Fasten off leaving long tail for joining. (Square motif with 4 corner shells)
Info :
Each motif ends with a forest green square background and a burgundy floral center with cream petal highlights. Make 36 motifs total: 18 for the left side and 18 for the right side of the runner. Keep motifs in two piles as you make them to avoid confusion when joining.
Round 6-72 :
Repeat Rounds 1–5 to create the remaining motifs. Make 36 motifs in total (18 per side). Fasten off and weave in ends as you complete each motif to keep your workspace tidy.
Info :
To speed production, work multiple motifs in a production-line manner: complete Round 1 for a set of 6 motifs, then Round 2 for each, and so on. Store motifs flat to preserve shape. Blocking motifs briefly can help them join more neatly later.
— Joining Floral Motifs into Strips :
Info :
Lay 18 motifs in a line, right sides up, with edges touching. Join each motif to the next using a whip stitch or mattress stitch through the outermost round (forest green shells) to create a neat seam. Leave the inner edge (the side that will attach to the center panel) free for a final decorative join.
Round 73 :
With forest green and right sides facing, hold two motifs adjacent and sl st through both motifs along the joining chain spaces: sl st into the outer shell of motif A, sl st into motif B, repeat across seam for a neat join. Do not join across petals. Join all 18 motifs into a continuous strip. (Seam length per strip equals 18 motif widths)
Info :
Make two identical strips of 18 joined motifs. If you want a narrower or wider border, change the number of motifs per side in multiples that balance the central lace width. When joining, maintain consistent tension so the strip lays flat and does not ripple.
— Attaching Side Strips to Center Panel :
Round 74 :
Block the center panel flat and pin down both side strips to match the length of the center panel. If necessary, add or remove lace repeat rows so the side strips and center panel align evenly at both short ends. Note the matching points: divide the center edge into 18 equal attachment spaces to match 18 motif seams or centers depending on preference.
Round 75 :
Using forest green and a tapestry needle, position the left strip along the left edge of the center panel with right sides together. Using a yarn tail left from the strip, mattress stitch through the back loops of the center panel edge SCs and the corresponding outer loops of the motif strip. Sew firmly but not tightly so the fabric keeps a slight drape. Repeat to attach right strip. Fasten off and weave in ends. (Attachment complete)
Info :
When sewing, check alignment frequently. The motifs should meet the center panel at consistent points so the overall runner edges are straight. If the center panel was slightly longer or shorter, adjust by evenly spacing small gathers (a few extra stitches over several attachment points) to ease the fabric without making puckers.
— Outer Scalloped Border (Burgundy) :
Round 76 :
With burgundy yarn and RS facing, join with a sl st at the bottom-left corner of the runner. Ch 1, evenly sc along the outside edge of the left motif strip (working into ends of rounds and between shells), placing 1 sc for roughly every 0.8 cm to create a stable base. Continue sc along the bottom edge of the center panel and right motif strip until you return to starting corner. Join with sl st and turn. (Total sc count will vary slightly depending on blocking; keep counts consistent around perimeter)
Info :
This round creates a uniform foundation for the scalloped shell border. Counting exact scs is less important here than keeping evenly spaced stitches so scallops lay flat. Use stitch markers to divide the edge into 8–10 equal arcs to guide scallop placement if helpful.
Round 77 :
Ch 3 (counts as first dc), *skip 1 sc, 5 dc in next sc (shell), skip 1 sc, sl st in next sc; repeat around to form scallops. Join with sl st to top of ch-3. You should complete a scalloped shell in each arc along the runner edge - approximately 34–38 shells total depending on spacing.
Round 78 :
Sl st to center of first shell, ch 3, 2 dc in same st, ch 2, 3 dc in same st (corner shell) when you reach a short end; on long edges work (3 dc, ch 2, 3 dc) in the center of end scallops to give a full rounded corner; work around and sl st to join. Fasten off burgundy and weave ends. (Final scalloped edge complete)
Info :
For sharper scallops, use a 3.5 mm hook for the scallop rounds only. The corner shells on short ends should be slightly enlarged so tassels (added in the next section) hang from a solid center point without distorting the scallop.
— Short-End Finishing & Tassels :
Round 79 :
At each short end of the runner, you will add three evenly spaced tassels. Measure the width across the scalloped short end and divide into four equal sections; place a small stitch marker at the 1/4, 1/2 and 3/4 positions. These will be tassel attachment points.
Round 80 :
Create tassels from cream yarn: for each tassel, wrap cream yarn 30 times around a 6 cm cardboard template for a medium-thick tassel. Cut one end then slide off template. Use a short piece of cream yarn to tie a knot tightly around the top loop to form the tassel head. Wrap a small length of forest green yarn around the tied top approximately 6–8 mm from the head and secure with a knot; hide ends inside tassel. Trim to even length (approx. 9–10 cm long).
Round 81 :
Attach tassels by folding top loop and inserting through the center point of the chosen scallop on the short end, and pulling tails through the loop to form a lark’s head knot. Secure with a few extra stitches on the underside of the scallop for reinforcement. Add three tassels to each short end: left, center, right. Weave in all finishing tails. (6 tassels total)
Info :
For a cleaner look, trim tassels after blocking to even them up. Add a dab of fabric glue to the tied head knot if tassels will be subject to heavy use, but sewing reinforcement is usually sufficient.
— Optional Decorative Raised Edge (Cream Slip-Stitch Row) :
Round 82 :
Optional: With cream yarn and RS facing, join at any point and work 1 round sc evenly into the back loops only around the entire runner. Join and fasten off. This creates a raised inner line that visually separates the center lace from the floral sides. (This round will closely hug the previously counted row; stitch count equals the scallop foundation round.)
Info :
Working BLO on this round produces a subtle ridge. This can be omitted if you prefer a flatter join between center panel and floral strips. If you choose to add it, keep tension slightly looser than the center so it does not pull the runner ridge inward.
— Blocking & Final Finishing :
Round 83 :
Lightly mist the runner with water and pin to blocking mat to final dimensions. Stretch gently so scallops are evenly spaced and tassels hang straight. Let dry completely (overnight). Remove pins and trim any remaining stray ends. Press gently if needed using a steam iron on low with a cloth barrier.
Info :
Blocking is essential to open the lace and flatten joins. For cotton yarn, wet-blocking works best: pin the runner firmly to shape and let dry fully to set the stitches. If you use acrylic yarn, use a low-heat steam block with caution.
— Customization & Sizing Notes :
Round 84 :
To lengthen: add more center lace repeats in multiples of the 5-row pattern (adding 5 rounds yields another full diamond row). For each additional 5-row repeat you add to the center, make two more motifs per side to keep the runner edges proportionate. To shorten: remove repeats evenly from the center and reduce motifs per side accordingly.
Info :
If you change the number of floral motifs, adjust the foundation chain of the center panel to maintain an aesthetically pleasing margin between the motif strip and the center lace. Test with a small mock-up if you plan dramatic scaling changes.
Round 85 :
Final check: weave in all tails at least 4–5 cm into the nearest surface, trimming close. Inspect seams and reinforce any areas subject to stress with a few extra stitches. Enjoy your handmade Cream Floral Lace Table Runner!
Info :
Store flat or gently rolled to preserve tassels and scallops. For heavy table use, consider a clear table protector to preserve the yarn from spills while showing off your runner's beauty.
Completing this cream floral lace table runner is such a satisfying project — the airy center lace pairs beautifully with deep burgundy flowers and forest green backgrounds, and the tassels add just the right handmade flourish. Each careful join and scalloped shell creates a runner you can be proud to display at holiday meals or everyday dinners. I hope making it brings you as much pleasure as placing it on your table — happy stitching and enjoy the cozy finish! 🧶🌸