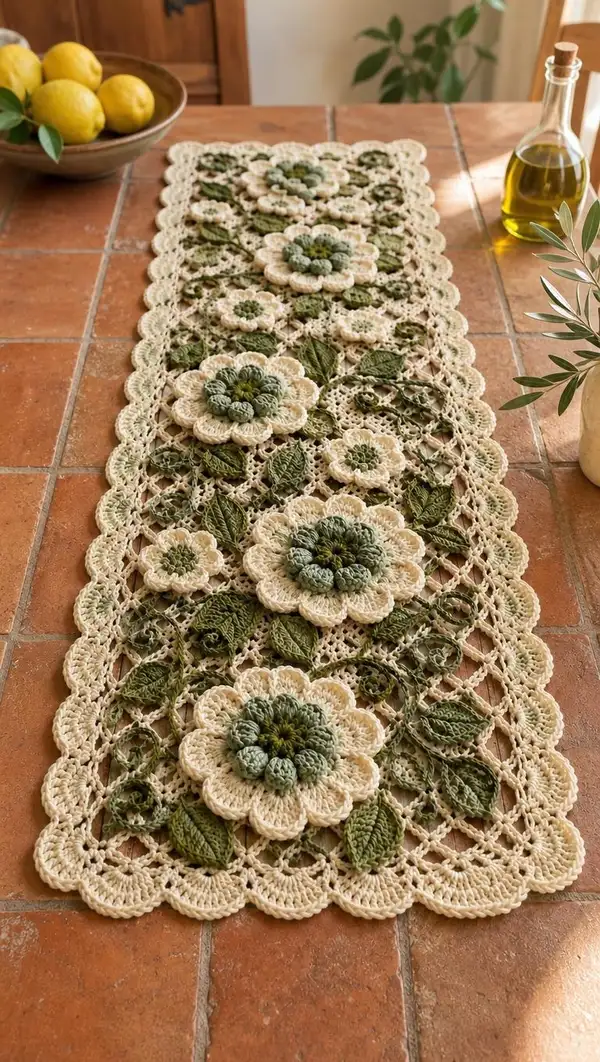
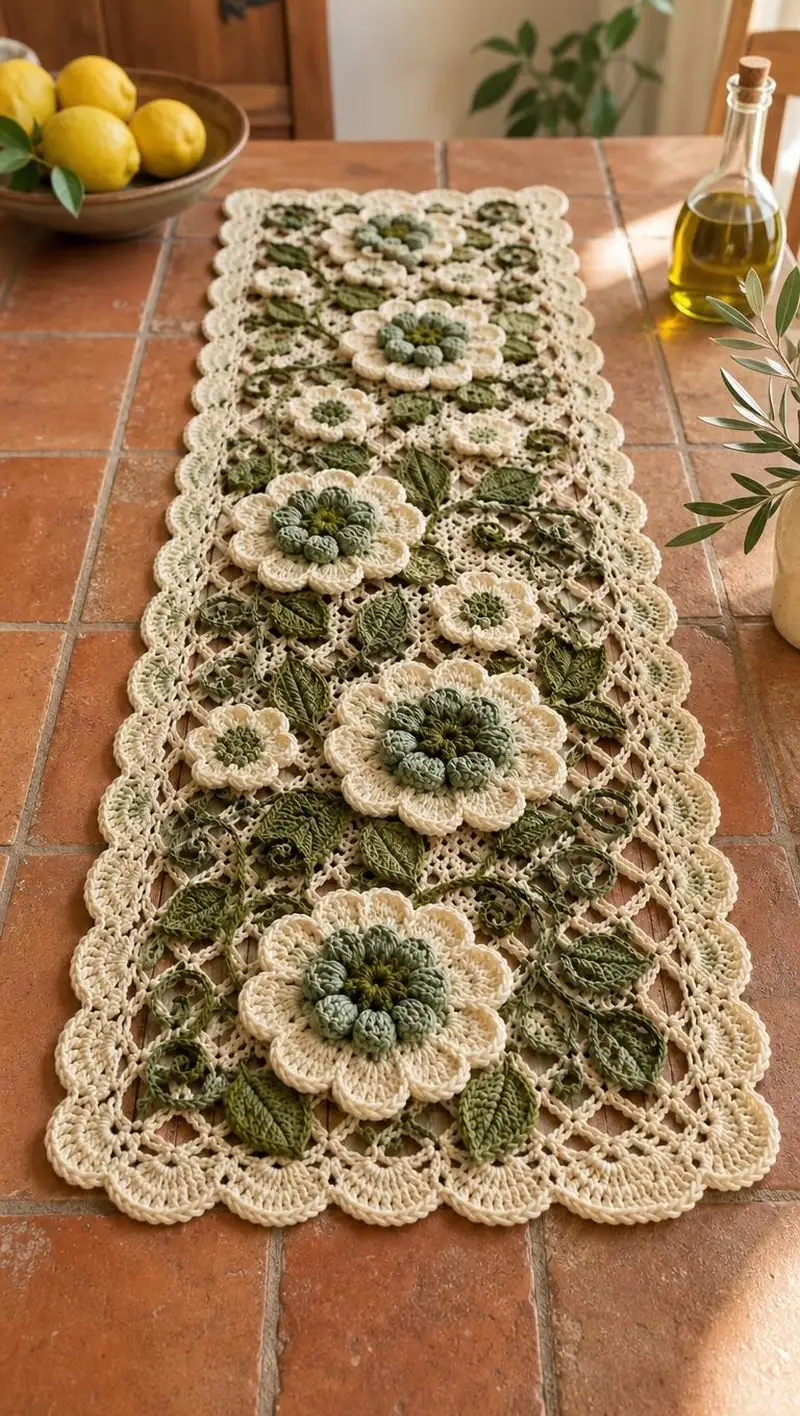
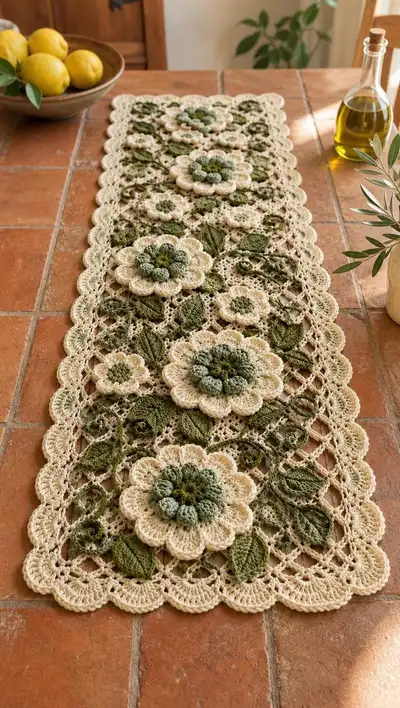
A romantic cream and olive table runner featuring raised 3D flowers, detailed leaves and a delicate lattice background. This elegant runner is composed of modular motifs joined with openwork mesh and finished with a scalloped edge. The layered petals and textured leaves create a hand-crafted vintage-lace look perfect for dining tables, sideboards, or as a centerpiece accent.
Progress Tracker
0% Complete
— Large Flower Motif :
Round 1 :
In olive A, make a magic ring. 6 sc in magic ring (6)
Round 3 :
(1 sc, 1 inc) x 6 (18)
Round 4 :
(2 sc, 1 inc) x 6 (24)
Round 5 :
(3 sc, 1 inc) x 6 (30)
Info :
Check the circle is flat and even; this will be the raised cluster base. If it cups, loosen tension slightly; if ruffles, tighten a touch. Place a stitch marker at start of round.
Round 6 :
1 sc in each st (30)
Round 7 :
Change to moss green (accent). *ch1, puff stitch into next st (see note), ch1, skip next st* repeat around to create 15 puff loops (puff loops will form inner petal bases) (15 puff loops)
Info :
Puff stitch: yarn over, insert hook into stitch, yarn over, pull up a loop (repeat 3 times), yarn over and pull through all loops on hook. Keep puffs loose enough to close neatly without pulling the base too tight.
Round 8 :
Working around puffs: join cream in back loops of base ring, *sc around puff cluster base (3 sc evenly spaced around the base of the puff)* repeat x15 (45)
Round 9 :
(4 sc, 1 inc) x 9 + 0 sc = (45) — Work 45 sc evenly. (45)
Round 10 :
*(5 sc, 1 inc) x 7 = 42 + remaining sc to equal 52 overall* Adjust to increase evenly: (5 sc, inc) x 7 and (4 sc, inc) x 1 to total 52 (52)
Info :
We are expanding the petal foundation. Keep stitch count accurate: if your tension creates more or fewer stitches, distribute increases evenly so the round remains smooth. Place marker.
Round 11 :
1 sc in each st BLO (52) — Working in BLO will create a fold line for petal stitches.
Round 12 :
Change to cream. *ch3, skip 1 st, dc in next, ch3, sl st into base to create a loop petal foundation* repeat around to create petal loops (26 loops) (counts based on petal loops not sts)
Info :
Petal loops: adjust chains if your puff cluster size requires larger loops. The number of loops must match the number of petals desired; here we aim for 13 larger petals (26 half-loops that will be worked together) so plan loops evenly.
Round 13 :
Work petals in cream: Into each petal loop work: (3 sc, hdc, 3 dc, hdc, 3 sc) closing with sl st into next loop base. This forms a rounded petal. Repeat around for 13 full petals (13 petals)
Round 14 :
1 sc around entire petal bases (78) — distribute evenly along petal edges to create a stable border (78)
Info :
Begin shaping the outer petal row by working in the outer loops of the petals. This gives the layered look seen in the runner where an inner ring of small petals sits atop larger outer petals.
Round 16 :
Change to olive A for secondary petals. Behind the petals, pick up FLO in the round around the petal tips: (2 sc, ch2, 2 sc) into each petal tip to create a small scalloped ridge. Repeat for all 13 petals (13 ridges)
Round 17 :
Switch to cream. For each petal, in the ch-2 space work: (3 dc, ch1, 3 dc) to create pronounced outer petals. Repeat x13 (petals formed)
Round 18 :
1 sc evenly around all outer petals to tidy edges (approx 156 depending on spacing). Count and ensure even spacing, adjusting to keep round flat (approx 156)
Info :
At this stage the large flower should be approximately 3.5-4.5 inches across depending on yarn. If you want a more lifted center, you may add an additional round of puff clusters in olive A inside the initial center before Round 7.
Round 20 :
Optional decorative round: In cream, *picot (ch3, sl st in 3rd ch)* on every 3rd sc around to add a lacy edge around petals. Adjust picot frequency to taste (approx 52-60 picots)
Round 21 :
Fasten off and leave a long tail for joining. Weave in ends or leave them to be woven when joining to the mesh. Block lightly to flatten and shape petals as desired.
Info :
Sewing tip: when joining motifs later, use matching cream thread through the back loop of the foundation round to make the join nearly invisible. Pin flower in place on mesh panel before sewing.
— Small Flower Motif :
Round 1 :
In olive A, mr, 6 sc in ring (6)
Round 3 :
1 sc in each st (12)
Round 4 :
Change to cream. *ch3, sl st in next st* around to create 6 small loops (6)
Round 5 :
Into each loop work: (3 sc, 2 dc, 3 sc) to form mini petals. Repeat x6 (6 mini petals)
Round 6 :
1 sc around all petals to tidy (approx 48)
Info :
This small flower is used to fill gaps between the large motifs; it should be flatter and smaller than large motif. Fasten off leaving tail for joining. Block gently.
— Raised Center Puff Cluster (used on large motif centers, make 7 per large flower) :
Round 1 :
In moss green, ch2, 6 puff stitches into 2nd ch from hook; join with sl st to first puff base to make a ring of 6 puffs (6 puff cluster)
Round 2 :
Into each puff base, work sl st to secure and create a raised rosette. Fasten off leaving a tail to sew onto the center of large flower. Repeat 6 times for a fuller center (optional to stack 3 puffs per center)
Info :
Stacking multiple puff clusters slightly offset will create the plump central button visible in the photo. Sew them tightly through the base with matching thread to keep shape.
— Leaf (Make many) :
Round 1 :
In olive B, ch9. Row 1: starting in 2nd ch from hook: sc, hdc, 2 dc, hdc, sc (5 sts across) — this forms the central rib base (5)
Round 2 :
Turn: working along the other side of foundation chain: sc in next 2 ch, hdc in next, 2 dc in next, hdc in next, sc in last. (mirror shaping) (total edge sts approx 12 depending on spacing)
Info :
To create pointed leaf veins: work BLO for clearer rib definition on the following rounds and slip-stitch over the center to create a folded rib.
Round 4 :
Work 1 sc in each st around leaf working tight at tip: sc, (sc, dec) near tip, then back down to base. Fasten off leaving tail for sewing. Block leaf by pinning slightly cupped for realistic shaping.
Round 5 :
Optional embroidered veins: Using tapestry needle and same yarn, stitch 2-3 veins along leaf length. This adds depth seen in the runner photo.
— Spiral Vine (cord) :
Round 1 :
In olive B, ch40 (or desired length). Row 1: sc in 2nd ch from hook and each ch across (39 sc)
Round 2 :
Working spirals: for a twisted vine, join at end and work 3 sc in each remnant stitch every 3rd stitch to create a corkscrew spiral. Alternatively, work i-cord style: ch3 and sc in back loop only of each stitch to create a tubular vine.
Info :
For sturdier vines that can be manipulated, insert a thin floral wire before stuffing lightly or before closing the i-cord. Tuck wire ends back and cover with a bit of yarn to avoid sharp points.
— Mesh Lattice Module (single mesh square used to compose runner background) :
Round 1 :
In cream, ch12, sl st to form ring (12 chain ring) — this forms center of mesh unit (12 ch ring)
Round 2 :
Round into ring: (ch3, dc) x 12 around, join with sl st to first dc (12 dc + ch loops)
Round 3 :
*ch4, sk 1 dc, sc in next dc* repeat around producing 12 ch-4 picot arches (12 arches)
Round 4 :
Into each ch-4 arch: (2 dc, ch2, 2 dc) to form airy shells (12 shells)
Round 5 :
1 sc between each shell and ch2 space to establish a stable grid (approx 48 sc) — count and maintain evenness
Info :
Each mesh module will be joined to neighboring modules along the sc spaces. To create a continuous lattice, use the join-as-you-go method on this round: when you reach an edge that has an adjacent completed module, sl st into the corresponding sc of the adjacent module instead of working a new sc. This yields neat joins without sewing later.
Round 6 :
Work an outer shell round: *ch5, sk 2 sc, (3 dc in next sc), ch5* repeat to frame the square (creates decorative loops around mesh unit). Fasten off and leave tail for seaming if not joining-as-you-go.
Info :
Block each mesh square flat to the same size before joining motifs and adding border. Blocking ensures consistent spacing for the scalloped edge and the overlay of flowers and leaves.
— Joining Mesh & Motifs (Join-as-you-go instructions) :
Round 1 :
Layout: Arrange large flowers in two or three staggered rows with small flowers filling gaps as in photo. Place mesh squares between flowers forming a lattice that shows through the petals.
Round 2 :
Join method: With cream, work around an outer shell of mesh unit but when you reach a side that meets an already completed mesh unit, replace the sl st in that side with sl st into the corresponding loop of the adjacent mesh unit (join-as-you-go). This will link squares edge-to-edge.
Info :
When sewing motifs to mesh: place large flower over desired mesh square and use long tail from flower to sew through the foundation round (the round just under petals). Secure in 8-10 evenly spaced stitches around the flower base. For raised petals, sew only through base to preserve 3D effect.
Round 4 :
To attach leaves and vines: position leaves overlapping mesh and flower edges. Using olive B tail, whipstitch leaf base to mesh at 3 points: base, middle, tip to create a natural curve. Lay vine across and sew sporadically to secure, leaving loops free where desired.
Info :
Keep seams hidden: stitch through back loops of mesh or under the shell edges so stitches are less visible. Use matching cream thread for the majority of joins; use olive for leaves and vines to blend seams.
— Scalloped Border (worked after all motifs joined) :
Round 1 :
With cream, pick up along full runner edge working 1 sc in each outer edge stitch around. Count total scs around runner to determine scallop repeats (expect a multiple of 6-8 per scallop depending on motif spacing). Work a full even round of sc. (sc total variable)
Info :
Determine scallop spacing by dividing total sc by desired number of scallops. In the photo scallops are medium size; aim for 1 scallop per 6-8 sc. Mark scallop centers with stitch markers before working to maintain symmetry along long edges and ends.
Round 3 :
Scallop round: *skip next 3 sc, in next sc work (5 dc), skip next 3 sc, sl st in next sc* Repeat across each long edge. At corners: work (7 dc) to create a rounded corner scallop. Repeat on both long sides and both ends. (scallops formed)
Round 4 :
Edging round: In cream, *sl st into center of each scallop, ch3, (2 dc, ch1, 2 dc) in sl st, sl st into outer scallop base* Repeat to refine scallop and add a lacy picot. Fasten off and weave ends.
Info :
Blocking tip: gently steam or wet-block the full runner pinned into final shape, stretching scallops to a smooth curve and flattening motifs so petals sit gently above the mesh without bulging the border.
— Decorative Spiral Sprigs & Additional Fillers :
Round 1 :
Make twisted spiral sprigs by chaining 40-60 and working 3 dc in each chain stitch across; the strip will naturally curl into a spiral (approx 40-60 ch depending on desired curl)
Round 2 :
Attach sprigs by sewing one end into motif seams and letting spirals tuck under petals or lie atop mesh. Vary lengths for a natural, vine-like appearance.
Info :
These spirals contribute the hand-stitched look in the runner photo. Use moss green for subtle contrast and tuck ends into seams before sewing so nothing frays or pulls loose later.
— Final Finishing Pass :
Round 1 :
Weave in all ends on the back side of runner using yarn needle. Trim tails to 1/4" after weaving through several stitches. Ensure no long tails remain that could work free with handling.
Round 2 :
Check joins: reinforce any loose attachment points with small whipstitches and secure ends with a dab of fabric glue hidden beneath a petal if extra hold is needed for display pieces.
Round 3 :
Block full runner flat using pins placed around scallops and motifs. Mist lightly and allow to dry fully. After drying, steam gently if additional shaping is needed for petals.
Info :
Final inspection: lay runner on table and adjust any vine tendrils so they naturally drape. If some petals are too flat, tease them up gently with needle and pin during blocking to set a 3D shape.
Completing this floral table runner brings such a satisfying mix of lace and texture—each layered flower and sculpted leaf adds personality to the finished piece. The join-as-you-go mesh makes assembly precise and keeps the runner light and elegant. Whether you use it for special occasions or every day, it adds handmade charm that guests will admire. 🧶💚