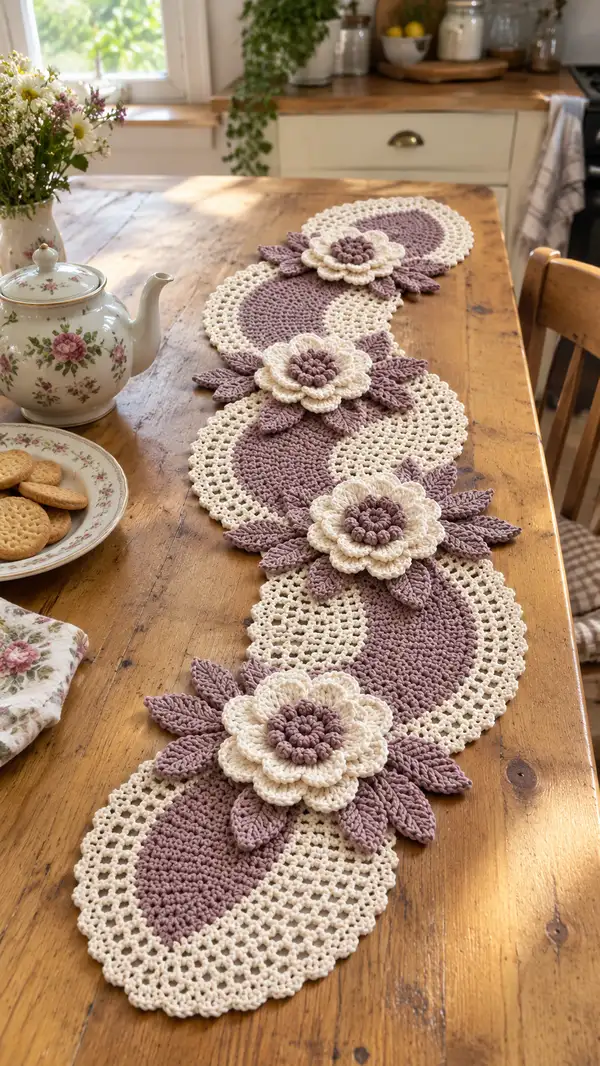
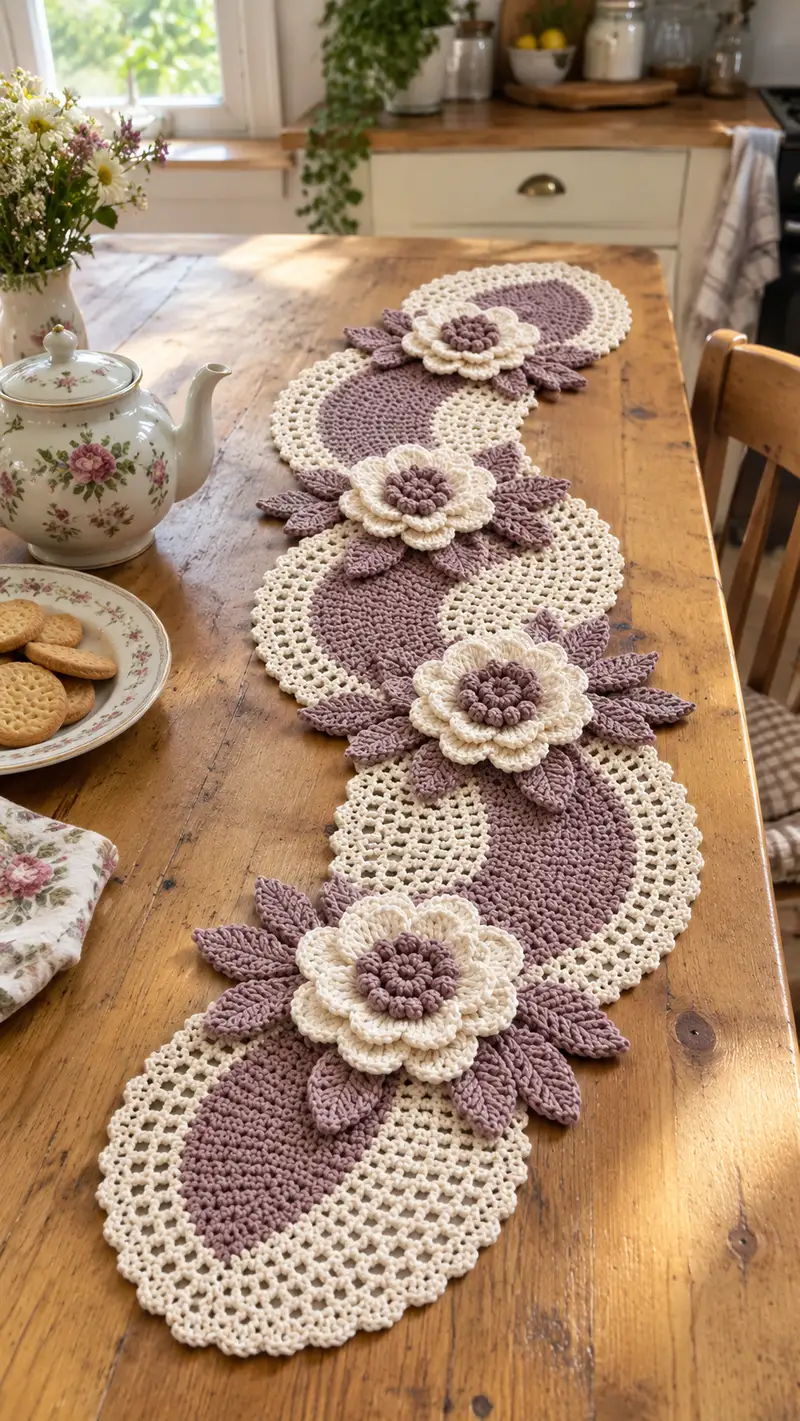
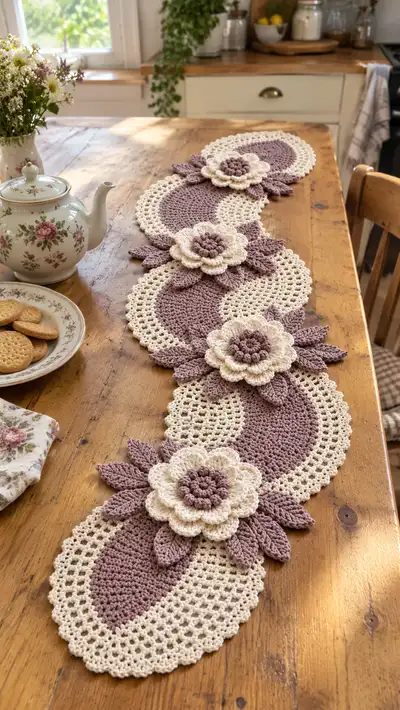
Create an elegant, romantic table runner featuring overlapping oval doilies, layered 3D flowers and sculpted leaves. This pattern uses two soft colors (dusty mauve and cream) and cotton yarn to create a durable, lacy centerpiece perfect for dining tables or sideboards. Detailed round-by-round instructions, lacy mesh borders and layered petals make this a joyful project to crochet and display.
Progress Tracker
0% Complete
— Oval Motif (Make 5-7 as needed) :
Materials for one motif :
Dusty Mauve yarn for inner oval (use color A), Cream yarn for border (use color B). Use 4.0 mm hook. Finished motif approximately 10.5" x 7.5" (26 x 19 cm) depending on tension.
Note :
This motif is worked in continuous rounds in the center (color A) to build a sturdy oval, then switched to color B for a lacy mesh border. Place stitch marker at the beginning of each round if working in spirals.
Round 1 :
MR, 6 sc in magic ring (6)
Round 3 :
(1 sc, inc) x 6 (18)
Round 4 :
(2 sc, inc) x 6 (24)
Round 5 :
(3 sc, inc) x 6 (30)
Round 6 :
(4 sc, inc) x 6 (36)
Round 7 :
(5 sc, inc) x 6 (42)
Round 8 :
(6 sc, inc) x 6 (48)
Info :
Rounds 1-8 form a stable circular foundation. Keep tension even—too loose and the oval will be floppy; too tight and you will get distortion. Place a marker at the start of Round 9 to track even rounds.
Round 9-18 :
1 sc in each st around (48) — work 10 rounds total (48)
Info :
These even rounds create height for the inner solid oval. This section is the dusty mauve center seen in the photo. If you want a slightly longer oval, add 2-4 more even rounds here before switching to border color.
Round 19 :
Change to cream (color B) with last pull of the round. Ch 1, 1 sc in same st and in each stitch around (48)
Info :
We switch to color B for the lacy border. Carry the unused yarn inside the center or break and weave in later. Ensure the color change is neat by pulling through color B on the final stitch of round 18.
Round 20 :
*Sc in next 2 sts, ch 3, sk 2 sts, sc in next 2 sts* — rep around to create an open mesh row. Work evenly to end (adjust final repeats so mesh spaces sit symmetrically) (48)
Round 21 :
1 sc in each sc and 3 sc into each ch-3 sp (increase mesh points) — total will be 48 + (number of ch-3 spaces) (72)
Info :
Round 21 converts the chained mesh into a more substantial lacy ring. Count ch-3 spaces from the previous round to place 3 sc into each to maintain an even border. This widens the motif and builds the airy border seen in the image.
Round 22 :
Ch 3 (counts as dc), *sk next sc, dc in next sc, ch 1* around to form decorative lacy arches. Work dc into each group of 3 sc as needed. Slip stitch to join (use approx 72 stitches in working pattern)
Round 23 :
Sc in each dc and ch-1 sp around creating a tidy base for scalloping (72)
Round 24 :
*Sc, ch 2, sc in same st (picot like bump), sk 2 sts* rep around to create small loop texture (72)
Info :
Work these mesh and loop rounds loosely so the motif lays flat. If the motif waves, block it gently while pinning to shape. Many small loops at the border create the airy finish photographed.
Round 25 :
Optional: Work a final decorative round alternating sc and slip stitches to tidy edge. Fasten off and weave in ends.
Info :
Make as many motifs as you need for the desired runner length. In the photos there are five large ovals overlapped; adjust quantity to fit your table.
— Flower Center (Make 5) :
Overview :
Each layered flower is built from three elements: the textured center (bobble cluster), an inner petal round, and an outer petal round. Work centers in color A (dusty mauve) to echo the oval centers.
Round 1 :
MR, 8 sc in magic ring (8)
Round 2 :
Inc in each st (16)
Round 3 :
(1 sc, inc) x 8 (24)
Round 4 :
1 sc in each st (24)
Round 5 :
Bobbles: *bobble in next st, sc in next* around (12 bobbles, 12 sc) — work bobble as: (yo, insert, pull up loop) x4, draw through all loops on hook, ch 1 to secure (US bobble)
Info :
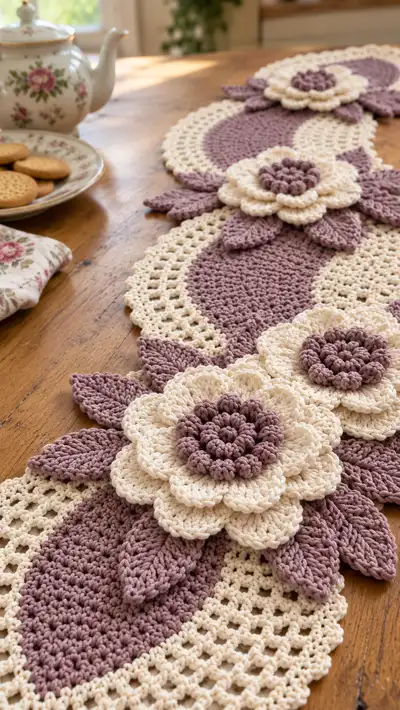
These bobbles form the textured, clustered center seen in the image. Keep bobbles consistent in size by using the same loop count for each bobble. Slightly tighten yarn after finishing each bobble to close center neatly.
Round 6 :
Sc in each stitch and into the back bump of each bobble to anchor (24)
Round 7 :
Switch to color B (cream) for the petal base. In the same round, ch 1, sc around evenly in the 24 sts to transition (24)
Info :
Change color here to create the contrasting layered petals. Carry the color A tail to the back and weave in later or weave in as you go.
— Inner Petal Layer (Make 5 per flower) :
Round 1 :
*(sc, ch 2, sc) in next st (creates small petal base), sk next st* — repeat around to create 12 small petal bases (24)
Round 2 :
In each petal base work: (sc, hdc, 3 dc, hdc, sc) to form a rounded petal. Work evenly into each base (12 petals)
Round 3 :
Sc in each stitch around the petal bases to tidy and close gaps (approx 60 stitches depending on tension)
Info :
Inner petals are worked in cream and will form the softer, fuller layer beneath the outer petals. Block these petals flat against a template so they sit nicely under the next layer.
— Outer Petal Layer (Make 5 per flower) :
Round 1 :
Attach color B at a point between inner petals. Ch 3, *(skip 2, sc in next, ch 3)* around to form larger petal spaces, adjust repeats so you have 8 larger petal base spaces (work to make spacing symmetrical)
Round 2 :
In each base work a large petal: (sc, hdc, 5 dc, hdc, sc) — create 8 outer petals. Fasten off leaving long tail for sewing (approx 80 stitches worked)
Info :
Outer petals give the 3D sculptural look of the flowers. Use a slightly smaller hook (3.5 mm) for petal definition if you want more pronounced ridges.
Round 3 :
Optional: Add a back round of sc in BLO around the petal bases to make petals stand out and create a small ridge for a layered effect. Fasten off and weave ends.
— Flower Assembly :
Step 1 :
Sew the flower center (textured bobble disk) to the inner petal disc using matching cream thread; center precisely so inner petals sit symmetrically under bobbles.
Step 2 :
Sew outer petal layer on top of inner layer offset so petals do not line up directly but stagger to create fullness. Use mattress or ladder stitch for an invisible seam.
Info :
Block the assembled flower lightly to shape petals outward. If desired, use a tiny amount of fabric stiffener on the underside to help petals hold a slight lift.
— Leaves (Make 6-8 leaves per flower) :
Round 1 :
With color A (mauve), ch 7, sc in 2nd ch from hook, hdc in next, dc in next 2, hdc in next, sc in next, sl st to join to first ch base (creates foundation leaf) (6 sts)
Round 2 :
Turn and work along opposite side of foundation: sc in next st, hdc in next, dc in next 2, hdc in next, sc in last; sl st to join at base. Fasten off and weave ends. (leaf shape complete)
Round 3 :
Optional: For a sculpted rib, reattach yarn at base and work 1 sc in each st along center of leaf in BLO to create a raised midrib (approx 10 stitches)
Info :
Leaves in the photo have a subtle point and raised midrib; the optional rib round gives the same sculpted look. Use the 3.5 mm hook for tighter leaves so they hold shape well under the flower.
— Leaf Variation (Longer leaf) :
Round 1 :
Ch 10, sc in 2nd ch from hook, hdc in next 2, dc in next 4, hdc in next 2, sc in last, turn and mirror on opposite side to join (approx 18 sts total)
Round 2 :
Work a rib midline as in optional step: sc across in BLO to create a defined raised vein. Fasten off and block flat.
Info :
Create 6 leaves per flower in mixed sizes (3 small, 3 long) to replicate the layered leaf clusters under each bloom.
— Joining Motifs into Runner :
Overview :
Arrange motifs on a flat surface in an overlapping linear arrangement. The sample photos show five ovals with three flower clusters staggered along the runner. Pin motifs in place and plan where flowers will sit (flowers are sewn to cover seams).
Step 1 :
Place the first motif right-side up. Position the second motif slightly overlapping the first by approximately 2-3 inches (5-8 cm) where the mesh and solid areas meet so that mesh interlocks attractively.
Step 2 :
Sew motifs together using color B (cream) yarn and a whip stitch through the outer mesh and the body of the adjacent motif. Use small, evenly spaced stitches using tapestry needle to keep seam invisible.
Info :
Join motifs slowly and pin carefully to maintain a smooth curved runner shape. The lacy mesh allows for flexible attachment points; catch the mesh loops and a few inner stitches of the adjoining motif for a secure seam.
Step 3 :
Continue joining motifs in the same manner until desired length is reached. Adjust overlap for curvature; the runner in the photo overlaps so centers appear to interlock in an S-curve.
Step 4 :
Position flowers atop seams so they conceal joins: place a flower where two motifs meet, pin leaves underneath the flower to fan out along both motifs, and sew flower assembly through both motifs into the joining seam for stability.
Info :
Sew flowers firmly because they will be handled during table setting. Sew through the underside of the flower center and into both motifs with multiple passes for strength. Weave all ends into the underside of the runner.
— Decorative Edge and Final Scallop (Worked after motifs are joined) :
Round 1 :
With color B and 4.0 mm hook, join at any mesh opening on the outer perimeter. Ch 1, sc evenly around the entire outer border catching both motifs where they meet (work approximately 8-10 sc per motif external side depending on size) (work to fit runner circumference)
Round 2 :
*Ch 4, sk 2 sc, sl st in next sc* repeat around to create a tall lacy scallop spacing. Adjust repeats to finish evenly (this will create uniform arching loops for the final scallop)
Round 3 :
Into each ch-4 arch work: (sc, hdc, 3 dc, hdc, sc) to form a scallop shell. Continue around, slip stitch to join. Fasten off and weave ends.
Info :
This scalloped edge mirrors the petal shapes and finishes the runner with a delicate, consistent border. If you prefer a more substantial edge, repeat Round 3 in BLO to add a ridge.
— Finishing Touches and Blocking :
Step 1 :
Lay the entire runner on blocking mats. Pin each motif into a gentle S-curve as photographed, ensuring scallops and petals are evenly spaced. Lightly mist with water and allow to dry completely to set the shape.
Step 2 :
Weave in all yarn tails. Trim any stray fibers. If petals feel floppy, add a light application of fabric stiffener on the underside only, reshape and dry.
Info :
Blocking is important to make the mesh border open and the petals sit neatly. Do not over-starch unless you want a very firm runner; a light shaping spray is often enough.
Gauge and Sizing Notes :
Gauge depends on yarn and hook. With worsted cotton and 4.0 mm hook, each finished motif measures about 10.5" x 7.5". Five motifs joined as photographed create a runner approximately 55" long. To change length, add or remove motifs.
Tips :
Make test petals and leaves to practice shaping. Keep all petals similarly blocked so flowers match across the runner. Use pins and blocking for consistent results.
Completing this floral table runner is a wonderfully satisfying project — the mix of lacy mesh, solid texture and layered petals creates a beautiful heirloom-quality centerpiece. Pinning and blocking transforms the pieces into a graceful, cohesive runner that will brighten any table. Whether you keep it for everyday charm or gift it for a special occasion, it adds a handcrafted touch that's sure to be noticed. 🧶🌸✨