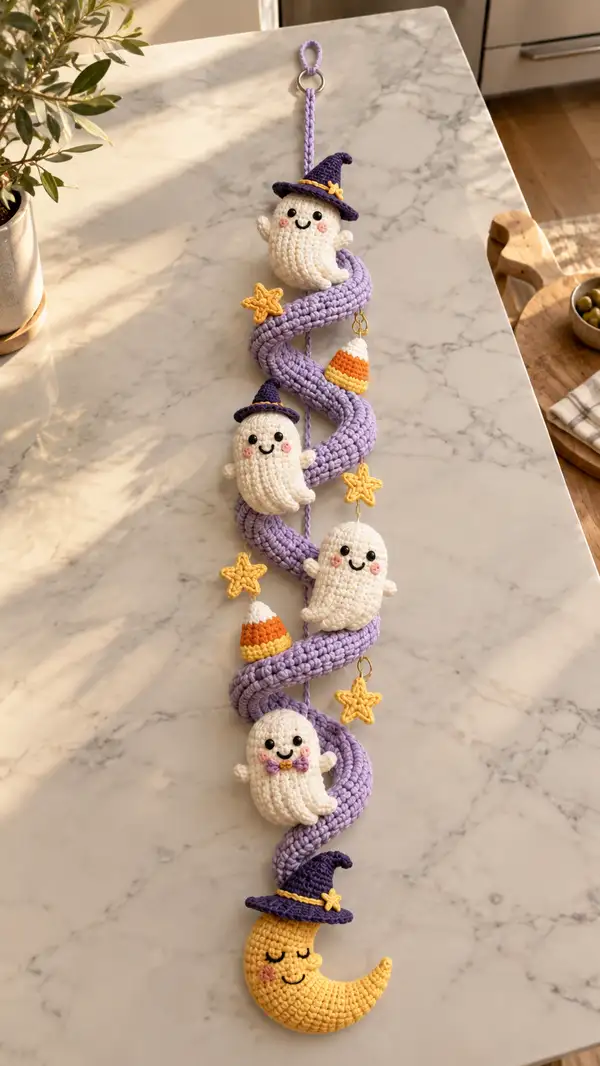
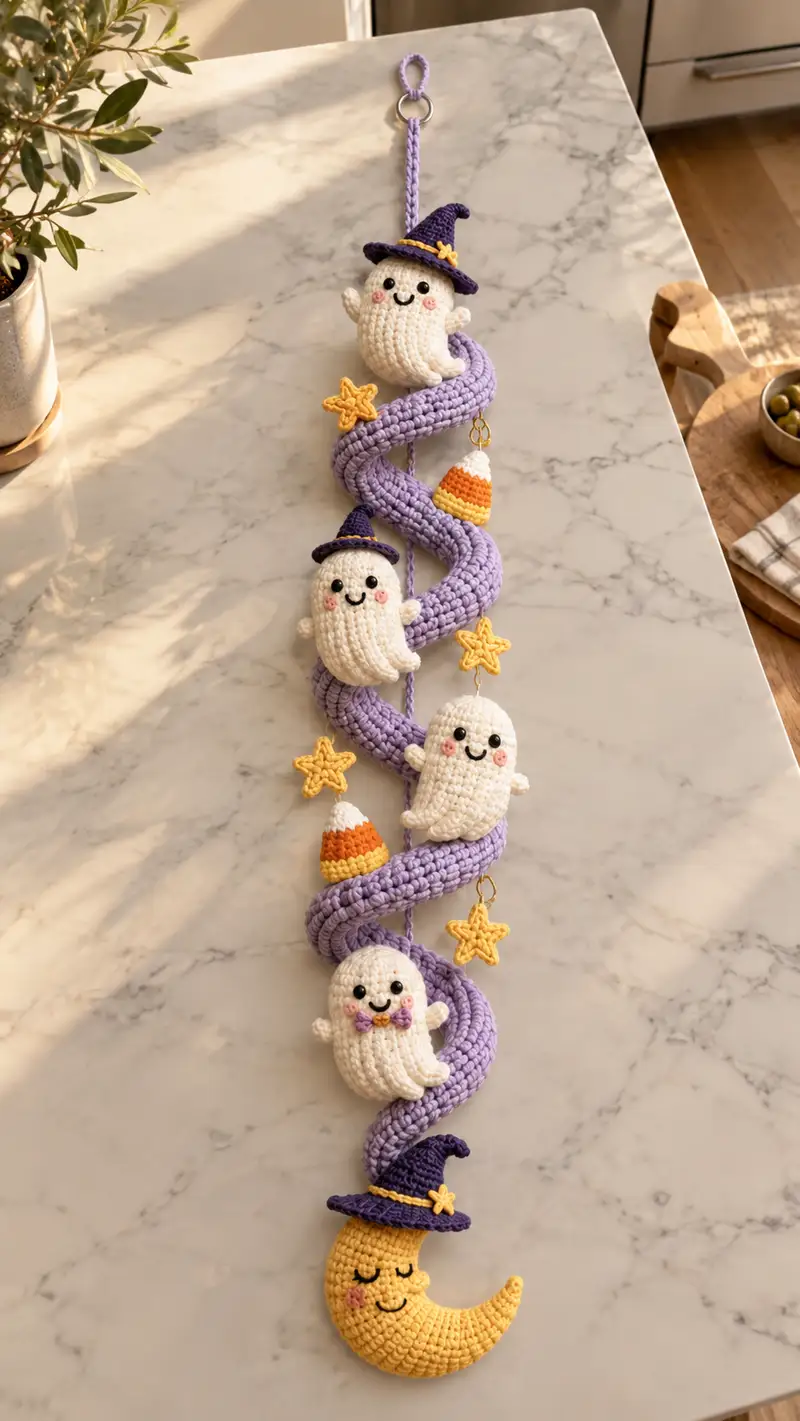
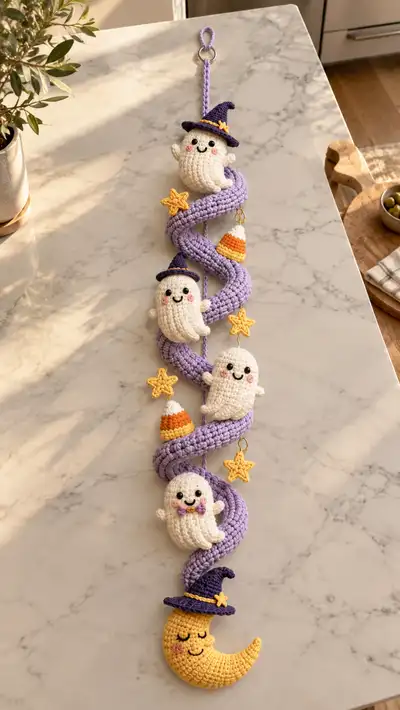
Create a whimsical Halloween spiral garland featuring four tiny smiling ghosts, dangling stars and candy-corn charms, and a sleepy crescent moon wearing a witch hat. This detailed pattern guides you through crocheting the thick lavender spiral, three identical small ghosts plus one special ghost with hat and bow, small star and candy corn charms, and a crescent moon with hat. Finished garland hangs neatly from a ring for an instant seasonal accent.
Progress Tracker
0% Complete
— Spiral Tube (Make 1) :
Round 1 :
6 sc in magic ring (6)
Round 3 :
(1 sc, inc) x 6 (18)
Round 4 :
(2 sc, inc) x 6 (24)
Round 5 :
(3 sc, inc) x 6 (30)
Round 6 :
(4 sc, inc) x 6 (36)
Round 7 :
(5 sc, inc) x 6 (42)
Round 8 :
(6 sc, inc) x 6 (48)
Info :
Use a thicker hook (eg 4.5mm) or two strands held together if you want a chunkier spiral. Work tightly so stuffing does not show through later. This tube will be coiled into a spiral, so aim for a fairly rigid fabric. Mark start of round with a stitch marker.
Round 9-16 :
1 sc in each st (48)
Info :
These even rounds build tube length. If you want a longer garland, add more even rounds here. Carry unused lavender yarn inside the tube or fasten off and rejoin later.
Round 17-24 :
1 sc in each st (48)
Round 25-32 :
1 sc in each st (48)
Info :
At the end of Round 32, check your tube length by loosely coiling it to the shape you want. The photo spiral is about 6-7 coils with spacing; adjust the number of rounds so the final coiled height matches your preference. Add or subtract sets of 8-12 even rounds as needed (each 8 rounds adds roughly 2cm depending on yarn tension).
Round 33-56 :
1 sc in each st (48)
Info :
Continue even rounds until your tube is long enough to create the full spiral. For the sample photo we worked to Round 56 total (48 stitches x 56 rounds) to achieve a long, coiling tube. Keep the tube slightly stuffed with fiberfill every 12-20 rounds to maintain roundness and prevent flattening.
Round 57-64 :
1 sc in each st (48)
Round 65 :
(6 sc, dec) x 6 (42)
Round 66 :
(5 sc, dec) x 6 (36)
Info :
Begin tapering the ends slightly so they sit neatly when coiled. Stuff the final section lightly and ensure the end is shaped into a smooth, slightly flattened cap for neat joining to the hanging loop or the bottom finish.
Round 67 :
(4 sc, dec) x 6 (30)
Round 68 :
(3 sc, dec) x 6 (24)
Round 69 :
(2 sc, dec) x 6 (18)
Round 70 :
(1 sc, dec) x 6 (12)
Info :
Fasten off, leaving a long tail. Use the tail to sew the end to itself or to the hanging loop piece. We will coil the tube into a spiral and secure coil positions with a few whip stitches through the tube and the underlying coil, catching inside loops so stitches remain hidden.
— Hanging Loop & Core Cord :
Round 1 :
Make a chain long enough to act as a core and to pass through the spiral length—ch 120 or adjust for length (unchanged)
Info :
I like to crochet a thin cord (cn: ch 120, sl st back along chain) to act as the core cord to which ghosts and charms are attached. This cord threads through the center of the spiral and prevents sagging. You can use a length of matching yarn or a thin macrame cord as an alternative.
— Ghost (Make 4 - Base Body) :
Round 1 :
6 sc in magic ring (6)
Round 3 :
(1 sc, inc) x 6 (18)
Round 4 :
(2 sc, inc) x 6 (24)
Round 5 :
(3 sc, inc) x 6 (30)
Round 6-9 :
1 sc in each st (30)
Info :
Place 8mm safety eyes between Rounds 7-8; space them about 6-8 stitches apart depending on desired expression (photo shows ~6 sts between). If embroidering eyes, mark position before stuffing. Start stuffing the head lightly after adding eyes so the face keeps a round shape.
Round 10 :
(3 sc, dec) x 6 (24)
Round 11 :
(2 sc, dec) x 6 (18)
Round 12 :
1 sc in each st (18)
Info :
At this point your ghost silhouette is formed. Continue stuffing to achieve a slightly plump, pillowy body. The ghost has a rounded head and a slightly wider mid-section before the frilly base.
Round 13 :
(1 sc, dec) x 6 (12)
Round 14 :
1 sc in each st (12)
Round 15 :
Start base frill: *sc in next st, 3 dc in next st, sc in next st* repeat around (increase stitch count to 18 by design)
Info :
The frill is a decorative round made with small shell groups (3 dc) to mimic the flowing ghost tail. After the shell round, you can add a single crochet round to anchor the shells and keep a tidy edge.
Round 16 :
Work 1 sc in each st around (18)
Round 17 :
*(sc in next st, picot in next st) x 6* to add tiny scallops (18)
Info :
If you prefer longer frills, replace the picot pattern with *sc, ch2, sc* or increase the shell size to 5 dc. Fasten off leaving a long tail for sewing to the jump rings or hanging cord.
Round 18 :
Fasten off leaving tail. Sew small arms as below and attach in position between Rounds 9 and 11 on the ghost's sides.
— Ghost Arm (Make 8 total; 2 per ghost) :
Round 1 :
6 sc in magic ring (6)
Round 3-5 :
1 sc in each st (12)
Info :
Stuff the arm very lightly or not at all for a flat, thumb-like shape. Use your tail to sew the arm to the body with a few secure stitches; the arm should angle slightly upward as in the photo.
— Ghost Variant A (with Witch Hat) :
Follow :
Follow 'Ghost (Make 4)' rounds for body. Make witch hat as separate piece below and attach centered above eyes. Add tiny star decoration (gold) to hat brim.
— Witch Hat (Small - Make 3 hats for selected ghosts and moon) :
Round 1 :
6 sc in magic ring (6)
Round 3 :
(1 sc, inc) x 6 (18)
Round 4 :
(2 sc, inc) x 6 (24)
Round 5-7 :
1 sc in each st (24)
Info :
After Round 7, stitch a flat brim: join yarn to any st on Round 5 and ch1 then work 24 sc around in FLO to create a flared brim. Optionally work one more round in BLO to make a decorative ridge.
Round 8 :
Join to brim edge, ch1, (2 sc in next st, sc next 2) around to add slight flaring (32)
Round 9 :
Fasten off leaving long tail for sewing. Embellish hat with a golden band (sl st or surface crochet) and a tiny star applique (see star instructions) sewn to the side.
— Crescent Moon Body (Make 1) :
Round 1 :
6 sc in magic ring (6)
Round 3 :
(1 sc, inc) x 6 (18)
Round 4 :
(2 sc, inc) x 6 (24)
Round 5 :
(3 sc, inc) x 6 (30)
Round 6-10 :
1 sc in each st (30)
Info :
To shape the crescent, we will create a flat, slightly curved disk and then remove additional stitches from one side to form the crescent curve. Use stitch markers to mark the outer edge points where you will remove or reduce stitches.
Round 11 :
(3 sc, dec) x 6 (24)
Round 12 :
(2 sc, dec) x 6 (18)
Round 13 :
1 sc in each st (18)
Round 14 :
Form curve shaping: sc 10, skip 4, sc remaining 4—this pulls fabric to make a crescent curve (14)
Round 15 :
Work 1 sc in each st around (14)
Round 16 :
Increase slightly on inner curve: (sc, inc) across inner 6 sts to puff inner edge (20)
Round 17 :
1 sc in each st (20)
Info :
Work shaping slowly; stuff as you go to help the moon hold its crescent shape. Stuff firmly but allow a slight flatness so the moon hangs pleasantly against the spiral. Leave a long tail for sewing the moon to the lower end of the spiral tube.
Round 18 :
(2 sc, dec) x 5 (15)
Round 19 :
(1 sc, dec) x 5 (10)
Round 21 :
Fasten off leaving tail for sewing. Attach facial details: embroider closed eyes and a small smiling mouth; add blushed cheeks with a small dab of fabric-safe paint or yarn sewn in a loop for a textured cheek.
— Moon Witch Hat (Small - Make 1) :
Round 1 :
6 sc in magic ring (6)
Round 3 :
(1 sc, inc) x 6 (18)
Round 4-5 :
1 sc in each st (18)
Info :
Create a slightly wider brim by joining yarn to Round 3, ch1, then work 18 sc in FLO for one round. Add a small gold band using surface slip stitches or a contrasting yarn. Secure a small star appliqué to one side.
Round 6 :
Join to top and shape point by working (3 sc, dec) x 3 (15)
Round 7 :
(2 sc, dec) x 3 (12)
Round 8 :
(1 sc, dec) x 3 (9)
Round 9 :
Fasten off leaving tail for sewing. Slightly stuff top and shape the point to have a small droop like a classic witch hat.
— Star Applique (Make 5) :
Round 1 :
ch 5, sl st to form a small loop; ch 1 to start
Round 2 :
*(sc, ch2, sc) into loop to form one point, sl st to attach and move to next point* repeat 5 times to form 5 points
Round 3 :
Work 1 sc around the outer points to tidy edges and add stability; adjust with a few slip stitches to close holes
Info :
Use golden yellow yarn and small hook for tight, crisp stars. Sew stars to small jump rings or directly to spiral at desired positions so they dangle. For a sturdier star, work a second star and stitch together lightly and stuff with a tiny bit of fiberfill.
— Candy Corn Charm (Make 3) :
Round 1 :
6 sc in magic ring using white (6)
Round 3 :
(1 sc, inc) x 6 (18)
Info :
Change color to orange at Round 4. Carry white tail inside or fasten off and join orange for clean color changes.
Round 4 :
Change to orange; 1 sc in each st (18)
Round 5 :
(2 sc, dec) x 6 (12)
Round 6 :
Change to yellow at top, 1 sc in each st (12)
Round 8 :
Fasten off leaving tail; lightly stuff and close. Attach to jump ring and hang from spiral with short chain of ch3.
— Small Bow (for lowest ghost) :
Round 1 :
ch 6, sc in 2nd ch from hook and across (5)
Round 2-3 :
1 sc in each st across, fasten off leaving long tail and wrap around the middle to cinch bow, secure with a few stitches (flat piece)
Info :
Use purple or lavender for the bow shown in the photo. Sew the bow to the lowest ghost at the neckline area with a couple of secure stitches.
— Assembly & Hanging Cord Attachment :
Info :
Lay the spiral tube flat. Thread the core hanging cord (the long chain or cord made earlier) through the center of the spiral so it runs along the entire length. Position ghosts, candy corns and stars along the cord and mark their desired locations with pins. Typically position top ghost close to the top coil, two ghosts mid-spiral and one near the bottom above the moon.
Step 1 :
Using long yarn tails, sew each ghost to the core cord through the top of the ghost (pass the tail through the ghost body tip and around the cord) so each ghost is securely attached and stands slightly away from the tube to dangle naturally. Use ladder stitch and catch inside rounds so seam is invisible.
Step 2 :
Attach candy corn charms using small jump rings through the top stitches of each charm and secure them to the hanging cord or directly to the coil where pictured. Let them hang slightly lower than the ghosts for layered depth.
Step 3 :
Sew the moon to the bottom end of the spiral tube. Use a long tail to sew through both the moon and the end of the spiral tube, stuffing lightly as you close the join for a neat finish. Add the moon hat and small star to its brim.
Step 4 :
Sew or attach stars with jump rings so they hang between ghosts and add visual rhythm. Fasten off all ends and weave in securely inside the tube where possible to prevent fraying or visible tails.
Info :
To keep the spiral shape permanent, secure the coil at 6-8 strategic points by stitching through the tube to the underlying coil with matching yarn—make sure stitches are hidden inside the tube. This prevents the spiral from unwrapping in transit or when hung.
— Finishing Touches :
Step 1 :
Attach the top loop: make a small crocheted loop (ch 12, sl st to first ch) or use a keyring and sew the tube end securely to it with the long tail. Reinforce with extra stitches and a dot of fabric glue if desired.
Step 2 :
Add embroidered smiles and cheeks on each ghost with black yarn for eyes and mouth, and small pink embroidered circles for rosy cheeks. Use French knots for cheek dots or very small circles of pink yarn.
Step 3 :
Check overall balance by holding the garland by the loop and adjust charm positions so distribution is even. Tighten any loose stitches and weave in all tails into the spiral interior.
Info :
Block the spiral lightly by pinning it into the desired coil on a padded surface and steam setting carefully from a safe distance if your yarn can tolerate it. This gives a neater, more stable shape.
This spiral garland brings a touch of handmade Halloween whimsy to any room—little smiling ghosts, gold stars and a sleepy moon all spiral down a lavender rope. Each motif is designed to be joyful and slightly vintage in character, making it a favorite seasonal decoration. Enjoy the process of stitching each tiny detail and arranging the charms to your taste; the result is a festive, tactile piece you can hang year after year. 🧶🎃🌙