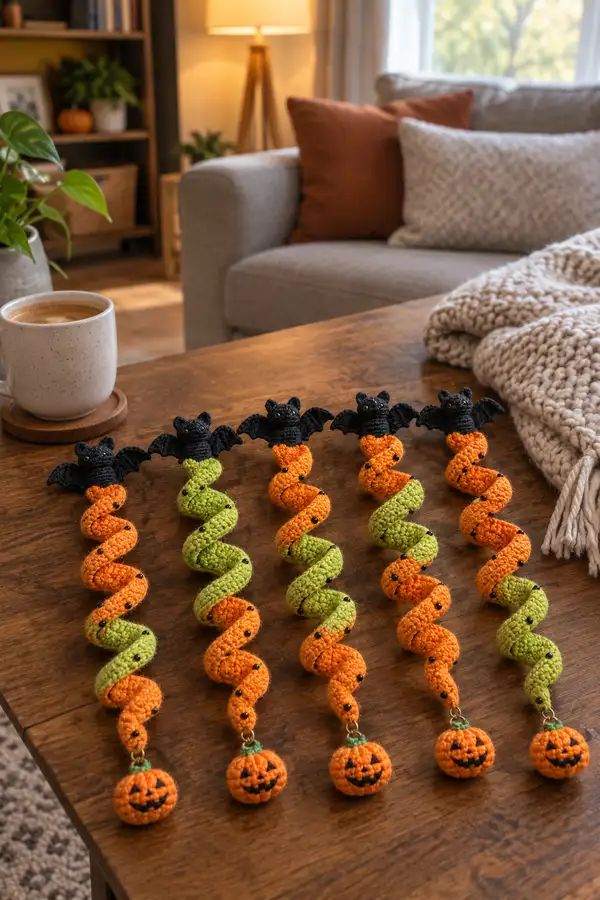
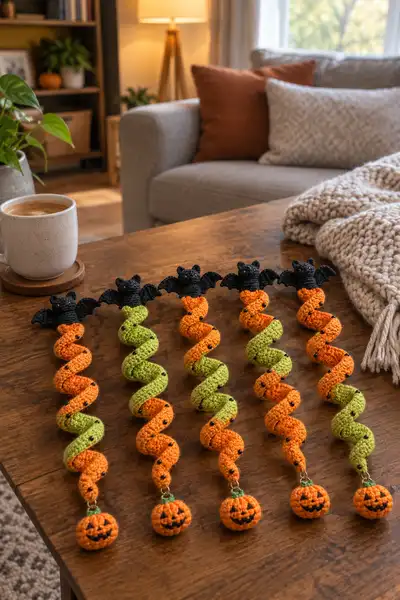
About This Halloween Spiral Hanging Ornament Garland Amigurumi Pattern
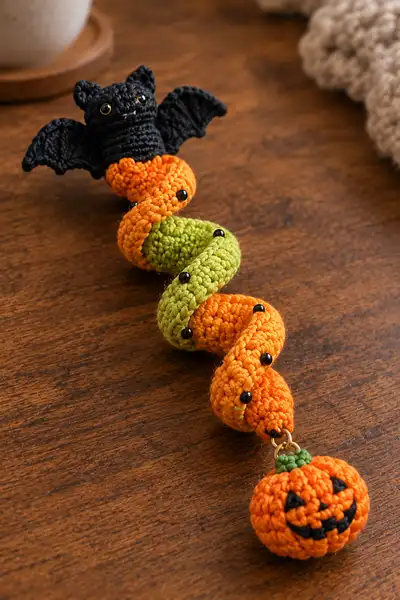
This pattern recreates the Halloween Spiral Hanging Ornament you see in the photos: a little black bat head with spread wings sits atop a long corkscrew-style spiral body worked in alternating orange and lime-green segments and finished with a tiny crocheted jack-o'-lantern charm. The spiral is slightly stuffed to hold its coil shape and embellished with small black beads for 'stitch' detailing. Finished ornaments are light, compact, and perfect for garlands or individual hanging decorations.
Designed to be worked in pieces and assembled, the pattern emphasizes even tension and gradual stuffing to achieve a neat spiral coil. The instructions include round-by-round counts, color-change tips, and assembly guidance so you can produce consistent repeats for garlands.
Why You'll Love This Halloween Spiral Hanging Ornament Garland Amigurumi Pattern
I love this pattern because it pairs a cute, slightly spooky bat with a satisfying spiraled body that really shows off color and texture. The little pumpkin at the bottom is such a playful finishing touch and makes each ornament feel complete. I also enjoy how the spiral construction is simple to crochet but transforms into an eye-catching, three-dimensional corkscrew with only a few assembly tricks.
Switch Things Up
I absolutely love how flexible this pattern is — you can easily change color blocks to purple and black for a goth-inspired look, or use pastel shades for a whimsical take. The long spiral lends itself beautifully to experimenting with yarn textures too, such as cotton for crisp coils or acrylic for extra spring.
I recommend trying different sizes by using lighter or heavier yarn; for example, swapping to DK and a 3.25mm hook will give a slightly slimmer ornament while bulky yarn creates a chunky, statement piece. Add beads, metallic thread or tiny bells to the pumpkin for extra character.
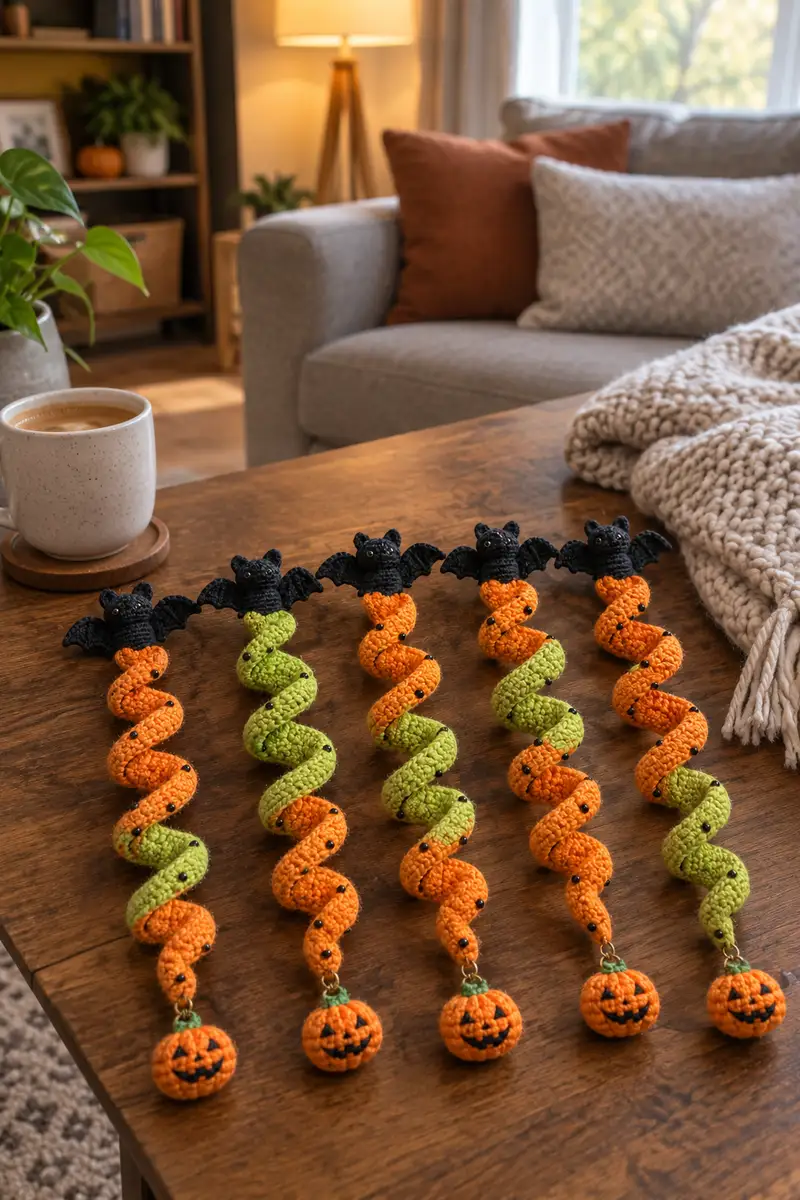
If you want a garland, make a set of 6-8 and string them on ribbon or leather cord, spacing evenly and mixing orange-green and all-orange spirals for visual interest. Don't be afraid to personalize faces and expressions — each pumpkin can have its own personality!
Common Mistakes & How to Fix Them
✗ Skipping stitch markers at round starts can cause misaligned features and uneven shaping; always mark your first stitch of each round.
✗ Inconsistent tension between rounds creates lumpy or uneven spirals; practice maintaining steady, even tension throughout the long tube.
✗ Not stuffing gradually as you work causes difficulty shaping the spiral; stuff small amounts often to keep the tube flexible and even.
✗ Changing color without securing ends can create bulk inside the spiral; weave in ends or carry yarn neatly to avoid lumps.
✗ Placing safety eyes too late makes repositioning impossible; attach eyes before final stuffing and double-check spacing.
✗ Sewing wings or pumpkin on without pinning creates crooked placement; pin and check from multiple angles before sewing.
✗ Using too large a hook for amigurumi makes stuffing show through; use a slightly smaller hook than the yarn label recommends.
✗ Missing beads or forgetting to secure them risks loss; stitch beads firmly through several layers or use tiny knots and glue if necessary.