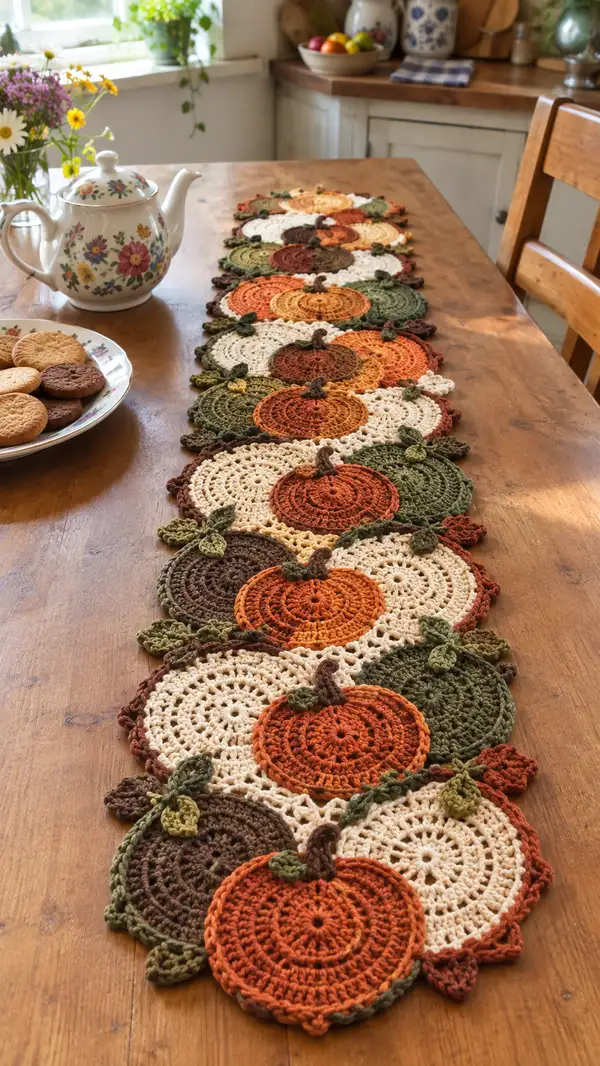
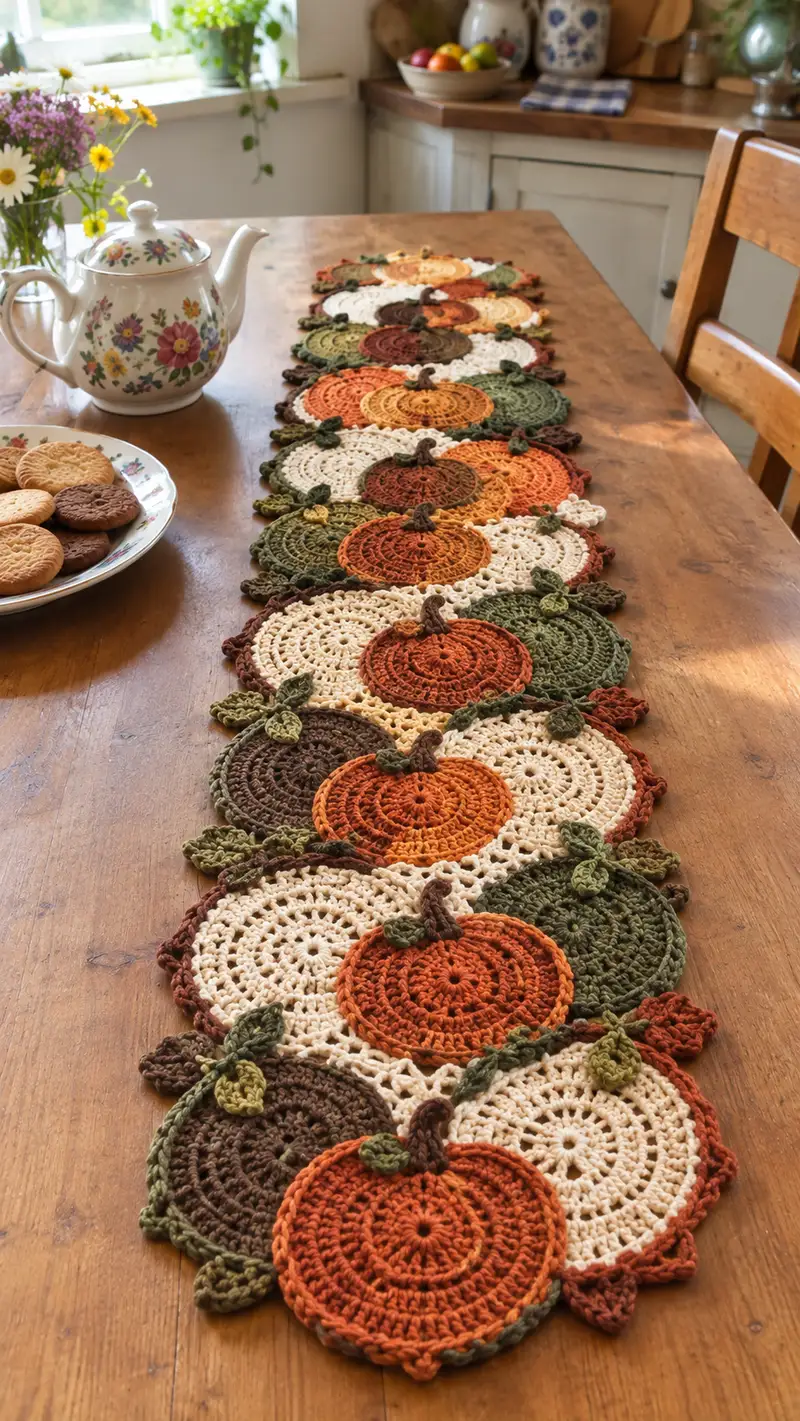
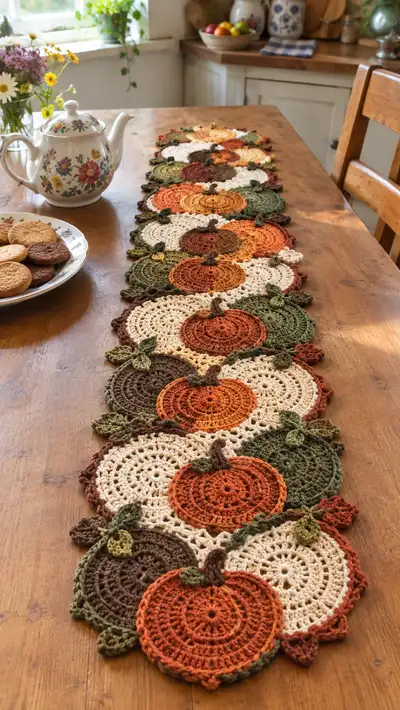
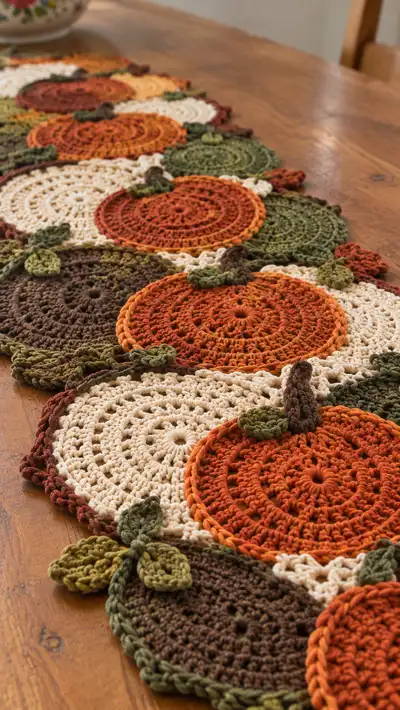
Create a warm, harvest-inspired table runner made of layered crochet pumpkin motifs, leafy vines, and textured edging. This runner features stacked pumpkin discs in autumn tones—orange, cream, moss green and cocoa—connected with braided vines and scalloped borders for a finished, heirloom look. Ideal for seasonal decor, the motifs are worked in rounds and joined into a long runner that drapes beautifully down a wooden table. Detailed assembly and joining instructions included to make a neat, sturdy runner.
Progress Tracker
0% Complete
— Pumpkin Motif (Make as many pumpkin discs as desired) :
Round 1 :
With pumpkin orange yarn, 6 sc in magic ring (6)
Round 2 :
Inc in each st around (12)
Round 3 :
(1 sc, inc) x 6 (18)
Round 4 :
(2 sc, inc) x 6 (24)
Round 5 :
(3 sc, inc) x 6 (30)
Info :
Change to hdc or dc later for a flatter disc if preferred. Keep tension even - this central increase rounds determine final disc diameter
Round 6 :
(4 sc, inc) x 6 (36)
Round 7 :
(5 sc, inc) x 6 (42)
Round 8 :
(6 sc, inc) x 6 (48)
Round 9 :
1 hdc in each st around (48)
Info :
Work Round 9 in HDC to create a slightly denser disc. Change to DC next round if you want more open texture
Round 10 :
1 dc in each st around (48)
Round 11 :
1 dc BLO in each st around (48)
Info :
Working Round 11 in BLO creates an internal ridge; this helps the pumpkin top sit slightly raised when layered onto a background circle
Round 12 :
*Ch1, sc in next st, ch2, sl st in next st* repeat around to create small looped texture (48 loops)
Round 13 :
1 sc in each st around (48)
Round 14 :
Work 6 evenly spaced front post dc ribs: *ch3, skip 6 sts, fpdc over next st* repeat 6 times finishing with sl st to first ch3. This creates 6 subtle ribs (maintain 48 base sts)
Info :
To emphasize pumpkin ridges, use a contrasting strand of slightly lighter or darker orange held together for one round. Alternatively, skip to Round 15 for a simple flat pumpkin.
Round 15 :
1 sc in each st around (48)
Round 16 :
Decorative edge: *(sl st, ch2, 3 sc in next st), skip 1 st* repeat around to create a tiny scallop edge (approximately 48 scallops)
Round 17 :
Sl st to finish, fasten off leaving 10-12" tail for sewing (no change to base stitch count)
Info :
Make pumpkin motifs slightly smaller or larger by changing hook size by 1mm. Keep stitches tight for crisp rugs
— Background Circle (Larger disk that sits under pumpkin) :
Round 1 :
With cream yarn, 6 sc in magic ring (6)
Round 2 :
Inc in each st around (12)
Round 3 :
(1 sc, inc) x 6 (18)
Round 4 :
(2 sc, inc) x 6 (24)
Round 5 :
(3 sc, inc) x 6 (30)
Round 6 :
(4 sc, inc) x 6 (36)
Round 7 :
(5 sc, inc) x 6 (42)
Round 8 :
(6 sc, inc) x 6 (48)
Info :
Background discs are intentionally the same base size as pumpkin discs to allow overlap; work tightly so edges are neat when motifs touch
Round 9 :
1 dc in each st around (48)
Round 10 :
Ch3 (counts as dc), *skip next st, dc in next st, ch1* repeat around to create airy spacedwork (approx 48 dc/48 ch1 spaces)
Round 11 :
1 dc in each st and ch sp around to reinforce (48)
Round 12 :
Optional accent round: switch to rust or golden yellow for a single round of dc in each st around (48) then fasten off leaving long tail for sewing
Info :
If you prefer a larger background, continue increases with (7 sc, inc)x6 for round 9 to reach 54 stitches; adjust pumpkin placement accordingly
— Stem (Make one per pumpkin) :
Round 1 :
With cocoa/dark brown, ch6, sl st into 2nd ch from hook and each ch back to create a firm cord (5 sl st)
Round 2 :
Turn, working along cord: sc in each st across (5)
Round 3 :
Work in rows for girth: ch1, sc across (5)
Round 4 :
Fold cord in half and sc through both layers across to create a rounded stem (5 sc)
Round 5 :
Slip stitch around base of stem to create closure and curl the stem slightly by sl st shaping at the end. Fasten off leaving tail for sewing
Info :
To create a thicker stem, start with ch8 and work same sequence, or wrap yarn around a short piece of cardboard and single crochet over it then slip stitch closed
— Leaf (Make many for each motif group) :
Round 1 :
With moss green, mr, ch2 (counts as hdc), 7 hdc in ring, sl st to first hdc (8) fasten ring closed
Round 2 :
Ch1, sc in same st, *hdc, dc, hdc in next st, sc in next st* repeat across to form pointed petal shape (8 petals counted as clusters)
Round 3 :
Work edging: *ch3, sl st in base of next petal* around to create little loops for veins (8 loops)
Round 4 :
Optional vein row: with contrasting olive, sl st down center of leaf from base to tip to create a raised vein; fasten off leaving tail for sewing
Info :
Leaves are decorative; vary size by starting with mr 6 or mr 8. You can also make elongated leaves by working more hdc/dc increases
— Small Leaf (accent leaf for vine) :
Round 1 :
With olive green, ch6, sl st in 2nd ch from hook, sc across (5)
Round 2 :
Ch1, turn, sc across (5)
Round 3 :
Decrease slightly at tip: sc2tog, sc across remaining, sc2tog at end (3)
Round 4 :
Fasten off leaving long tail for sewing. Block gently to shape.
Info :
Make these small accent leaves in two tones of green for visual depth; sew in clusters of two or three near stems
— Vine Connector (Chain join and decorative braid) :
Round 1 :
With olive, ch40 (or desired length between two pumpkin motifs), sl st to base of first motif where you want to join, fasten off leaving tail (40 ch)
Round 2 :
Reattach yarn, sc into each chain back to motif to create a flat chain braid (40 sc) fasten off leaving long tail
Round 3 :
Optional twist: pick up spare rust and dark green and with both strands held together, ch30 and braid into a 3-strand cord by slip-stitching across to create thicker vine (approx 30 ch)
Info :
Measure spacing between motifs before making connectors; pin motifs down on your table to judge vine lengths and where leaves should sit
Round 4 :
Sew vine ends to motif edges using long tails from each motif; secure with small tight stitches to avoid shifting
— Joining Motifs (Edge-to-edge placement) :
Round 1 :
Lay motifs in chosen staggered arrangement (pumpkins offset over background discs). Pin in place every 2-3 inches to ensure even spacing
Round 2 :
Using a long tail from a background disc, whip stitch the overlapping edge of the pumpkin to the background at 6-8 evenly spaced points around the overlap
Round 3 :
Create slip-stitch joins where two background discs touch: insert hook through both sets of edge scallops and sl st, working a neat seam (do not pull too tight)
Info :
For a flexible runner that drapes well, avoid sewing every stitch; target structural points only (stems, center of overlap, top/bottom touching points). Use pins to preview before sewing.
Round 4 :
When three discs meet at a point, weave tails in a small star pattern across the three edges to hold them flat and prevent gaps
— Runner Edge and Scalloped Border (Works along entire assembled runner) :
Round 1 :
With dark brown, join yarn at any outer scallop, ch1, sc evenly around outer edge of assembled runner, placing 1 sc in each visible stitch and 3 sc in each larger outer loop; adjust to keep counts even
Round 2 :
*(ch3, sl st in next sc) twice, 3 sc in next larger loop, sc in next 5 sc* repeat around to build a scalloped rhythm across motif joins
Info :
Take time here to even out the edge: add or skip single scs to smooth wavy areas. This border unifies motifs visually
Round 3 :
Switch to olive green and work a single round of sc in each st to define the scallop edge (maintains same stitch count)
Round 4 :
Optional picot round: *(ch3, sl st in base of ch3) in each scallop tip* repeat around for tiny points
Round 5 :
Fasten off and weave all tails to the back; trim close when secure
Round 6 :
Optional reinforcement: Use contrasting rust to work a final surface slip-stitch chain along outermost edge for visual definition (sl st around)
— Decorative Surface Ridges and Shadowing (Optional, works for each pumpkin) :
Round 1 :
With a slightly lighter orange strand, surface slip-stitch from center outwards along the front of the pumpkin in 6 evenly spaced ribs to highlight sections
Round 2 :
With darker rust, add tiny shadows at the base where pumpkin meets background using short surface embroidery (a few small sl st clusters)
Info :
Surface work is aesthetic only; practice on a spare disc first. Keep tension loose so you do not pucker the motif
— Assembly Sequence (How to plan and construct a complete runner) :
Round 1 :
Decide finished length and layout: for a 60" table runner plan for 10–12 pumpkin sets depending on motif size. Lay out motifs on a flat surface in rows and stagger them for a natural cascading look
Round 2 :
Start at one end: join first two motifs with slip stitch seam along one scallop to create a flexible hinge. Continue adding motifs in sequence, joining each new motif to 2 or 3 existing motifs where they overlap
Round 3 :
Attach stems and leaves as you go: sew stem to pumpkin center top and place a small leaf cluster where stem meets background to hide stitches
Info :
Pin often. The runner will look quite different once motifs are connected—pin everything first, then stitch. Keep seam stitches sparse and neat for drape
Round 4 :
Once all motifs and vines are in place, work the border rounds described earlier around entire assembled runner to finish and unify edges
Round 5 :
Weave in all tails using yarn needle; block lightly to open stitches and flatten motifs if desired. Use steam blocking on cotton per manufacturer's instructions
Info :
Machine washing cotton runner may soften edges; hand wash cold and dry flat for best longevity. Avoid heavy agitation
— Finishing Touches and Optional Variations :
Round 1 :
Add tiny crochet acorns by making a small cone of brown and a cap in lighter tan, attach near vine intersections for extra interest
Round 2 :
To change scale: use DK yarn and 4.0mm hook for a smaller, more delicate runner; use bulky cotton and a 6.0mm hook for a chunky statement runner
Round 3 :
For a table mat set, make single motif sets and skip long vine connectors; finish edge as described to make individual placemats
Info :
Keep notes on motif count, yarn usage, and any adjustments so you can recreate the runner easily later
This cozy Harvest Pumpkin Table Runner brings autumn to your table one carefully stitched motif at a time. Each layered pumpkin, little stem and leafy vine adds warmth and personality to your seasonal decor. Whether you make a short centerpiece runner or a long table-length version, this pattern invites leisurely stitching and customization. I hope these instructions help you create a runner you’ll set out every fall with pride — happy crocheting! 🍁🧶