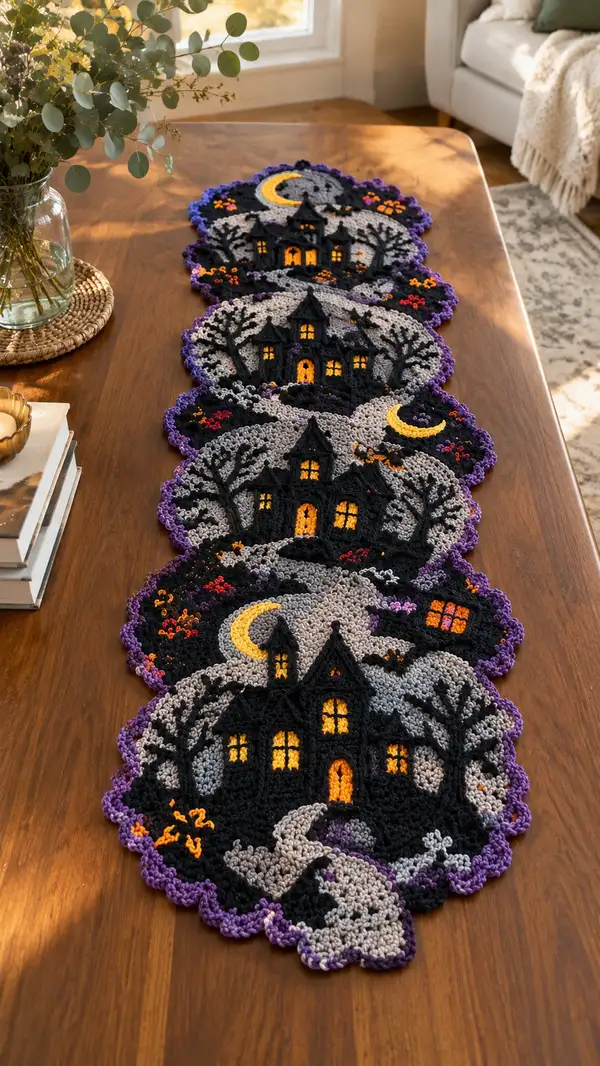
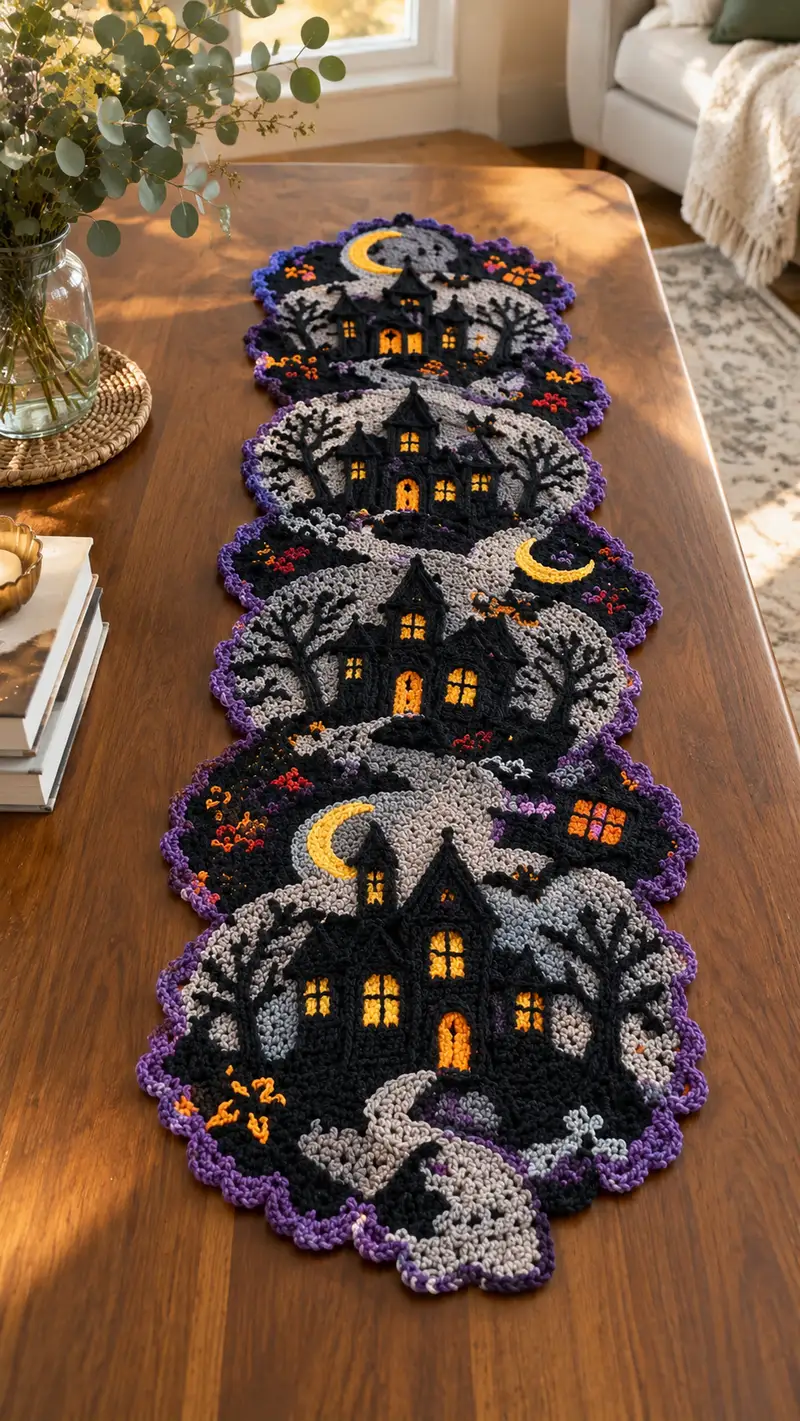
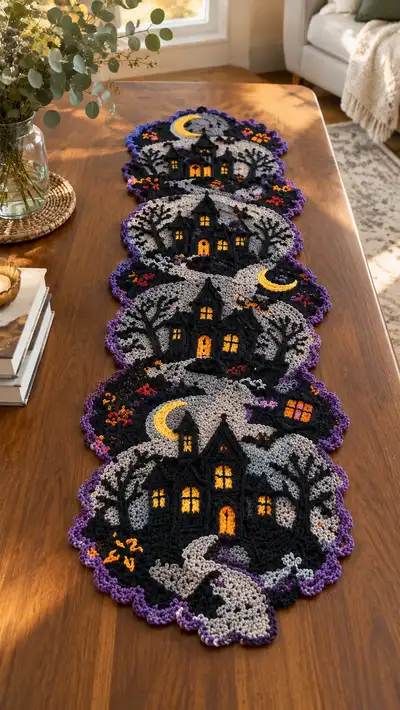
Create a spooky, vintage-inspired Halloween table runner featuring linked circular haunted-scene motifs with moonlit hills, silhouetted trees and a glowing house. This pattern uses colorwork, applique9-style overlays and a scalloped purple border to achieve the layered look shown. Each motif is worked as a base circle, then layered with small applique9 pieces for the house, moon, trees, path and pumpkins before motifs are joined into a long runner.
Progress Tracker
0% Complete
— Notes before you begin :
Info :
Make 5 identical circular scene motifs and join them with a join-as-you-go method described in the Assembly section. You can make fewer or more motifs to change runner length. Work tightly to avoid holes showing through the motifs. Use stitch markers at the start of each round and for marking the center axis where the house will be positioned.
Info :
Change hook to 3.25mm for applique9 details if you want tighter pieces (houses, trees, moon). Keep all color fasts neat—carry color inside the wrong side of rounds or weave in tails as you go.
— Motif Base (Make 5 identical) :
Round 3 :
(1 sc, 1 inc) x 6 (18)
Round 4 :
(2 sc, 1 inc) x 6 (24)
Round 5 :
(3 sc, 1 inc) x 6 (30)
Round 6 :
(4 sc, 1 inc) x 6 (36)
Round 7 :
(5 sc, 1 inc) x 6 (42)
Round 8 :
(6 sc, 1 inc) x 6 (48)
Round 9 :
(7 sc, 1 inc) x 6 (54)
Round 10 :
(8 sc, 1 inc) x 6 (60)
Info :
At this point you have the foundation circle. Place a marker at the stitch which will be the lower center point of your scene (this is where the path will begin). Work rounds evenly for the background sky/hills and change colors as described below to create atmospheric layering.
Round 11-12 :
1 sc in each st (60)
Info :
Change to medium gray yarn for the smoky hill layer on the right side of the motif. You will create the shape by working slightly textured stitches on top of this base using surface crochet later.
Round 13-16 :
1 sc in each st (60)
Info :
Round 13 is a good position to mark where the house center will sit. Count 30 sts from your lower center marker to find top middle—mark two stitches either side of this to center the house applique9 later (approx 5-7 sts wide depending on house size).
Round 17 :
Change to light gray. 1 sc in each st (60)
Round 18 :
1 sc in each st (60)
Info :
These rounds mark the middle hill/foreground area. The lighter gray will read as a foreground hill when overlaid with black silhouette pieces. Carry unused colors on the wrong side or weave tails as you go.
Round 19 :
Change to black. 1 sc in each st (60)
Round 20 :
1 sc in each st (60)
Info :
Rounds 19-20 create the silhouette foreground where trees, house base and stones will be attached or surface-stitched. Work these rounds tightly to allow applique9 to sit cleanly on top.
Round 21 :
1 sc in each st BLO (60)
Round 22-24 :
1 sc in each st (60)
Info :
Use BLO on Round 21 to create a slight ridge that acts as a visual edge between the silhouette and the scalloped outer motif when finished. At the end of Round 24 fasten off and weave tails on the wrong side if you plan to add applique9 pieces first; otherwise leave a working tail for join-as-you-go when attaching to previous motifs.
Info :
Make 5 motif bases total. Block them lightly to flatten round shapes prior to adding applique9 pieces. Blocking helps the join-as-you-go alignment later.
— House Applique9 (Make 1 per motif) :
Info :
House is worked flat as several stacked pieces (base house, central tower, doors and windows, and pointed roofs). Work these smaller pieces in black yarn and sew into position. For tighter shape use 3.25mm hook for applique9 pieces.
House Base Round 1 :
Ch 18, sc in 2nd ch from hook and across (17), ch1 turn - this forms the rectangular base row foundation
House Base Round 2 :
Sc in each across (17)
House Base Round 3 :
Sc across (17)
House Base Round 4 :
(Sc 7, inc, sc 8) across front to shape slight bulge for the doorway area (18)
House Base Round 5 :
Sc across (18)
Info :
If you prefer the house taller, add more rows repeating even sc rounds. Keep the final base approx 16-20 sts wide so it fits neatly on the motif circle (counts above assume a 60-st round foundation).
Central Tower (make 1) Round 1 :
Ch 10, sc 9 (foundation) (9)
Tower Roof Round 1 :
Switch to 3.25mm hook. Ch 1, sc 1st 5 sts of tower top, dec, sc last stitch - shape roof peak (8)
Roof Round 2 :
(Sc 1, dec) x 2, sc 2 (6)
Roof Round 3 :
Sc across (6). Fasten off leaving long tail for sewing.
Info :
Sew the central tower to the rear of the house base so it sits slightly behind and above the doorway. Use small whip stitches and weave tail through several stitches to anchor securely. Position tower center approximately 2-3 rounds above the baseline mark on the motif.
Door (Make 1) Round 1 :
With orange, ch 6, sc 5 (5)
Round 2 :
(Sc 1, inc) x 2, sc 1 (7)
Round 3 :
Sc across (7) - fasten off leaving tail to sew door centered near lower edge of house base
Windows (Make 4 or 5 small) Round 1 :
With yellow, ch 4, sc 3 (3)
Round 2 :
Sc across (3). Fasten off leaving tail for sewing windows through the house black fabric and into the light gray background behind to simulate glowing windows.
Info :
Position windows and door before attaching house to base. Place windows about 3-5 stitches apart and stagger vertically to create a welcoming but spooky look. When sewing, sew through the house and into a few stitches of the motif base to secure, hiding the sewing tail behind the applique9.
— Trees Applique9 (Make 2 per motif) :
Trunk Round 1 :
Ch 4, sc 3 (3)
Round 2-4 :
Sc across (3) - lengthen trunk until approximately 8-10 rows high depending on desired tree height
Branches Round 1 :
Attach yarn to top of trunk, ch 6, sl st into trunk 2 sts down, ch 5, sl st into trunk 3 sts down to form two forks. Repeat on opposite side.
Branch Embellishments :
Use slip stitches and short chains to create several twiggy forks branching outward. Fasten off leaving tail for sewing.
Info :
Make two mirror-image trees per motif. Sew to the black silhouette rounds slightly to the sides of the house so they frame the house but do not obstruct windows.
— Moon Applique9 (Make 1 per motif) :
Moon Round 1 :
With yellow, mr, 6 sc (6)
Round 2 :
(1 sc, inc) x 3 (9)
Round 3 :
(2 sc, inc) x 3 (12)
Round 4 :
Sc around (12). For crescent shape: fasten off leaving tail and flatten into a slight crescent, sew a small section of the inner edge to make crescent curve; alternatively cut a small curved section away on the inner arc and stitch edges to maintain shape.
Info :
Position moon in the upper quadrant of each motif (opposite to where the path curves). Sew moon by catching a few stitches into the motif base; avoid bulky stitching on the front.
— Path & Rocks (Surface Crochet - per motif) :
Info :
The winding path is created with surface slip stitch and low-relief stitches in light-gray over the base rounds. Use a yarn needle or surface crochet hook to create a raised path that begins near the motif bottom center and curves to the house door.
Step 1 :
With light gray, find the lower center stitch of the motif. Insert yarn tail there and sl st along the path line (approx 12-16 stitches long) following the curve of the motif. Do not pull too tight; keep flat.
Step 2 :
Build the path width by working surface hdc on both edges of the slip stitched center line, creating a 3-stitch wide path. Work evenly so that path covers multiple rounds (usually across rounds 10-16 area).
Step 3 :
Embellish the path edges with small cluster stitches to create rocks. Use darker gray for shadows and white or light gray for highlights, placing clusters at random intervals along the path's outer edge. Fasten off and weave tails.
Info :
Surface crochet is forgiving—practice on a scrap circle to master the curve before working on your motifs. Keep tail management neat to avoid lumps under applique9.
— Small Details & Pumpkins (per motif) :
Pumpkin Round 1 :
With orange, mr, 6 sc (6)
Pumpkin Round 2 :
(Sc, inc) x 3 (9)
Pumpkin Round 3 :
Sc around (9) - pinch slightly and sew small vertical ridges with contrasting yarn to shape pumpkins. Add tiny brown stem with ch 3 and sl st into center.
Info :
Sew pumpkins near the path edges and under trees for color contrast. Place eyes/windows first so you don't block positioning with pumpkins.
— Window & Light Effects (per motif) :
Info :
For glowing window effect, sew the small yellow applique9 windows onto the light-gray rounds first, then overlay the house silhouette so the yellow shows through the window cutouts. If you prefer, embroider window panes with black yarn on top of the yellow pieces before attaching the house.
Tip :
For a subtle inner glow, add a small piece of slightly contrasting pale orange behind the yellow window and secure on the wrong side of the motif.
— Detailed Embroidery (optional per motif) :
Info :
Use long straight stitches or backstitch to add tiny twigs, fence posts, or a bat silhouette. Use black for silhouettes and orange/red for tiny flowers or berries. Place sparingly so the motif remains balanced.
— Edging and Scallop Border (After all motifs are prepared and joined) :
Info :
After joining motifs, work a continuous scalloped border in purple around the full runner edge. The scallops will sit on the outermost rounds of the outer motifs and provide a unified frame.
Border Round 1 :
With purple, join yarn at any outermost stitch. Ch 1, sc evenly around full runner edge placing 1 sc for approx every 2-3 stitches along motif edge to create a stable base - plan to end with total count approx 5-7 sc per motif side depending on size. Fasten off.
Border Round 2 :
Join purple again. *Ch 3, 5 dc in next sc, ch 3, sl st in next sc* Repeat around forming scallops. Adjust spacing so scallops sit centered over outermost arcs. Fasten off and weave ends.
Info :
If scallops look too large or small, remove several and rework, altering the number of dc in each scallop. You can also use picots between scallops for more texture.
— Assembly & Joining Motifs :
Info :
Arrange motif placement on a flat surface matching the photograph—motifs overlap slightly and are joined along two edges each (top and bottom), forming a long column. Use a join-as-you-go slip stitch method for seamless connection while working the last round on a new motif.
Join-as-you-go Method Step 1 :
Work motif 1 completely and block flat. Work motif 2 up to the final round. On the final round of motif 2, when you reach the edge that will meet motif 1, slip stitch into corresponding stitches on motif 1 instead of chaining or scing as usual—this locks the two edges together. Continue final round to finish motif 2.
Join Step 2 :
Repeat for each subsequent motif: align edges carefully, pin through matching scallop points or marked stitches, then join-as-you-go on the final round so motifs interlock. For stronger joints, sew an additional line of mattress stitch along the wrong side after joining.
Info :
When joining, maintain consistent tension to prevent bunching. If motifs do not align perfectly, use small running stitches to ease and adjust seam spacing before final weaving of tails.
— Finishing Touches :
Info :
Weave in all tails on the wrong side, hide ends under applique9 pieces where possible. Lightly steam-block the whole runner to set the scalloped edge and flatten applique9. If you want a firmer runner, use a lightweight fusible interfacing adhered to the wrong side, or trim a thin piece of craft felt and stitch in place using a slip stitch around the inner border to keep the runner flat on the table.
Info :
Optional: Add small non-slip pads sewn at the bottom or use a table runner pad to keep your runner from sliding on dining surfaces.
Info :
Enjoy your finished haunted-house table runner! Block and store flat when not in use. Spot clean gently as needed and avoid machine washing to preserve applique9 shapes and color pop.
This haunted house table runner is a labor of seasonal love—each motif layers texture, silhouette and color to create a charmingly spooky centerpiece. The scalloped purple edge finishes the design with a playful flourish and the glowing windows give each little house a warm inner life. Display it on your dining or console table for Halloween entertaining or as whimsical autumn decor. 🧶🎃 Enjoy the process, and be proud of the rich, handmade story you've stitched together! ✨