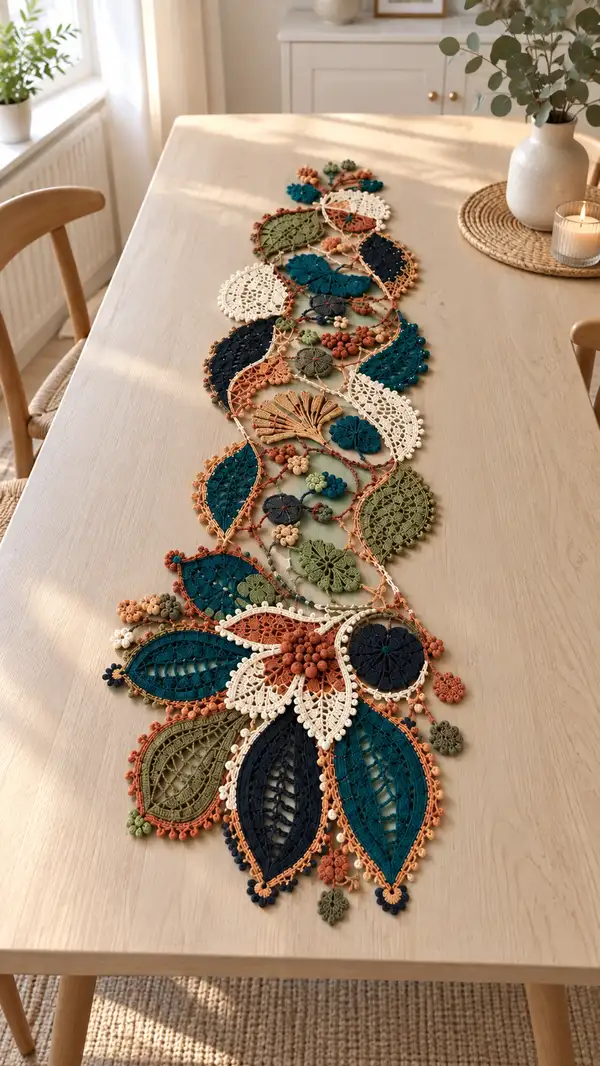
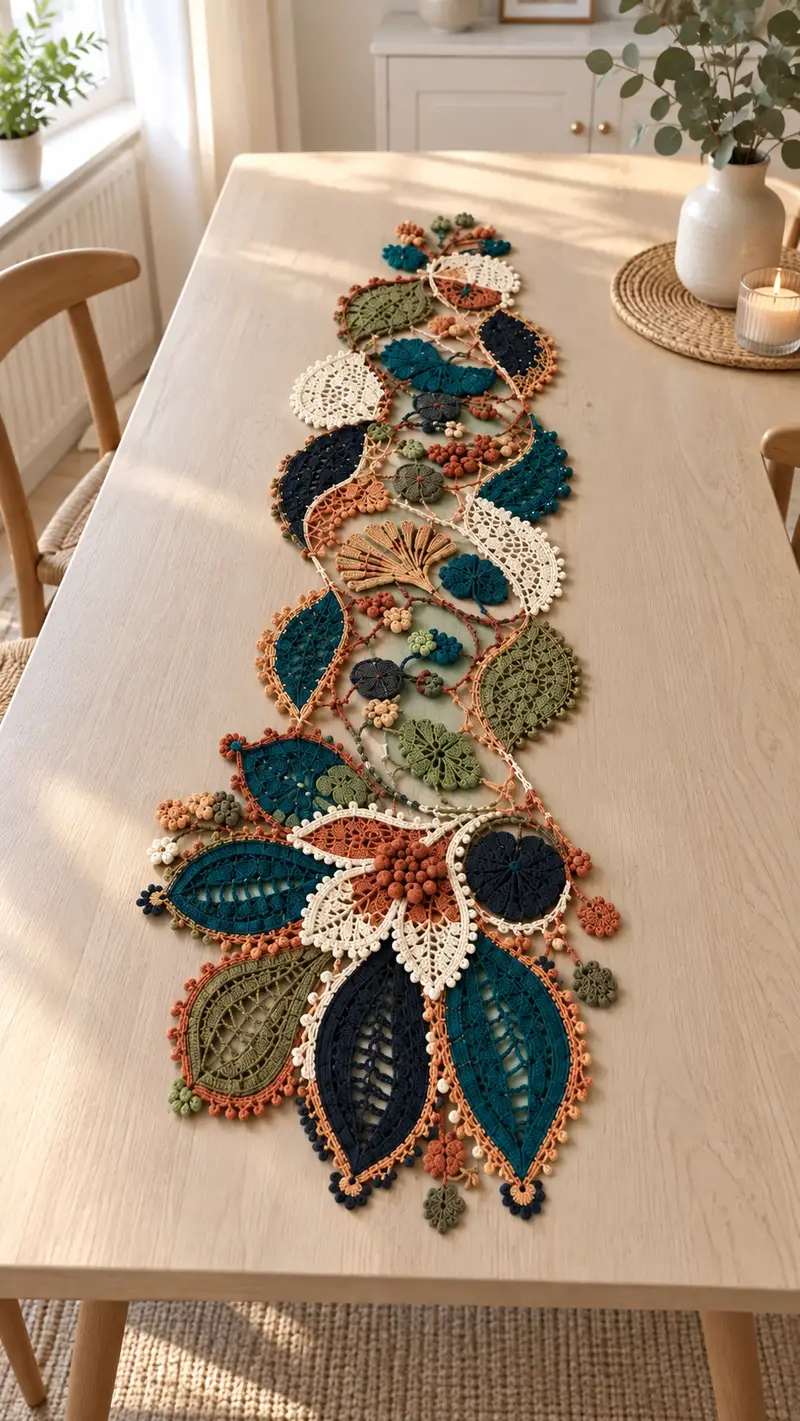
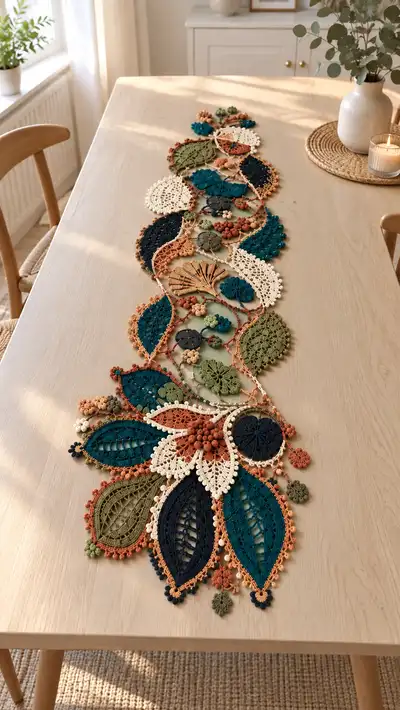
A long, elegant modular table runner composed of lace leaves, round doilies, tiny berry clusters and delicate picot joins. This pattern recreates the layered, botanical look shown in the photo — deep teal, navy, olive, terracotta and cream motifs joined into an organic flowing runner. Detailed instructions guide you through each motif, bobble cluster, edging and join-as-you-go technique so you can make a professional-looking runner for your dining table.
Progress Tracker
0% Complete
— Notes and Overview :
Info :
This runner is made from modular motifs: Large Leaf (L), Medium Leaf (M), Round Medallion (R), Tiny Flower (F), and Berry Cluster (B). Each motif is crocheted flat in the round or as mirrored halves and blocked. Motifs are then joined with chain links and picots using join-as-you-go (JAYG) and sewn where needed. The photo shows alternating layout; however you can repeat motifs for desired length.
Info :
Use one hook size throughout for consistent gauge. Keep a record of rounds and color changes on a notepad. Make at least 3–4 extra small flowers and berries for practice before starting the final assembly.
— Special Stitches / Techniques :
Info :
Bobble (US style): yarn over, insert hook, pull up loop (5 loops), yarn over, pull through 4 loops, yarn over, pull through remaining 2 loops. Alternative popcorn: 5 dc in same st, remove hook, insert hook in first dc, pull loop through to close. Picot: ch3, sl st into first ch (or ch2 sl st).
Info :
Join-as-you-go (JAYG): When closing final round of a motif, instead of sl st into your own stitch, sl st into a corresponding stitch or picot of the adjacent motif to link. For visible connections, use contrasting picot joins; for invisible joins, use matching yarn and small sl st joins.
— Large Leaf Motif (Make 8–10 depending on runner length) :
Round 1 :
ch 12, sl st to form a ring (12)
Round 2 :
ch 1, work 48 sc evenly around the ring (visual: (3 sc, inc) x 12) (48)
Round 3 :
(4 sc, inc) x 12 (60)
Round 4 :
(5 sc, inc) x 12 (72)
Round 5 :
(6 sc, inc) x 12 (84)
Info :
The increases create an oval foundation that gives the leaf its length. Keep tension even; the motif will begin to look elliptical. Change color here if making a bicolor leaf by fastening off and rejoining.
Round 6 :
1 sc in each stitch around (84)
Round 7 :
ch3 (counts as dc), *sk 2 sc, 3 dc in next st; rep from * around to create vertical openwork ribs, end with sl st to top of ch3 (84 rib placement points)
Round 8 :
Change to BLO for texture: 1 sc in each st BLO around (84)
Round 9 :
(2 sc, 1 inc) x 28 (112)
Info :
Begin shaping the pointed tips by working elongated stitches into the last few rounds. This is where you start the lace arches that define the leaf "veins".
Round 10 :
ch5, sk 3, sl st in next, *ch5, sk 3, sl st in next; rep creating 28 chain-arch points for later dc fans (28 arches)
Round 11 :
At each arch: (dc, ch2, dc, ch2, dc) to create open fan—work across all 28 arches (28 fans)
Round 12 :
1 sc between each fan and 3 sc at the base of each fan to anchor (total 112)
Round 13 :
Decorative treble rows: ch3, tr cluster into center of each fan to build height; rep around (28 clusters)
Round 14 :
1 sc in each st around (112)
Round 15 :
Edging lace: *ch3, picot, sc in next 4 sts; rep around to form tiny scalloped picot fringe (approx 28 picot scallops)
Info :
For a crisp edge, lightly block this motif now. Use rust-proof pins to pin the leaf to an elongated teardrop shape matching the picture. Leave yarn tail for joining if you want to JAYG later.
Round 16 :
Optional additional row for deeper veins: work (ch6, sl st in next fan center) x 28 to create long connecting chains along the leaf center (adds lacy negative space)
Round 17 :
Secure long chains with sc anchors: sc into chain spaces and into fan centers; total stitches anchored typically 112
Round 18 :
Final decorative edge: (picot, sc in next 3, picot) x around; finish and fasten off leaving 25–30 cm tail for joining (approx 28 picot edge points)
Info :
Make mirrored leaves by reversing the direction of rounds 7–13 if you want left and right oriented leaves; this helps the runner appear balanced when motifs sit side by side.
— Medium Pointed Leaf Motif (Make 12–14) :
Round 1 :
ch 10, sl st to join (10)
Round 2 :
(2 sc, inc) x 10 (30)
Round 3 :
(3 sc, inc) x 10 (40)
Round 4 :
1 sc in each st (40)
Round 5 :
Create ribs: ch4, *sk 2, 4 dc cluster over next st; rep around to make 10 clusters (10 clusters)
Round 6 :
sc around anchoring clusters, 1 sc between clusters (40)
Round 7 :
Edging: (ch3, picot, sc in next 2 sts) x around to build small scallops (approx 13–14 scallops)
Info :
Medium leaves are narrower and used to fill spaces between large leaves and round medallions. Block each medium leaf to match the length ratio of large leaves, about 60–70% of the large leaf length.
Round 8 :
Optional surface crochet vein: with contrasting color, surface slip stitch a central line from base to tip, fastening off at both ends
Round 9 :
Fasten off leaving long tail for joining (approx 25 cm)
— Round Medallion Motif (Make 8–12) :
Round 1 :
Magic ring, 8 sc into ring (8)
Round 3 :
(1 sc, inc) x 8 (24)
Round 4 :
(2 sc, inc) x 8 (32)
Round 5 :
1 sc in each st (32)
Round 6 :
Shell round: *skip 2, (5 dc in next), skip 2, sl st in next; rep 8 shells (8 shells)
Round 7 :
sc between shells and 2 sc in shell centres to make firm base (32)
Round 8 :
Open lace round: ch5, sl st into shell centre for 8 arches (8 arches)
Round 9 :
Work (dc, ch2, dc, ch2, dc) into each arch to form petal shapes (8 petals)
Round 10 :
sc around to anchor petals (32)
Round 11 :
Decorative cluster centres: in the very centre, embroider or use a small 5-dc bobble to form a raised centre. Alternatively sew on a small round medallion made separately (Info below)
Info :
For a raised centre, make a small 6-sc disc separately: magic ring, 6 sc; 2 rounds sc to flatten; fasten off and sew to medallion centre. This mimics the clusters seen in the photo.
Round 12 :
Edge: (ch3, picot, sc in next 3) around to create finished rim (approx 8–10 small picots)
Round 13 :
Fasten off leaving 20–25 cm tail for joining
— Small Four-Petal Flower (Make 20–30) :
Round 1 :
Magic ring, 6 sc into ring (6)
Round 2 :
(ch3, sl st) x 6 to form 6 small loops (flower foundation)
Round 3 :
Into each loop: (sc, hdc, 3 dc, hdc, sc) to create petal — repeat x 6 (6 petals)
Round 4 :
sc around base to tidy (12–18 sc depending on placement)
Round 5 :
Fasten off leaving tail for sewing (approx 15 cm)
Info :
These tiny flowers are used as filler and to hide joins. Vary colors for a natural, mixed cluster look.
— Berry Cluster (Bobble Cluster) (Make 40–60 small berries grouped into clusters) :
Round 1 :
Magic ring, 6 sc into ring (6)
Round 2 :
Make bobble: into each st, work a small 5-dc popcorn (b/pop) then sl st to next — create 6 little bumps (6 bobbles)
Round 3 :
Fasten off leaving a longer tail (approx 15–20 cm) so you can stitch groups of 4–6 berries together to form clusters
Info :
Construct berry clusters by sewing several of these mini bobble motifs together in organic shapes (3–8 per cluster) as shown in the photo. Use a small whip stitch through the bases to hold them firmly.
— Small Round Disc / Button Motif (Make 10–15) :
Round 1 :
Magic ring, 8 sc into ring (8)
Round 3 :
1 sc in each st (16)
Round 4 :
Fasten off leaving a tail to sew into the runner centre points
Info :
Use these small discs as centres for medallions or to decorate junctions. They add depth and solidity to the lacework.
— Joining & Connector Chains (Create many short chains and picot links as instructed per join) :
Round 1 :
Create a long connecting chain of ch 30–40 for linking large modules; block and lay chain along layout
Round 2 :
Anchor chain by stitching a sc at both ends and at spacing points to corresponding picots on motifs (typical anchor points every 6–8 ch)
Round 3 :
For decorative join-as-you-go: when working final round of motif, replace sl st closure with 'sl st into picot of neighboring motif' to link motifs directly instead of sewing later
Info :
Plan joins carefully: lay out all motifs on a flat surface reproducing the photo pattern. Use pins to mark join locations. Count stitches between designated picots so joins are evenly spaced.
Round 4 :
Where motifs meet at a gentle curve, use small ch-loops (ch3, sl st) to create flexible junctions that allow motifs to lie flat without puckering
Round 5 :
For stronger joins at load-bearing points (e.g., the center clusters) use back-and-forth whip stitching with the long tails left earlier. Reinforce with 2–3 passes of yarn.
— Assembly Layout & Join Plan :
Info :
Lay motifs out exactly like the photo before joining. The runner alternates large leaf clusters grouped around a central spine formed by chained picot loops and interspersed round medallions. Mark a central axis first, place large leaves at intervals, then fill sides with medium leaves, small flowers and berry clusters.
Info :
Suggested order to assemble: start at one narrow end large cluster, join adjacent medium leaves and medallions, add berry clusters and tiny flowers to hide joins as you progress down the runner. Work slowly and pin frequently to keep shape.
— Detailed Assembly Steps (round-style instructional guidance) :
Round 1 :
Place first large leaf (L1) on blocking board, position second large leaf (L2) mirrored so tips overlap slightly. Join at 3 matching picot edge points using sewing tail from Round 18 of each leaf with small whip stitches (3 stitches per join point).
Round 2 :
Add a medium leaf between L1 and L2 by aligning its base to the central seam; JAYG by sl st into picot of L1, ch3, sl st into picot of L2, then fasten off and secure tail. Repeat where visual bridges appear.
Round 3 :
Sew round medallion R1 into the negative space created by L1 and a nearby medium leaf: use the medallion tail to sew through 6 anchor points evenly spaced around the medallion perimeter, pulling gently to sit flat.
Info :
Small flowers and berry clusters are attached last, tucking them into joins to cover any visible seam. Use a curved needle and hidden knot technique to avoid bulky knots on the underside.
Round 4 :
Where three or more motifs meet, stitch a small round disc into the exact center to create a decorative medallion and reinforce the intersection (use the disc tail to sew around 8 points). This mirrors the photo layout.
Round 5 :
Make berry clusters by grouping 4–6 mini bobble motifs and sewing their bases together in organic shapes. Attach clusters at junctions and at leaf tips for visual weight.
Round 6 :
To create the central spinal chain: anchor a long chain by securing every 8th ch with a small sc to underlying motif picots, spacing evenly to create the open vine effect seen in the photo.
Info :
Keep the runner flexible by avoiding overly tight stitching at joins. Use small stitches and test the runner by draping it to ensure it lies flat.
— Edge Finishing :
Round 1 :
After all motifs are joined, work a final edge that follows the contour: with working color, sc evenly around outermost motifs, placing picots at tips (approx 1 picot every 2–4 sc depending on curvature).
Round 2 :
For a decorative finish on larger leaf tips: (sc, picot, sc) in the tip area to make pronounced beads at points. Fasten off and weave ends thoroughly into the back of the runner.
Info :
Edges will give the runner a finished, intentionally scalloped outline. Block the entire runner again after edge to unify curves.
— Blocking & Finishing :
Round 1 :
Block motifs individually first: dampen lightly, pin to shape, then allow to dry. After joining, pin whole runner in final shape and mist with water; let dry overnight. For crispness, use a light starch spray and shape edges carefully.
Round 2 :
Weave in all tails by threading through several motifs before trimming; this hides ends and helps secure joins.
Info :
If you plan to launder the runner, use a gentle handwash and reshape while wet. Avoid hot water and tumble drying which can shrink or distort mercerized cotton.
— Scaling & Customization Tips :
Info :
You can increase or decrease runner length by adding or removing modular repeats. To make a table runner for a smaller table, remove 2–4 middle motif clusters and convert to a balanced layout. Swap colors to suit seasonal decor.
Info :
For a softer drape, use a slightly larger hook (increase by 0.25–0.5 mm) and a softer cotton-blend yarn. For a stiffer look, use mercerized crochet cotton with a 2.25–2.5 mm hook and finish with starch.
Completing this table runner is a truly rewarding experience — the individual lace motifs come together to form a long, elegant botanical statement that brightens any dining surface. Each leaf, medallion and tiny berry adds texture and soulful handmade charm to your home. I hope you enjoy the meditative rhythm of making each motif and the thrill of arranging them into the flowing design. 🧶🌿 Take your time, block carefully, and enjoy placing the final touches. Happy crocheting! ✨