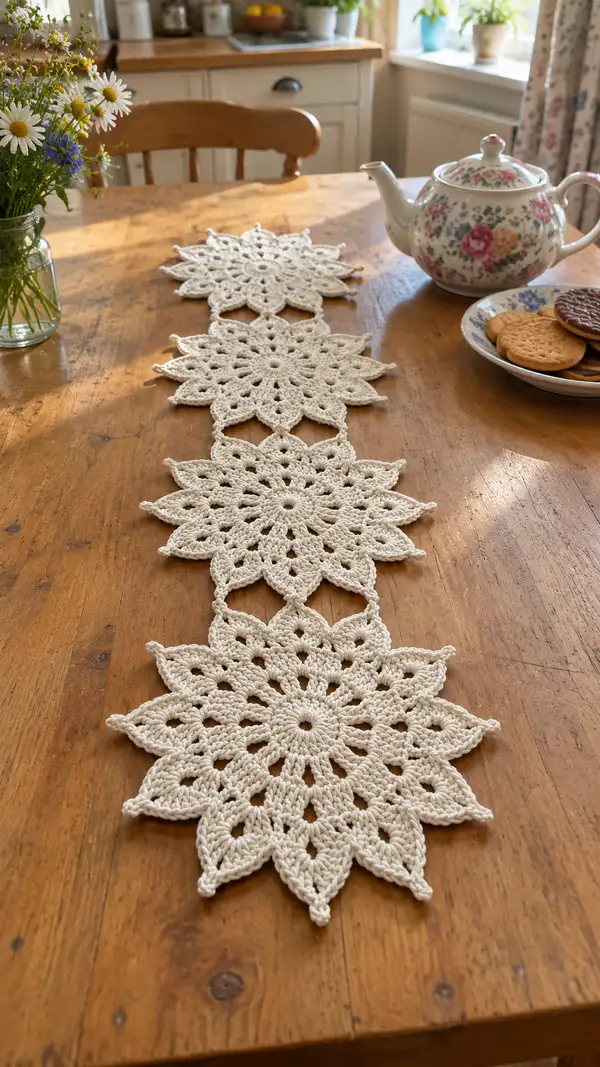
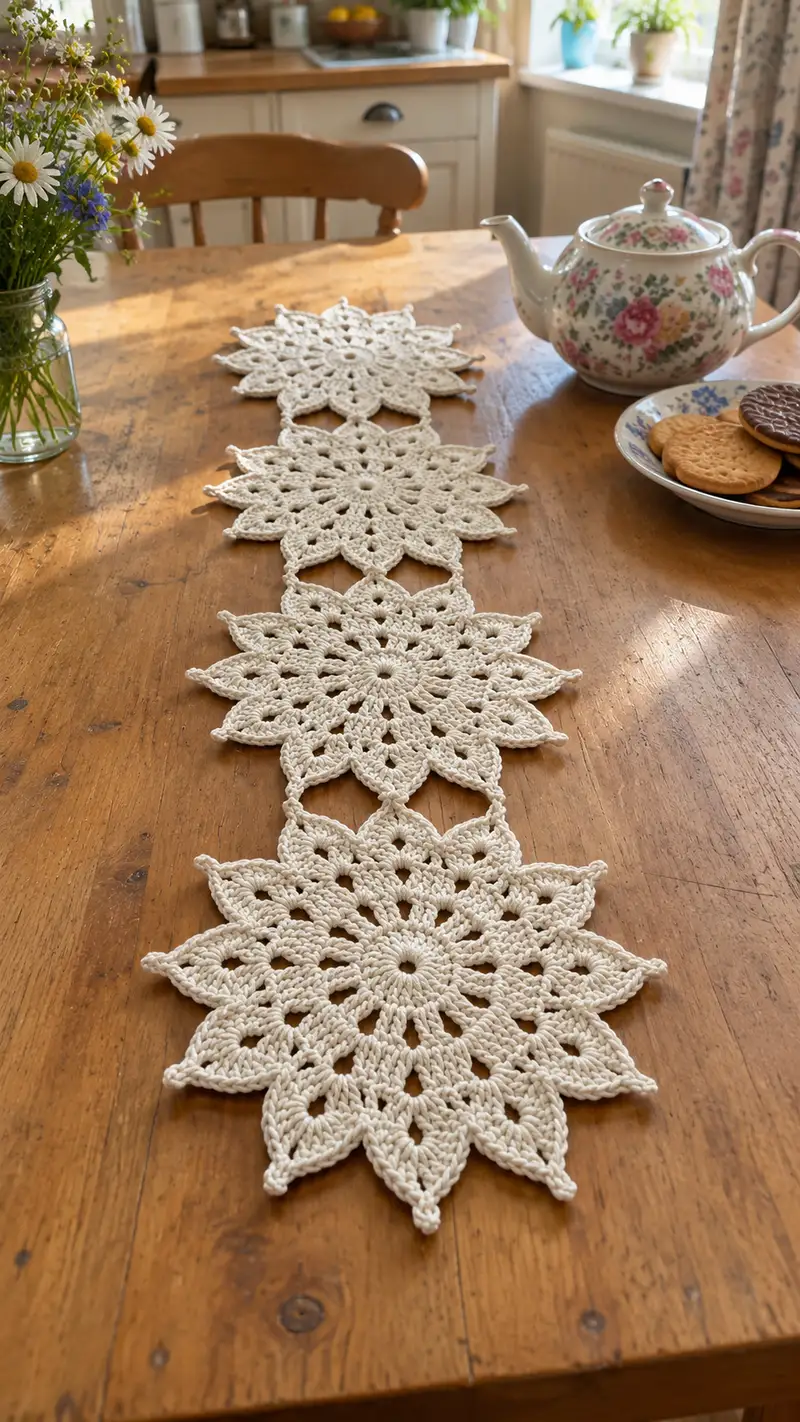
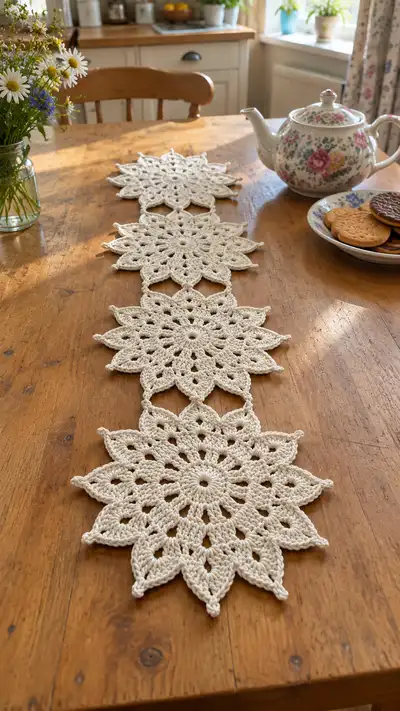
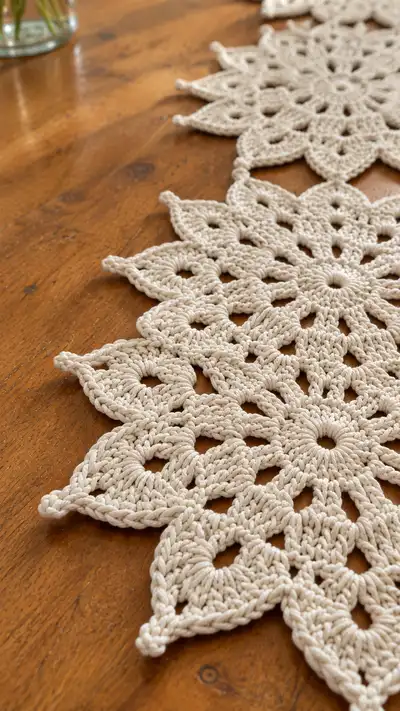
Create a charming, vintage-inspired lace star table runner made from connected floral star motifs. This runner is shown in a soft natural cotton rope color with raised petal texture and picot points — perfect for a cozy kitchen or dining table. The pattern uses thick cotton-style yarn and larger hooks to build bold, lacy petals that hold their shape. Make multiple star motifs and join them with decorative chain links for a delicate yet sturdy table accent.
Progress Tracker
0% Complete
— Motif (Make 4 identical motifs) :
Round 1 :
Make a tight magic ring. Ch3 (counts as first dc), work 11 dc into the ring, join with sl st to top of ch3 (12 dc) (12)
Round 2 :
Ch3 (counts as dc), 1 dc in same st, 2 dc in each dc around, join with sl st to top of ch3. (Work 2 dc in every base st) (24)
Round 3 :
Ch3 (counts as dc), *1 dc in next st, 2 dc in next st*; rep from * to * around, join with sl st to top of ch3. (36)
Round 4 :
Ch3, *2 dc in next two sts, 2 dc in next st (inc)*; rep to end so pattern reads (2 dc, inc) x12. Join. (48)
Round 5 :
Ch3, *3 dc in next three sts, 2 dc in next st (inc)*; rep to end forming (3 dc, inc) x12. Join. (60)
Info :
Rounds 1-5 build a circular disc that will be the base for 12 petals. Keep tension even; use stitch marker at beginning of rounds if needed.
Round 6 :
*Ch5, sk 4 sts, sl st in next st*; rep around to create 12 ch-5 loop spaces. Join with sl st to first ch. (12 ch-5 loops)
Round 7 :
Slst into first ch-5 sp, ch1, sc into same sp, ch3, [7 dc into same ch-5 sp], ch3, sc into same ch-5 sp; sl st to next ch-5 sp and rep to make 12 petal posts. Join. (12 petals)
Info :
When working the cluster of dc into the chain space, keep the cluster stitches gently loose so the petal forms in rounded profile. Place a stitch marker in the first petal to track round starts when needed.
Round 8 :
Ch1, sc in same st, *ch4, sc in tip of next petal (the top of 7-dc cluster) to form an arch between petals*; rep around so there are 12 small arches linking petals. Join. (12 arches)
Round 9 :
Sl st to nearest arch space, ch3 (counts as dc), work 2 dc, ch2, 3 dc all into the arch space (this forms a small shell). In next petal top (over the 7-dc cluster), work 3 dc, ch2, 3 dc to mirror a petal crest. Rep alternating shell into arch and shell into petal top around; join. (12 shell pairs)
Info :
This round starts to build the raised petal edge; use your fingers to lift the petal tops slightly as you work shells to encourage definition.
Round 10 :
Ch1, sc into the center of the shell made into the arch, ch5, sc into center of the shell made on petal top, ch5; rep around to produce 12 elongated chain arcs between petal crests. Join. (12 ch-5 arcs)
Round 11 :
Working into each ch-5 arc: sl st into arc, ch3 (counts as dc), 9 dc into the arc, sl st into same arc to create a tall fan; repeat for each arc (12 fans). Join. (12 fans)
Info :
Fans are tall and create the rounded shape behind each petal. Keep fan stitches even; if using a bulky yarn, you may have fewer repeats to accommodate stitch height—maintain visual balance.
Round 12 :
Ch1, sc around base of each fan to anchor, then into the top of each fan work (ch2, tr, ch2, tr, ch2) to start forming the pointed petal tip region; rep around for all 12 fans. Join. (12 anchored fans with tip foundations)
Round 13 :
Info :
Change hook if you prefer a narrower tip: switch to 5.0mm for the final petal shaping rounds to give crisper points. Carry yarn inside petals if you will join motifs later to hide ends.
Round 14 :
Sl st to front of first fan tip, ch1, sc, *ch3, (5 dc, ch3, 5 dc) worked over the tip foundation to form a pointed petal; sl st to base between petals and rep around*. Join. (12 pointed petals)
Round 15 :
Ch1, sc to base of each pointed petal, then ch6 and sl st into the small gap between petals to create tiny connecting loops; rep around for 12 connecting loops. Join. (12 ch-6 loops)
Info :
Pin the motif flat onto your blocking mat at this stage if you need to preserve the pointed petal shape for joining; the connecting loops will be used for the decorative join links later.
Round 16 :
Working into each pointed petal tip: *ch3, picot (ch3, sl st into first ch of the ch3 to form a small point), sl st into tip*; rep to add a delicate picot at each point. Join. (12 picots)
Round 17 :
Ch1, sc around the base of each picot and along the inner joins to tidy the motif edge; place 2 sc in each small gap to keep an even scallop. Join. (Approx 48 sc — depends on exact spacing)
Round 18 :
Info :
If you desire an additional raised ridge around the center, work a final round of hdc in BLO across the previous sc round to create subtle texture. Otherwise skip to finishing. This is optional and adds structural definition.
Round 19 :
Weave in the starting tail loosely around a few stitches to secure, and leave a 20-25cm tail for sewing if you plan to join before weaving in fully. Fasten off. Block motif gently into shape with pins to open petals (final motif diameter will be approx 22-26 cm depending on yarn/hook).
Round 20 :
Info :
Repeat Rounds 1-19 to make three more identical motifs. Keep motifs blocked and flat for consistent joining. Label them to keep track of orientation for join points.
— Decorative Joining & Connecting Strip :
Info :
There are several joining options: 1) Slip-stitch join through the outer ch loops; 2) Crochet a decorative strip that interlinks motifs in a narrow band (preferred shown); 3) Sew motifs using whip stitch. The pattern below creates a narrow chain-and-arc strip that echoes motif arches.
Round 21 :
Choose two motifs to join first. Align their edges so that a ch-6 loop on motif A faces a ch-6 loop on motif B. Using main yarn, join with sl st through both ch-6 loops: insert hook through the loop on motif A, then through corresponding loop on motif B, pull up a loop, ch4, sl st to secure, continue joining across the 3-4 corresponding loop pairs to form a small bridge. Fasten off or carry yarn along the back for continuous join.
Round 22 :
Repeat the join for all motif pairs: join motif 1 to 2, 2 to 3, 3 to 4 so you have a continuous chain of 4 motifs. Ensure joins are evenly spaced and motifs sit flat; pin then sew/sl st for accuracy. (3 joins if making 4 motifs)
Info :
When making joins, keep tension relaxed so the join sits slightly lower than petal tips — this keeps the visual line of petals uninterrupted. If using slip stitch join, work into the outermost loops only to prevent bulky seams.
Round 23 :
To create the decorative narrow connecting strip down the center of the runner: with yarn attached near a join, ch30 (or measure to desired spacing equaling width between midpoints of adjacent motifs), sl st into the opposite join loop to form an arc; repeat for each pair of joins to create a continuous decorative chain linking the centers. Fasten off. (Length depends on number of motifs)
Round 24 :
Info :
If you prefer a sturdier runner, work two rows of ch loops and sc foundations across the center strip: after ch30, turn and sc back across chains to create a flat braid-like strip. This gives a stronger backbone under table objects.
— Outer Edging and Final Scallops :
Round 25 :
With motifs joined, pick a starting point on one outer petal. Join yarn with sl st at the base between two petals. Ch1, sc around edge of each petal base (around the height of each petal) placing 3 sc across each small gap to even-out the scallop; join. (Approx 4-5 sc per petal base; total will depend on motif count).
Round 26 :
Ch4, *sk 2 sc, picot into next sc (ch3, sl st), ch4, sl st into next sc*; rep to create small picot loops around every petal tip. Join. (12 picot loops per motif outer edge)
Info :
This edging adds a delicate picot at each outer point and helps keep the points crisp. Use a slightly smaller hook (5.0mm) if you want tighter, sharper picots.
Round 27 :
To tidy and reinforce the outermost points, work 1 sc in the stitch right before each picot, ch2, sl st at the top of the picot and back down to anchor. This creates a tiny raised stitch that protects the point from catching or stretching. Join.
Round 28 :
Info :
For a decorative finish along the runner edges (between rows of motifs), you can work a simple scalloped border: ch1, sc along edge, then *skip 2, 5 dc in next st, skip 2, sc* and repeat along entire outer border. This gives a repeating scallop that mirrors motif petals.
Round 29 :
Optional last round: Using hdc in BLO along the inside round nearest the center of each motif adds subtle texture and gives the runner a handcrafted finished feel. Work one even round of hdc around the interior joins. Join and fasten off.
Round 30 :
Info :
Weave in all tails on the backside of the runner. Use the tapestry needle to bury ends along joins and inside open arches so they are invisible from the top. Trim excess close to the work.
— Blocking & Final Finishing :
Round 31 :
Info :
Blocking is crucial: dampen motifs lightly with a spray bottle or mist them, pin each petal point to a foam mat or towel, stretching evenly to open the lace. Allow to dry fully (overnight). For sharper points, use a small amount of spray starch or fabric stiffener once dry and reshape.
Round 32 :
Info :
Once blocked and dry, press gently with a warm (not hot) iron through a thin cloth if desired — test on a scrap first. Avoid direct, high heat on bulky cotton rope as it may flatten the texture.
Round 33 :
Info :
Final inspection: check joins for gaps and add a few extra whip stitches where needed for durability. Reinforce the center connecting strip if you expect heavy tableware use by sewing on an extra strip of matching fabric or crocheting a second backing strip.
This lace star table runner brings a handmade, heirloom feel to your table — each motif is a little floral star, carefully crafted and joined into a striking, vintage-inspired row. The thick cotton yarn and sculpted petals create a soft-but-graphic presence, perfect under a teapot or as a centerpiece accent. I hope you enjoy making and styling this runner as much as I did designing it — it’s the kind of project that feels meditative and rewarding every step of the way. 🧶🌼