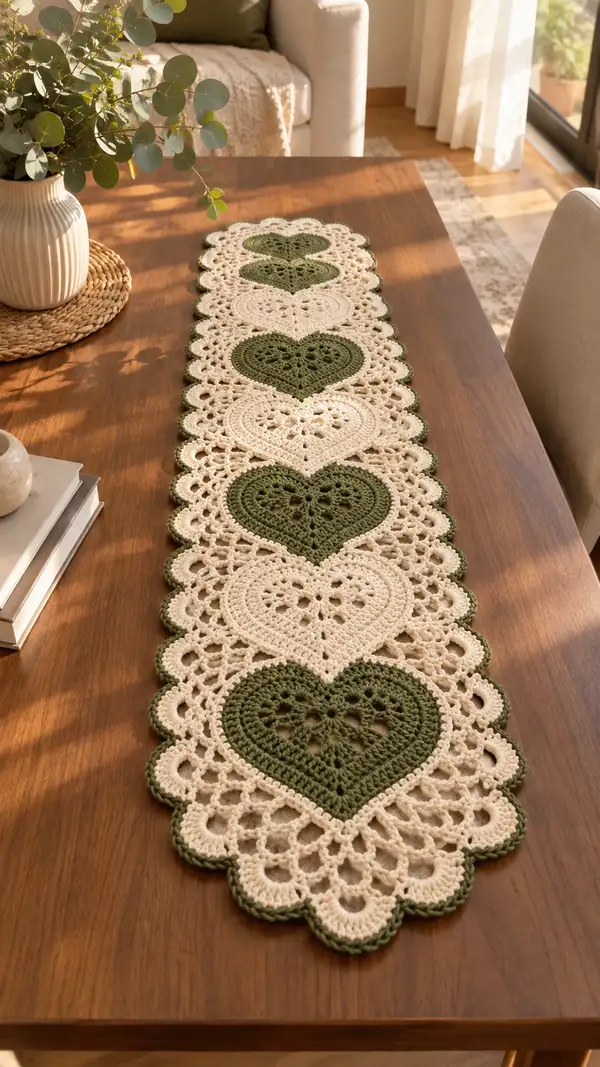
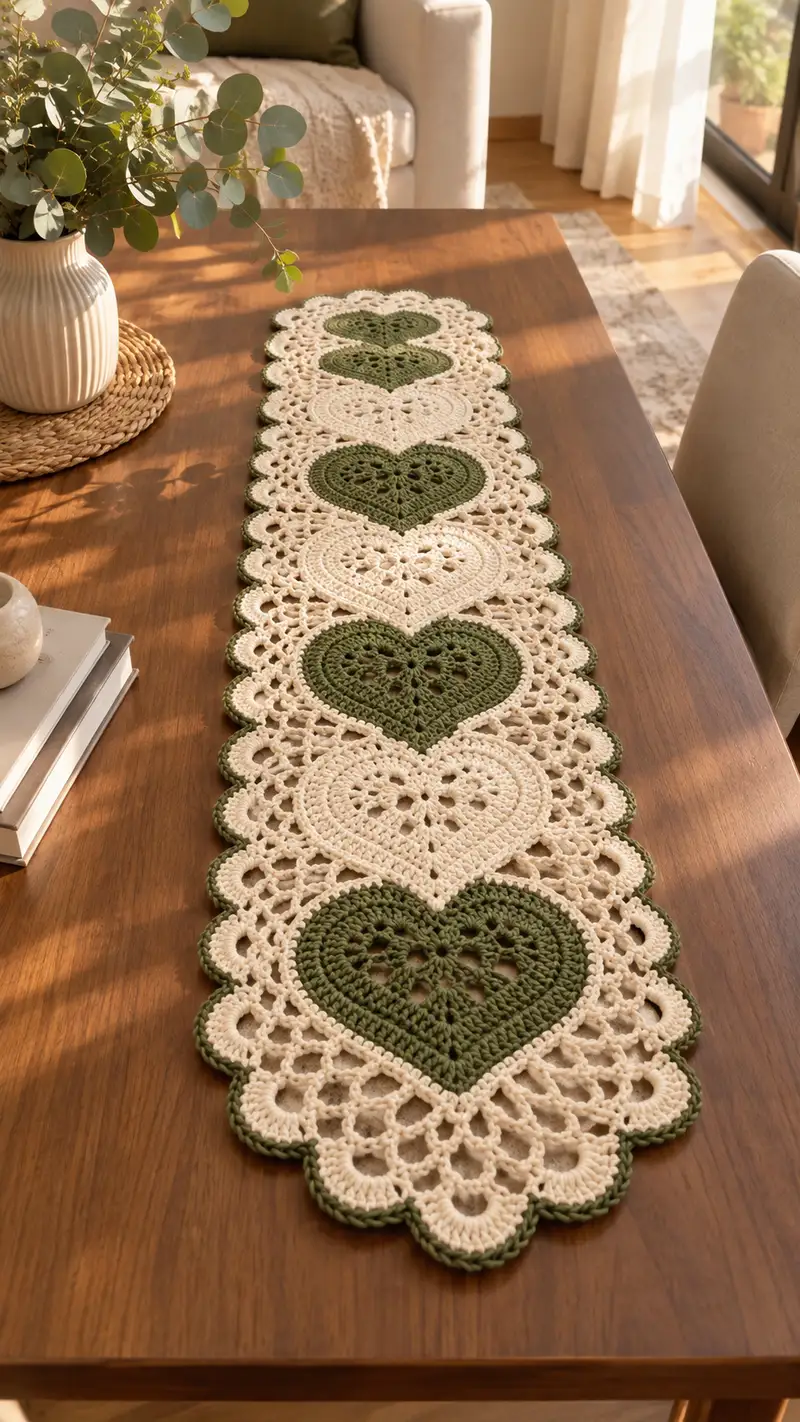
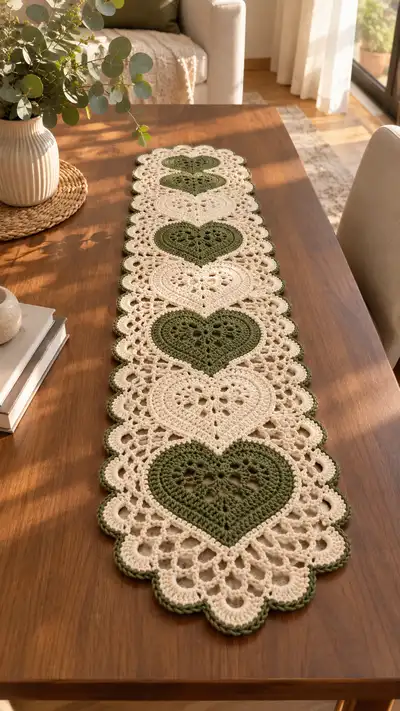
Create a graceful, lacy table runner featuring alternating solid heart motifs and airy cream filigree panels. This runner pairs a warm olive green with a soft cream for a farmhouse-chic look and has a scalloped edge for a polished finish. The pattern uses motif construction and join-as-you-go finishing so you can make the runner any length by adding or subtracting hearts. Perfect for centerpieces, buffet tables, or autumn decor.
Progress Tracker
0% Complete
— Notes & Gauge :
Info :
Gauge is not critical for this table runner but for a similar look, 12 dc x 6 rows = 4 inches in worsted cotton with 4.0mm hook. Adjust hook size if your motifs are significantly larger or smaller than the sample in photos.
Info :
Make motifs tightly enough to maintain crisp edges; blocking at the end will open the lace. The sample runner uses 5 heart motifs alternating in color for a finished length of approximately 42 inches and width 11 inches.
— Heart Motif (make 5, alternating colors: olive, cream, olive, cream, olive) :
Round 1 :
With color for heart center (olive for odd hearts, cream for even), mr, ch1, work 6 sc in ring, pull tight (6)
Round 2 :
Inc in each st around (2 sc in each st) (12)
Round 3 :
(1 sc, inc) x 6 (18)
Round 4 :
(2 sc, inc) x 6 (24)
Round 5 :
(3 sc, inc) x 6 (30)
Info :
This builds the solid center base for the heart. Maintain even tension; use a stitch marker for the first stitch of each round to track the round start.
Round 6 :
(4 sc, inc) x 6 (36)
Round 7 :
(5 sc, inc) x 6 (42)
Round 8 :
(6 sc, inc) x 6 (48)
Info :
Round 1-8 create a round foundation (48 sts). For heart shaping in following rounds we will create two lobes at the top and a narrowing at the base by placing shells and clusters to visually carve the heart.
Round 9 :
*sc in next 4 sts, ch3, skip 1 st* repeat around, end with sc in last 4 anchor sts (48 anchors, 12 ch-3 spaces)
Round 10 :
Into each ch3 space: (1 sc, 1 hdc, 3 dc, 1 hdc, 1 sc) – this makes 12 shell-lobes around (48 stitches plus shell clusters forming decorative open tops)
Info :
Picture the round as 12 shell clusters; the two central shells at the top front of the motif will become the heart 'lobes' when we emphasize them in the next rounds. Before continuing, place stitch markers to identify the two adjacent shells that will form the top center of the heart; these two shells will be the middle-most pair when holding motif with the point down.
Round 11 :
Working in same color, ch2 (counts as hdc), *hdc in next 3 dc of shell, dc2tog over next two dc (centering a small dip), 3 dc in center shell top, dc2tog, hdc in next 3 dc, sl st in next sc between shells*; repeat around creating subtle shaping. Keep the round count anchored to 12 shell areas.
Round 12 :
Create the top lobe reinforcement: Ch3 (counts as dc), (2 dc, ch2, 3 dc) in the two adjacent center shells only to increase volume of top lobes, then continue around with (3 dc, ch2, 3 dc) into remaining shells for uniform lace (this will give two larger lobes centrally and regular lobes elsewhere)
Info :
At this stage you should see a subtle top heart indentation formed by two larger lobes next to each other; rotate the motif so those two lobes sit at the top before continuing. If your two central lobes don't appear centered, adjust your stitch marker placement and reorient for the next rounds.
Round 13 :
Ch1, sc around anchoring into each dc and chain space from previous round; sc evenly across the larger lobes and smaller lobes to create a uniform ring. Total anchors 48 (48)
Round 14 :
We will now create the V-shaped dip between the two top lobes and begin the lower point: working from the top, locate two central lobes; in the central valley between them work (sl st, ch4, sl st) to create a small picot dip; continue sc across the remainder of the round keeping 48 anchor points.
Round 15 :
Beginning to narrow the bottom: *sc in next 5 sts, dec (sc2tog) in next 2 sts* repeat 6 times (36)
Info :
Round 15 reduces the circumference to start forming the lower point of the heart. Stuffing is not required for flat runner motifs; keep the motif flat on a surface as you work to avoid cupping.
Round 16 :
*sc in next 4 sts, dec in next 2 sts* repeat 6 times (30)
Round 17 :
*sc in next 3 sts, dec in next 1 st* repeat 6 times (24)
Round 18 :
Form the pointed lower tip: ch1, sc around maintaining 24 anchors; now work in BLO on the next round to create a crisp ridge (24)
Round 19 :
1 sc in each st BLO (24)
Info :
Working in BLO here builds a defined line which helps the heart point stand out when joined into the lace panel. Examine the top lobes and center dip; if the lobes need more definition you can add an extra dc pair in the lobes before proceeding.
Round 20 :
Transition to decorative joining rounds: ch5, *skip 1 st, sl st to next st, ch5* around creating 12 ch-5 loops that will later anchor the surrounding lace panel (12 loops)
Round 21 :
Using the same heart color, into each ch-5 loop: (sc, hdc, 5 dc, hdc, sc) to create a fan around each loop - this broadens the motif border and provides anchor points for joining (12 fans)
Round 22 :
Finish motif round: sc evenly around the base of each fan to tidy ends and maintain an even anchored stitch count of approximately 48 anchors. If you prefer a tighter motif edge, use 3.5mm hook for this round and weave in ends. Fasten off leaving a long tail for joining (approx 30-40 cm).
Info :
Make 5 heart motifs following Rounds 1-22. Alternate colors so heart 1 = olive, heart 2 = cream, heart 3 = olive, heart 4 = cream, heart 5 = olive. Block each motif lightly flat on a towel to bring out the fan edges before joining.
— Interstitial Lace Panel (make 4 - one between each heart) :
Info :
The lace panels are worked in cream to surround and separate the hearts. Each panel will be worked in rounds that attach directly to the fan anchors of adjacent hearts with join-as-you-go. Work these panels after two heart motifs are placed side-by-side.
Round 1 :
With cream yarn and 4.0mm hook, join with sl st to a fan base stitch on the right-hand side heart motif where the hearts will meet, ch4 (counts as tr), (2 tr, ch2, 3 tr) into same space to create a shell. This first shell becomes the central join anchor.
Round 2 :
Ch2, turn to work round into adjacent fan loops: *skip to next fan top on same heart, join with sl st into opposite heart fan anchor (pre-position the second heart), ch3, (3 dc, ch3, 3 dc) in that ch-3 to create a mirrored shell into the adjacent motif*; repeat along the lower arc to form a connecting row of shells between the two hearts (about 6 join points across each seam depending on motif spacing)
Info :
Join-as-you-go method: before you connect to the adjacent heart motif, lay the second motif next to the working motif aligned so lobes and points match. When directed to join, insert hook through a stitch on the adjacent motif and complete the sl st join to lock the motifs together. Keep tension consistent so the seam is smooth.
Round 3 :
After joining along the first pass, work a round of ch5 loops over the seam: ch5, sl st to next anchor (this creates arches). Repeat across seam to create open lattice. Typically 6 arches will span the seam, adjust if your motifs have slightly different spacing.
Round 4 :
Into each ch5 arch work (sc, hdc, 7 dc, hdc, sc) to create a larger fan bridging the motifs and visually connecting them with lace (approximately 6 fans along seam)
Round 5 :
Work sc around the outside edge of the newly-formed seam to tidy and create an anchor row for additional lace rounds (number of anchors will equal number of fans x 10 approx; maintain even spacing)
Info :
Each interstitial panel is built in place between two completed hearts using the fans and arch spaces as anchors. If your motifs do not align perfectly, work extra ch3 or ch5 loops to span gaps without pulling motifs together; the aim is an even lacy panel that feels airy but stable.
Round 6 :
Ch6, *skip 1 st, sl st to next st, ch6* around outer seam to create outer arches which will be filled with shells on the next round. Aim for uniform arch spacing (approx 12-14 arches depending on heart spacing)
Round 7 :
Into each arch: (sc, hdc, 9 dc, hdc, sc) to generate a lacy scalloped shell; sc around to tidy. Repeat across both sides of seam to finish panel.
Info :
Make four of these panels, joining heart 1 to 2, 2 to 3, 3 to 4, and 4 to 5. Work the join-as-you-go panels in cream color so the hearts sit nested within large lacy ovals.
— Long Runner Assembly (join all motifs) :
Round 1 :
Layout sequence: Place heart #1 (olive) then panel #1 to the right and heart #2 (cream), continuing: Heart1 - Panel1 - Heart2 - Panel2 - Heart3 - Panel3 - Heart4 - Panel4 - Heart5. Ensure top lobes all face same direction (point down) before joining.
Info :
Pin motifs lightly to a flat surface or blocking board to maintain alignment while joining. Use stitch markers to mark two central lobes on each heart so consecutive joins align consistently along the runner length.
Joining Method :
We recommend joining with the interstitial panel rounds (see Interstitial Lace Panel Rounds) using sl st into the fan anchors on the hearts. Work slowly and avoid pulling too tight. After joining each seam, work a tidy sc round around the seam for stability.
Info :
If preferred you may sew motifs together using mattress stitch with matching thread rather than join-as-you-go. However the join-as-you-go leaves fewer visible sewing threads and integrates the lace more smoothly.
— Center Lace Overlay Rounds (work after all motifs are joined) :
Round 1 :
With cream yarn, attach at a fan tip on the outer edge, ch4, *dc in next 2 sts, ch2, skip 2 anchors, dc cluster into next arch*; work a decorative overlay round across the chain arches of all panels forming an open net over the spaces (repeat along each interstitial panel)
Round 2 :
In each ch2 space created previously, (sc, ch4, sc) to create small picot arches across the runner center, keeping stitch counts even across the length. This creates a repeating lacy motif between hearts and helps the runner read as a continuous piece.
Info :
These overlay rounds balance open areas and add structural stability so the runner holds together across its length and lays flat after blocking.
Round 3 :
Work a tidy sc round around all outer anchors created so far to prepare for scalloped edging. The sc round evens out raw edges and provides a firm base for the scallops. Count anchors and ensure symmetry on both long edges of the runner.
— Scalloped Edge (Top and Bottom Long Edges) :
Info :
The scalloped border frames the runner and follows the rounded fans visible at the extreme edge of each heart and the surrounding lace. Work the scallop continuously along both long edges then finish the short ends with a repeated end scallop pattern.
Round 1 :
With olive for contrast edging (optional) join at one corner outer anchor, ch1, sc evenly along edge to next fan base to set spacing (maintain even counts across the entire long edge; typically ~200 sc across one long edge on a 5-heart runner)
Round 2 :
Scallop set-up: *skip 3 sc, (5 dc) into next sc, skip 3 sc, sl st into next sc* repeat across length to create shell scallops. You should have a shell roughly centered over each outer fan (approx 22-26 shells across long edge depending on motif spacing)
Round 3 :
Work a picot round: sl st to center of each shell, ch3, sl st in shell center; this builds small raised points between shells for visual texture. Maintain symmetry on both sides.
Info :
For a slightly firmer edge, switch to a 3.5mm hook and work rounds 1-3. The optional olive rim in the sample highlights the scallops and echoes the heart color for a cohesive finish.
Round 4 :
Finish edging with a tidy sc round around the outside of shells: sc in each dc of shells and sl st through picots for a clean finish. Fasten off and weave in all ends. Repeat same scalloped edging down the opposite long edge.
Short End Finishes (both ends) :
Work the same scallop in mirror across the short ends by adding shells into the outermost arch points and mirroring spacing until ends are closed with a centered shell. If you want a pointed runner end, shape with smaller shells and a final central fan.
Info :
Optional final pass: add small surface slip-stitch vines between heart lobes with contrasting olive yarn for an embroidered look. Keep small and evenly spaced.
— Final Blocking & Finishing :
Info :
Soak runner in lukewarm water with few drops of gentle wash, squeeze gently without wringing. Lay flat on blocking board or towel, shape hearts and scallops and pin each scallop edge to open evenly. Allow to dry fully before removing pins. Blocking opens lace and flattens irregularities.
Info :
Weave in all loose tails on the wrong side of the runner. Trim excess yarn and use a yarn needle to tuck in ends. Lightly steam-press on low (if yarn content allows) to finish; avoid direct high heat on cotton without steam control.
Finishing this lacy heart runner is such a rewarding experience — watch the individual hearts and airy fans transform into a cohesive, elegant table accent! The contrast of olive and cream adds rustic charm while the scalloped border gives a custom-finished look. Block carefully to reveal the lovely openwork and scallops, then admire how the runner elevates your table setting. 🧶✨ Add fresh greenery or seasonal accents to complete the display. Happy stitching and enjoy every stitch! 🌿