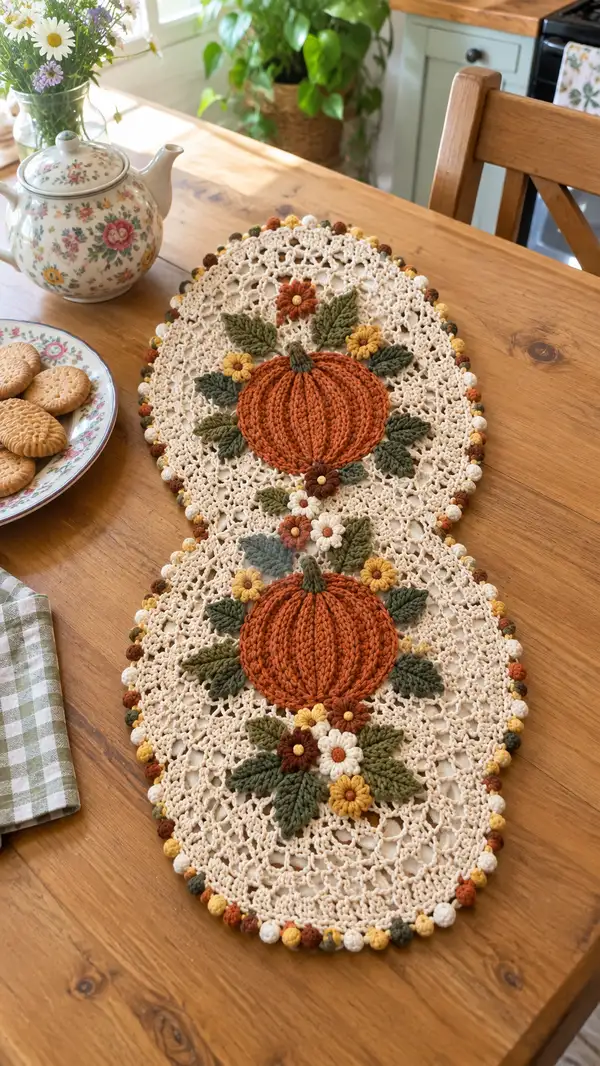
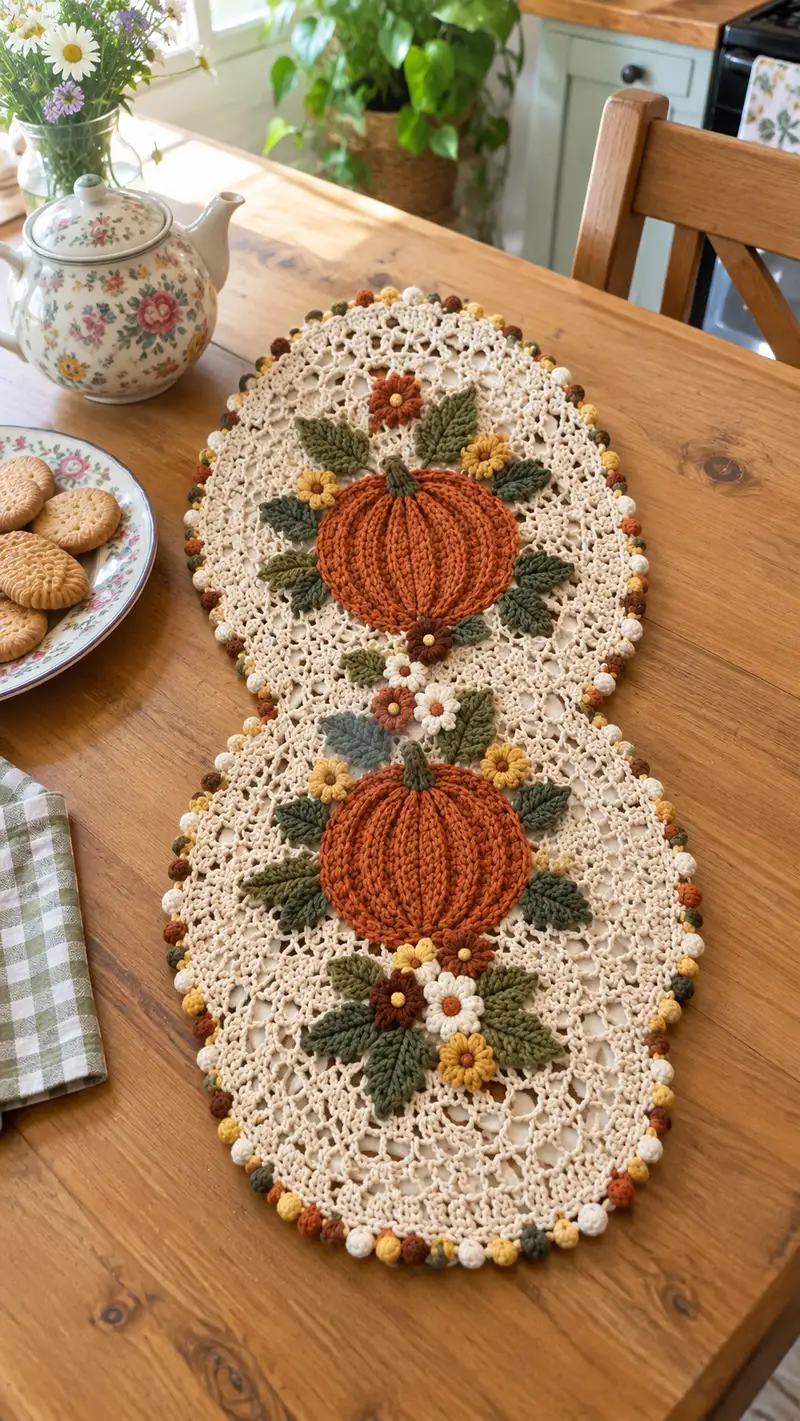
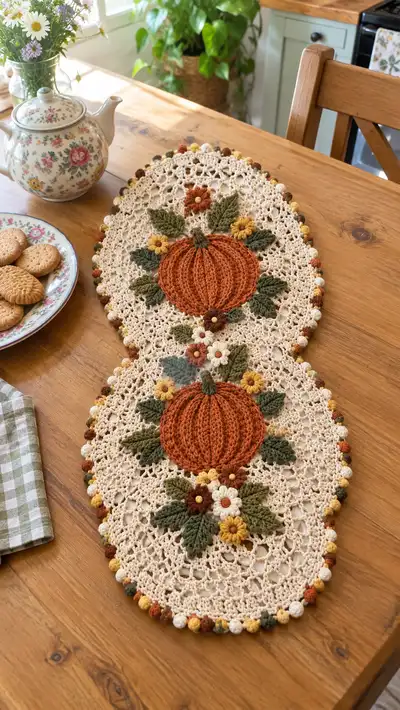
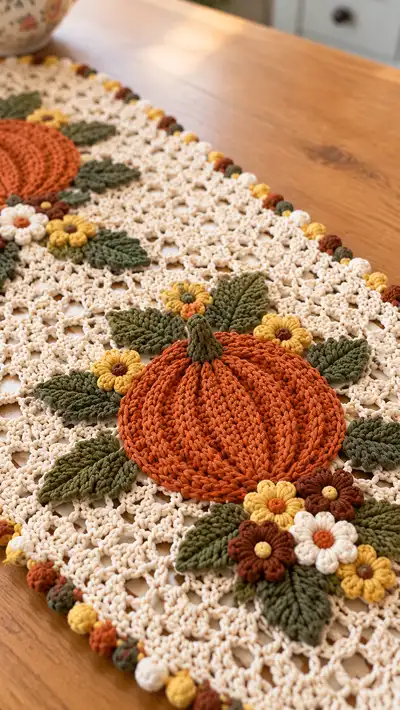
A warm, Autumn-inspired crochet table runner featuring two lace ovals topped with raised pumpkin motifs, layered leaves and tiny blossoms. The neutral cream lace background highlights hand-sewn orange pumpkins, olive leaves, mustard and brown flowers, plus a textured bobble edge. Perfect for seasonal decor, this runner brings cozy farmhouse charm to your table.
Progress Tracker
0% Complete
— Materials & Gauge :
Info :
Gauge for lace base: approx 15 dc x 10 rows = 4 inches using 3.5mm hook in worsted cotton. Gauge is not critical for decorative runner but helps for consistent motif size.
— Overview :
Info :
This pattern is worked as two oval lace doilies joined by a central neck. Each oval gets one raised pumpkin with appliqued leaves and flowers. Make two identical ovals and join in assembly. Use cream for base, orange for pumpkins, green for leaves, and accent colors for flowers and bobbles.
— Pumpkin Motif (Make 2) :
Round 3 :
(1 sc, inc) x 6 (18)
Round 4 :
(2 sc, inc) x 6 (24)
Round 5 :
(3 sc, inc) x 6 (30)
Info :
Work these first rounds with 3.25mm hook for a compact centre. This builds a stable base for the raised ribs. Keep tension firm so the pumpkin lies flat on the lace base.
Round 6 :
(4 sc, inc) x 6 (36)
Round 7 :
(5 sc, inc) x 6 (42)
Round 8 :
(6 sc, inc) x 6 (48)
Round 9 :
1 sc in each st (48)
Round 10 :
1 sc in each st (48)
Info :
At this point the motif is a flat disc. To create the pumpkin 'ribs' and slight dome shape, we'll add textured rounds using BLO and fpdc ribs worked in vertical arcs.
Round 11 :
1 sc in each st BLO (48)
Round 12 :
*(1 sc in next 3 sts, 2 hdc in next st) repeat from * around (60)
Round 13 :
1 sc in each st (60)
Info :
Switch to working ribs: we'll create 8 ribs around the pumpkin, each rib formed by a short vertical strip of fpdc from center to edge. Mark 8 equally spaced points with stitch markers to anchor ribs.
Round 14 :
Place 8 marker points evenly (every 7 or 8 sts) and sl st to first marker, ch1. For each rib: 6 fpdc worked around the post of the next 6 rounds below forming a vertical ridge; between ribs, 6 sc to bridge to next marker. Continue around to finish row (60)
Round 15 :
Repeat Round 14 pattern to build rib height, working fpdc in same posts to deepen ribs (60)
Info :
If your ribs look sparse, add a second fpdc into each post for round 15 to bulk up the ribs. Keep the bridge stitches tidy by working sc in those sts.
Round 16 :
1 sc in each st (60)
Round 17 :
(7 sc, dec) x 6 (54)
Round 18 :
(6 sc, dec) x 6 (48)
Info :
Begin decreasing slightly to make the pumpkin slightly domed. Keep stuffing lightly between rounds if you want a plump feel; otherwise leave gently flat for table use. Use a scrap of yarn or felt between pumpkin and lace if you prefer no stuffing.
Round 19 :
(5 sc, dec) x 6 (42)
Round 20 :
1 sc in each st (42)
Round 21 :
Work 8 sc evenly across the top center to create a small peak for the stem base (42)
Round 22 :
Fasten off leaving a long tail for sewing. Weave the long tail through last round and pull to close slightly so the pumpkin holds its shape. Block lightly if desired.
— Pumpkin Stem :
Round 1 :
Using olive or brown, ch4, sl st to first ch to form small ring or mr: 6 sc in ring (6)
Round 2 :
1 sc in each st (6)
Round 3 :
(1 sc, inc) x 3 (9)
Round 4-5 :
1 sc in each st (9)
Round 6 :
Work 3 fpdc around the base of stem into the pumpkin to form a short stalk and sl st to finish (9)
Info :
Stuff stem very lightly with a bit of yarn or fiberfill and sew to the top center of pumpkin using long tail from pumpkin finish. Trim and weave in ends cleanly under the stem.
— Large Leaf (Make 8 per runner - 4 per pumpkin cluster) :
Round 1 :
Ch8, sc in 2nd ch from hook, hdc in next, dc in next 2, tr in next, dc in next, hdc in next, sc in last (leaf spine created) (8 sts along)
Round 2 :
Working along opposite side of foundation ch: sc, hdc, dc, tr, dc, hdc, sc (7 sts) - do not join (14 total)
Round 3 :
*Along each notch (between dc and tr) work (sc, hdc) to deepen vein detail; along edges work 1 sc in each st. Continue around to finish (approx 20 sts)
Round 4 :
Work FLO sc around entire leaf to create a raised rim: 1 sc in each st FLO (20)
Info :
Use slightly smaller hook (3.25mm) to keep leaves compact. Block leaves lightly with pins to shape the curve so they sit nicely on the lace base.
Round 5 :
Stitch a center line: with spare yarn and yarn needle, embroider a stitched vein from base to tip using whipped running stitch to simulate a leaf midrib; fasten off and leave long tail for sewing.
— Small Leaf (Make 10-14) :
Round 1 :
Ch5, sc in 2nd ch, hdc, dc, sc (4 sts)
Round 2 :
Return along foundation ch with sc, hdc, sc (3 sts) - do not join (7 total)
Round 3 :
1 sc in each st, finish with sl st and leave long tail for sewing (7)
Info :
Small leaves are great filler under flowers. Make in both olive and a lighter green for layered depth.
— Petite Flower (Make 10-12 clusters) :
Round 2 :
*(ch2, 3 dc in next st, sl st in same st) repeat around to make 6 petals. Fasten off leaving long tail for sewing
Round 3 :
With contrasting color, stitch small french knot-style center by wrapping yarn twice around needle and pulling through to create a raised center; secure and weave tail to back.
Info :
Vary colors and petal counts to form groups of daisies and mini blooms. Use mustard, cream, and warm brown for autumn palette.
— Daisy (Make 6-8) :
Round 1 :
Ch6, sl st to form ring, ch1, (5 sc) into ring (5)
Round 2 :
*(ch2, 5 dc in next sc, sl st) repeat for 5 petals (5 petals)
Round 3 :
With contrasting center color, sc in center and pull up a small bobble then secure (center made)
Info :
Daisies sit nicely atop leaf clusters; leave long tails for sewing and tuck ends under petals for neat finish.
— Lace Oval Base (Make 2 identical ovals) :
Round 1 :
Using cream and 3.5mm hook, ch6, join with sl st to form ring, ch3 (counts as dc), 11 dc in ring, sl st to top of ch3 (12 dc) (12)
Round 2 :
Ch3, dc in same st, 2 dc in each dc around (24)
Round 3 :
Ch3, *dc in next dc, 2 dc in next dc; rep from * around (36)
Round 4 :
Ch3, 1 dc in each st around (36)
Info :
We are making a round beginning that will be shaped into an oval by adding extra stitches at two opposite points. Marker placement will be used at the 'tips' of the oval.
Round 5 :
Ch3, dc in each st until you reach marker point 1 (place markers at 9 and 27 to denote tips), at marker 1 work (2 dc, ch2, 2 dc) in same st to create a corner, continue dc along until marker 2, repeat corner (2 dc, ch2, 2 dc) at marker 2. Finish round (total approx 40-44 depending on corners)
Round 6 :
Ch3, dc in each st and in chain-2 spaces work (dc, ch2, dc) to keep oval shape (48)
Round 7 :
Switch to pattern: *Ch3, sk 2 dc, sc in next dc, (ch2, tr, ch2) in next sp to create eyelet cluster; rep pattern around maintaining mesh and corner ch-2 spaces.
Round 8 :
Work a mesh round: in each eyelet (ch2 sp) work (sc, ch3, sc) to create larger lacy holes; in dc bands work 1 dc in each st to keep shape.
Round 9 :
Repeat Round 7 to elongate the lace pattern and widen the oval (maintain stitch count by working extra dc in longer bands between eyelets)
Info :
Alternate 2-3 lace rounds and 1 shaping round for even growth. Use stitch markers at the two tip corners and keep track of increases there to preserve the oval shape.
Round 10 :
Work a wide mesh: *(sc in next dc, ch5, sk 3 dc, sc in next dc) repeat across; at corners work sc, ch5, sc to elongate. This grows the lace and creates the openwork seen.
Round 11-18 :
Repeat a 8-round mesh pattern sequence combining eyelet clusters, ch-3 loops and dc bands to expand the oval until desired size is reached. Each 2 rounds adds approx 6-8 sts per side; final counts will vary but aim for about 120-160 stitches around the perimeter per oval.
Info :
Work evenly and block each oval flat before attaching motifs. The lace pattern described creates the open lattice visible under the pumpkins in photos.
Round 19 :
After desired lace depth (approx 9-12 pattern repeats), shape a shallow scallop round: *sc in next 3 sts, 5 dc in next st, sc in next 3 sts; rep around to create little scallops that will anchor the bobble border (approx 140-160)
— Border Bobble Edge :
Info :
Edge combines mini bobbles in alternating autumn colors. Use 2.75-3.25mm hook depending on desired puffiness. Bobbles are worked in clusters into the scallop peaks from previous round.
Round 1 :
Join accent color at a scallop peak, *ch1, bobble (5 dc bobble made by 5 partial dc clusters pulled together), sl st to secure, ch1, sl st into next scallop space; change color every 2-3 bobbles to alternate mustard, brown, cream and variegated. Repeat around.
Round 2 :
Work a reverse sc (crab stitch) along inner edge to tidy: rev sc in each st along scallop valley to create finished edge (approx 140-160)
Info :
Secure each color change with a small knot on the back and weave ends into adjacent stitches. Vary bobble placement slightly to mirror photographed staggered border.
— Assembly & Applique Placement :
Info :
Position pumpkins centered on each oval. On each oval, the pumpkin center should sit approx 6-8 rows from the top tip of the oval so the stem points toward the top end. Leave a decorative cluster of leaves and flowers beneath each pumpkin and a smaller cluster near the connecting neck.
Round 1 :
Pin pumpkin motifs in place, centering over a solid mesh area (not directly over large eyelets). Use sewing needle and long tail from pumpkin to baste-stitch through pumpkin back into the lace base at 8 evenly spaced anchor points around pumpkin perimeter.
Round 2 :
Sew leaves in layered clusters under and slightly around the pumpkin. Place larger leaves at 3, 6, 9 o'clock positions and small leaves filling gaps. Sew through the base of leaves using yarn needle and secure firmly with multiple passes.
Round 3 :
Stitch flowers into tight clusters at the base of pumpkin and intersperse tiny daisies near leaves. Use long tails to make hidden sew-stitches through lace base; secure on back and weave ends into nearest motif to hide.
Info :
For best finish, pin all pieces first then sew. Check both sides to ensure sewing is not visible on the front. Use whip stitch or ladder stitch for discrete joining.
— Central Neck Join (Connecting the Two Ovals) :
Round 1 :
After finishing two ovals, block both flat and align the narrower necks so they overlap by approx 1.5-2 inches. Using cream yarn and tapestry needle, mattress stitch the overlap through corresponding mesh spaces to join cleanly.
Round 2 :
Reinforce join with a row of sc along both edges using 3.5mm hook: sc evenly through both layers to maintain shape and provide strength for table use (approx 20-30 sc depending on width)
Info :
Make sure the join is snug and lies flat. Press lightly with steam from a distance if using cotton, or pin and mist with water to set the shape.
— Final Finishing Touches :
Round 1 :
Weave in all ends on the reverse side. Trim any visible tails close to fabric after securing. Remove blocking pins and inspect symmetry of pumpkins and flower clusters.
Round 2 :
Optional: add a small fabric felt backing under pumpkins to protect table from any sewn-in tension points or to increase rigidity. Felt can be glued or stitched in place using matching yarn.
Info :
Block the entire runner one last time for a professional finish. Use cornstarch spray or fabric starch lightly if you prefer a crisper doily that lays flat on the table.
This Pumpkin Patch Doily Table Runner brings seasonal charm and handcrafted texture to your home — each stitch builds a cozy autumn scene. The raised pumpkins and layered florals create a tactile centerpiece you'll be proud to display. Enjoy the meditative lace rounds and the quick little appliques that make the runner sing. 🧶🍁 Share photos of your finished runner — I love seeing color variations and personal touches! 🎃