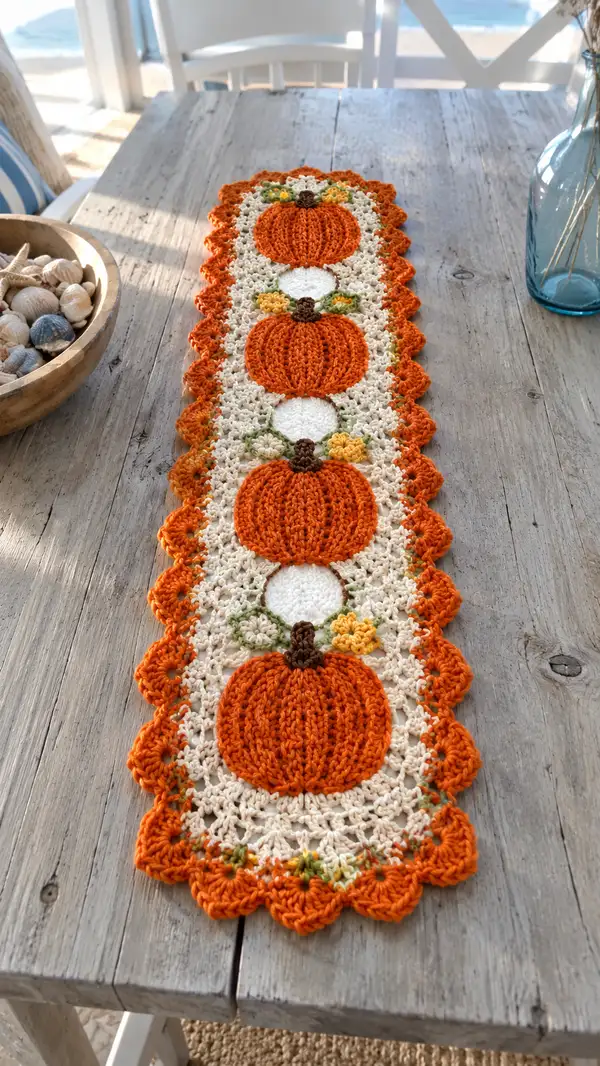
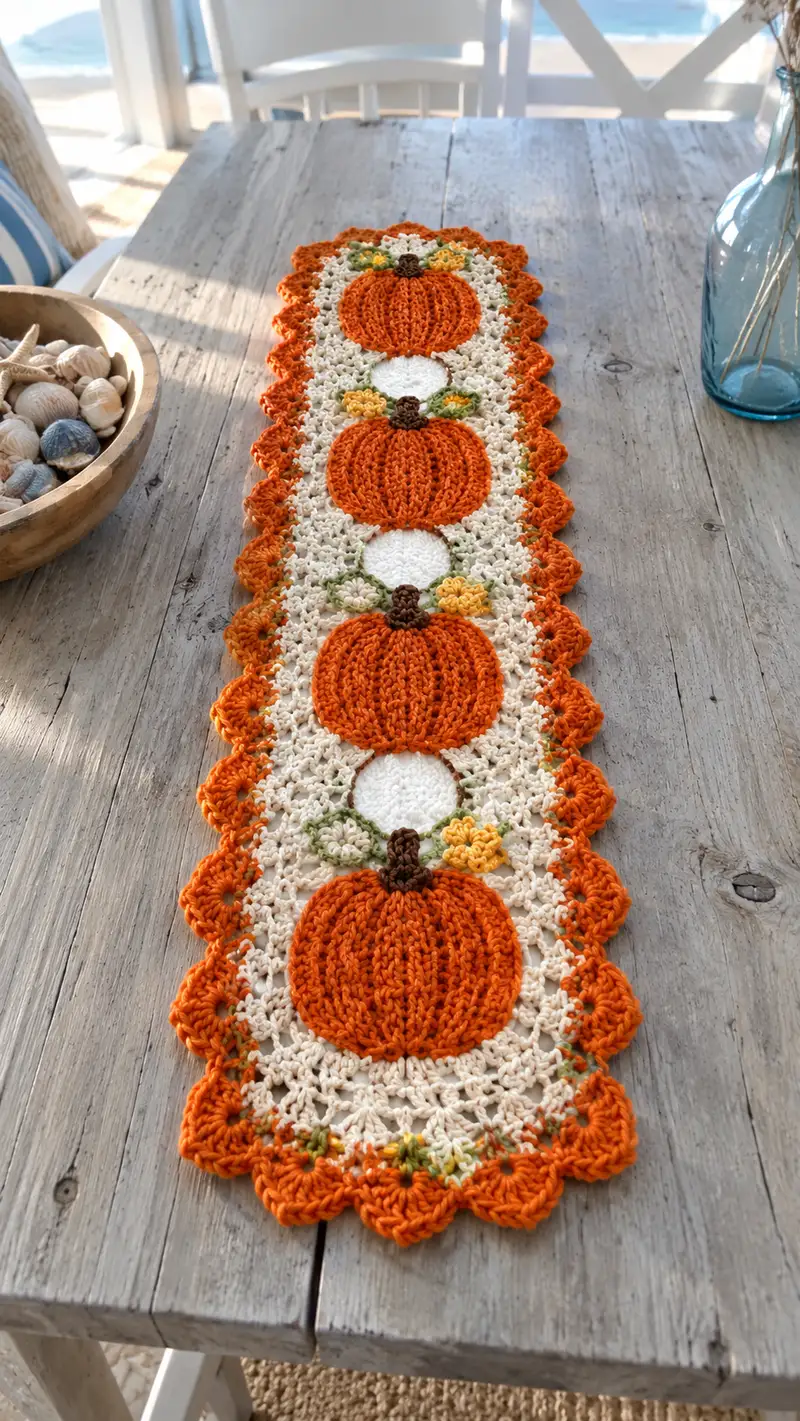
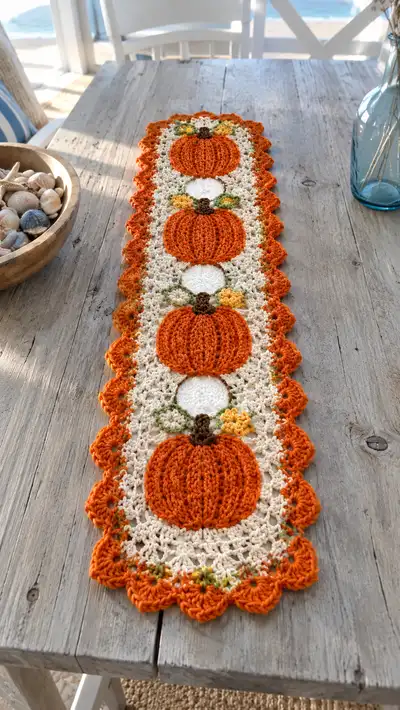
Create a warm, seasonal table runner featuring a row of plump orange pumpkins framed in a delicate cream lace mesh and scalloped orange border. This pattern uses textured ribbing for the pumpkins, small leaves and blossoms for accents, and a join-as-you-go method to create a continuous runner. Perfect for autumn or Thanksgiving decor — elegant, handmade, and full of cozy charm.
Progress Tracker
0% Complete
— Overview and Construction Notes :
Info :
This runner is built from repeated pumpkin medallions and small white medallions connected by a cream lace mesh using a join-as-you-go method. Work each pumpkin motif, then join the medallions and mesh to extend the runner length. The pattern below gives detailed round-by-round instructions for one pumpkin motif, one white medallion, leaf and flower accents, the connecting mesh/join-as-you-go method, and the scalloped border. The finished runner in the photo shows four pumpkins and three white medallions; repeat motif sequence to your desired length.
Info :
Stitch counts and rounds are written in US terms. Maintain consistent tension; cotton yarn tends to tighten, so use a slightly larger hook if you find your stitches too tight. Block finished runner gently to flatten and set lace mesh.
— Pumpkin Motif (Make 4 or as many as needed) :
Round 1 :
6 sc in magic ring (6)
Round 3 :
(1 sc, 1 inc) x 6 (18)
Round 4 :
(2 sc, 1 inc) x 6 (24)
Round 5 :
(3 sc, 1 inc) x 6 (30)
Round 6 :
(4 sc, 1 inc) x 6 (36)
Round 7 :
(5 sc, 1 inc) x 6 (42)
Round 8 :
(6 sc, 1 inc) x 6 (48)
Info :
We now have a flat circular base 48 sts wide. This count (48) is deliberate to allow 8 even pumpkin ribs (48 ÷ 8 = 6 stitches per rib segment). Keep a stitch marker at the start of each round.
Round 9 :
1 sc in each st (48)
Round 10 :
1 sc in each st (48)
Round 11 :
1 sc in each st (48)
Round 12 :
1 sc in each st (48)
Info :
These rounds build the pumpkin height; do not stuff yet. Keep the pumpkin flat at this stage — stuffing will be minimal to keep a slight dome shape.
Round 13 :
(fpdc around next 3 sts, 3 sc) x 8 = 48 (This creates the start of 8 vertical ribs. Work 'fpdc' by yarn over, insert hook around post of stitch from the previous round (from front), yarn over and draw up loop, complete as a double crochet.)
Round 14 :
(fpdc around same 3 stitches as the previous fpdc cluster, 3 sc) x 8 (48)
Round 15 :
(fpdc around same 3 stitches as the previous fpdc cluster, 3 sc) x 8 (48)
Info :
The front-post double crochet clusters create raised ribs. Each rib cluster occupies 3 sts so you can visually identify rib channels. If you prefer deeper ribs, replace fpdc with front-post treble (fptr) for these rounds — adjust tension accordingly.
Round 16 :
(fpdc around next 3 sts, 3 sc) x 8 (48)
Round 17 :
(fpdc around next 3 sts, 3 sc) x 8 (48)
Info :
By now the pumpkin should show clear raised ribs. Lay the piece flat and ensure rib clusters align vertically. If a rib is narrow or wide, adjust stitches on subsequent rounds to even them out before continuing.
Round 18 :
1 sc in each st (48)
Round 19 :
(3 sc, 1 dec) x 8 (40)
Round 20 :
(2 sc, 1 dec) x 8 (32)
Info :
Begin decreasing to give the pumpkin a slight dome/top shape where the stem will be attached. Start stuffing lightly — use small handfuls and press into the center so ribs keep their shape without flattening.
Round 21 :
(1 sc, 1 dec) x 8 (24)
Round 22 :
8 dec around (8)
Info :
Fasten off leaving a long tail for sewing the stem; finish closing the opening with a tapestry needle. The pumpkin should be slightly stuffed but not firm — it should remain soft and slightly squishable to keep a plump look.
Round 23 - Stem (worked in brown) :
Join brown yarn to center top, ch1. Round 1: 6 sc in magic ring (6)
Round 24 :
6 sc (6) — work in continuous rounds to form a short stem tube
Info :
Stitch the stem down firmly with the long tail across the top of the pumpkin to create a slight indentation at the top center. You can stuff the stem lightly or leave it hollow — both look fine. Weave in ends securely.
Round 27 - Optional Stem Height :
Work additional rounds of sc in brown to reach desired stem height (repeat Round 24 as needed)
Round 28 - Decorative Channeling (Optional) :
With pumpkin orange, work 8 slip-stitches evenly across the top of the stem creating gentle divisions between ribs if desired. This is done by making 1 sl st at the top of each rib line and pulling slightly to create channels.
Info :
Make 8 pumpkin motifs for a very long runner, 4 for a medium runner like the photo. Keep motifs blocked flat before joining to maintain even edges for mesh joining.
— Small White Medallion (Make 3 or as many as needed between pumpkins) :
Round 1 :
6 sc in magic ring (6)
Round 3 :
(1 sc, 1 inc) x 6 (18)
Round 4 :
(2 sc, 1 inc) x 6 (24)
Round 5 :
1 sc in each st (24)
Round 6 :
1 sc in each st (24)
Info :
These medallions act as visual separators and sit slightly recessed between the pumpkins. Keep them lightly blocked to a flat disc. Fasten off and weave in ends.
— Leaf (Make 8 or 2 per pumpkin) :
Round 1 :
Ch 6, sc in 2nd ch from hook, hdc in next, dc in next, tr in next, sl st in last ch; turn to work along opposite side of chain: sl st, tr, dc, hdc, sc; sl st into base to close (makes a small pointed leaf)
Info :
Make leaves in sage green. Crochet 2 leaves per pumpkin and position them around the stem. Use a long tail to sew them down in the assembly step. Optionally block lightly to flatten.
— Small Flower (Make 4-6) :
Round 1 :
Ch 4, join with sl st to form ring. Round 2: (ch 2, 3 dc, ch 2, sl st) into ring to make one petal; rep x4 for total 4 petals; sl st to join. Fasten off leaving tail for sewing.
Info :
Work flowers in golden yellow. Add a tiny brown French knot-style embroidery at the center with a few tight yarn wraps to mimic a flower center before sewing to the runner near the stems.
— Connecting Lace Mesh and Join-As-You-Go Sequence :
Info :
The mesh background is worked in cream/ivory. Each pumpkin motif will be joined into the mesh at a designated round so the motifs sit flush and secure. The mesh uses clusters that align with the outer edge of the motifs. We'll build a rectangular strip that the motifs sit on as you join them.
Mesh Round 1 (for first motif) :
With cream, join to outside edge at a point opposite the stem. Round 1: ch 3 (counts as dc), work 47 dc evenly around the pumpkin edge, join with sl st to top of ch3 (48 dc). This creates an even scaffold for subsequent lace rounds. (48)
Mesh Round 2 :
Ch 3, *sk 1, dc in next 3, ch 2* repeat around to create small spaces for the lacy look; join (48 dc placements, 16 ch-2 spaces)
Mesh Round 3 :
Ch 1, sc in same st, *ch 3, sk ch-2 sp, sc in next dc* rep around; join. This begins a scalloped mesh that will connect to the next medallion.
Info :
When you reach the point where you want to start the next motif, prepare it and work a join-as-you-go: align the edge of the new motif to the current mesh and slip-stitch into corresponding ch-3 spaces to attach, then continue the mesh round as if it were a single piece.
Mesh Round 4 :
Ch 3, *dc in next sc, ch 2, dc in next sc, ch 2* repeat around to build an open lattice. Join with sl st at end. This round is where you will join the white medallion: when the mesh reaches the medallion edge, work dc into medallion round stitches to attach.
Info :
Work the sequence: Pumpkin, white medallion, pumpkin. Each motif edge is joined on Mesh Rounds 3-5 to create a continuous runner without sewing pieces later. Keep stitch counts even and mark each corner point when you reach the top/bottom of the circular motif to align the next motif.
Mesh Round 5 :
Ch 1, sc in each dc around, making sc in dc/mm joins where motifs are joined (48). This helps flatten the join for a seamless look.
Mesh Round 6 :
Ch 5, skip 2 sc, sc in next sc; rep around to create a chain-loop lattice that will host the decorative scallop border later. Join with sl st. Count should remain consistent with 48 sc anchors around motif.
Info :
Continue this mesh pattern for each motif; when joining motifs side-to-side along the runner center line, use the same rounds and attach by slip-stitching through corresponding stitches. If your runner uses 4 pumpkins, you will repeat mesh steps to connect 4 pumpkin motifs and 3 white medallions between them.
— Repeating the Motif Sequence and Aligning Motifs :
Info :
Sequence per photo: Pumpkin orange medallion, small white medallion, pumpkin, white medallion, pumpkin, white medallion, pumpkin. After completing and joining the last pumpkin mesh, work a final round of even sc to tidy edges before starting the scalloped border.
Repeat Mesh Round :
After joining each new motif, work: 1 round sc even (48), 1 round ch-loop lattice as in Mesh Round 6. This keeps a consistent look and provides anchor points for the decorative edging.
Info :
Use blocking lightly between joining steps if your motifs are not laying flat. Pin edges on a flat surface and steam or spray lightly according to fiber content. This ensures the scalloped border will be even.
— Decorative Raised Embroidery for Pumpkin Ribs (Optional Enhancement) :
Round 1 :
With a length of dark orange or rusty brown yarn, use a yarn needle to couch lines along the front of the ribs. Pick up small loops along the tops of each fpdc group and pull yarn through and back to create sewn chains that emphasize ribs. This is not a crochet round but a finishing technique.
Info :
Do this evenly across all pumpkin ribs to add definition. Keep stitches small and consistent to avoid distortion. Tie off ends on the back and weave in securely.
— Leaves & Flowers Assembly (Placement) :
Info :
Attach two leaves and one small flower near the stem on the top of each pumpkin. Leaves should be positioned at approximately 3 and 9 o'clock relative to the stem, slightly overlapping the mesh background for a natural look. Sew flowers near the stem offset towards one leaf for balance.
Info :
Sew leaves and flowers with the long tails used in making them. Use small whip stitches to anchor and then weave tails back through the fabric for security. Trim ends close to fabric after weaving in.
— Outer Scalloped Border (worked in pumpkin orange) :
Round 1 :
With runner lying flat, join orange yarn at any lattice ch-loop location from Mesh Round 6. Ch 1, sc in same space to create a tidy join.
Round 2 :
*Ch 3, sk 1 ch-loop, 5 dc shell in next ch-loop, ch 3, sc in next anchor sc* repeat around to create scallops. Ensure shells land evenly across the runner edge, approximately 16 shells per pumpkin edge (counts will vary depending on join point but should sit evenly across length).
Round 3 :
In each shell: sl st into first dc, ch 2, 3 dc in same shell, sl st in top of next shell to create a layered scallop. Repeat around to build the pronounced scalloped frame visible in the photo.
Round 4 :
Work a final picot round to finish edge: *sc between shells, (ch 3, sl st in 3rd ch) to form a small picot on top of each shell* repeat. Fasten off and weave in ends. The scalloped orange edge should form the bold outer frame visible in the image.
Info :
If your scallops are too large or too small, adjust the shell size (3 or 5 dc) to fit the number of available anchor points around your runner. Maintain symmetry at both ends by counting shells so ends mirror each other.
— Final Finishing Rounds and Blocking :
Round 1 :
Check all joins and weave in all ends on back side. Use small whip stitches with matching yarn to tidy any loose joins. Trim excess yarn.
Round 2 :
Block runner flat: pin on a blocking board or towel to the final desired dimensions, spritz lightly with water, and let dry completely. Cotton will relax and even out stitches.
Info :
After blocking, inspect the runner for any pulled or missed stitches. Reinforce joins if necessary. The final piece will measure approximately 11-14 inches wide (including border) and length depends on number of motif repeats (each pumpkin+medallion module is approximately 8-9 inches long in this gauge).
Completing this pumpkin table runner will bring a cozy, handmade touch to your autumn table setting! Each textured pumpkin and delicate lace mesh is a small victory of stitchwork and patience. I love how the scalloped border frames the runner and makes the pumpkins feel like festive little portraits. 🧶🍂 Display it proudly for holidays or everyday warmth — you made this with your hands! 🎃