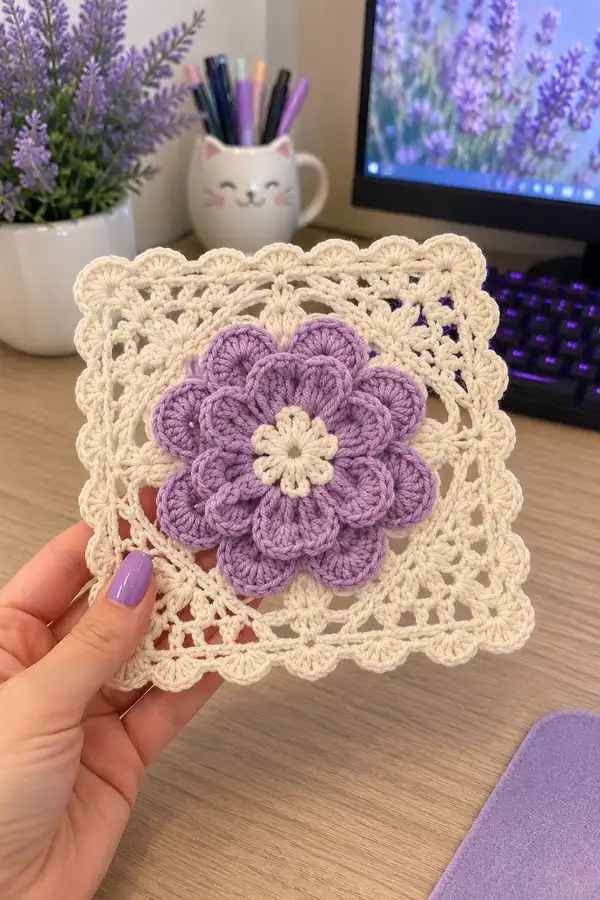
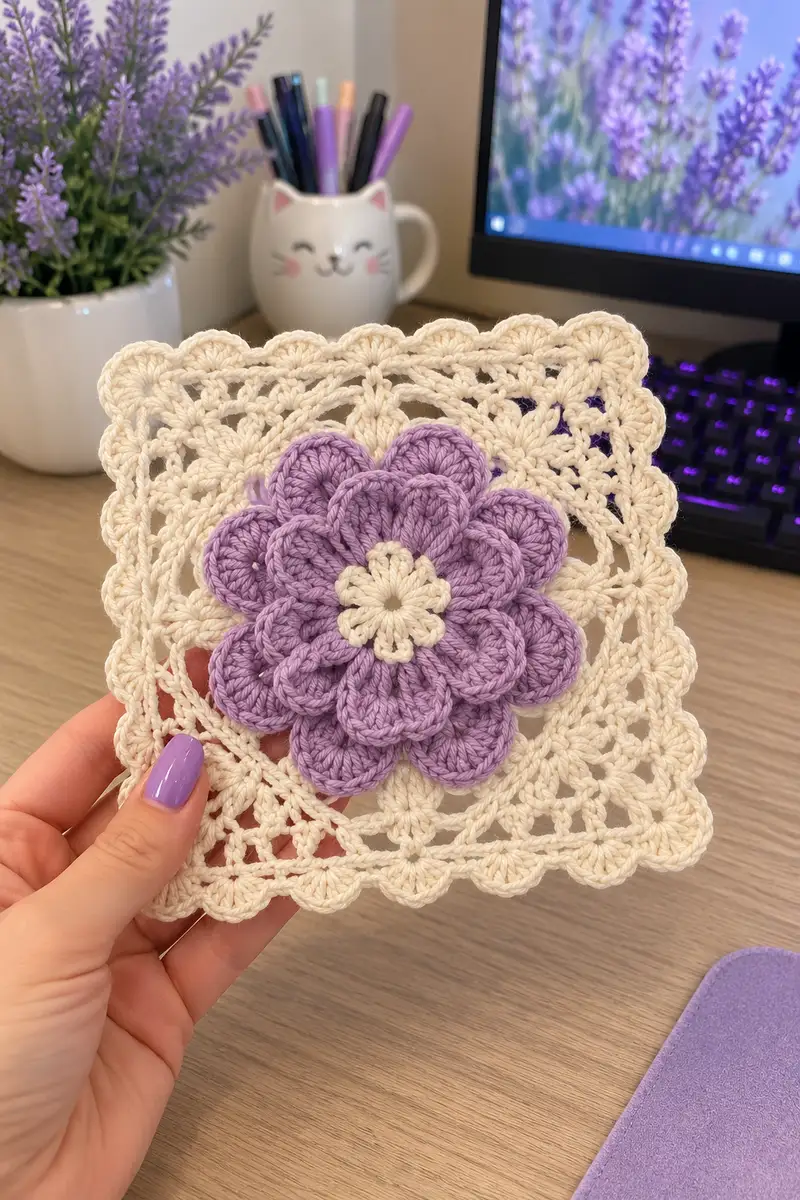
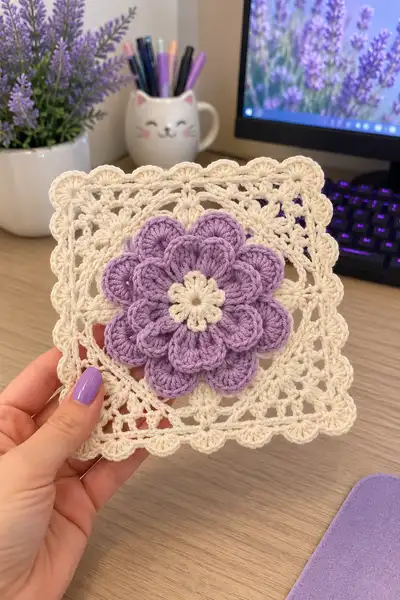
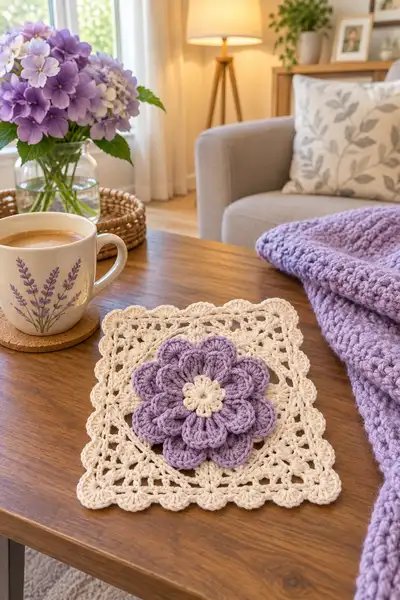
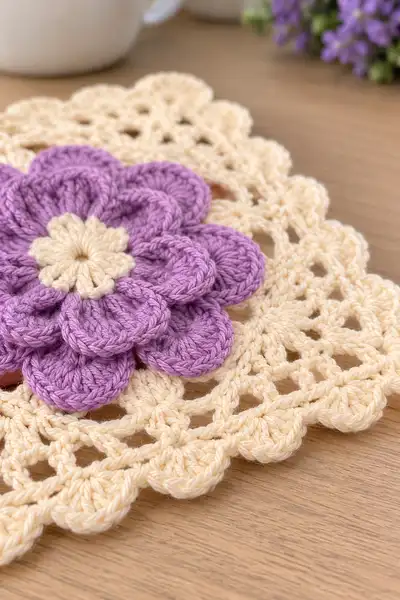
Create a romantic lavender-and-cream granny square with a layered 3D flower center and a delicate lace square border. This pattern describes a single motif used to assemble a bedspread: an elevated multi-petal flower in soft lavender set on a cream lacy square with scalloped edges. The instructions include detailed round-by-round stitch counts, color-change tips, and finishing notes to help you reproduce each motif accurately for a coordinated bedspread.
Progress Tracker
0% Complete
— Center Rosette :
Round 1 :
With cream yarn, make a magic ring. 6 sc in magic ring (6)
Round 2 :
Inc in each st around (6 inc) (12)
Round 3 :
(1 sc, inc) x 6 (18)
Round 4 :
(2 sc, inc) x 6 (24)
Info :
This small cream rosette creates the tiny central flower. Keep your tension slightly looser than you do for petals so the small loops will sit flat when petals are added.
Round 5 :
*Ch3, skip 2 sts, sc in next st* x 8 forming 8 chain-3 loops around the center (24)
Round 6 :
Into each ch3 loop: (sc, hdc, sc) to form small petal. Sl st to join first petal. (8 small petals; stitch count remains 24 across base when counted as foundation)
Info :
Fasten off cream center leaving a 14-16" tail for sewing if you prefer to sew this rose onto later layers; otherwise weave in end. These 8 little cream petals will visually anchor the lavender petals.
— Petal Layer 1 (Inner Lavender Petals) :
Round 1 :
Join lavender yarn to any ch-space behind a cream petal with sl st. Ch1, 1 sc into same base sp to secure (24)
Round 2 :
1 sc in each st around (24)
Round 3 :
*3 sc in next st, sc in next 2 sts* x 8 (24+8=32)
Info :
By creating 8 groups of 3 sc we create 8 slightly raised positions around which inner petals will form. Replace ch-spaces with clusters to give a round base that matches petal placement.
Round 4 :
Ch1, *(dc, ch2, dc) in top of each 3-sc group (this creates a tall loop), sc in each of the next 2 sts* x 8 (32)
Round 5 :
Into each tall loop work petal: (sc, puff6, sc) with puff defined as (yarn over, insert hook, pull up loop) repeated 6 times then yarn over and pull through all loops on hook to close puff. Anchor with sc each side. After completing 8 petals, sl st to join. (32 counted as foundation stitches)
Info :
Use a slightly larger hook or looser tension for puffs so petals sit plump. Keep petals evenly spaced: each puff petal uses the tall loop created in previous round.
Round 6 :
Ch1, 1 sc in each st around working into petals base to secure them to the rosette (32)
Round 7 :
(2 sc, inc) x 8 (40)
Info :
Begin to round out the base for the second layer of larger petals. Keep a stitch marker in round start to maintain symmetry.
Round 8 :
1 sc in each st around (40)
Round 9 :
(3 sc, inc) x 8 (48)
Round 10 :
1 sc in each st around (48)
Info :
Stuffing is not required; these layers are worked flat. Throughout petal rounds, keep petals oriented so later layers can overlap slightly for a full flower appearance.
— Petal Layer 2 (Outer Lavender Petals, Double Layer) :
Round 1 :
Ch3 (counts as first dc), *skip next 2 sts, (5 dc cluster in next st) to form petal base, ch2, sc in next st* x 8 across repeating pattern to create 8 tall petal bases (48)
Round 2 :
Into each 5-dc cluster base: work (sl st at base, ch2, puff8, ch2, sl st at base) to create raised scallop petal. Puff8 = (yo, insert, pull up loop) x8, yo and pull through all loops. After all 8 petals are made, adjust petals so they are slightly off-set from inner petals. (48)
Info :
When making puff stitches, keep loops tall and consistent. Use your finger to gather the loops before closing the puff to form an even, rounded petal. These large petals form the three-dimensional flower seen in the photos.
Round 3 :
Working around petals, sc evenly across the base to lock petals down: 1 sc in each base st and 2 sc in each ch2 space where needed to keep count consistent (approx 56 depending on adjustments). Use stitch markers to maintain 8 anchoring points for petals.
Round 4 :
1 sc in each st around working in BLO across this round to create a slight ridge behind petals (56)
Round 5 :
(5 sc, inc) x 8 (56+8=64)
Info :
This round expands the base to better fit the upcoming square border. If your stitch count differs slightly (±4 stitches) adjust by adding or omitting sc evenly across the round to keep round smooth.
Round 6 :
1 sc in each st around (64)
Round 7 :
(7 sc, inc) x 8 (64+8=72)
Info :
At the end of Petal Layer 2 you should have a fairly round disk with a raised flower in the center; this disk will be squared off in the next section to create the lacy background.
— Transition to Square Base (Corner Formation) :
Round 1 :
Ch1, 1 sc in each st around until you reach position for first corner marker (work approx 18 sts). Ch3, skip 1 st, sc in next st to define corner ch-sp. Repeat for 4 corners so you have 4 ch-3 corner spaces spaced evenly; adjust spacing so corners fall roughly at 90 degrees (count remains approx 72)
Info :
To make the square base even, place 4 stitch markers at the corner points. The distance between corners should be equal; if your counts differ slightly, redistribute stitches between corners so spacing is even.
Round 2 :
Work (sc across each side until corner, (sc, ch3, sc) in corner space) x 4 to square off the motif. Keep stitches even and watch for puckering; loosen tension slightly when working corners (approx 72)
Round 3 :
Ch4 (counts as tr), tr in next 5 sts along side, *(ch2, skip 1 st, tr in next 3 sts) repeat across side until corner, (ch2, tr, ch2, tr) in corner ch3 space to form an open lacy corner* x4. Use markers to keep track (72)
Info :
This is the beginning of the open lacy square. Keep the four corners consistent: each should be symmetrical and contain the same sequence of chains and tall stitches so the square lays flat.
Round 4 :
1 sc in each tr and ch space around to provide a firm base for later lace rounds. Work 2 sc in each corner ch2 space to keep corners square (72)
Round 5 :
*Ch5, skip 3 sts, sc in next st* across each side; at each corner work (sc, ch5, sc) in corner to maintain openwork (72)
Round 6 :
Into each ch5 loop work (sc, hdc, 3 dc, hdc, sc) to form shell motifs; sl st to join at end. This creates a delicate shell on each side across the square face (72 shells, anchors fitted evenly)
Info :
Shells are what make the square feel vintage and lacy. When working the shells, gently tug on each shell to shape it and keep the square from ruffling.
Round 7 :
1 sc in each stitch around to anchor shells (72)
Round 8 :
*(sc in next 3 sts, ch3, skip 1 st) across side, (sc,ch3,sc) in corner* x4 (72)
Round 9 :
Into each ch3 make (sc, 3 dc, sc) to form small lacy fans across the square sides (72 fans)
Info :
At this stage the motif starts showing the distinctive open squares between petals as in the photo. Block lightly if sides wave before continuing to edging rounds.
Round 10 :
Ch1, sc in each st around; work 2 sc in each corner fan's outer sc to stabilize corners (72)
Round 11 :
*(ch4, skip 2, sc) along edges to create longer chain spaces; (sc,ch4,sc) in corners* x4 (72)
Round 12 :
In each ch4 loop work (sc, hdc, 5 dc, hdc, sc) to form larger open decorative fans across the square (72)
Info :
Make sure the fans do not pull corners inward. If fans make sides ripple, reduce puff height or use an extra sc at the base to spread the tension evenly.
Round 13 :
1 sc in each stitch around to anchor the fans (72)
Round 14 :
(sc in next 6 sts, inc) x 8 to begin shaping for the delicate scalloped outer edge (72+8=80)
Info :
The trick to getting a neat scalloped edge is to maintain consistent stitch counts between increases and to always work the same number of stitches inside each scallop.
Round 15 :
1 sc in each st around (80)
Round 16 :
*Ch5, sl st in 2nd ch from hook to create a picot, sl st in next ch, sc in next sc* repeat across side to create picot loops; in corners work (sc, ch5, sc) (80 approx)
Round 17 :
Into each ch5 picot loop work (sc, 4 dc, sc) to form scallops along each edge. Work (sc, 6 dc, sc) into corner ch-spaces for larger corner scallops (approx 80)
Info :
These scallops form the final decorative border on the motif. Steam-block or wet-block after completing the round to shape the scallops neatly.
Round 18 :
Work 1 sc evenly around to finish and tidy the base of each scallop; fasten off and weave ends. (80)
— Decorative Scalloped Edging (Optional Additional Layers) :
Round 1 :
If you want a larger scallop add this optional layer: Join cream in a corner, ch1, sc in same st, *(skip 3, 7 dc shell in next st, skip 3, sc in next st)* repeat around each edge and work (sc, 7 dc shell, sc) in corners (approx 40 shells)
Info :
This optional shell layer intensifies the lacy, antique look if you are making a bedspread where the edge is meant to be visible and ornate. Add or omit depending on desired look.
Round 2 :
1 sc around to anchor shells; fasten off and weave ends (approx 160 sc anchors)
Round 3 :
If you want an even larger motif for a coverlet, repeat the square-increasing pattern: (work sides with chain spaces and fans) another 4–6 rounds keeping counts even, then finish with scallops as above. Each repeat expands the square by ~1" depending on yarn/hook.
Info :
When increasing square size to match bedspread needs, always work the same pattern on each side and add matching corner increases to keep the square flat.
— Finishing and Joining Notes :
Info :
Weave in ends leaving long tails for sewing when you plan to join squares into a blanket. Blocking each square before joining ensures neat edges and identical-sized squares.
Round 1 :
To join squares using whip stitch: place squares right sides together and whip stitch through back loops only across the seam for an invisible join. Use matching cream yarn and the long tails left earlier.
Round 2 :
To join with join-as-you-go (JAYG): as you finish the last round of a square, work the last side connecting to the adjacent square: replace chains that form corner ch-spaces with sl st into the corresponding ch-spaces of the neighbor square per pattern placement.
Info :
For a bedspread layout: arrange squares in blocks of 4 or 6 for easier assembly and matching flower placement. Alternating direction of flower centers gives a pleasing effect across the bedspread.
Round 3 :
Edge of completed bedspread: after joining rows and columns, finish entire piece with two rounds of single crochet in cream to tidy joins and a final round of scallops as previously described to create a continuous lace edge.
Info :
If your blanket needs extra stiffness for drape, use a light spray starch during blocking; test on a scrap to avoid unwanted stiffness.
— Additional Decorative Elements (Optional) :
Round 1 :
Add embroidered French knots into cream fans for extra texture: use a stranded embroidery thread in pale lavender and tie knots into the centre of selected fans across each square.
Round 2 :
Sew small pearl beads at petal centers with a fine needle for a shimmery vintage look. Use a small dab of fabric glue underneath each bead for security if desired.
Info :
Beadwork and embroidery are optional but add a boutique finish. If making a bedspread for daily use, skip small beads that may detach in laundering.
— Blocking and Care :
Info :
Lightly wet-block each motif: pin to desired square shape on blocking board, gently stretch corners to even shape, and allow to dry completely. Use low-heat steam to set scallops if necessary.
Round 1 :
Machine wash on gentle cycle in cool water or hand wash; reshape while wet and dry flat to preserve scallops and petals. Cotton will relax more after washing, so re-block if needed.
Info :
When assembling a bedspread, block all squares before the final join — it significantly improves join accuracy and final drape.
Completing this lavender flower granny square is pure joy — the petals are sculptural and the lacy cream border reads like vintage lace. Each finished square is a small treasure that joins easily into a luxurious bedspread. Take your time, block carefully, and savor the moment when a whole blanket blooms across your bed. 🧶💜